How do you draw a helmet?
Short answer
Drawing a helmet requires establishing a basic geometric volume—typically a sphere or cylinder—before refining its specific silhouette. By mapping the center line and eye opening, you ensure symmetry and proper perspective. Once the structural framework is set, you can add functional details like visors, padding, and ventilation ports to complete the form.
On this page
How to structure a helmet drawing
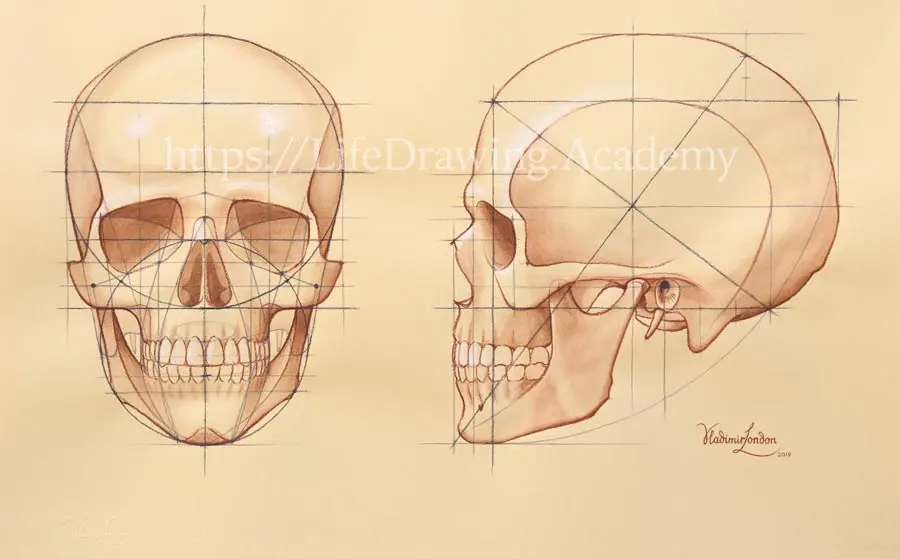
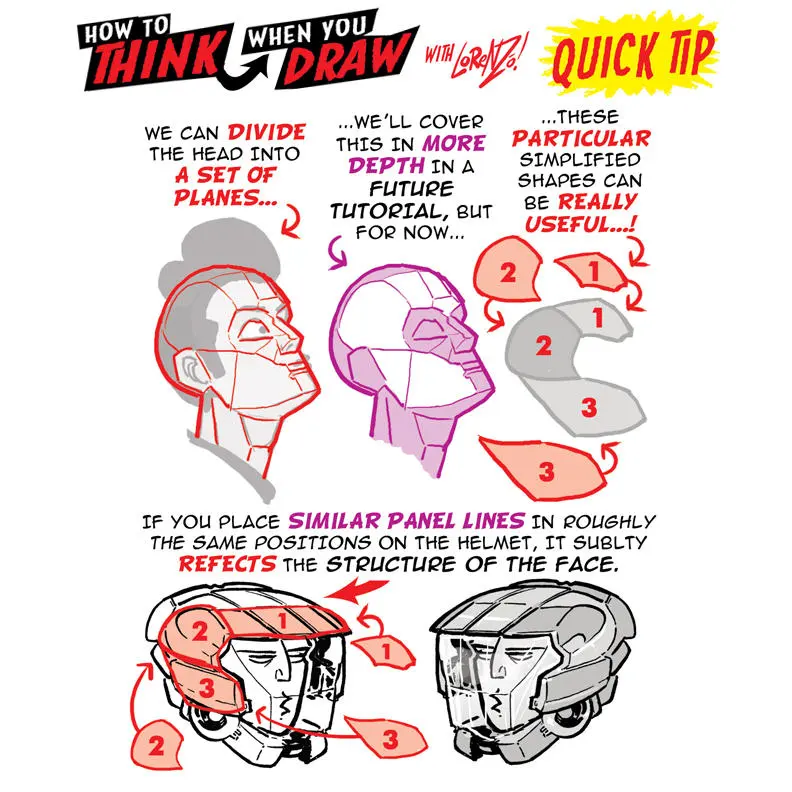
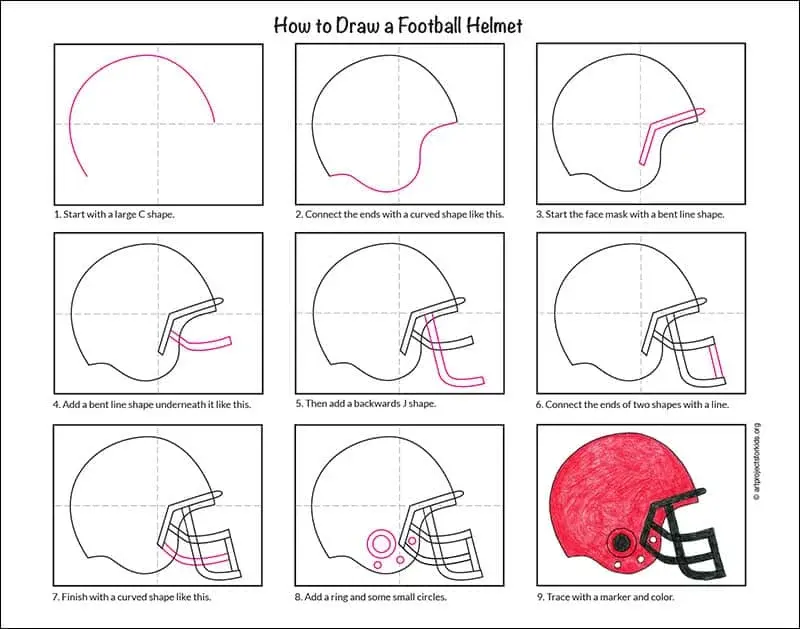
Every helmet begins as a simple three-dimensional shape. Whether you are drawing a historical knight’s sallet or a modern motorcycle helmet, the object must occupy space realistically. Start by sketching a sphere or a modified oval to represent the cranium. This primary volume acts as the anchor for all subsequent details, ensuring that the helmet does not look flat or distorted on the page.
Once the base shape is established, draw a vertical center line and a horizontal brow line across the sphere. These guides help you maintain symmetry, which is crucial for objects that wrap around a human head. If the helmet is tilted, these lines must curve accordingly to follow the perspective of the form. Following these steps creates a solid foundation for your drawing:
- Sketch a light circle or oval to define the overall size.
- Draw a vertical axis line to divide the face area.
- Add a horizontal line to indicate where the eyes or visor will sit.
- Define the jawline or neck guard by extending the base of the shape downward.
How to map the visor and eye openings
The eye opening or visor is the most recognizable feature of any helmet. Its placement determines the character and functionality of the armor. On your construction lines, mark the top and bottom boundaries of the opening. Remember that the opening must wrap around the curve of the sphere; it is not a flat shape applied to a surface, but a cut-out from a solid volume.
When drawing the visor, consider the thickness of the material. A common technique is to draw a secondary, slightly smaller line inside the opening to suggest the inner edge of the metal or composite shell. This adds a sense of depth and weight to the object. If the visor is hinged, ensure the pivot point is placed correctly near the temple area, allowing the movement to appear mechanically logical.
Best tools for drawing helmets
Precision is essential when rendering the hard, manufactured surfaces of a helmet. Graphite pencils ranging from 2H for initial light construction to 2B for darker shading work best for beginners. Mechanical pencils are particularly effective for drawing the sharp, clean edges of modern tactical helmets or futuristic designs, as they maintain a consistent line width without needing constant sharpening.
For those interested in adding color or professional finishes, ink fineliners are excellent for defining the final contours. Use a ruler or a French curve template to achieve the smooth, sweeping lines found on aerodynamic racing helmets. When shading, a blending stump or a piece of chamois cloth helps create the smooth gradients necessary to mimic the reflective properties of polished steel or glossy plastic. Avoid using soft, smudged lines, as these can make the material look like fabric rather than a rigid, protective shell.
Why perspective distortion happens
Perspective distortion occurs when the viewer fails to account for the curvature of the helmet’s surface. Because a helmet is a curved object, lines that appear straight on a flat surface will actually bow or taper as they move toward the edges of the form. If you draw the side vents or ear guards as flat rectangles, the helmet will look like a box rather than a piece of wearable equipment.
To prevent this, always imagine the helmet as a transparent glass object. By drawing the hidden side of the helmet lightly, you can ensure that the features on the visible side align correctly with the overall volume. If you are drawing a helmet from a three-quarter view, remember that the side closer to the viewer will appear slightly larger and more detailed than the side receding into the distance. This subtle adjustment is the key to creating a convincing sense of three-dimensional depth.
Common mistakes when drawing helmets
One of the most frequent errors is neglecting the thickness of the material. A helmet is not a skin-tight mask; it has a shell, internal padding, and space for the wearer's head. If the drawing lacks a sense of internal volume, the helmet will look flimsy or impossible to wear. Always add a small gap between the head shape and the outer shell to imply that there is space for a human skull inside.
Another common mistake involves inconsistent lighting. Because helmets are often made of reflective materials, they should have sharp, high-contrast highlights and deep shadows. Avoid using muddy, mid-tone shading across the entire surface. Instead, identify a clear light source and commit to strong highlights on the curved surfaces. Follow these tips to improve your final result:
- Use bold, dark lines for the silhouette to separate the helmet from the background.
- Keep your construction lines very faint so they can be erased easily.
- Add small scratches or dents to suggest the history and durability of the piece.
- Ensure the neck opening is wide enough to accommodate a human neck, avoiding a design that looks choked or pinched at the base.
Key facts
- Start by sketching a basic oval or sphere to represent the cranium before adding any structural details.
- Use a center vertical line and a horizontal eye-level line to maintain symmetry across the helmet's face.
- Establish the thickness of the material by drawing a secondary contour line inside or outside your primary shape.
- Define the jawline and neck opening early to ensure the helmet proportions match a human head.
- Add mechanical details like rivets, vents, or visors only after the main geometric form is firmly established.
- Use shading to distinguish between curved surfaces, such as the dome, and flat surfaces, such as the cheek guards.
The bottom line
Drawing a helmet requires a structured approach that begins with basic geometric shapes before moving to complex details. By establishing a solid foundation with a sphere and maintaining symmetry through guide lines, you ensure the final piece looks proportional and realistic. Practice observing real-world examples to understand how light interacts with hard surfaces, as consistent shading is the key to creating a convincing, three-dimensional metallic appearance.
People also ask
How do I make a helmet look metallic?
Use high-contrast shading with sharp transitions between light and dark areas to mimic reflections. Add bright white highlights on the edges where light hits the surface directly.
What is the best way to draw a visor?
Draw the visor as a separate shape that overlaps the main helmet structure. Ensure the curve of the visor matches the curvature of the helmet's faceplate to maintain depth.
Should I draw the head inside the helmet?
Yes, sketching the head first helps you determine the correct scale and placement of eye slits. Once the head is set, you can build the helmet shell around it.
How do I draw a helmet from a side profile?
Focus on the silhouette rather than internal details. A side view should emphasize the extension of the back of the helmet and the shape of the chin guard.
What tools are best for drawing helmets?
Graphite pencils are ideal for initial construction lines and shading. Use a fine-liner pen to finalize the hard edges and mechanical details once the sketch is complete.
How do I avoid making the helmet look too small?
Remember that a helmet must contain a human skull plus padding. Always draw the helmet slightly larger than the reference head to account for the thickness of the material.
This answer was created with the help of AI research tools and reference sources. Spotted an error? Let us know — we correct mistakes quickly. See our editorial policy.