How do you draw an open book step by step?
Short answer
Drawing an open book requires establishing a central spine and two symmetrical, curved rectangles to represent the pages. By layering shapes to suggest thickness and adding subtle shading along the gutter and outer edges, you create a convincing three-dimensional effect that mimics the natural drape of paper as it rests flat.
On this page
How to sketch the basic structure of an open book
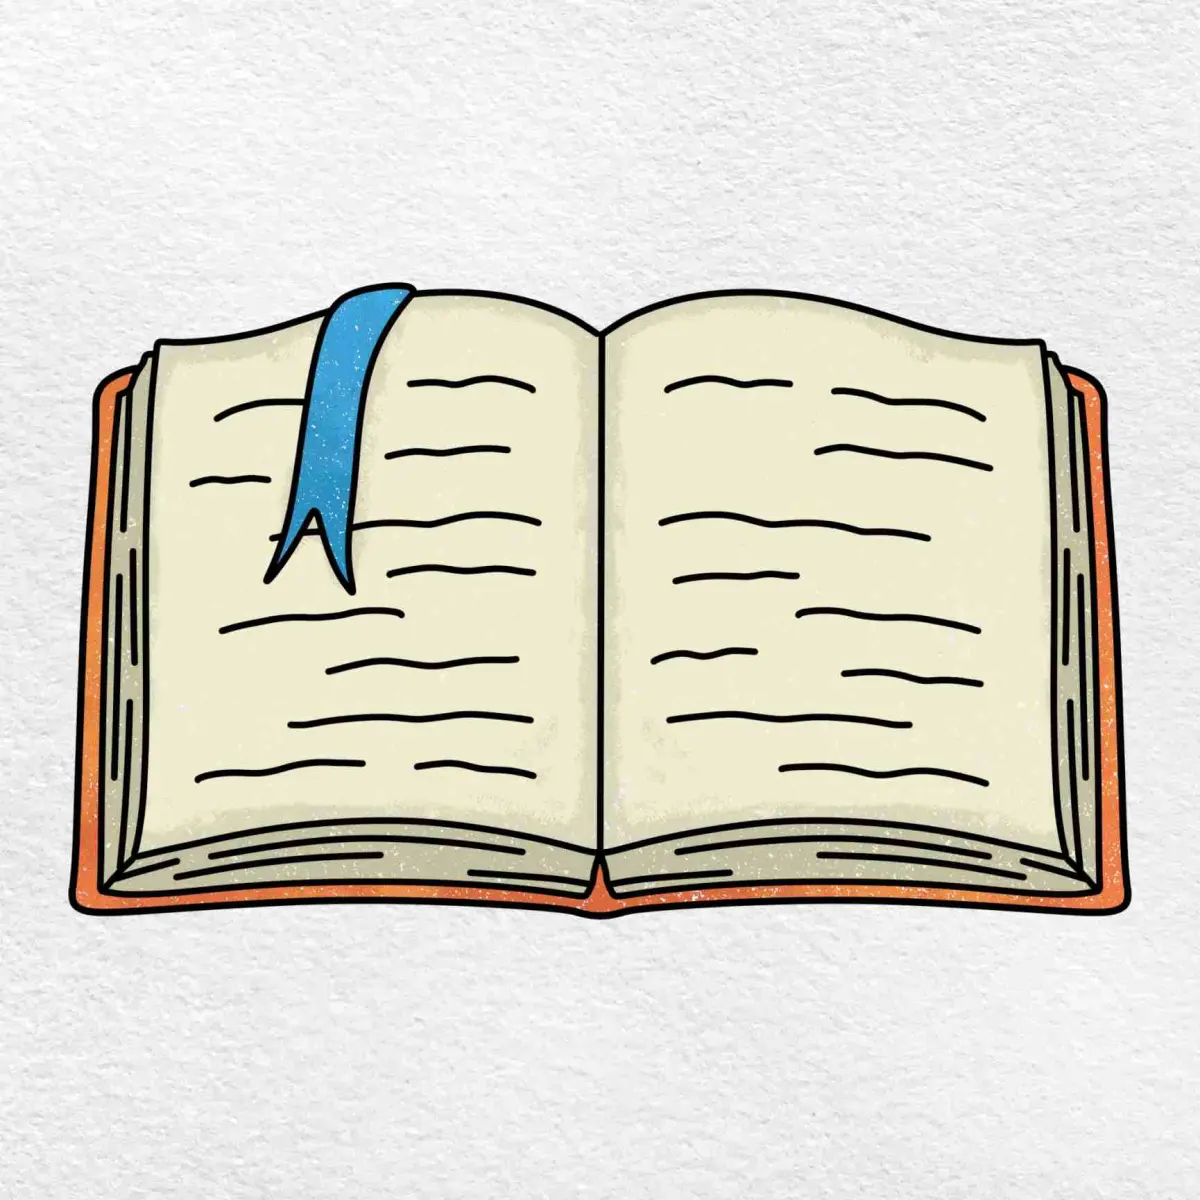
To begin, draw a light vertical line in the center of your paper to serve as the spine. From the top and bottom of this line, draw two identical, slightly curved lines extending outward to the left and right. Connect these lines with soft, rounded corners to form the outer perimeter of the pages. This shape should resemble a wide, flattened "V" or a gentle wave depending on how open you want the book to appear.
Maintaining symmetry is the most critical aspect of this foundational phase. If one side is significantly larger than the other, the book will look distorted or tilted. Use a light pencil grip to ensure these guide lines can be easily erased or refined later. Once the basic silhouette is established, you have the necessary framework to add the depth and detail that define a realistic object.
Step by step guide to drawing pages and depth
Adding depth transforms a flat shape into a tangible object. You must indicate the thickness of the paper stack and the way individual pages curve toward the spine. Follow these steps to build volume:
- Draw a second, slightly smaller outline inside your original shape to represent the thickness of the page block.
- Add thin, parallel lines along the outer edges of the pages to simulate the individual sheets of paper.
- Draw a few faint, curved lines starting from the spine and radiating outward toward the page edges to suggest the texture of open leaves.
- Use a darker pencil to emphasize the gutter, which is the deep crease where the pages meet the spine.
By varying the weight of your lines, you can create a sense of weight and gravity. The lines closest to the spine should be darker and tighter, while the lines near the outer edges should be lighter to suggest the paper is fanning out.
How to add shading for a realistic look
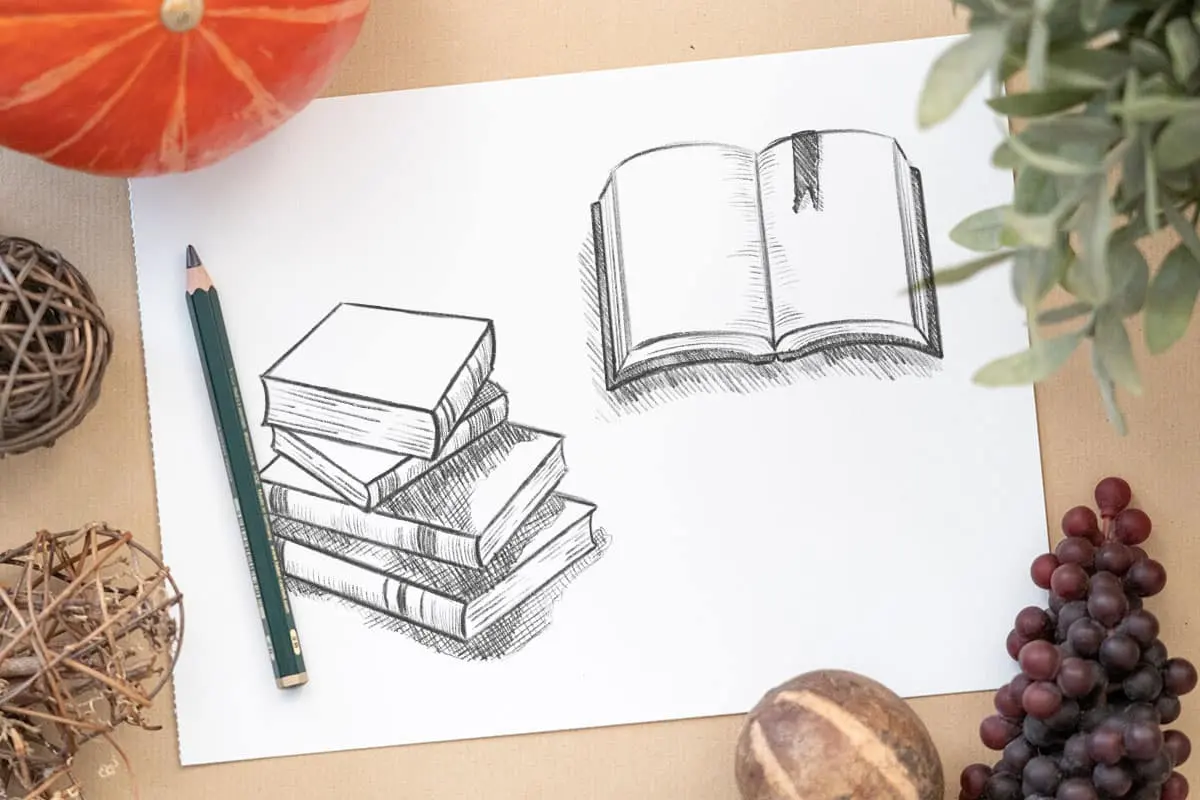
Shading is the primary tool for creating the illusion of three-dimensional form. Focus your light source from one direction, typically the top-left or top-right, and keep it consistent throughout the drawing. The area directly under the spine and along the inner curve of the pages should be the darkest, as these sections receive the least amount of light. Use a blending stump or a soft tissue to smooth out your graphite, creating a gradient that moves from dark shadows to light highlights.
Pay close attention to the cast shadow that the book creates on the surface beneath it. This shadow should be darkest right where the book touches the table and gradually fade as it extends outward. Adding this ground shadow anchors the book in space, preventing it from appearing as if it is floating. Subtle highlights on the curved edges of the pages will further enhance the glossy or matte texture of the paper.
Common mistakes when drawing an open book
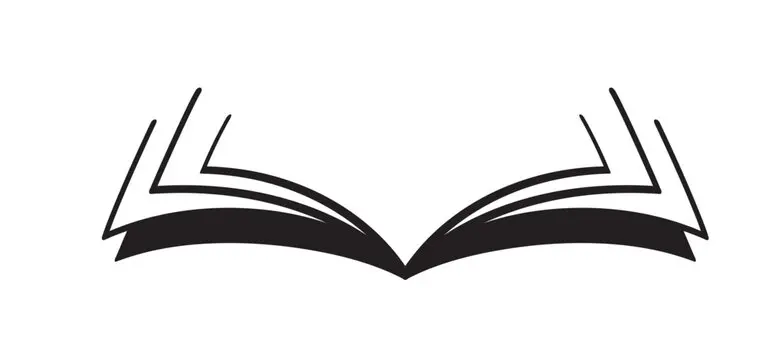
Many beginners struggle with the perspective of the page curves. A frequent error is drawing the pages perfectly flat, which makes the book look like a rigid board rather than a collection of flexible sheets. To avoid this, ensure your lines follow the natural arc of the paper as it bends toward the center. Another common mistake is neglecting the spine's thickness; if the spine is drawn as a single line, the book will lack structural integrity.
- Avoid using heavy, permanent ink lines before you have finalized the proportions with a pencil.
- Do not make the pages perfectly symmetrical in their curvature, as real books often have slight variations in how they fall.
- Refrain from drawing every single page line, as this creates visual clutter; instead, suggest the pages with intermittent, broken lines.
- Ensure the book’s corners are rounded, as sharp, pointed corners rarely occur in physical bookbinding.
Best drawing tools for beginners
You do not need expensive equipment to produce a high-quality drawing. A standard HB pencil is ideal for initial sketching, while a 2B or 4B pencil provides the necessary darkness for deep shadows and contrast. A kneaded eraser is particularly useful because it can be molded into small points to lift graphite and create delicate highlights on the page surfaces. High-quality smooth paper, such as Bristol board or heavy sketching paper, will allow for cleaner lines and easier blending compared to standard printer paper.
When practicing, keep your tools clean to avoid smudging your work. If you are a beginner, focus on the relationship between light and dark rather than trying to draw every word or line of text. Mastering the geometry of the book is the most important step; once you are comfortable with the proportions, you can experiment with adding complex details like bookmarks, text shadows, or intricate cover designs to elevate your artwork to a professional level.
Key facts
- Start with a central vertical line to establish the spine of the book.
- Use an inverted "V" shape at the top and bottom to define the thickness of the pages.
- Draw two gentle curves extending from the spine to represent the open covers.
- Add horizontal lines of varying lengths inside the page areas to suggest text.
- Vary the thickness of the page edges to create a sense of depth and perspective.
- Use a soft eraser to round off sharp corners, as real paper edges are rarely perfectly square.
The bottom line
Drawing an open book requires balancing geometric structure with soft, organic curves. By establishing a clear spine and using varying line weights to suggest depth, you can create a convincing illustration. Focus on the curvature of the pages to add realism, and avoid overly rigid, straight lines. With practice, these fundamental shapes become a versatile foundation for depicting books in any artistic style or setting.
People also ask
How do I make the pages look realistic?
Draw thin, slightly curved lines that follow the contour of the page to mimic the way paper bends. Adding subtle shadows near the spine helps create the illusion of weight and depth.
Should I use a ruler for the spine?
Using a ruler for the spine helps establish a clean center, but avoid using it for the pages. Natural curves make a book look organic and inviting rather than stiff or mechanical.
How do I draw a book from a side angle?
Shift the central spine line off-center and make one side of the book appear narrower than the other. This uses basic foreshortening to create a three-dimensional perspective.
What is the best pencil grade for sketching books?
An HB pencil is ideal for initial light structural lines, while a 2B pencil works well for adding darker shadows. Keep your strokes light until you are confident in the overall proportions.
How do I show that the book is thick?
Stack multiple thin, parallel lines along the bottom edges of the pages. The more lines you add, the thicker the book will appear to the viewer.
Can I draw a book without a spine?
You can draw an open book without a visible spine by focusing on the V-shape where the two pages meet. Simply draw two rectangles meeting at an angle and add curved lines for the pages.
This answer was created with the help of AI research tools and reference sources. Spotted an error? Let us know — we correct mistakes quickly. See our editorial policy.