What is the easiest way to draw a book?
Short answer
The easiest way to draw a book is to start with a simple rectangle to represent the front cover, then add a thin, slanted parallelogram on the side to create the spine. By using basic geometric shapes and vanishing points, you can quickly construct a three-dimensional object that looks realistic and professional.
On this page
How to draw a book for beginners
Drawing a book is an excellent exercise for understanding perspective and volume. Beginners should start by visualizing the object as a collection of simple geometric blocks rather than focusing on intricate details like text or paper texture. By mastering the basic structure, you gain the ability to place books in any scene, whether they are lying flat on a table or standing upright on a shelf.
To begin, follow these fundamental steps to build your foundation:
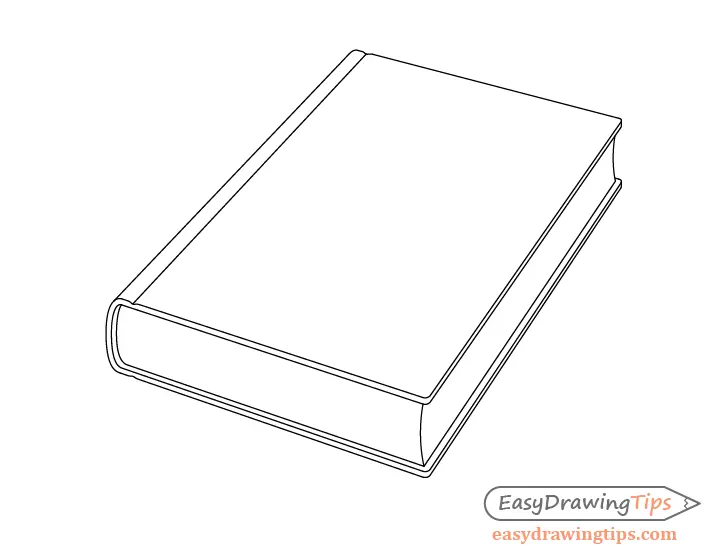
- Draw a horizontal rectangle to represent the front cover, ensuring the corners are sharp.
- Sketch a thin, vertical rectangle attached to the right side of the first shape to form the spine.
- Draw a third rectangle behind the first, slightly offset, to suggest the back cover or the thickness of the pages.
- Connect the corners of these shapes with diagonal lines to establish depth and three-dimensional form.
Best drawing techniques for depth
Achieving a sense of realism requires an understanding of linear perspective. When drawing a book, you must decide if it is viewed from a high angle or a side angle. Using a vanishing point helps guide your lines so that the pages appear to recede into the distance correctly. This prevents the book from looking flat or distorted, which is a common issue for those just starting their artistic journey.
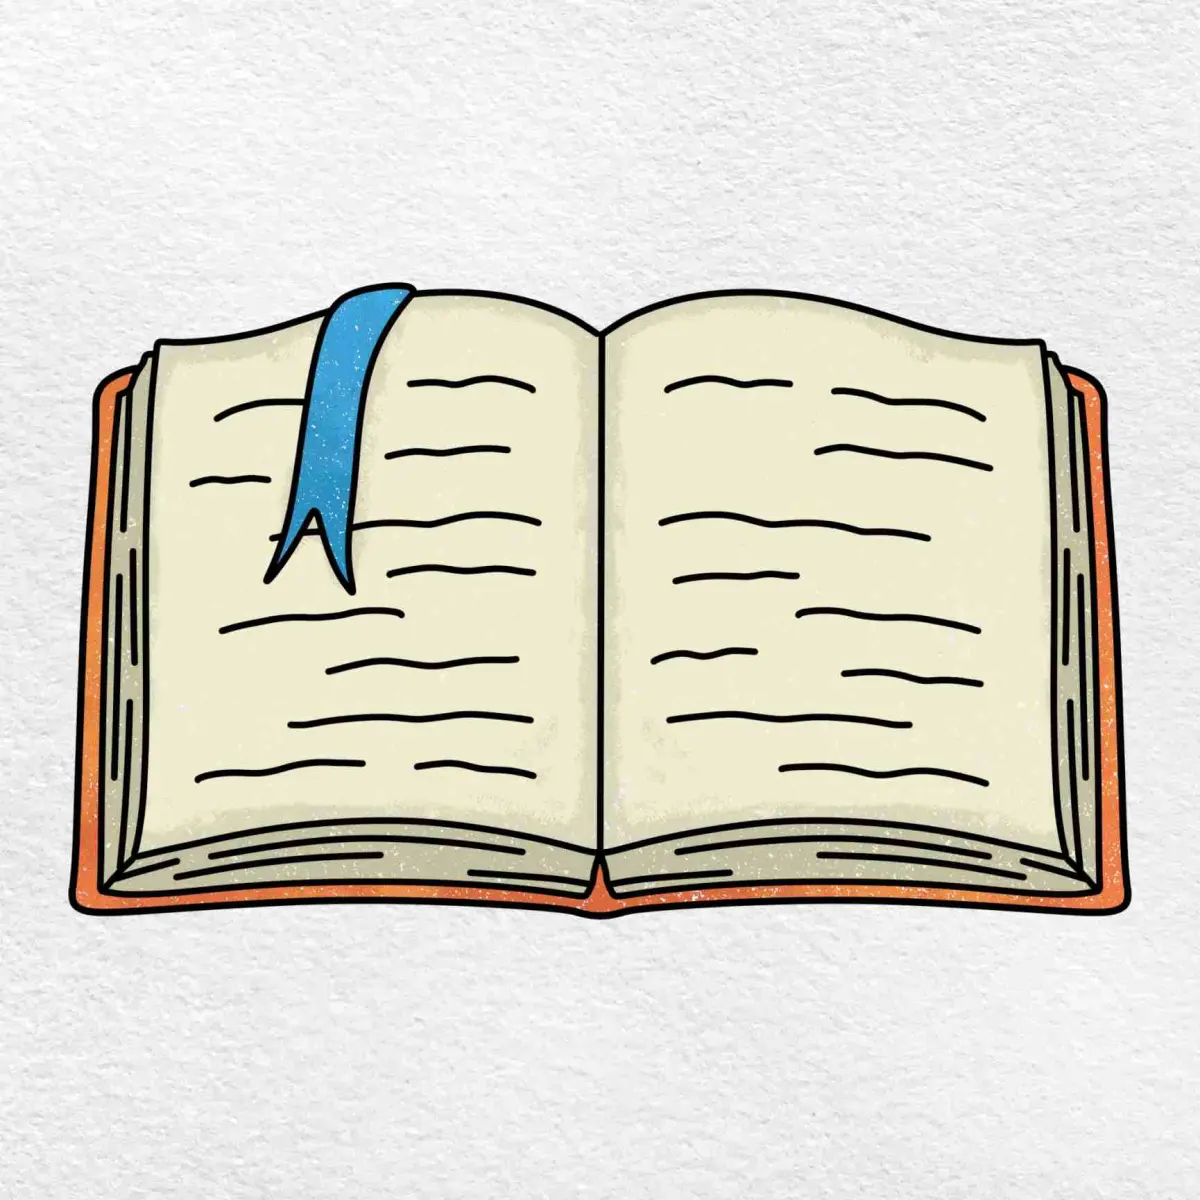
Focusing on the edges is crucial for defining the object's physical presence. Use a darker weight for the outer contours of the book and a lighter, thinner line for the pages inside. This variation in line weight tricks the human eye into perceiving depth and shadow. If you are drawing an open book, imagine a "V" shape in the center where the binding meets the pages, which creates a natural curve that adds movement to the illustration.
Why perspective errors happen
Perspective errors occur when an artist ignores the horizon line or fails to align lines toward a common vanishing point. Many beginners draw the front cover correctly but then draw the spine or pages at an inconsistent angle. This creates a "broken" look where the book appears to be folding in on itself or floating in space. Consistency is the primary factor in making a drawing look believable to the viewer.
To avoid these common pitfalls, keep these tips in mind:
- Always sketch your horizon line lightly before starting the actual book shape.
- Ensure all parallel edges of the cover and spine converge toward the same point on the horizon.
- Check that the thickness of the pages is uniform across the entire length of the book.
- Use a ruler during your initial practice sessions to train your hand to recognize true parallel lines.
How long does it take to draw a book?
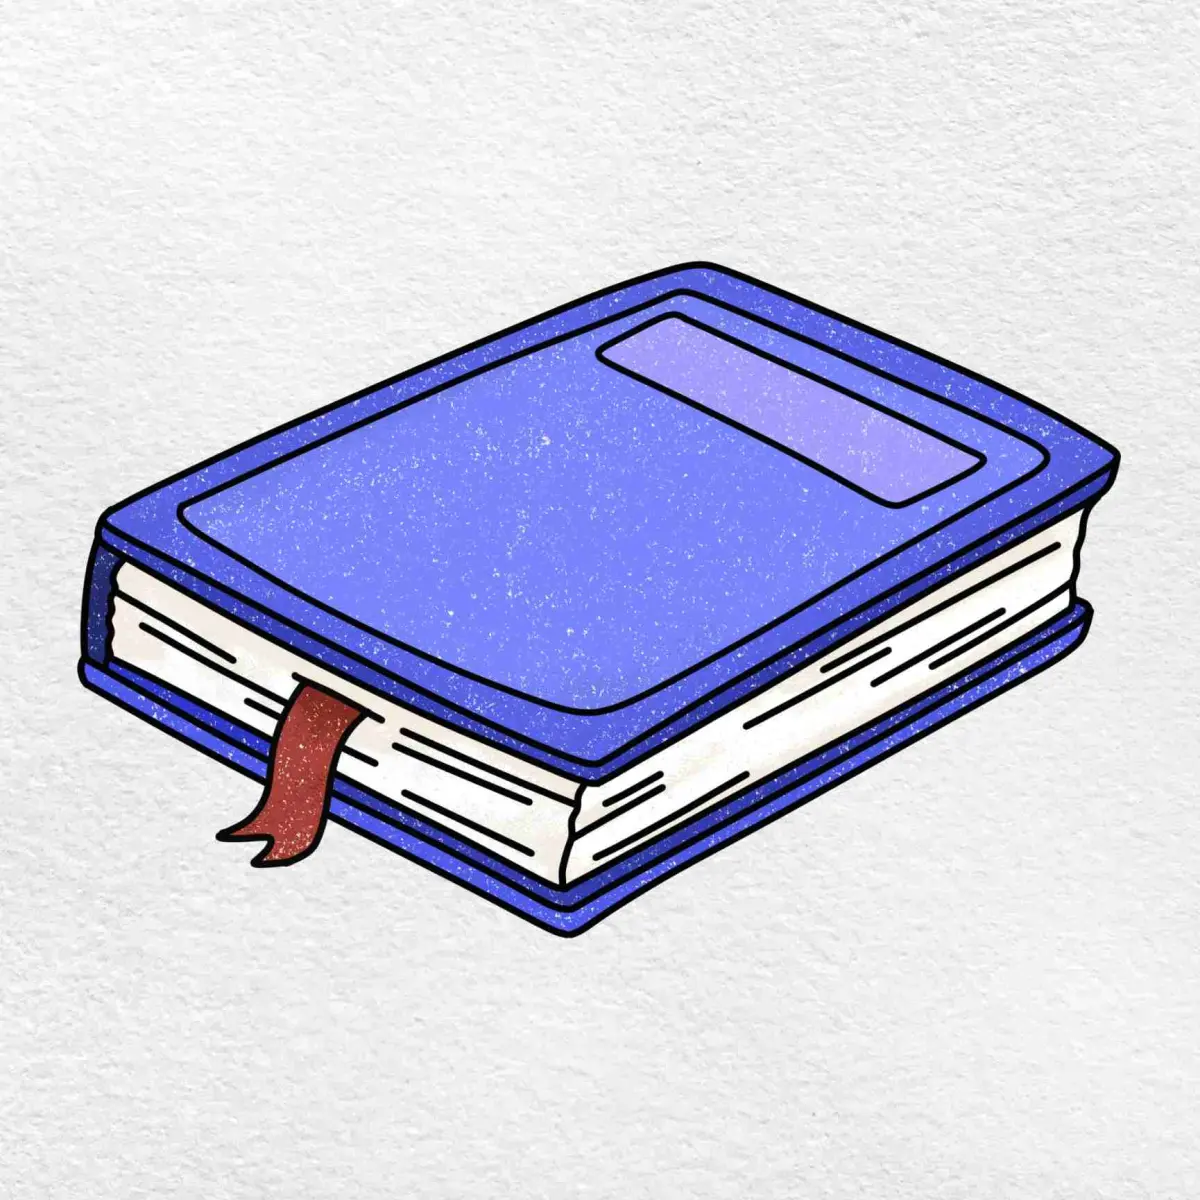
For a simple, stylized sketch, a beginner can complete a basic book drawing in under five minutes. The process involves minimal lines, making it a perfect subject for quick gesture drawing or sketching in a notebook while traveling. As you become more comfortable with the geometry, you can add details like bookmarks, textured covers, or worn edges, which may extend the time to fifteen or twenty minutes per drawing.
Complexity is entirely dependent on your desired level of detail. A minimalist approach focuses on the silhouette, while a detailed study might involve shading, cross-hatching, and individual page lines. If you are practicing for speed, set a timer and try to capture the essence of a book in just sixty seconds. This helps you prioritize the most important structural lines over decorative elements, which is a vital skill for any illustrator working on complex compositions.
Common mistakes when drawing books
One frequent mistake is neglecting the thickness of the cover material, which makes the book look like a thin sheet of paper rather than a solid object. Another common error is drawing the pages as straight, rigid lines. In reality, pages have a slight curve, especially near the binding, which softens the overall appearance of the book. Observing real-life objects is the best way to correct these subtle inaccuracies in your work.
Avoid these errors to improve your technique:
- Do not draw the pages as perfectly straight lines; add a slight arc to mimic the way paper bunches in a binding.
- Avoid using overly dark outlines for the interior pages, as this makes the book look heavy and unrealistic.
- Never forget to add a small shadow beneath the book where it touches the surface, as this grounds the object and prevents it from appearing as if it is floating.
- Be careful not to make the spine too wide, as this often ruins the scale of the entire book.
Key facts
- Start by drawing a simple rectangle to represent the front cover of the book.
- Use two-point perspective lines to give the rectangle depth and volume.
- Add a curved line on the side to create the spine for a realistic look.
- Draw thin, parallel lines along the bottom edge to simulate individual pages.
- Keep your initial construction lines light so they are easy to erase later.
- Practice drawing books from different angles, such as open, closed, or stacked.
The bottom line
Drawing a book is a foundational exercise in perspective and structural geometry. By mastering the basic rectangle and applying two-point perspective, you can create convincing illustrations of any volume. Focus on the thickness of the cover and the subtle curvature of the pages to add realism. With consistent practice and attention to light and shadow, you will quickly develop the skill to render books accurately.
People also ask
How do I draw an open book?
Draw a wide "V" shape to represent the spine and the central gutter. Then, draw two curved rectangles extending outward from the center to form the pages.
What is the best way to show depth in a drawing?
Use vanishing points to ensure your parallel lines converge correctly. This technique creates the illusion of three-dimensional space on a flat surface.
Should I use a ruler for drawing books?
Using a ruler helps beginners maintain straight edges and accurate perspective. As you gain more experience, you can transition to freehand sketching for a more natural style.
How can I make the pages look realistic?
Add subtle shadows between the pages using a soft pencil. This creates texture and depth, making the book look like it contains many individual sheets.
What is the most common mistake when drawing a book?
Many beginners neglect the thickness of the cover and pages. Always draw the edges of the book to show that it has physical volume.
How do I shade a book properly?
Identify your light source first and apply darker tones to the side opposite the light. Consistent shading helps define the form and makes the object pop.
This answer was created with the help of AI research tools and reference sources. Spotted an error? Let us know — we correct mistakes quickly. See our editorial policy.