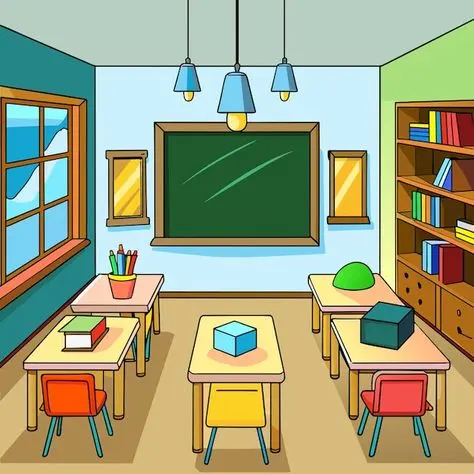
How do you draw a bookshelf?
Short answer
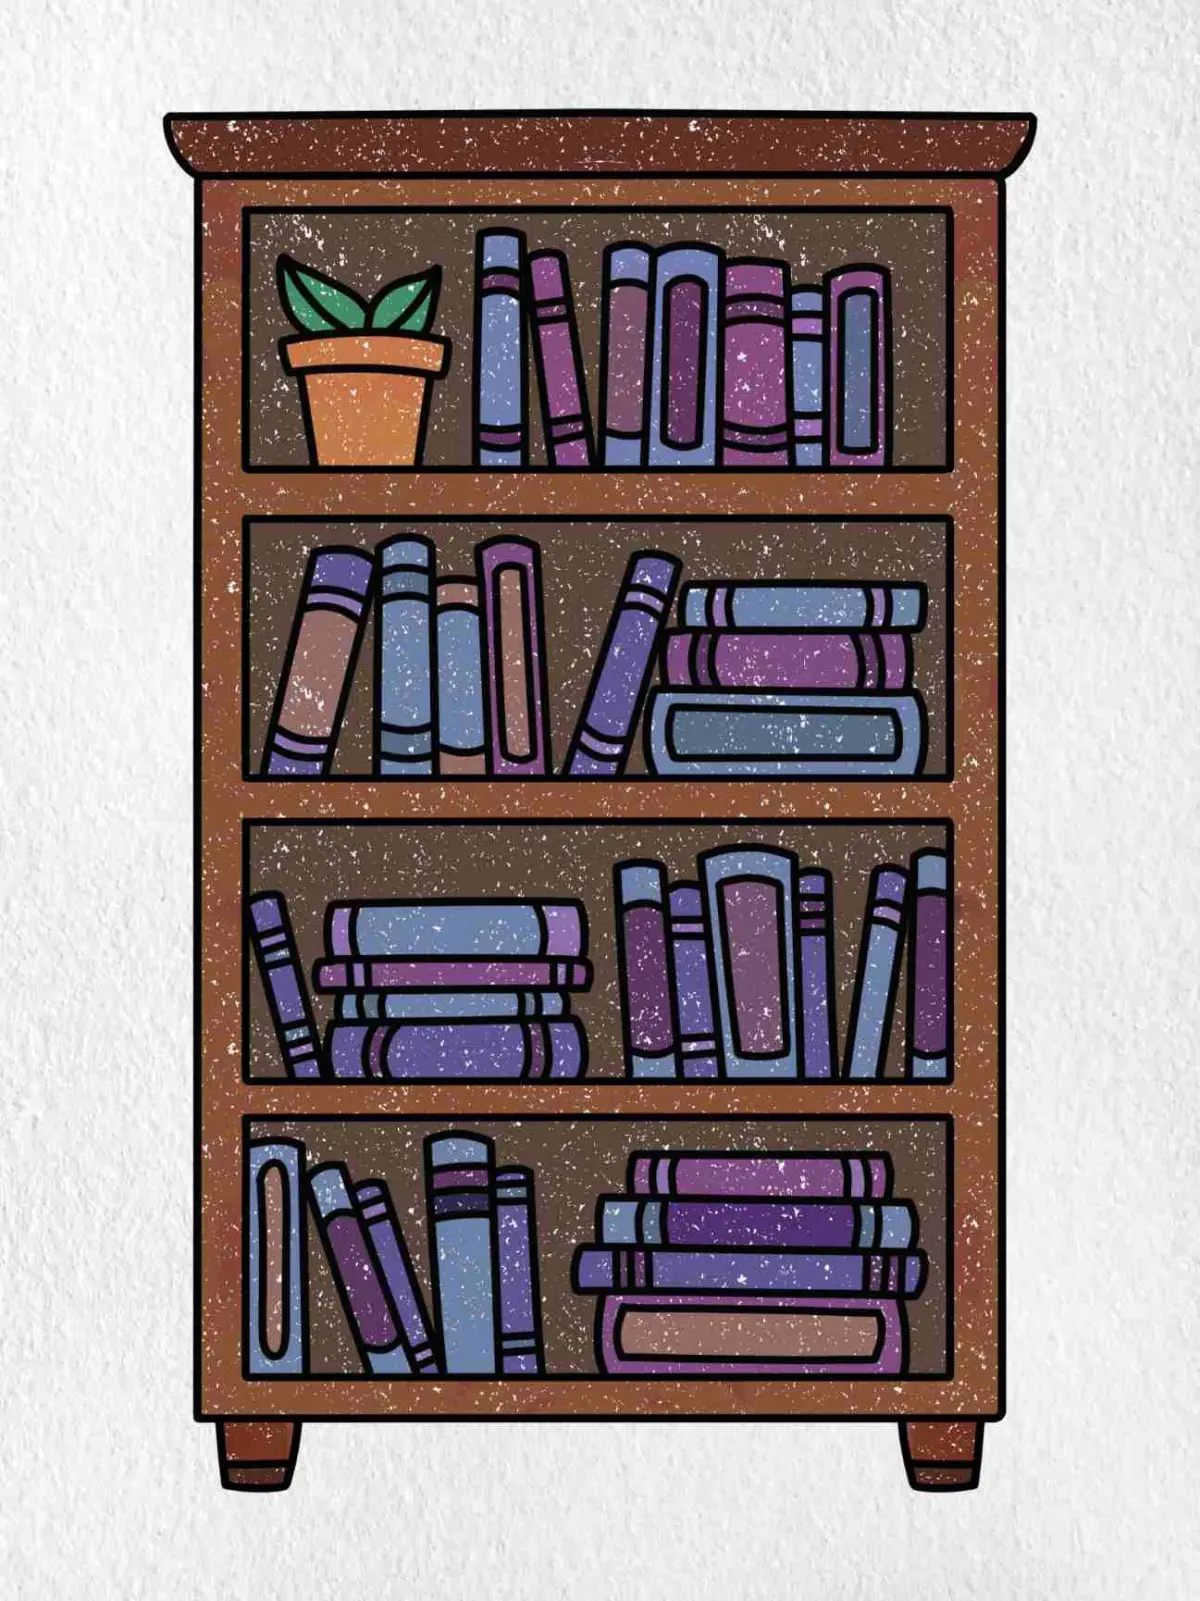
Drawing a bookshelf begins with establishing a rectangular frame using linear perspective to create depth. By sketching parallel horizontal lines for the shelves and vertical lines for the sides, you define the structure. Adding thickness to these lines and detailing the contents provides the final realistic appearance of a functional storage unit.
On this page
How to draw a bookshelf in perspective
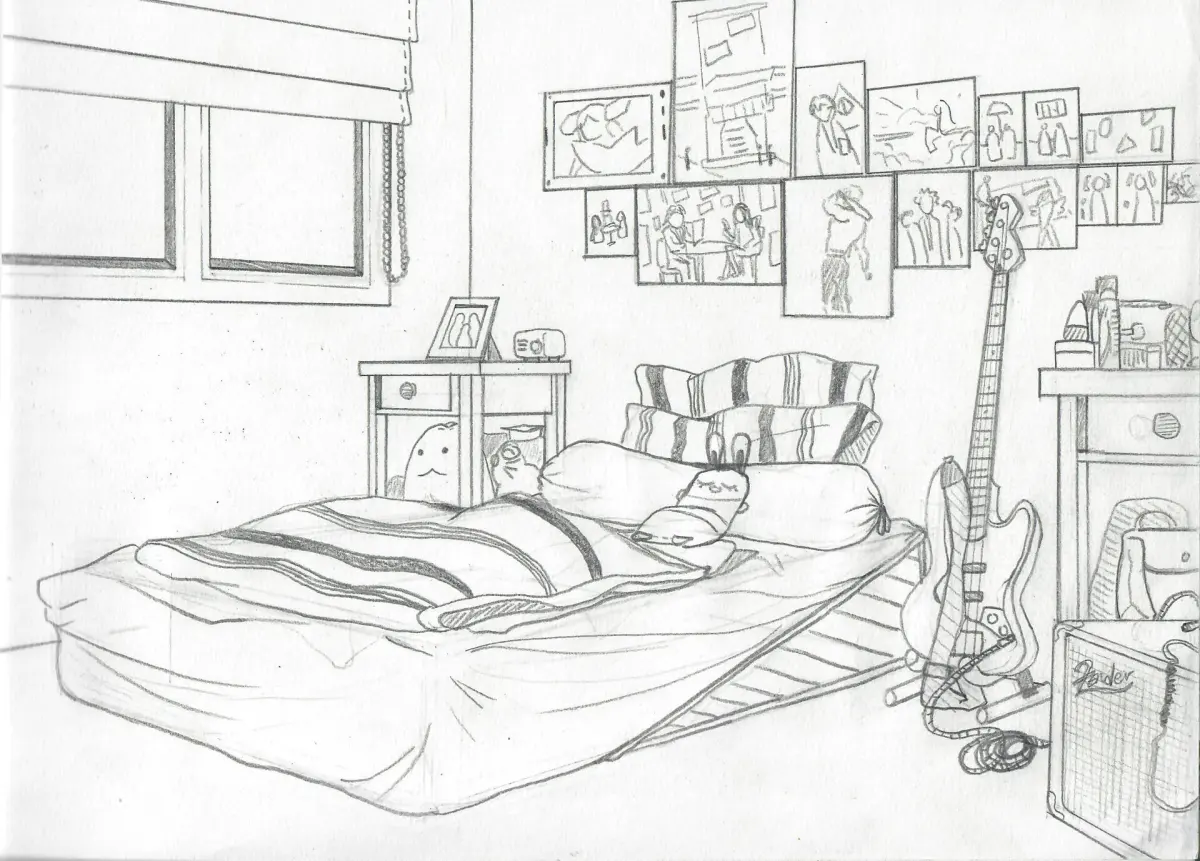
To draw a realistic bookshelf, you must first understand one-point perspective. Start by drawing a horizon line and a single vanishing point in the center of your page. Draw a large rectangle that represents the front face of the bookshelf, ensuring the vertical lines remain perfectly perpendicular to the bottom edge of your paper. Connect the corners of this rectangle to the vanishing point using light, faint lines; these are your orthogonal lines.
These orthogonal lines act as a guide for the depth of the unit. Decide how deep you want the bookshelf to be and draw a smaller rectangle inside the first one, connecting it to the orthogonal lines. This creates the illusion of a three-dimensional box receding into space. Keep your lines light at this stage so you can easily erase them later. If the lines are not perfectly aligned with the vanishing point, the shelf will appear skewed or distorted, ruining the sense of depth.
Steps for drawing shelf spacing
Once the outer frame is complete, you must divide the interior space into individual shelves. Begin by drawing horizontal lines across the back of the interior rectangle. To ensure the shelves look evenly spaced, use a ruler to measure equal intervals along the vertical sides of the frame. Connect these marks with straight lines that run parallel to the top and bottom of the bookshelf.
- Measure the total height of the interior space.
- Divide that height by the number of shelves you intend to include.
- Mark these points lightly on both the left and right interior edges.
- Draw horizontal lines connecting these marks to create the shelf surfaces.
- Add a secondary, slightly lower line for each shelf to represent the physical thickness of the wood.
By adding this thickness, you transition from a flat, two-dimensional drawing to a solid, structural object. Ensure that the thickness lines also follow the perspective rules, appearing slightly thinner as they move toward the back of the shelf.
How to add books and objects
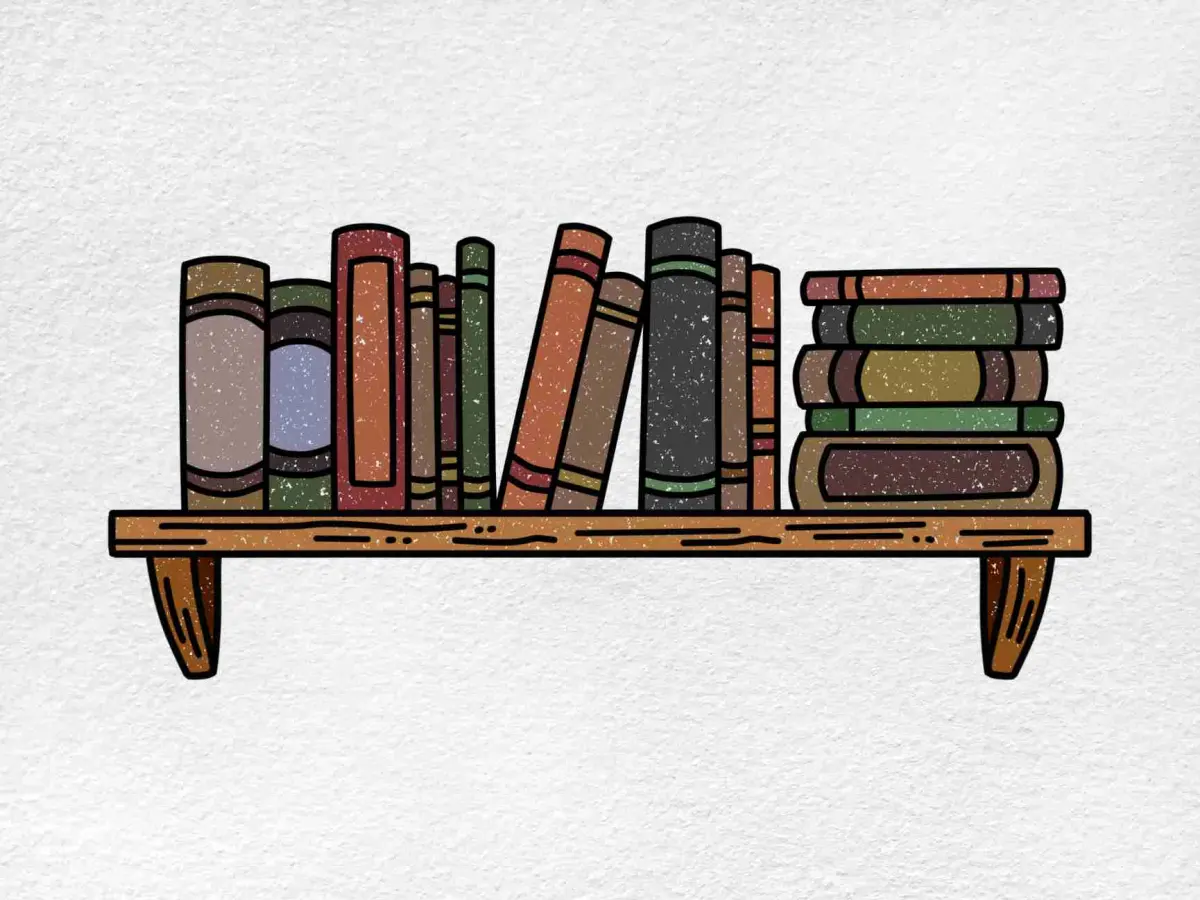
A bookshelf is rarely empty, and adding books is the best way to make the drawing look authentic. Start by drawing a variety of rectangles standing upright on the shelves. Vary the heights and widths of these rectangles to mimic the natural look of a personal library. Some books should lean slightly, while others can be stacked horizontally to break up the vertical rhythm of the shelf.
- Draw the spines of the books as thin, vertical rectangles.
- Add small, thin lines on the spines to represent pages or binding details.
- Include a few "gaps" or decorative items like vases or picture frames to add visual interest.
- Ensure that the tops of the books align with the perspective lines of the shelf above them.
Avoid drawing every book perfectly straight, as this makes the shelf look artificial. A slight tilt or a variation in the alignment of the spines adds character and realism to the composition.
Common mistakes when drawing furniture
One of the most frequent errors is failing to maintain consistent perspective. If your horizontal shelf lines do not converge toward the same vanishing point as the sides of the bookcase, the piece will look like it is collapsing or falling over. Always double-check that your lines are either perfectly vertical or accurately angled toward the vanishing point. Another common mistake is ignoring the thickness of the frame and shelves, which makes the bookshelf look like it is made of paper rather than wood.
Beginners often make the mistake of drawing too many details before establishing the basic structure. Focus on the geometry first; if the underlying box is incorrect, no amount of shading or detail will fix the final image. Additionally, avoid making the shelf too deep, as this can create an unnatural "tunnel" effect that distracts from the objects placed inside. Keep the depth proportional to the height and width of the unit for a balanced look.
Best shading techniques for depth
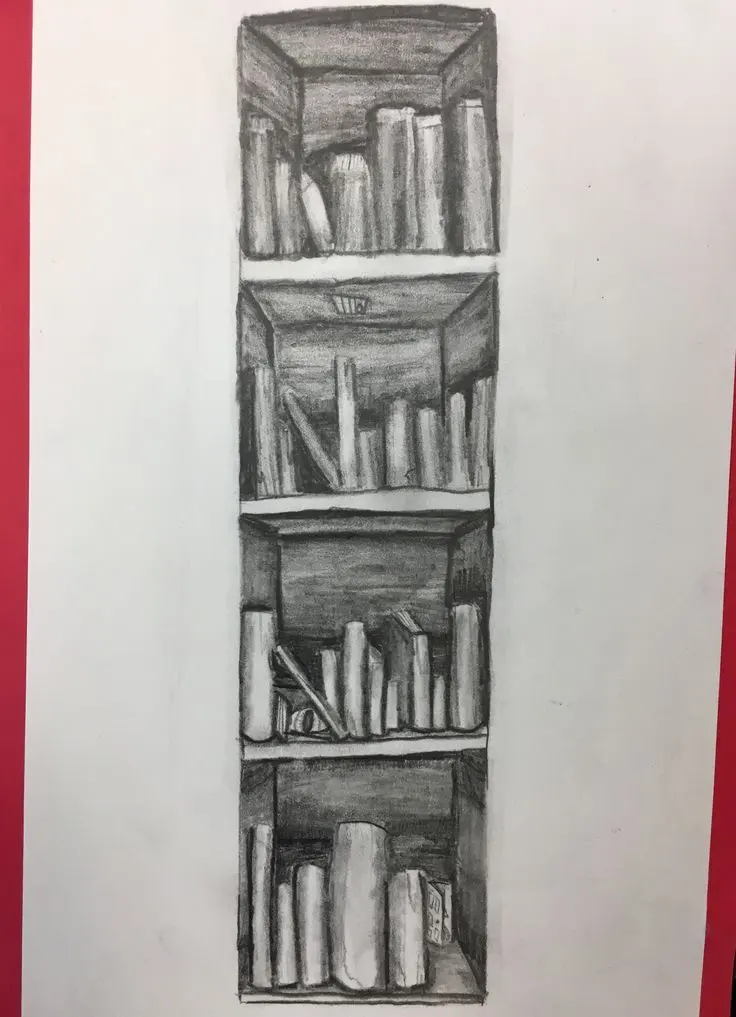
Shading is essential to define the interior of the bookshelf and separate it from the wall behind it. Start by identifying your light source, which should be consistent across the entire drawing. The underside of each shelf should be slightly darker than the top, as it sits in the shadow cast by the board above it. Use a soft graphite pencil to build up these shadows gradually, starting with light strokes and darkening them as needed.
Cast shadows are also important; books sitting on the shelf should cast a small shadow onto the back panel of the bookcase. By darkening the back interior panel slightly more than the front frame, you create a sense of atmospheric depth. This contrast helps the shelves pop forward, making the bookshelf appear as a solid, functional piece of furniture. Use a blending stump or a clean tissue to smooth out your shading, ensuring there are no harsh, messy lines that might distract the viewer from the overall structure.
Key facts
- Use a vanishing point to establish linear perspective, ensuring all horizontal shelf lines converge toward the center.
- Draw the outer frame as a simple rectangle first to define the total height and width of the unit.
- Maintain consistent thickness for all shelves by drawing two parallel lines for each horizontal surface.
- Add vertical dividers at irregular intervals to suggest a natural, lived-in look rather than a rigid grid.
- Sketch books of varying heights and widths to create visual interest and break up the monotony of straight lines.
- Use a light pencil touch for initial structural lines, then darken the edges once the proportions are finalized.
The bottom line
Drawing a convincing bookshelf relies on mastering linear perspective and varying the contents to avoid a sterile appearance. By establishing a solid rectangular frame and using a vanishing point, you create a realistic structure. Focus on the interplay of light and shadow, and populate the shelves with diverse shapes to bring the illustration to life. Precision in your initial geometry remains the foundation of a successful drawing.
People also ask
How do I make the bookshelf look three-dimensional?
Draw thin vertical lines at the inner corners of the shelves to represent the side panels. Adding a slight shadow under each shelf helps create depth and makes the books appear as if they are resting on a surface.
Should I draw the books individually?
You do not need to draw every page; instead, represent books as rectangular blocks of different sizes. Varying the orientation of these blocks, such as stacking some horizontally and leaning others, adds realism to the drawing.
What is the best way to handle perspective for a bookshelf?
Place a single vanishing point on the horizon line and draw all shelf edges toward it. This technique ensures the bookshelf looks structurally sound and correctly positioned within the room's space.
How do I avoid making the bookshelf look crooked?
Use a ruler or a straight edge for the initial structural frame to ensure all vertical lines are parallel to the sides of the paper. Check that your horizontal lines are perfectly level before adding details.
What details make a bookshelf look more realistic?
Include small gaps between books, bookends, or decorative items like small plants. These minor details prevent the shelf from appearing like a flat, solid wall and suggest a functional storage space.
Is it better to draw from the top down or bottom up?
Starting with the outer frame is essential, but drawing the shelves from top to bottom is often easier. This method allows you to track the spacing accurately without your hand smudging the work you have already completed.
This answer was created with the help of AI research tools and reference sources. Spotted an error? Let us know — we correct mistakes quickly. See our editorial policy.