How do you draw a firefighter?
Short answer
Drawing a firefighter involves building a sturdy human figure wearing bulky protective gear. Focus on the silhouette of the turnout coat, heavy trousers, and the iconic helmet. Use geometric shapes to establish the proportions of the body, then layer on details like buckles, reflective stripes, and specialized tools to complete the look.
On this page
How to structure the firefighter’s body
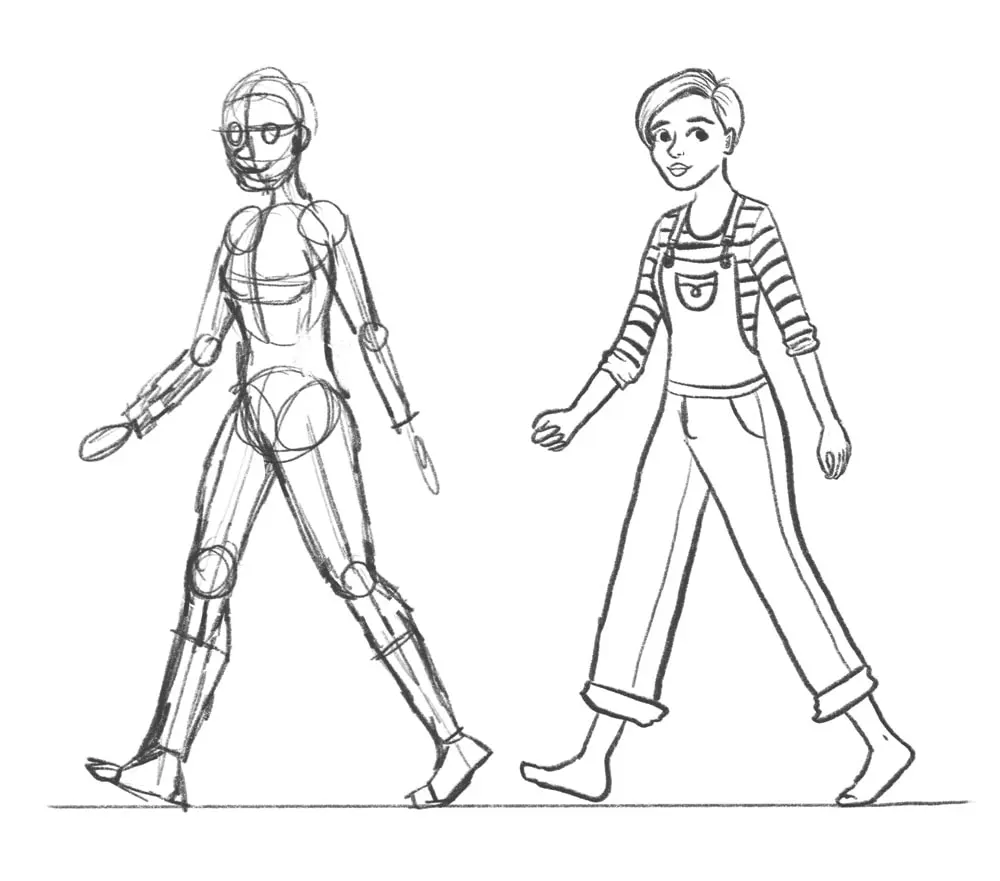
To draw a realistic firefighter, start with a simple stick figure or basic shapes to establish the pose. Firefighters are usually shown in active positions, such as holding a hose or climbing a ladder. Use an oval for the head, a rectangle for the torso, and cylinders for the limbs. Keep in mind that the protective gear, known as turnout gear, adds significant bulk to the human frame.
Once the basic skeleton is set, add volume around the limbs to represent the thick layers of the jacket and pants. The coat should flare out slightly at the hips, and the sleeves should look heavy and rounded. Focus on these proportions before adding any intricate details to ensure the character looks grounded and capable of movement.
- Draw a vertical line to determine the height and posture.
- Sketch circles for joints to maintain correct limb length.
- Add thick outlines around the limbs to simulate the heavy fabric of the uniform.
- Ensure the torso rectangle is wide enough to accommodate the bulky coat.
What gear to include for accuracy
A firefighter’s uniform is highly functional and specific. The most recognizable element is the helmet, which typically features a wide brim at the back to protect the neck from falling embers. The turnout coat and pants are constructed from thick, heat-resistant materials, often featuring bright, reflective yellow or silver strips across the chest, arms, and legs.
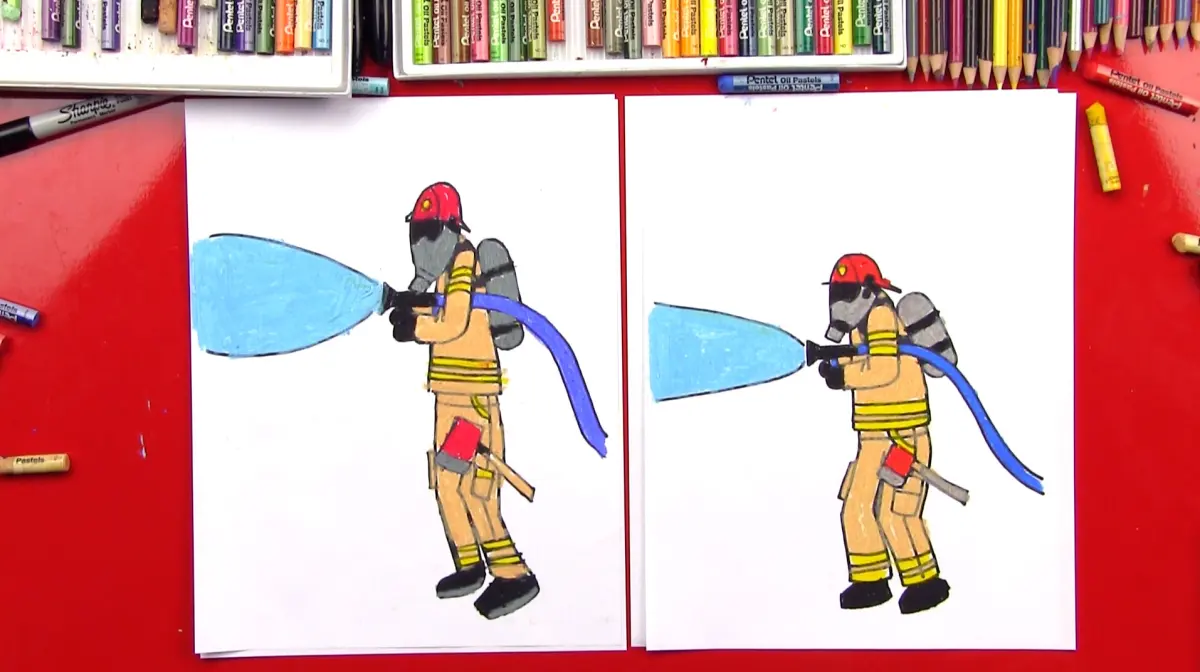
In addition to the clothing, firefighters often carry essential gear that defines their role. You might include a heavy-duty belt, a radio clipped to the chest, or a pair of thick gloves. If the firefighter is in action, adding a nozzle or a section of fire hose adds context to the drawing. Pay attention to the boots, which are tall, rubberized, and designed to be pulled on quickly during an emergency.
- Helmet with a front shield or plate.
- Reflective tape stripes on the coat and pants.
- Thick, reinforced rubber boots.
- A radio transmitter clipped to the shoulder or chest.
- A nozzle connected to a thick, textured fire hose.
How to draw the helmet and face
The helmet is the most iconic part of a firefighter's silhouette. Start by drawing a rounded dome shape that sits low on the head, extending down to cover the ears. Add a prominent brim that slopes downward toward the back of the neck. The front of the helmet usually features a decorative shield or a leather front piece that displays the department’s number or logo.
When drawing the face, consider whether the firefighter is wearing a self-contained breathing apparatus (SCBA) mask. If the mask is on, the face will be obscured by a glass visor, which should reflect light to give it a realistic, transparent appearance. If the mask is off, focus on expressions of focus or determination. Keep the features clear, but remember that the helmet’s shadow will often obscure the upper portion of the face.
Best techniques for adding texture and detail
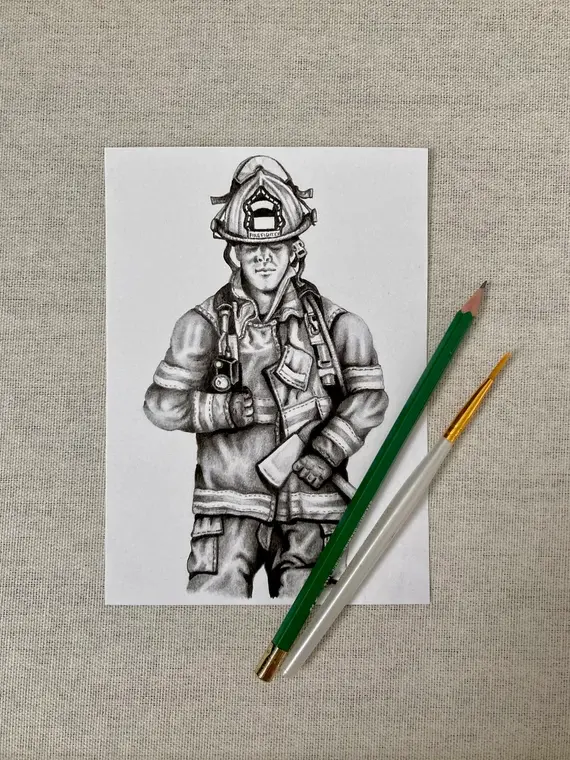
Texture helps distinguish the heavy fabric of the turnout gear from the smooth surface of the helmet or the glass of a mask. Use short, hatched lines to suggest the weave of the fabric on the jacket. For the reflective strips, keep the edges sharp and clean, as these are usually made of smooth, high-visibility material that stands out against the matte finish of the coat.
Shading is essential to show the weight and thickness of the uniform. Use dark shadows under the arms, along the sides of the torso, and beneath the helmet’s brim. These shadows emphasize the bulk of the gear and create a sense of depth. If you are using color, remember that turnout gear is traditionally tan, yellow, or black, while the reflective strips should be a bright, contrasting neon yellow or silver.
Common mistakes when drawing firefighters
One frequent error is making the firefighter look too thin. Because turnout gear is designed to protect against extreme heat, it is layered and puffy; failing to account for this will make the character look like they are wearing a standard jacket. Always draw the silhouette wider than a normal human frame to capture the necessary bulk.
Another mistake is neglecting the weight of the equipment. If a firefighter is holding a hose, their posture should reflect the resistance of the water pressure. Avoid drawing the hose as a limp rope; instead, show it with curves and tension, indicating that it is filled with water. Finally, ensure the helmet is sized correctly relative to the head. A helmet that is too small will look like a cap, while one that is too large will make the character appear cartoonish and unbalanced.
Key facts
- A firefighter’s turnout gear is bulky, consisting of a thick coat, pants, and heavy boots designed for heat protection.
- The helmet is a defining feature, typically featuring a wide brim in the back to shed water and debris.
- Always include the Self-Contained Breathing Apparatus (SCBA) tank on the back, which is essential for modern firefighting.
- Use thick, bold lines to represent the heavy, reflective stripes found on the sleeves and legs of the uniform.
- Focus on a wide, sturdy stance to convey the physical weight and readiness required for the profession.
- Add tools like an axe or a Halligan bar to provide context and action to the figure.
The bottom line
Drawing a firefighter effectively requires balancing the figure's human proportions with the substantial, protective bulk of their specialized equipment. By focusing on the distinctive silhouette of the helmet, the heavy padding of the turnout gear, and the inclusion of critical tools like the SCBA tank, you create a recognizable and accurate representation. Keep your lines bold and your shapes sturdy to convey the strength of the profession.
People also ask
What is the most important detail to include on a firefighter's helmet?
The front shield is the most important detail, as it typically displays the specific company number or station identification. Including this small, rectangular or shield-shaped plate adds immediate authenticity to your drawing.
How do I make the turnout gear look realistic?
Focus on the volume of the clothing, as turnout gear is intentionally oversized to allow for movement and layering. Use loose, rounded shapes rather than tight, form-fitting lines to capture the heavy, padded appearance of the fabric.
Should I draw the firefighter wearing a mask?
Including an SCBA facepiece adds a sense of urgency and professionalism to your drawing. Ensure the mask covers the nose and mouth, connecting to a regulator hose that leads to the air tank on the back.
What are common mistakes when drawing the boots?
A common error is drawing standard footwear instead of tall, rubberized bunker boots. Ensure the boots reach mid-calf and appear wide enough to accommodate the thick pant legs tucked inside them.
How can I show that the firefighter is in an emergency situation?
You can suggest an environment by adding simple smoke swirls or embers around the figure. Keep the background minimal to ensure the firefighter remains the clear focal point of the composition.
What is the purpose of the reflective stripes?
Reflective stripes are placed on turnout gear to ensure visibility in low-light, smoke-filled environments. Drawing these as bright, parallel bands across the chest, arms, and lower legs provides a recognizable visual cue.
This answer was created with the help of AI research tools and reference sources. Spotted an error? Let us know — we correct mistakes quickly. See our editorial policy.