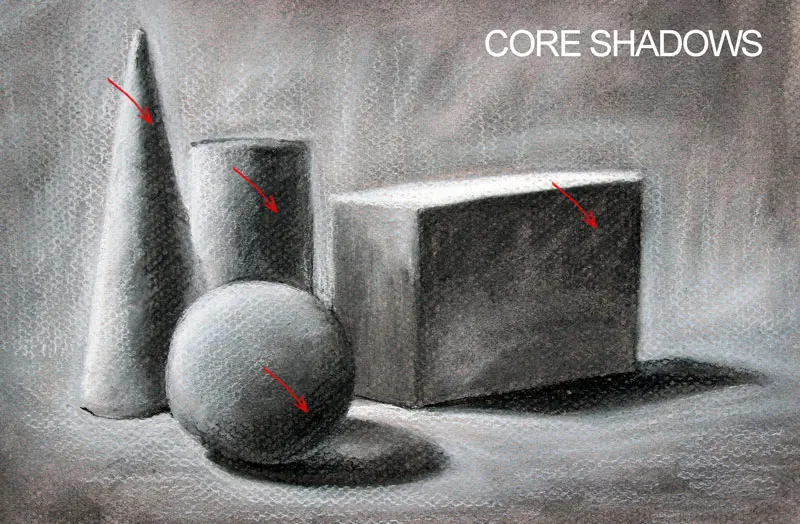
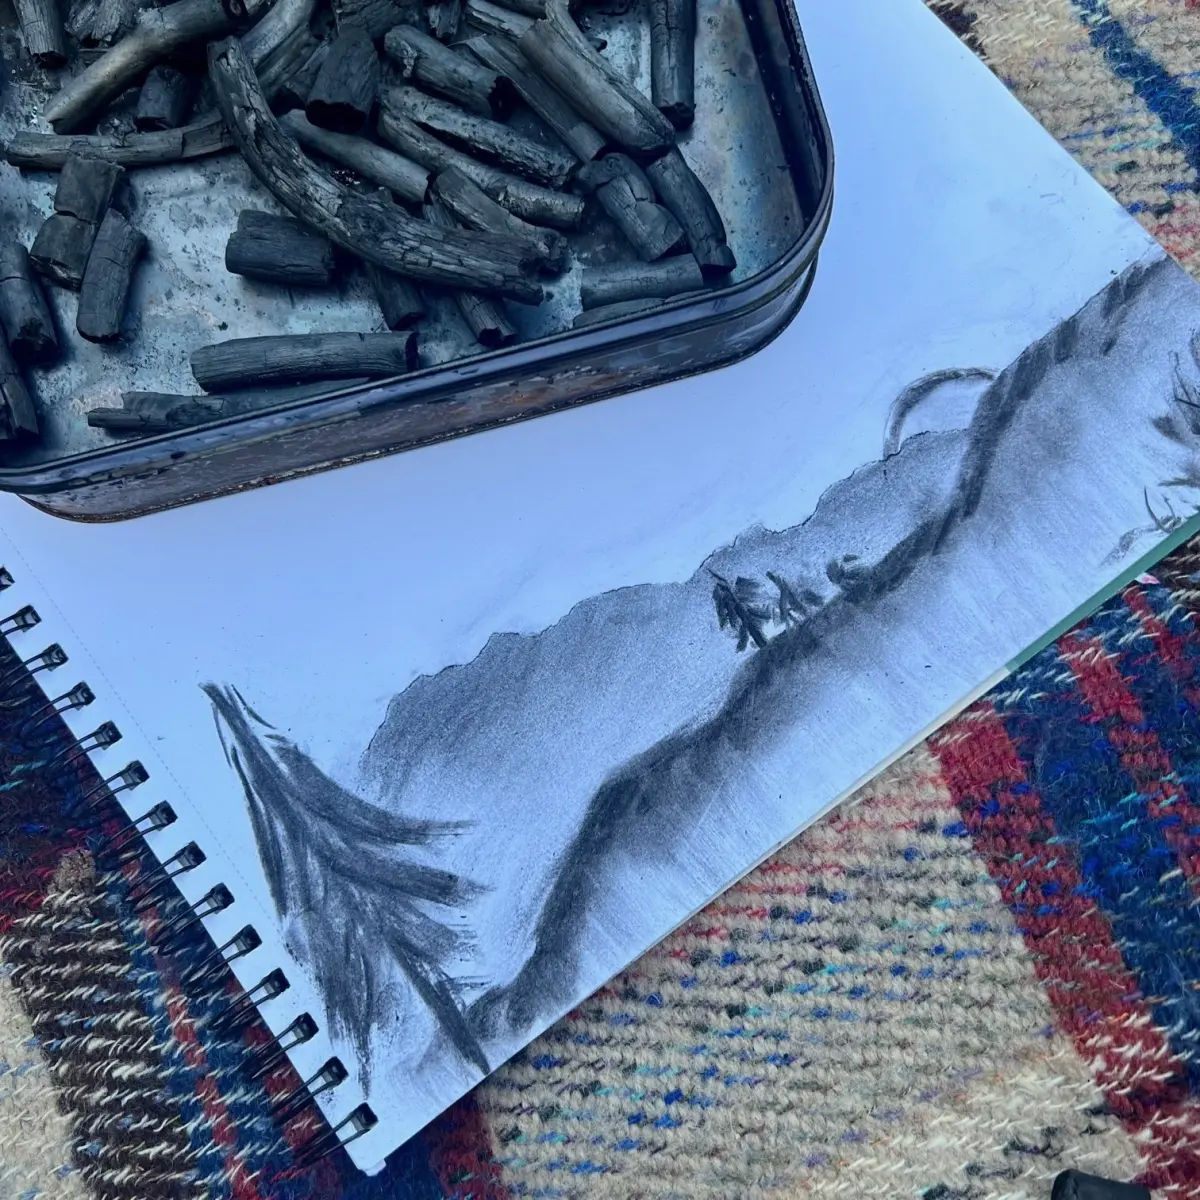
What is reductive charcoal drawing?
Short answer
Reductive charcoal drawing is a subtractive artistic technique where an artist covers a surface with charcoal and then removes it to create highlights and forms. By erasing or lifting pigment away from a toned ground, the artist builds light out of darkness, reversing the traditional additive process of drawing dark onto light.
On this page
What is the process of reductive charcoal drawing?
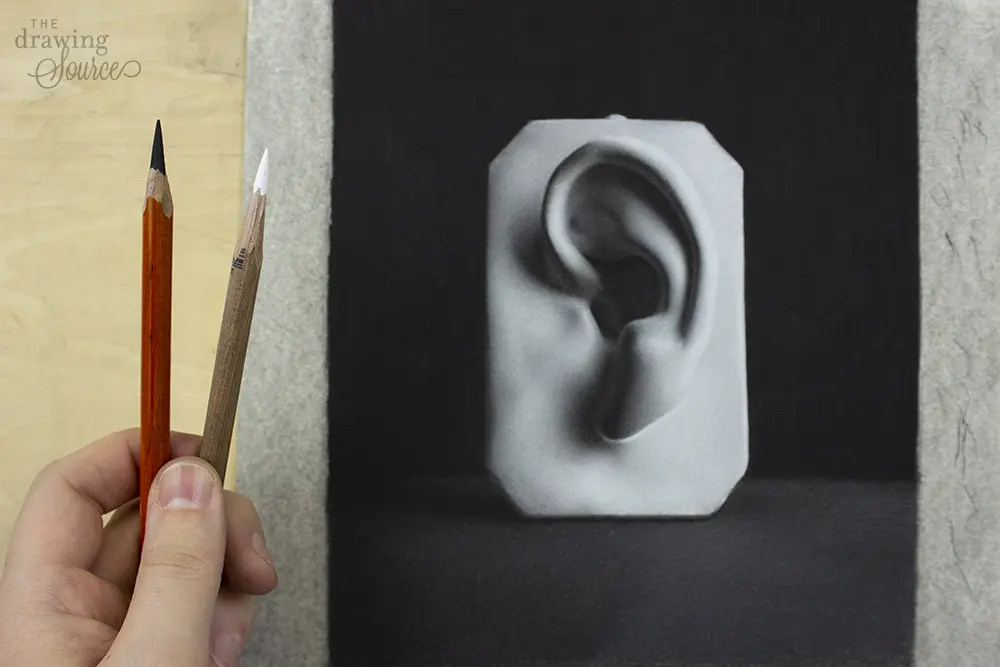
The reductive method begins by coating the entire surface of a drawing paper with a mid-tone layer of charcoal. Artists typically use a soft vine or willow charcoal, rubbing it into the tooth of the paper with a chamois cloth or a paper towel to create an even, neutral gray base. Once the surface is fully toned, the drawing process shifts from adding marks to removing them.
Instead of focusing on drawing lines, the artist uses various erasers to carve out the lightest areas of the composition. This approach forces the creator to think in terms of volume and light rather than outlines. By lifting the charcoal, the artist reveals the white of the paper, which serves as the highest point of contrast. This method is particularly effective for capturing the play of light on complex subjects like portraiture or still-life arrangements.
How to start a reductive charcoal drawing
To begin your first reductive piece, you need a few essential materials: high-quality charcoal paper, vine charcoal, a kneaded eraser, and a hard plastic eraser. The process requires patience and a willingness to embrace the messiness of the medium. Follow these steps to establish your initial composition and tonal range:
- Cover your entire sheet of paper with a layer of vine charcoal.
- Blend the charcoal thoroughly using a soft cloth until you achieve a consistent, smooth mid-tone.
- Use a piece of vine charcoal to lightly sketch the primary shapes and boundaries of your subject.
- Utilize a kneaded eraser to lift out the major light sources and broad highlights.
- Apply a harder eraser or a precision tool to define sharp edges and bright reflections.
Best tools for reductive charcoal drawing
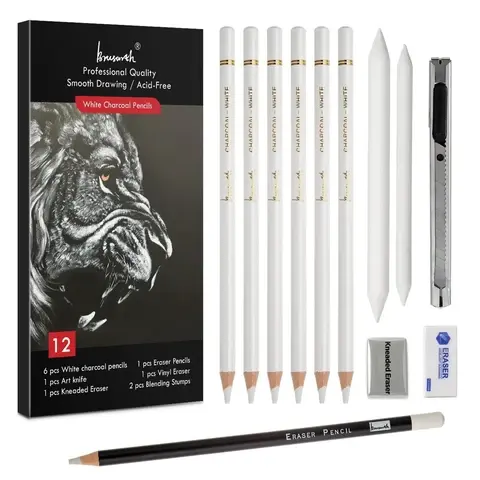
The success of a reductive drawing relies heavily on the quality and variety of your erasers. Because you are essentially "drawing with an eraser," having a diverse toolkit allows for a wide range of mark-making capabilities. A kneaded eraser is indispensable for subtle lifting and softening transitions, as it can be molded into various shapes to suit the specific needs of the drawing.
For more defined highlights, artists often turn to vinyl or plastic erasers, which provide a clean, sharp edge that can cut through layers of charcoal effectively. Some practitioners also use battery-operated erasers for fine details, such as individual strands of hair or specular highlights in an eye. Additionally, a stiff-bristled brush can be used to sweep away excess charcoal dust, preventing the drawing from becoming muddy or over-saturated during the subtractive process.
Why use the reductive drawing method?
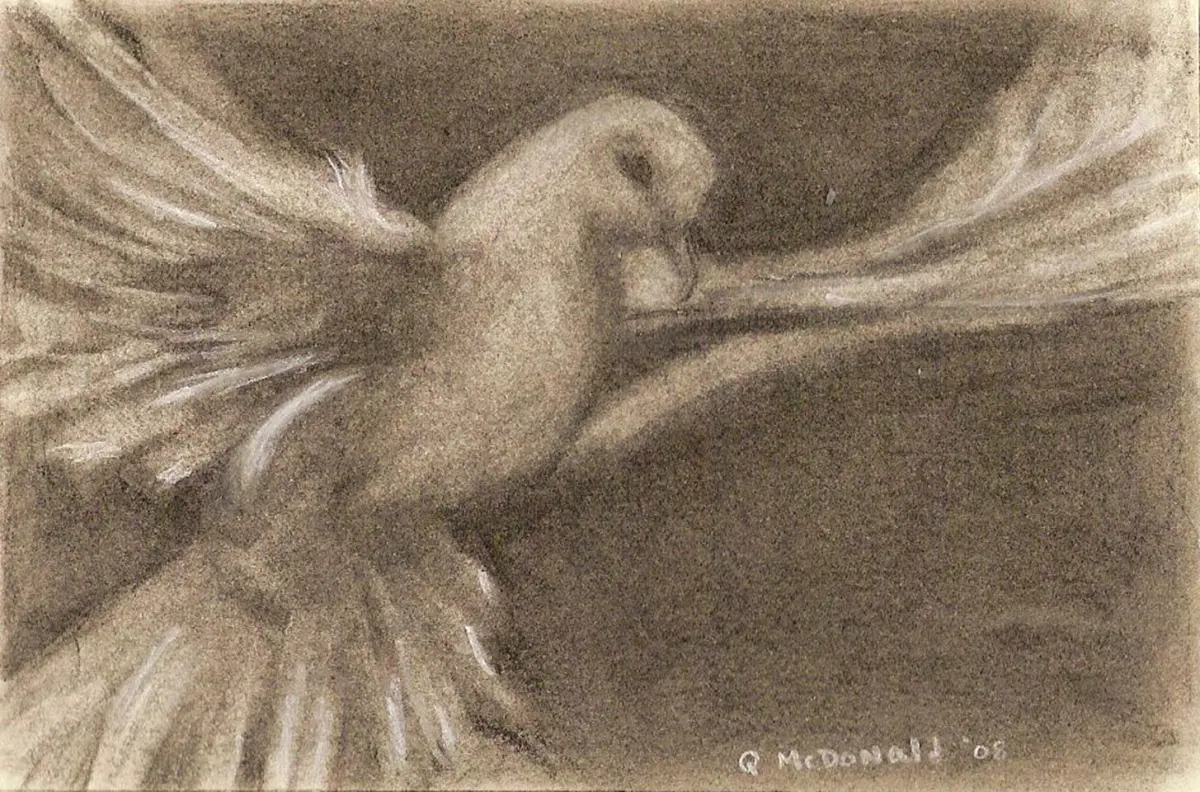
The primary advantage of the reductive method is that it naturally teaches an artist how to see light as a physical presence. In additive drawing, beginners often struggle with the "halo effect," where they draw an object and then try to fill in the background. In reductive drawing, the background is already established, meaning the artist must carve the subject out of the environment, which often results in more integrated and harmonious compositions.
This technique is also highly efficient for establishing a strong sense of three-dimensional form. Because the artist is working from a mid-tone, they are immediately forced to identify both the deepest shadows and the brightest highlights. This binary focus helps in understanding the core structure of an object. Many professional artists find that this method speeds up their workflow, as it eliminates the need to laboriously shade every surface from scratch.
Common mistakes when using reductive charcoal
A frequent error is failing to create a sufficiently dark base, which limits the range of values available for the final piece. If the mid-tone is too light, the highlights will not pop, and the drawing will lack the dramatic contrast that defines the medium. Another common mistake is over-blending the charcoal to the point where the paper surface becomes slick, making it difficult for the charcoal to adhere or for the eraser to lift pigment cleanly.
- Avoid pressing too hard with the eraser, as this can damage the paper fibers and prevent further layering.
- Do not ignore the importance of "re-darkening" areas; you can always add more charcoal back into the drawing if you lift too much.
- Refrain from using your fingers to blend, as natural oils can create permanent smudges that resist erasure.
- Ensure you periodically blow or brush away loose dust to maintain the clarity of your highlights and prevent accidental smearing across the page.
Key facts
- Reductive charcoal drawing is a method where the artist covers the entire surface with charcoal and then removes it to create highlights.
- This technique is often called "subtractive drawing" because it focuses on pulling light out of darkness rather than adding dark marks to white paper.
- Essential tools include vine or willow charcoal for the base layer, a kneaded eraser for lifting, and a chamois cloth for blending.
- Artists use a kneaded eraser like a drawing tool, molding it into points or wedges to carve out precise highlights and textures.
- The process allows for rapid tonal development, helping artists establish volume and depth by focusing on light sources early in the work.
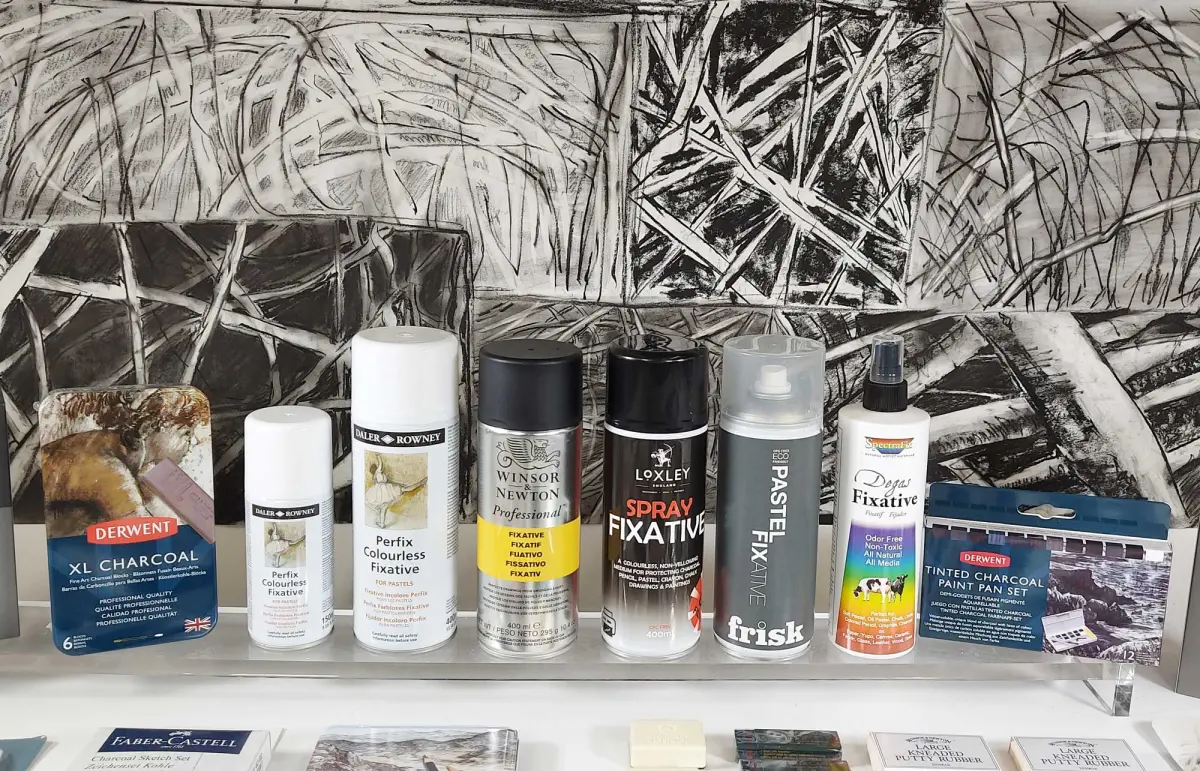
- To prevent smudging, artists should use a workable fixative spray between layers to lock in the charcoal before adding more detail.
The bottom line
Reductive charcoal drawing is a powerful technique that reverses the traditional approach to art. By starting with a dark field and carving out light, you develop a sophisticated understanding of value and form. This method encourages bold mark-making and helps artists move away from rigid outlines toward more sculptural, realistic results. It is an essential skill for anyone looking to master light, shadow, and atmospheric depth.
People also ask
Is reductive drawing better for beginners than additive drawing?
Many instructors recommend it for beginners because it forces the artist to think about light and shadow as a unified whole. By covering the page first, you eliminate the fear of the "blank white canvas" and learn to see shapes in terms of value.
What is the best type of paper for this technique?
You should use paper with a medium-to-heavy tooth, such as charcoal paper or heavy-weight drawing paper. A textured surface holds the charcoal particles better, allowing for a wider range of grays and easier lifting with an eraser.
Can I use compressed charcoal for the base layer?
It is generally advised to use vine or willow charcoal for the initial coverage because it is soft and easy to lift. Compressed charcoal is much darker and waxier, making it extremely difficult to remove once applied to the paper.
How do I keep my highlights clean when erasing?
Frequently clean your kneaded eraser by stretching and folding it until the charcoal is absorbed into the rubber. If the eraser becomes too saturated, it will leave gray streaks instead of clean white highlights.
What is the most common mistake when starting a reductive drawing?
The most common error is applying the base layer too heavily or unevenly. If the charcoal is packed too tightly into the paper fibers, it becomes impossible to lift, resulting in a muddy drawing that lacks bright highlights.
Should I use a blending stump for this process?
While a blending stump can help create smooth transitions, it can also push charcoal too deeply into the paper. Use a soft chamois cloth for large areas and save the stump for small, controlled shadows.
This answer was created with the help of AI research tools and reference sources. Spotted an error? Let us know — we correct mistakes quickly. See our editorial policy.