How do you make salt dough ornaments?
Short answer
Salt dough ornaments are crafted by mixing two parts all-purpose flour with one part salt and one part water. After kneading the dough until smooth, roll it out, cut shapes with cookie cutters, and bake at a low temperature until hardened. Once cooled, these ornaments can be painted and sealed for decoration.
On this page
How to make the perfect salt dough recipe
Creating the ideal salt dough requires precise ratios to ensure the mixture is pliable yet durable. The standard recipe calls for two cups of all-purpose flour, one cup of table salt, and one cup of lukewarm water. Combining these ingredients creates a dense, clay-like consistency that is easy to manipulate. You should mix the flour and salt in a large bowl first, then slowly incorporate the water while stirring with a wooden spoon or your hands.
If the dough feels too sticky, add a small sprinkle of flour; if it is too dry or crumbly, add a teaspoon of water at a time. Once the dough forms a cohesive ball, knead it on a clean, floured surface for about five to ten minutes. This process develops the gluten, resulting in a smoother texture that prevents cracks during the baking phase. For best results, ensure the salt is finely ground, as coarse grains can create a gritty, uneven surface on your finished ornaments.
How to shape and decorate ornaments
Once your dough is prepared, roll it out to a thickness of approximately one-eighth to one-quarter of an inch. Use standard metal or plastic cookie cutters to press shapes into the dough, or use a knife to cut out custom designs. Remember to use a straw or a toothpick to poke a hole near the top of each ornament before baking, as this is necessary for threading ribbon or twine later.
To add texture or detail, consider these techniques:
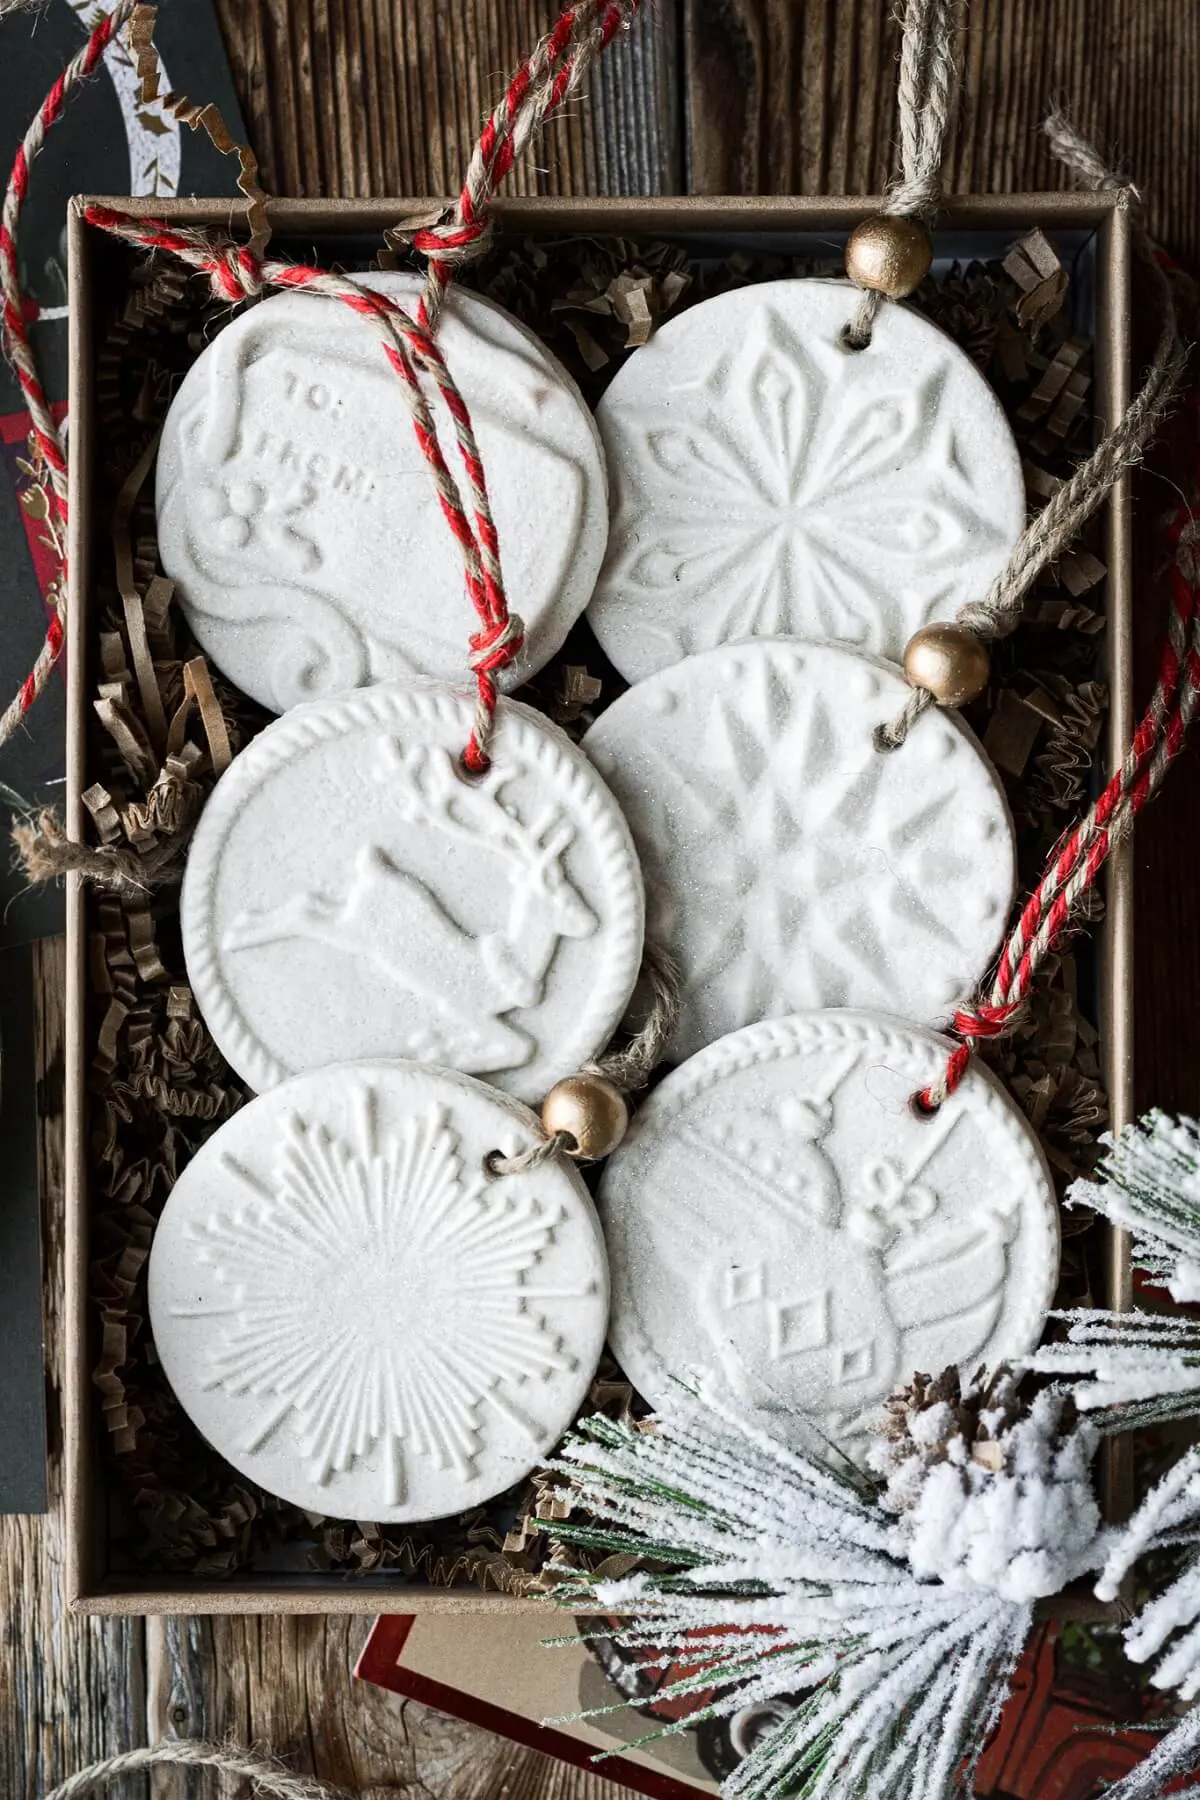
- Use rubber stamps to press patterns into the surface of the dough before cutting.
- Press lace or textured fabrics into the rolled dough to create intricate impressions.
- Use a toothpick to etch names, dates, or small designs directly onto the surface.
- Add food coloring or acrylic paint to the dough during the mixing phase for a marbled effect.
How long does it take to bake salt dough
The drying process is the most critical stage, as it determines the structural integrity of your ornaments. Preheat your oven to 250 degrees Fahrenheit (120 degrees Celsius). Place your shapes on a parchment-lined baking sheet and bake them for two to three hours. The goal is to dehydrate the ornaments slowly rather than cooking them quickly, which prevents the edges from curling or burning.
If the ornaments are thick, they may require additional time in the oven. You can test for doneness by gently pressing the center of an ornament; if it feels firm and does not give under pressure, it is ready. If you prefer not to use an oven, you can air-dry the ornaments on a wire rack for two to four days, turning them occasionally to ensure even moisture evaporation. However, oven-drying is generally more reliable for preventing mold growth in humid environments.
Best ways to paint and seal ornaments
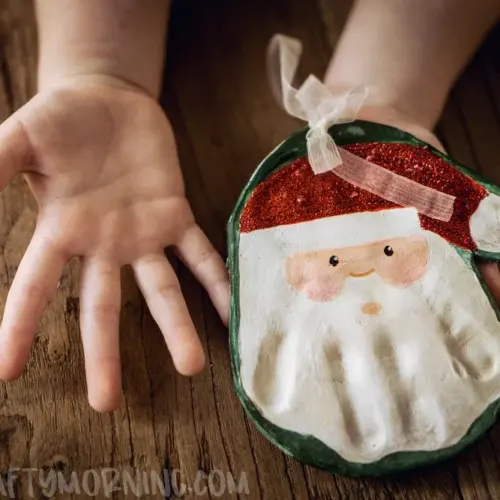
After the ornaments have cooled completely, you can begin the decorating process. Acrylic paints are the best choice because they are opaque, quick-drying, and adhere well to the hardened salt surface. Use fine-tipped brushes for detailed work and allow each layer of paint to dry thoroughly before applying a second coat or adding glitter.
To ensure your ornaments last for years, you must protect them from moisture. Salt is hygroscopic, meaning it absorbs water from the air, which can cause the dough to soften or dissolve over time. Follow these steps to finish your projects:
- Apply a thin layer of clear acrylic spray sealer or brush-on varnish to the entire surface.
- Ensure you cover the back and the edges to create a complete moisture barrier.
- Allow the sealant to cure in a well-ventilated area according to the manufacturer's instructions.
- Once dry, thread decorative ribbon or twine through the pre-made holes to complete the ornament.
Common mistakes when making salt dough
One of the most frequent errors is using too much water, which results in a sticky dough that loses its shape during the baking process. Another common issue is baking at a temperature that is too high, which causes the ornaments to puff up or develop bubbles on the surface. Always keep the oven temperature low to allow for a gradual release of moisture. If your ornaments crack, it is often because they were rolled too thin or the dough was not kneaded sufficiently to remove air pockets.
Avoid these pitfalls to ensure professional results:
- Do not use self-rising flour, as the leavening agents will cause the ornaments to rise and lose their defined shape.
- Never leave the ornaments in a damp room, as the salt will absorb humidity and become sticky even after sealing.
- Avoid using excessive amounts of flour on the work surface, as this can dry out the dough and cause surface cracking.
- Do not attempt to paint the ornaments while they are still warm, as this can trap moisture inside and lead to long-term degradation.
Key facts
- The standard ratio for salt dough is two parts all-purpose flour to one part table salt and one part water.
- Salt acts as a preservative, preventing the dough from molding while it dries.
- For a smooth finish, sift the flour before mixing to remove any lumps.
- Drying the ornaments in a low-temperature oven at 200°F (93°C) prevents cracking and bubbling.
- Avoid using self-rising flour, as the leavening agents will cause the ornaments to puff up and lose their shape.
- Seal finished ornaments with a clear acrylic spray or varnish to protect them from moisture and humidity.
The bottom line
Making salt dough ornaments is a simple, cost-effective craft that requires only three basic pantry staples. By maintaining the correct ratio of flour, salt, and water, you can create durable keepsakes that last for years. Focus on slow, low-temperature drying to ensure structural integrity, and always apply a sealant to protect your finished work from environmental moisture, ensuring your handmade decorations remain beautiful throughout the holiday season.
People also ask
Can I color the dough before baking?
Yes, you can add liquid food coloring or acrylic paint to the water before mixing it with the dry ingredients. Knead the dough thoroughly to ensure the color is evenly distributed throughout.
Why are my ornaments cracking after they dry?
Cracking usually occurs if the dough was rolled too thick or if it was dried at a temperature that was too high. Ensure your ornaments are no thicker than 1/4 inch and bake them slowly to allow moisture to escape evenly.
How long do salt dough ornaments last?
If properly dried and sealed, these ornaments can last for many years. Keep them in a cool, dry place and avoid storing them in plastic bags, which can trap moisture and lead to softening.
Can I use salt dough for food consumption?
No, salt dough is strictly for decorative purposes and is not edible. The extremely high salt content can be dangerous if ingested, especially by small children or pets.
How do I make holes for hanging?
Use a drinking straw or a toothpick to poke a hole through the top of the ornament before baking. Ensure the hole is large enough for your string or ribbon to pass through easily once the piece is hardened.
What should I do if the dough is too sticky?
If the dough feels too tacky, add a small amount of flour, one tablespoon at a time, until it reaches a pliable consistency. Avoid adding too much flour, as this can make the dough brittle and difficult to work with.
This answer was created with the help of AI research tools and reference sources. Spotted an error? Let us know — we correct mistakes quickly. See our editorial policy.