How do you make salt dough?
Short answer
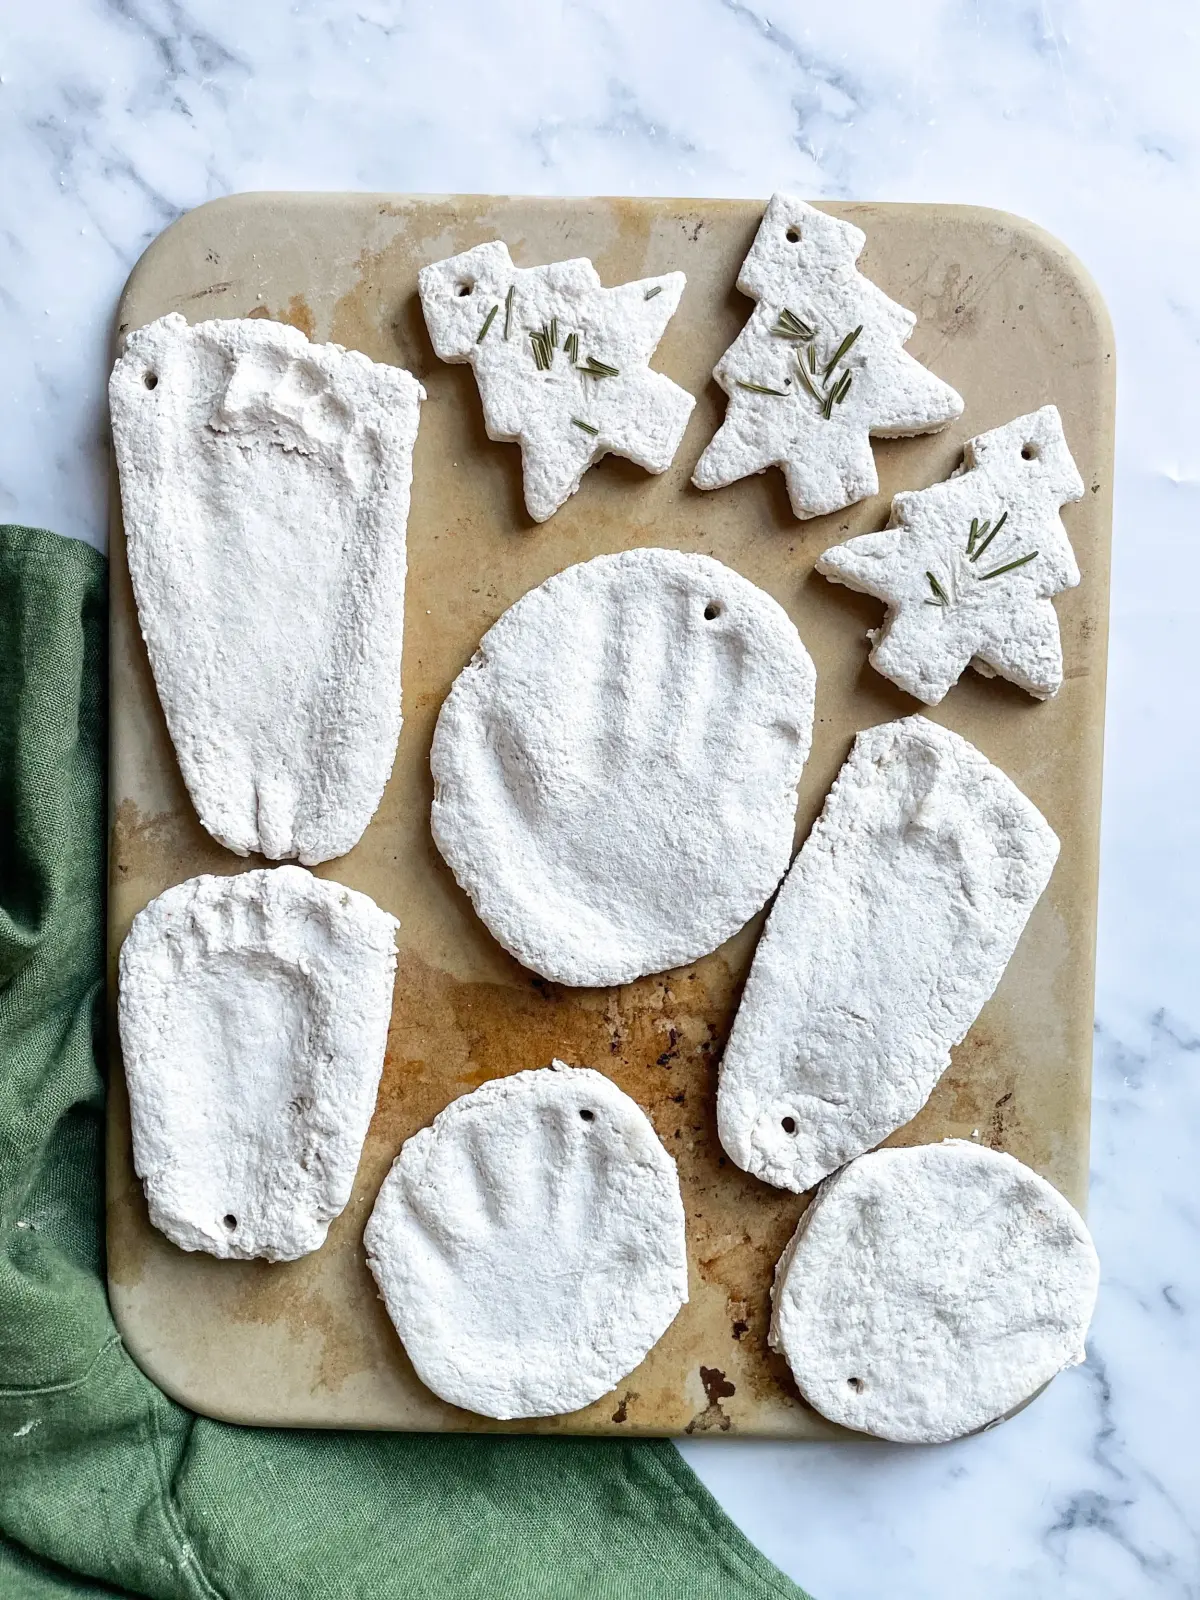
Salt dough is a simple modeling material made by mixing two parts all-purpose flour with one part salt and one part water. After kneading the ingredients into a smooth, pliable dough, you can shape it into ornaments or figures and bake them at a low temperature until the moisture evaporates completely.
On this page
How to make salt dough from scratch
Creating salt dough requires only common pantry staples, making it an accessible medium for crafts and educational projects. The fundamental ratio is two cups of all-purpose flour to one cup of table salt and one cup of lukewarm water. High-quality results depend on the consistency of the mixture, which should feel firm and smooth rather than sticky or crumbly.
To prepare the dough, follow these steps:
- Whisk the flour and salt together in a large mixing bowl to ensure even distribution.
- Gradually pour in the water while stirring with a sturdy spoon or your hands.
- Once the dough begins to clump, transfer it to a floured surface and knead for approximately five to ten minutes.
- If the dough feels too sticky, add a tablespoon of flour; if it is too dry, add a teaspoon of water until it reaches a clay-like texture.
How long does it take to dry salt dough
The drying process is critical to the longevity of your creations, as residual moisture can lead to mold or structural collapse. While some crafters prefer air-drying, this method can take several days depending on the humidity and the thickness of the pieces. Oven drying is the most reliable method for achieving a hard, durable finish that is ready for painting or sealing.
For optimal results, bake your creations using the following guidelines:
- Preheat your oven to its lowest possible setting, typically between 200°F and 250°F (95°C to 120°C).
- Place the items on a parchment-lined baking sheet to prevent sticking.
- Bake for two to three hours, checking periodically to ensure the edges are not browning too quickly.
- If the pieces remain soft in the center, turn them over and continue baking for another hour until they sound hollow when tapped.

Best ways to store salt dough
If you have leftover dough, you can preserve it for future use by preventing it from drying out prematurely. Salt dough is highly susceptible to dehydration due to its high salt content, which acts as a preservative but also absorbs moisture from the air. Proper storage ensures the material remains pliable for up to one week when kept in a cool, dark environment.
To store the dough effectively, wrap it tightly in plastic wrap to remove as much air as possible. Place the wrapped dough inside an airtight container or a heavy-duty resealable plastic bag. If you notice a slight crust forming on the surface after storage, simply knead a few drops of water back into the dough to restore its elasticity. Do not refrigerate the dough for more than a few days, as condensation inside the container can alter the texture and make it overly soft or sticky.

Why cracking happens in salt dough
Cracking is a common frustration, usually caused by uneven drying or trapped air bubbles within the dough. When the exterior of a piece dries significantly faster than the interior, the surface tension causes the material to split. This issue is particularly prevalent in thicker ornaments or figures that have not been adequately kneaded to remove air pockets during the preparation phase.
To minimize the risk of cracking, consider these professional tips:
- Knead the dough thoroughly to ensure a uniform density throughout the piece.
- Avoid making items thicker than half an inch; if you must make thick figures, use an aluminum foil core to reduce the amount of dough.
- Ensure the oven temperature remains low, as excessive heat forces moisture out too quickly.
- If small cracks appear during the drying process, fill them with a tiny amount of fresh dough and smooth the surface with a damp finger before returning the piece to the oven.
Common mistakes when painting salt dough
Once your salt dough creations are completely cooled and hardened, they serve as an excellent canvas for acrylic paints. A frequent mistake is attempting to paint the dough while it is still warm or damp, which can cause the paint to peel or the dough to soften. Always ensure the internal moisture has fully evaporated before applying any decorative finishes to your work.
To achieve a professional look, follow these best practices:
- Seal the dough with a base coat of white acrylic paint or a primer to prevent the salt from reacting with the pigment.
- Use high-quality acrylic paints, which provide good coverage and dry quickly on the porous surface.
- Apply a final clear coat, such as a water-based polyurethane or a clear acrylic spray, to protect the piece from humidity and prevent the salt from drawing moisture from the air over time.
- Avoid using watercolors or thin washes, as the excess water can weaken the structural integrity of the dried dough.
Key facts
- The standard ratio for salt dough is two parts all-purpose flour to one part salt and one part water.
- Fine-grain table salt produces a smoother dough texture than coarse sea salt or kosher salt.
- Salt acts as a natural preservative, preventing the finished project from molding or decaying over time.
- You can add liquid food coloring or tempera paint to the water before mixing to create pre-colored dough.
- Bake finished pieces at a low temperature, typically 200°F (95°C), for several hours to ensure they dry thoroughly without cracking.
- Store unused dough in an airtight container or plastic wrap in the refrigerator to prevent it from drying out.
The bottom line
Making salt dough is a simple, cost-effective process that requires only three pantry staples. By mixing flour, salt, and water, you create a versatile modeling material perfect for ornaments and crafts. The key to success lies in slow, thorough drying to prevent cracking. Once cured and sealed, your creations become durable keepsakes that can be painted or decorated to suit any creative project or holiday theme.
People also ask
How do I keep salt dough from cracking while it dries?
Avoid high heat, which causes the outside to dry faster than the inside. Air-drying slowly over several days or using a very low oven setting is the best way to prevent structural cracks.
Can I paint salt dough after it has been baked?
Yes, acrylic paints work best on cured salt dough. Once the piece is completely dry and cool, apply a thin layer of primer or paint directly onto the surface.
How long does salt dough last?
If properly dried and sealed with a clear acrylic spray or varnish, salt dough ornaments can last for many years. Unsealed pieces remain susceptible to humidity and may soften over time.
Why is my dough sticky or crumbly?
If the dough is too sticky, add small amounts of flour until it reaches a pliable consistency. If it is too crumbly, add water one teaspoon at a time until the mixture holds together.
Is salt dough safe for pets to eat?
No, salt dough contains a high concentration of salt that can be toxic to dogs and cats if ingested. Keep finished projects and raw dough out of reach of household pets.
Can I use self-rising flour to make salt dough?
It is not recommended because the leavening agents in self-rising flour will cause the dough to puff up and lose its shape during the drying process. Use standard all-purpose flour for consistent results.
This answer was created with the help of AI research tools and reference sources. Spotted an error? Let us know — we correct mistakes quickly. See our editorial policy.