How do you paint a still life in oil?
Short answer
Painting a still life in oil involves arranging static objects, sketching their basic forms on a canvas, and layering pigments from dark to light. By focusing on light sources, color relationships, and gradual blending, you create depth and realism. Patience is essential, as oil paint requires time to dry between applications.
On this page
What equipment is needed for oil painting
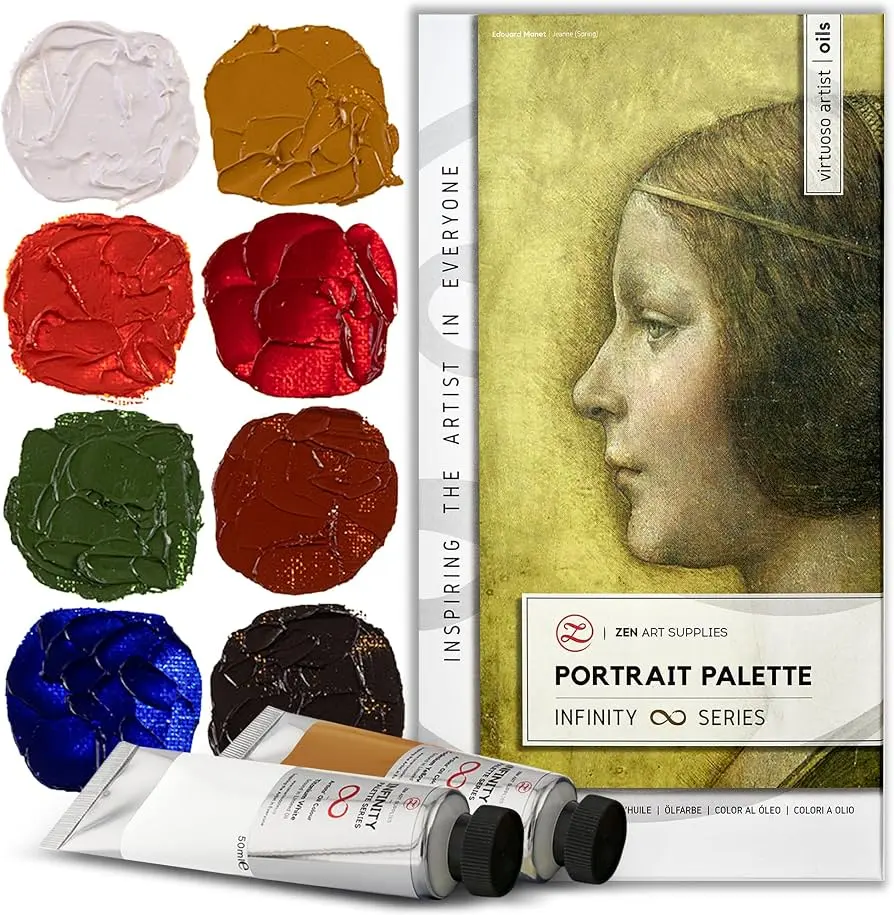
To begin, you need a stable surface, such as a stretched canvas or a primed wood panel. Essential supplies include a set of oil paints, a variety of hog-hair or synthetic brushes, and a palette for mixing colors. You will also need a solvent like odorless mineral spirits for thinning paint and cleaning brushes, along with a medium like linseed oil to improve flow.
Setting up your workspace requires good lighting, ideally natural light from a north-facing window to avoid harsh shifts in color. A sturdy easel will keep your canvas at eye level, preventing neck strain and ensuring proper perspective. Always work in a well-ventilated area, as oil paints and solvents release fumes that require fresh air circulation.
- A palette knife for mixing colors on the palette.
- Rags or paper towels for wiping brushes and correcting errors.
- A glass or metal jar for your solvent.
- A drop cloth to protect your flooring from paint splatters.
How to set up a still life composition
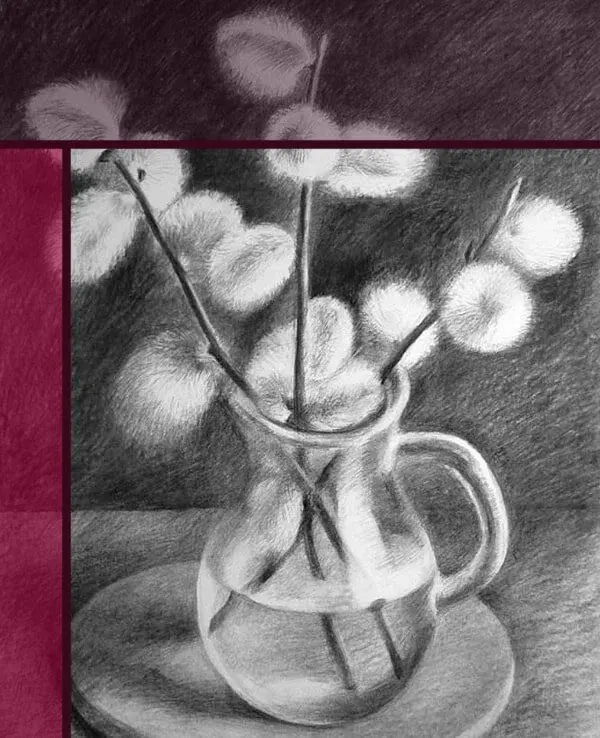
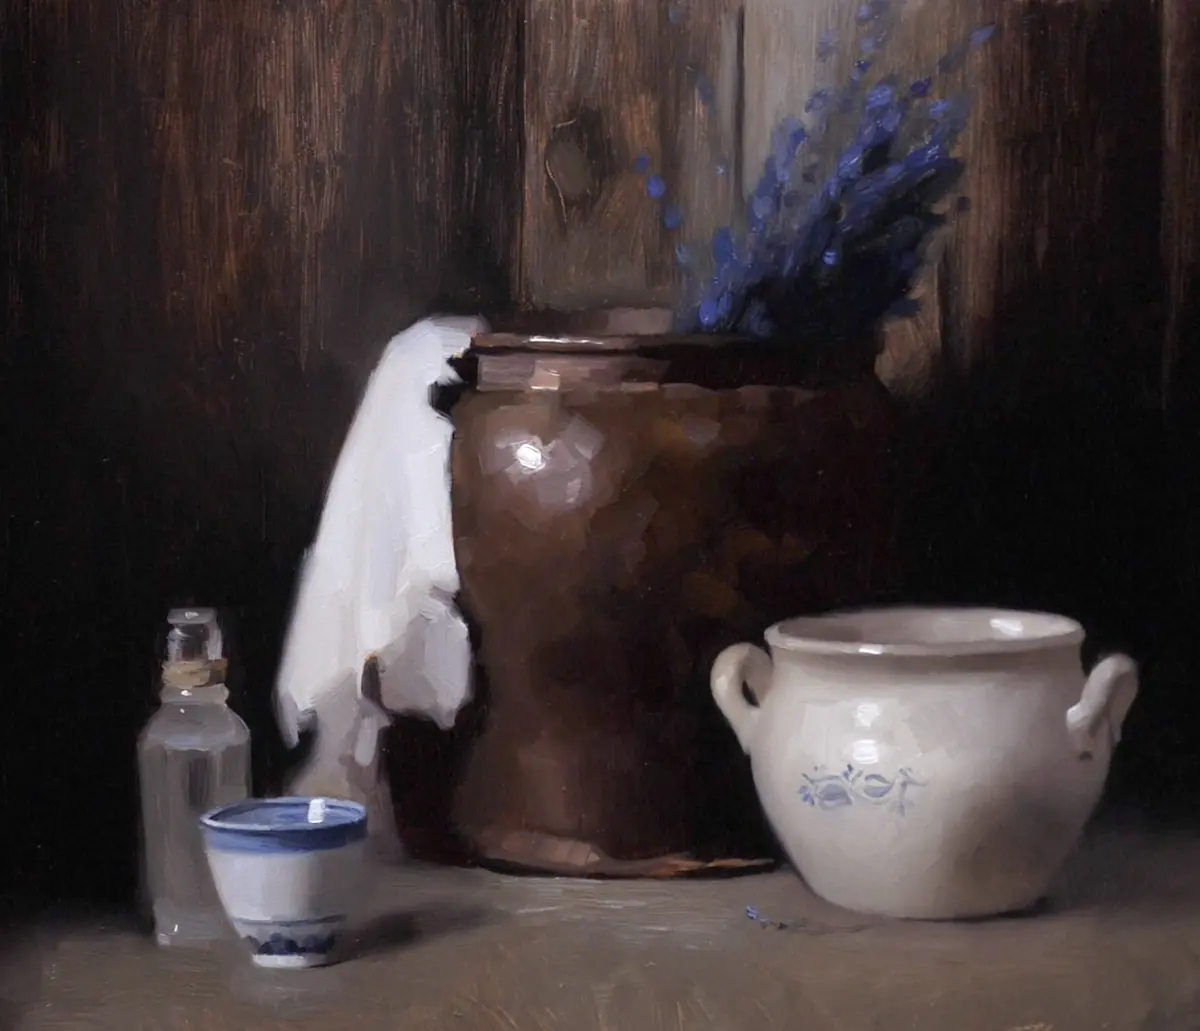
The success of your painting depends heavily on your initial arrangement. Select objects with varying shapes, textures, and heights to create visual interest. A simple lamp or a window can serve as your primary light source, which should remain consistent throughout the painting process to ensure the shadows do not shift while you work.
Position your objects on a neutral-colored surface, such as a piece of fabric or a plain table. Avoid overly complex backgrounds that distract from the focal point. Once arranged, spend time observing the shadows and highlights, noting how the light wraps around the forms. A strong composition often follows the rule of thirds, placing the main subject slightly off-center for a more dynamic look.
- Place the largest object first to anchor the composition.
- Add secondary objects to create depth and overlapping shapes.
- Adjust the light source to create clear, defined shadows.
- Sketch the layout lightly with a thin wash of burnt sienna or charcoal.
How to layer oil paint correctly
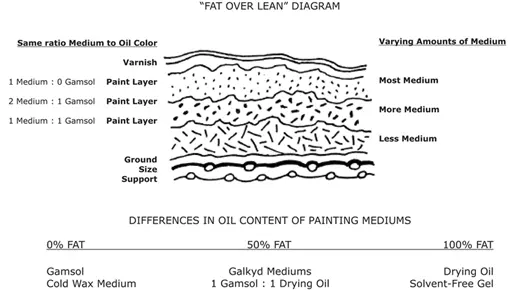
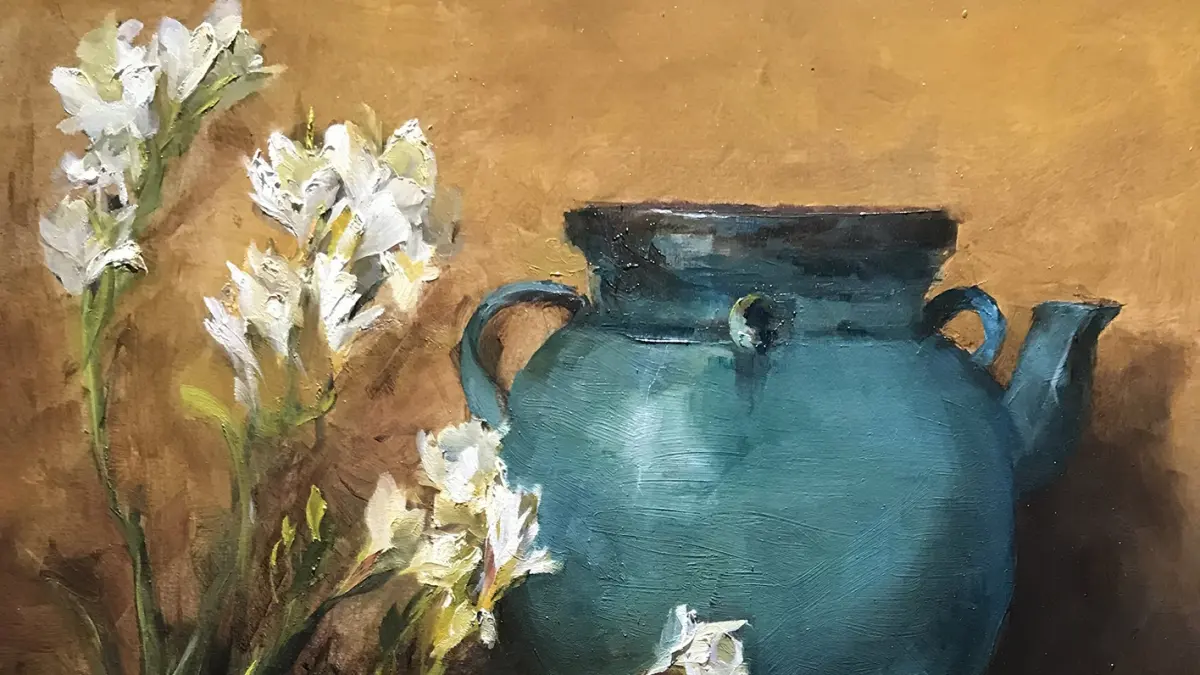
Oil painting follows the "fat over lean" principle, which is crucial for the longevity of your work. "Lean" paint, mixed with more solvent and less oil, should be used for the initial underpainting. As you progress, add more oil or medium to your paint mixtures, making them "fatter." This ensures that the upper layers dry at a slower rate than the lower ones, preventing cracks.
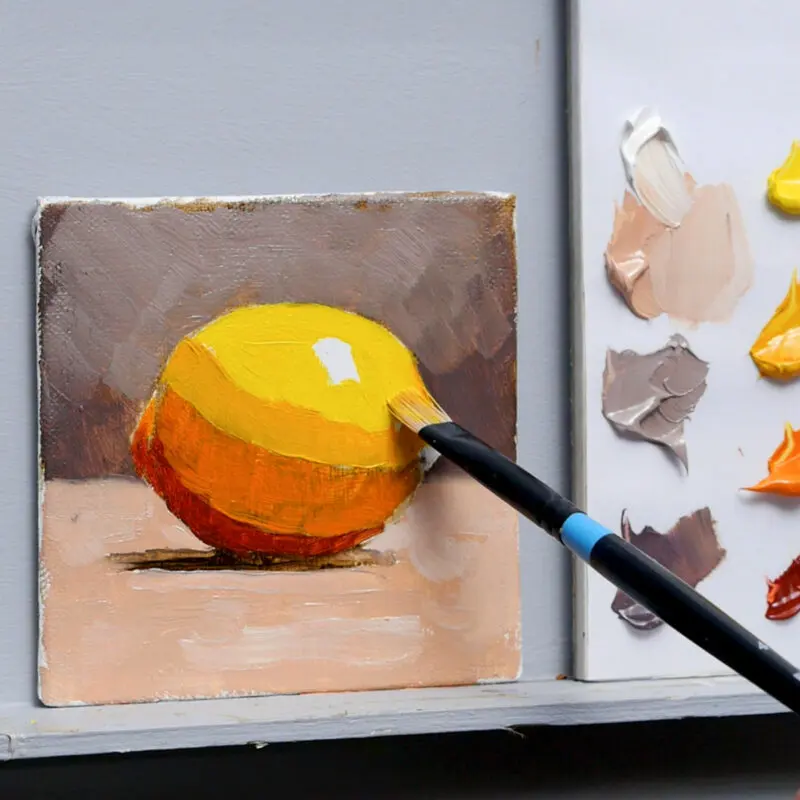
Start by blocking in the basic shapes and shadows using thinned paint. Do not worry about fine details at this stage; focus on establishing the overall values and color temperature. Once the underpainting is dry to the touch, begin applying thicker, more opaque layers of paint to define textures and highlights. This systematic approach builds depth and allows you to refine the image gradually.
- Use thin washes for the initial sketch.
- Build up mid-tones in the second stage.
- Apply thick highlights as the final, finishing strokes.
- Allow each layer to dry before adding significant new paint.
Common mistakes when painting still life
One frequent error is failing to observe the true value of colors, often resulting in paintings that look flat or muddy. Beginners often use black paint to darken colors, which can make them appear dull. Instead, try mixing complementary colors to create deep, rich shadows that retain chromatic interest. Another mistake is over-blending, which can strip the paint of its texture and energy.
Another common issue is neglecting the edges of your objects. If every edge is sharp, the painting will look like a collection of cut-out shapes rather than a unified scene. Use soft, blurred edges for areas where the object meets the background or where light falls away. This creates a sense of atmosphere and helps the objects sit naturally within the space of the canvas.
- Avoid using pure white for highlights; use a pale yellow or blue tint.
- Do not rush the drying process by applying too much paint at once.
- Ensure your brushes are cleaned thoroughly between color changes to avoid muddying.
- Step back from the easel frequently to check the overall proportions.
How long does it take to finish a painting
The time required to complete a still life varies based on your technique and the size of the canvas. A small, simple study might take a few hours, while a complex, multi-layered composition can take several weeks. Because oil paint remains workable for a long time, you have the luxury of returning to the canvas to adjust colors or refine shapes long after the initial session.
Patience is the most important tool in your kit. If you try to force the process by working on wet layers too aggressively, you risk turning your colors into a muddy mess. Embrace the slow nature of the medium, using the drying time to study your subject further. By working in stages, you allow the painting to evolve, resulting in a more polished and professional final piece.
Key facts
- Oil paint dries through oxidation rather than evaporation, meaning it remains workable for several days.
- The "fat over lean" rule dictates that each subsequent layer must contain more oil than the one beneath it to prevent cracking.
- Use a neutral-toned ground, such as burnt sienna or gray, to eliminate the intimidating glare of a pure white canvas.
- Keep your brushes clean by rinsing them in odorless mineral spirits or refined linseed oil between color changes.
- Establish your darkest shadows first to create a clear value structure before filling in the mid-tones and highlights.
- Always work in a well-ventilated area, as oil solvents and some pigments can release harmful fumes.
The bottom line
Painting a still life in oil is a rewarding process that prioritizes careful observation and patience. By mastering the fat-over-lean layering technique and maintaining a consistent light source, you can capture the subtle textures and volumes of your subjects. Start with a simple composition, focus on establishing accurate values, and allow yourself the time to refine your work as the slow-drying paint remains workable.
People also ask
How long does an oil painting take to dry?
Oil paintings typically feel dry to the touch within a few days, but they can take six months to a year to cure completely. The drying time depends on the thickness of the paint application and the specific pigments used.
Can I paint over a mistake in oil paint?
Yes, oil paint is highly forgiving because it stays wet for a long time. You can simply wipe away fresh paint with a rag or scrape it off with a palette knife before applying a new layer.
What is the purpose of a medium in oil painting?
Mediums are additives like linseed oil or stand oil that change the consistency, transparency, and drying time of the paint. They help the paint flow more smoothly across the canvas and improve the structural integrity of the layers.
Do I need to prime my canvas before painting?
Yes, you should use a canvas primed with gesso to prevent the oil from rotting the fabric fibers. Unprimed canvas will absorb the oil, causing the paint to become dull and brittle over time.
What is the best lighting for painting a still life?
Consistent, indirect natural light from a north-facing window is considered the gold standard for painters. If natural light is unavailable, use a high-quality LED lamp with a high color rendering index to ensure accurate color perception.
How do I clean my brushes after a session?
Clean your brushes thoroughly with a brush soap or mild dish detergent after rinsing them in solvent. Never leave brushes sitting in a jar of solvent, as this can damage the bristles and ruin the brush shape.
This answer was created with the help of AI research tools and reference sources. Spotted an error? Let us know — we correct mistakes quickly. See our editorial policy.