How do you draw a fox?
Short answer
Drawing a fox involves breaking its anatomy down into simple geometric shapes like circles and triangles. Start by sketching the head and body as rounded forms, then add the characteristic pointed ears, bushy tail, and slender legs. Refine these outlines with fur textures and facial details to capture the animal's alert expression.
On this page
How to draw a fox step by step
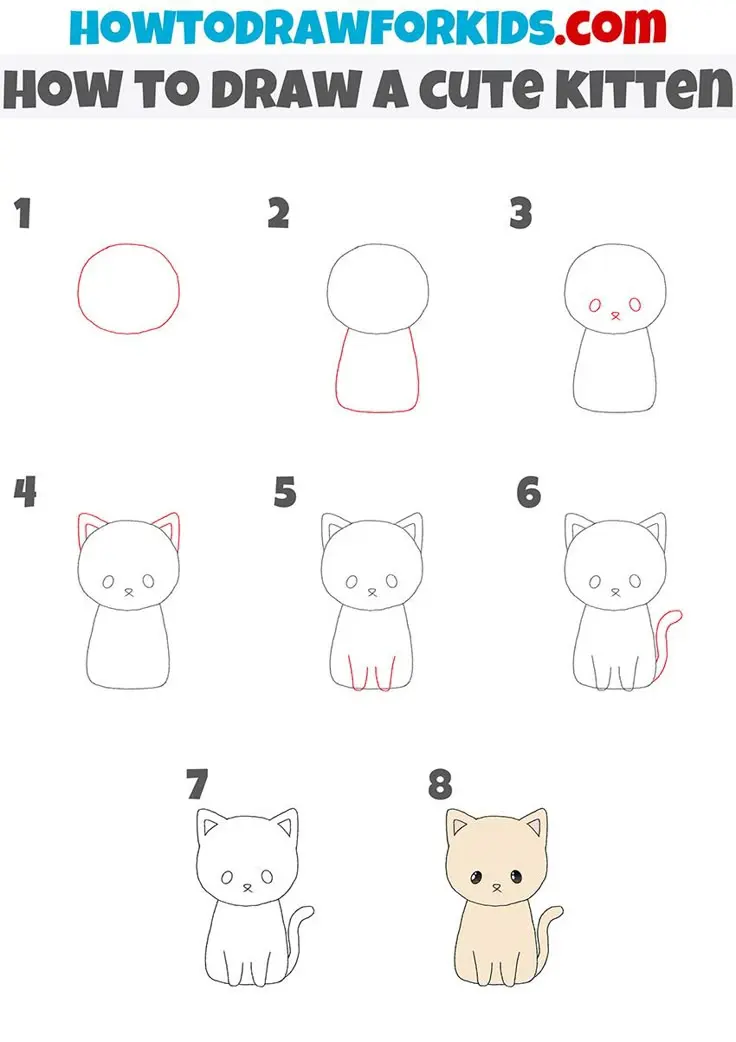
To begin your drawing, focus on the fox’s core silhouette using basic shapes. Start with a medium-sized circle for the head and a larger, elongated oval for the torso. Connect these with a curved line to suggest the neck, which should be relatively thick to support the fox's head. Add a smaller circle for the muzzle and two large triangles atop the head for the ears.
Once the primary forms are established, refine the anatomy by adding limbs and the tail. The legs should be thin and positioned directly beneath the body, with the front legs usually straight and the back legs slightly bent. The tail is a defining feature of the fox; draw a large, sweeping shape that curves behind the body, ensuring it looks voluminous and fluffy.
- Sketch a circle for the head and a long oval for the body.
- Add a snout and two triangular ears pointing upward.
- Draw four thin legs with small ovals for the paws.
- Attach a large, bushy tail shape extending from the rear.
- Connect these shapes with smooth, flowing lines to define the outline.
Best drawing tools for beginners
For those just starting, graphite pencils are the most effective medium because they allow for easy erasing and layering. A standard HB pencil is perfect for initial light sketches, while a 2B or 4B pencil helps add depth to shadows and darker fur patches. Using a kneaded eraser is highly recommended, as it can be molded into precise shapes to lift graphite without damaging the paper.
Paper choice also significantly impacts your results. A medium-weight drawing paper with a slight tooth, or texture, holds graphite better than smooth printer paper. This texture allows the pencil to grip the surface, making it easier to create the illusion of soft fur. Keep a sharpener nearby to maintain a fine point, which is essential for detailing the eyes and nose.
- HB pencil for light layout sketches.
- 2B or 4B pencil for shading and detail.
- Kneaded eraser for lifting highlights.
- Smooth or slightly textured drawing paper.
- Pencil sharpener to keep lines crisp.
How to draw fox fur and texture
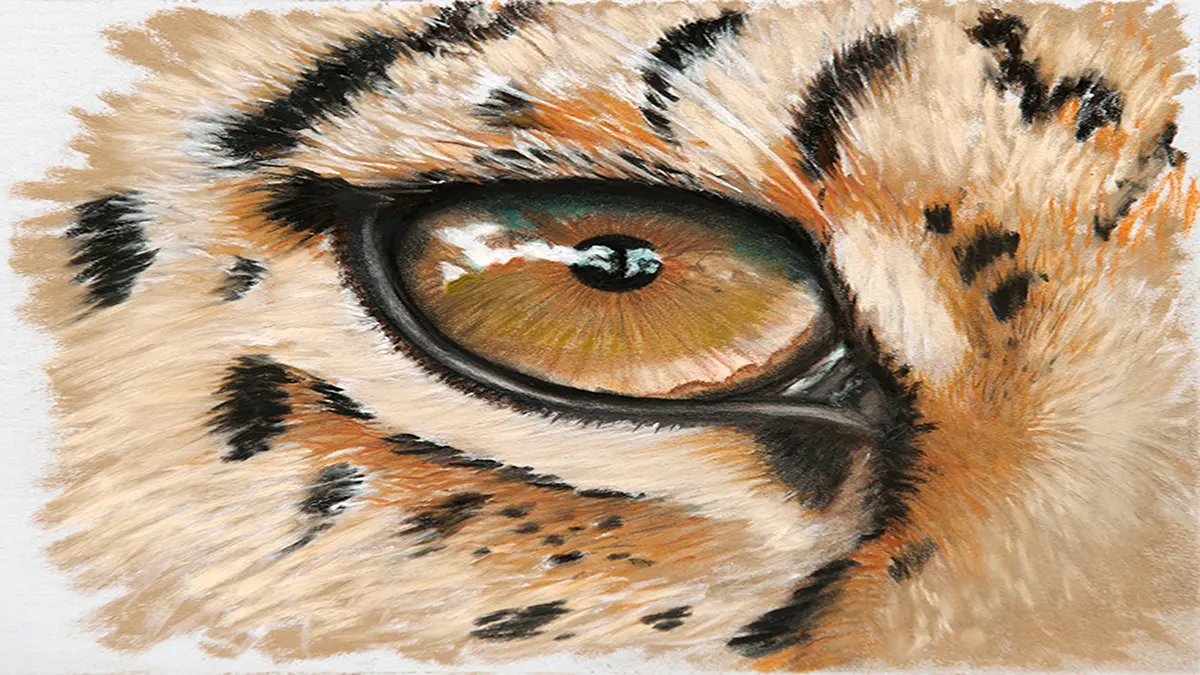
Capturing the texture of a fox requires short, directional pencil strokes rather than long, continuous lines. Observe the way fur grows from the center of the face outward and down the back of the body. By varying the pressure of your pencil, you can create the appearance of dense undercoat and longer guard hairs. Focus on the chest and the base of the tail, where the fur is naturally thickest and fluffiest.
When shading, avoid coloring the fur in solid blocks. Instead, use rhythmic, flicking motions to mimic individual strands. Leave small areas of the paper white to represent highlights, especially along the back and the top of the head. This technique adds volume to the fox and prevents the drawing from appearing flat, giving your subject a lifelike, three-dimensional quality that emphasizes its wild nature.
Common mistakes when drawing foxes
A frequent error is drawing the muzzle too short, which makes the fox look more like a cat or a dog. Foxes possess a distinctively elongated, narrow snout that is vital to their recognizable profile. Always ensure the distance from the eyes to the nose is proportional to the size of the head. Another common mistake is making the legs too thick; foxes are agile creatures with slender, delicate limbs that should not appear heavy or muscular.
Additionally, many beginners forget the characteristic "mask" markings. Foxes often have darker fur around their eyes and on the lower portions of their legs. Failing to include these subtle variations in tone can make the animal look generic. Take time to study reference images of red foxes, noting how their white-tipped tails and black ear backs provide the necessary contrast to define their unique appearance.
Why fox anatomy looks the way it does
The fox's physical structure is a result of its evolutionary role as a solitary hunter. Their large, triangular ears are highly sensitive, designed to detect the faint rustling of prey under snow or brush. When drawing these ears, ensure they are set high on the skull, as this placement maximizes their ability to rotate and pinpoint sound. The bushy tail, or "brush," serves a dual purpose as a balance aid during sharp turns and a warm blanket when the animal sleeps.
Understanding these biological functions helps you draw with more intent. For instance, the fox’s eyes are positioned to provide a wide field of vision, which is essential for spotting predators and prey alike. By emphasizing the alertness in the eyes and the slight forward tilt of the ears, you convey the intelligence and caution inherent in the species. This attention to anatomical detail elevates your work from a simple sketch to a convincing representation of a wild animal.
Key facts
- Foxes are characterized by their triangular, upright ears and long, bushy tails known as brushes.
- The fox’s head shape is typically represented by an elongated oval or a diamond-like structure.
- Focus on the muzzle, which is narrow and pointed, distinct from the blunter snouts of domestic dogs.
- Use a "S" curve or a gentle arch to define the back, emphasizing the fox's agile, lean posture.
- A fox's eyes are almond-shaped with vertical pupils, a feature that distinguishes them from many other canines.
- Keep the legs thin and elegant, as foxes are built for speed and stealth rather than heavy muscular power.
The bottom line
Drawing a fox effectively requires capturing its lean, agile silhouette and distinct facial features. By focusing on the sharp, elongated muzzle, large triangular ears, and the iconic bushy tail, you can create a recognizable likeness. Practice balancing the animal’s delicate frame with its thick, textured coat. With careful attention to proportions and the iconic white-tipped tail, you will successfully master the art of sketching this clever creature.
People also ask
What is the most common mistake when drawing a fox's face?
Beginners often draw the muzzle too short or rounded. Remember that a fox has a sharp, tapered nose, so maintain a narrow profile to ensure the animal looks like a fox rather than a bear or a cat.
Should I draw individual hairs for the fur?
Avoid drawing every single hair, as this makes the drawing look cluttered. Instead, use short, directional strokes along the edges of the silhouette to suggest texture and fluffiness.
How do I make the tail look realistic?
The tail should be large and voluminous compared to the body. Add a slight curve to the tail and use sweeping lines to indicate the thick, layered fur.
Are there specific colors I should use for a red fox?
Use a palette of burnt orange, rust, and cream. Always remember the signature white tip on the end of the tail, which is a key visual identifier for most red foxes.
How do I draw a fox in a sitting position?
Start by drawing a vertical oval for the chest and a smaller circle for the head. Tuck the legs close to the body and wrap the large, bushy tail around the feet to create a stable, compact shape.
What pencil grade is best for sketching foxes?
Use an HB pencil for light construction lines and a 2B or 4B pencil for defining the final outline and shading. Softer leads allow you to create the dark, expressive eyes and nose effectively.
This answer was created with the help of AI research tools and reference sources. Spotted an error? Let us know — we correct mistakes quickly. See our editorial policy.