How do you draw in Photoshop?
Short answer
Drawing in Photoshop involves using the Brush tool to apply digital pigment onto layers. You utilize a graphics tablet to simulate natural pressure and texture, allowing for precise control over line weight and opacity. By combining layers, blending modes, and custom brush settings, you can create complex illustrations from simple digital sketches.
On this page
How to set up a digital drawing workspace
To begin drawing in Photoshop, you must first configure your document for optimal performance. Start by selecting "File" and then "New" to open the document settings menu. For most digital art, a resolution of 300 pixels per inch (PPI) is standard for high-quality printing, while 72 PPI is sufficient for web-based projects. Ensure your color mode is set to RGB for screen display or CMYK if you intend to print your work professionally.
Once your canvas is open, organize your workspace by opening the "Brushes" and "Layers" panels, usually found under the "Window" menu. Using a pressure-sensitive graphics tablet is essential for professional results, as it allows the software to track the force of your stylus. Before you start, calibrate your tablet drivers to ensure the pressure sensitivity maps correctly to the brush size and opacity settings within the application.
How to use brushes and layers effectively
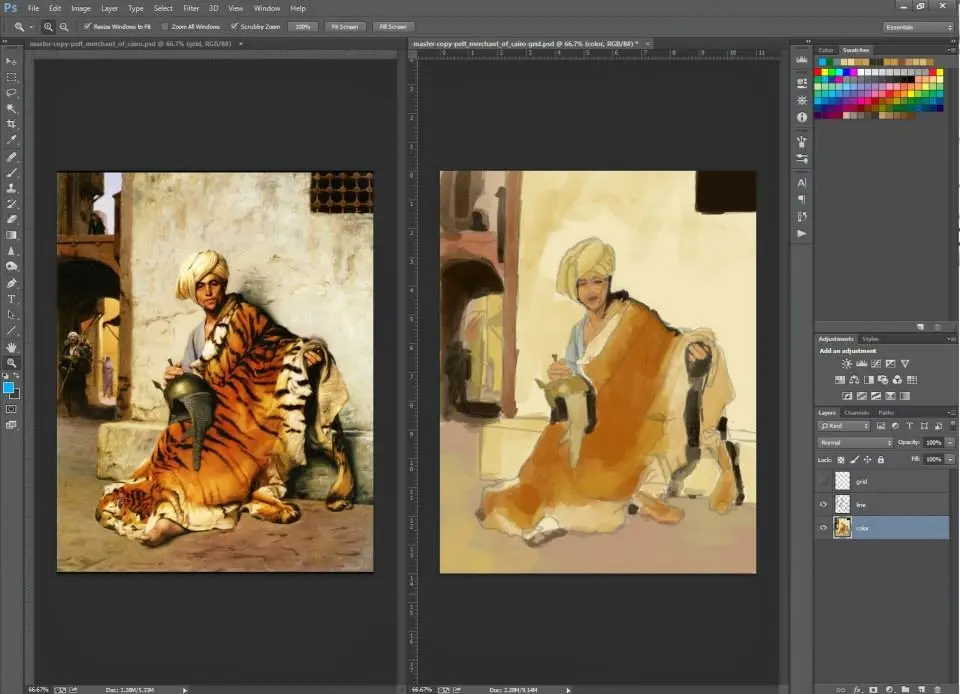
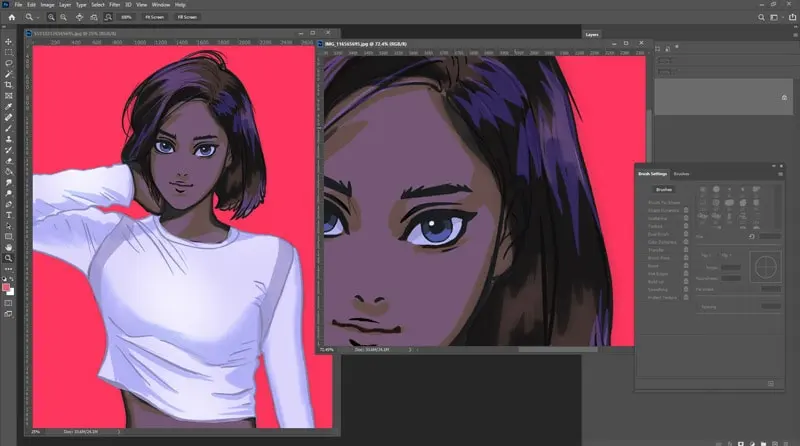
Layers are the foundation of digital drawing in Photoshop, acting like transparent sheets of acetate stacked on top of one another. By keeping your sketch, line art, and colors on separate layers, you can edit individual elements without affecting the rest of the image. Always name your layers clearly to maintain an organized workflow as your project grows in complexity.
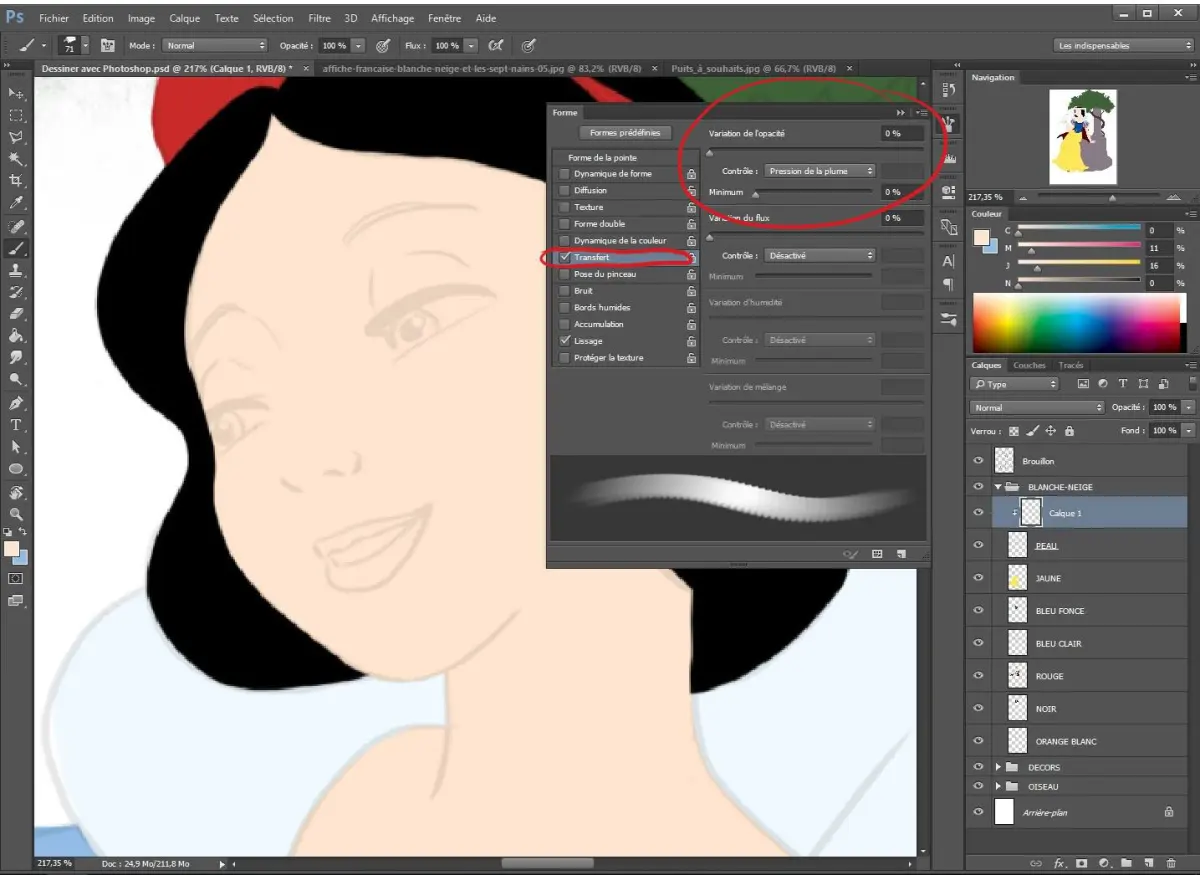
The Brush tool, accessed by pressing the "B" key, is your primary instrument for creating marks. You can customize brushes by adjusting the flow, opacity, and smoothing settings in the top options bar. To create a clean illustration, follow these fundamental steps for layering:
- Create a new layer for your initial sketch and reduce its opacity.
- Add a new layer above the sketch for your final line art.
- Place color layers beneath the line art layer to prevent painting over your outlines.
- Use clipping masks to constrain your colors within the boundaries of your line art.
Best hardware for drawing in Photoshop
While you can use a mouse, it lacks the precision and pressure sensitivity required for professional digital painting. A graphics tablet, such as those produced by Wacom, Huion, or XP-Pen, connects to your computer and translates your hand movements into strokes on the screen. These devices come in two main varieties: standard tablets that connect to a monitor and pen displays that feature an integrated screen.
For beginners, a medium-sized pen tablet is often the most ergonomic choice, as it provides a natural mapping between your hand movement and the cursor position. If you prefer a more tactile experience, a pen display allows you to draw directly onto the surface of the screen. Regardless of the hardware, ensure your computer meets the minimum system requirements for the current version of Photoshop to avoid input lag or software crashes during long drawing sessions.
Common mistakes when drawing in Photoshop
Many beginners struggle because they attempt to draw everything on a single layer. This approach makes it impossible to adjust colors or fix line mistakes without erasing surrounding work. Always create new layers for distinct parts of your drawing, such as the character, background, or foreground elements. Another frequent error is ignoring the "Smoothing" setting in the brush options bar, which leads to shaky, jittery lines.
Another common pitfall involves overusing the "Eraser" tool. Instead of erasing, try to use a mask or paint over your mistakes with the original background color. This non-destructive editing approach allows you to recover parts of your drawing that you might decide to use later. Finally, avoid relying solely on the default round brush; explore the "Brush Settings" panel to experiment with textures, spacing, and tilt sensitivity to add depth and character to your digital strokes.
How to improve your digital drawing technique
Improving your skills in Photoshop requires consistent practice with both the software tools and traditional drawing fundamentals. Focus on mastering the "Pen" tool for creating crisp, vector-based paths, which can be converted into selections or stroked with brushes for perfect line quality. Additionally, learn to use blending modes like "Multiply" for shading and "Screen" for highlights, as these tools drastically speed up the coloring process.
To refine your technique, consider these practical exercises:
- Practice drawing straight lines and perfect circles to improve your hand-eye coordination with the tablet.
- Study the "Brush Settings" menu to create custom brushes that mimic charcoal, oil paint, or watercolor.
- Experiment with the "Adjustment Layers" menu to change the lighting and color balance of your finished art without destroying the original pixels.
- Use the "History" panel to track your progress and revert to previous states if you make an irreversible error.
By consistently applying these methods, you will gain the confidence to create professional-grade illustrations while utilizing the full power of the software.
Key facts
- Photoshop uses a raster-based engine, meaning it creates images by manipulating individual pixels rather than mathematical vectors.
- The Brush Tool (shortcut: B) is the primary instrument for drawing, offering thousands of customizable tip shapes and textures.
- Pressure sensitivity requires a graphics tablet, such as those made by Wacom or Huion, to vary line thickness based on stylus force.
- Layers act as transparent sheets stacked on top of one another, allowing you to edit specific elements without affecting the entire drawing.
- The Pen Tool (shortcut: P) creates precise paths and Bézier curves, which are essential for clean, professional-looking line art.
- Always create a new layer before starting a sketch to keep your line work separate from your background and color fills.
The bottom line
Drawing in Photoshop requires mastering the Brush tool, understanding layer management, and utilizing a pressure-sensitive tablet for natural control. By separating your sketches, line art, and colors onto distinct layers, you maintain full creative flexibility throughout your process. While the software has a steep learning curve, consistent practice with brush settings and path tools will eventually allow you to produce professional-grade digital illustrations with ease.
People also ask
What is the difference between a mouse and a graphics tablet for drawing?
A mouse lacks pressure sensitivity, resulting in uniform, rigid lines that are difficult to control. A graphics tablet mimics the feel of pen on paper, allowing for natural line weight variations and better ergonomic flow.
How can I make my lines look smoother in Photoshop?
Increase the "Smoothing" percentage in the top Options bar while the Brush tool is selected. This feature helps eliminate jitter and shaky hand movements, resulting in cleaner, more professional strokes.
Why do my drawings look pixelated when I resize them?
Because Photoshop is pixel-based, enlarging a small image forces the software to guess how to fill in new pixels, causing blurriness. Always work at a high resolution, such as 300 DPI, at the final intended print size.
How do I change the size of my brush quickly?
Use the bracket keys on your keyboard; the left bracket ([) decreases brush size, while the right bracket (]) increases it. This allows you to adjust your tool without opening the brush menu.
What is the purpose of clipping masks?
Clipping masks allow you to paint or add textures to a specific layer without going outside the boundaries of the shape below it. This is highly effective for adding shading or highlights to characters.
Should I use a mouse for professional digital illustration?
While some artists use a mouse for vector-based work, it is generally discouraged for digital painting. A stylus provides the necessary control for blending, shading, and expressive line work that a mouse cannot replicate.
This answer was created with the help of AI research tools and reference sources. Spotted an error? Let us know — we correct mistakes quickly. See our editorial policy.