How do you paint hair?
Short answer
Painting hair requires treating it as a series of interconnected shapes rather than individual strands. Focus on establishing the overall volume and light source first. By blocking in large masses of color, adding mid-tones, and finally layering thin highlights, you create the illusion of texture and depth without overworking the canvas.
On this page
How to block in hair shapes
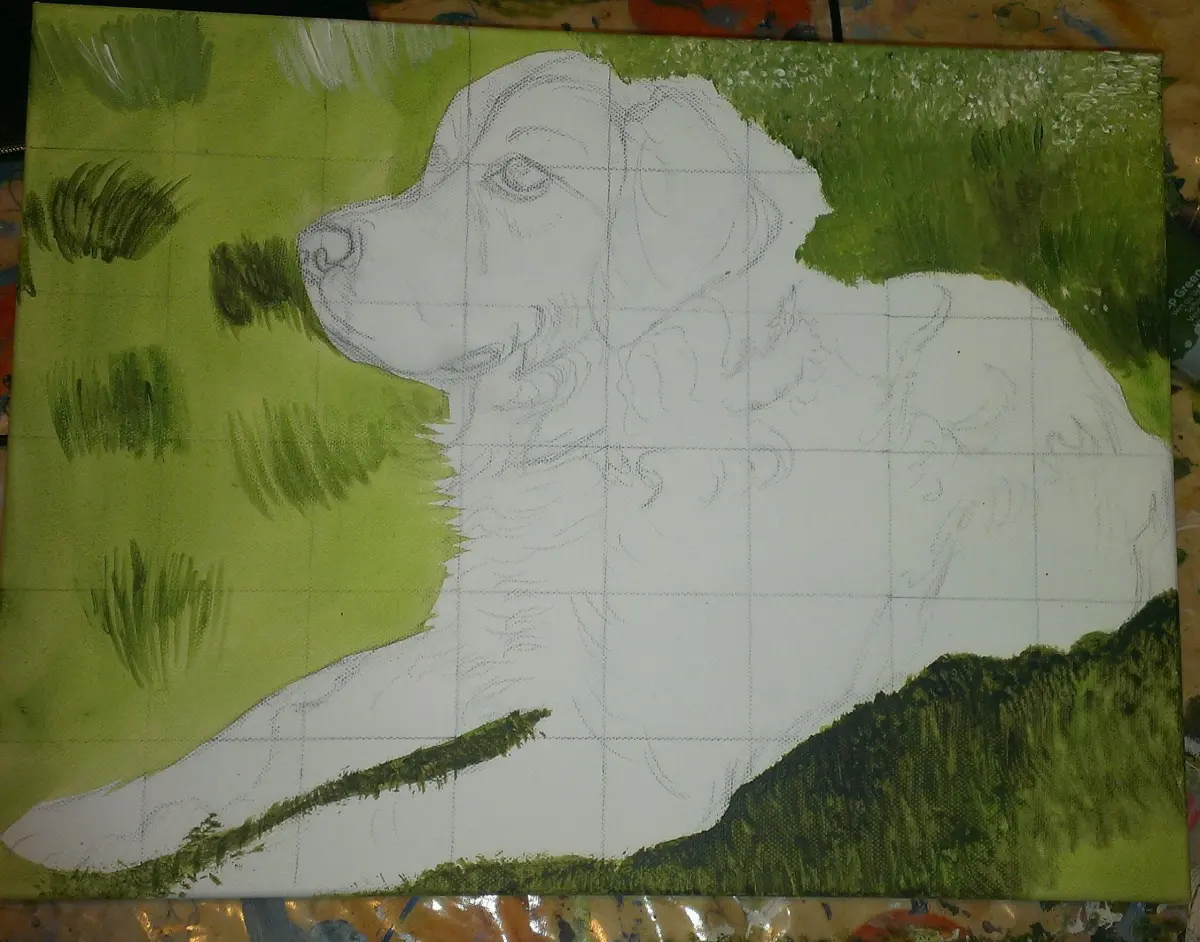
Begin by simplifying the hair into large, cohesive masses or "clumps." Instead of focusing on individual strands, visualize the hair as a solid form that follows the contours of the skull. Use a large brush to map out the darkest shadows and the base color of the hair, ensuring the silhouette is accurate before adding any detail. This foundational step establishes the volume and weight of the hairstyle.
Once the base shapes are established, identify where the light hits the hair most directly. This area is known as the highlight or the "light mass." By keeping your brushstrokes broad and directional at this stage, you maintain the structural integrity of the hair. Avoid the temptation to draw lines; think in terms of planes and surfaces. This method ensures that the hair looks like a natural part of the head rather than a separate attachment.
How to layer color and texture
After the base is set, introduce mid-tones to bridge the gap between the shadows and the highlights. Use a slightly smaller brush to define the flow and direction of the hair. Focus on the way hair bends over the crown or curves around the ears. Layering colors with varying degrees of opacity helps create a realistic sense of depth and luster, especially in darker hair colors.
To achieve a professional look, follow these steps to build up the texture:
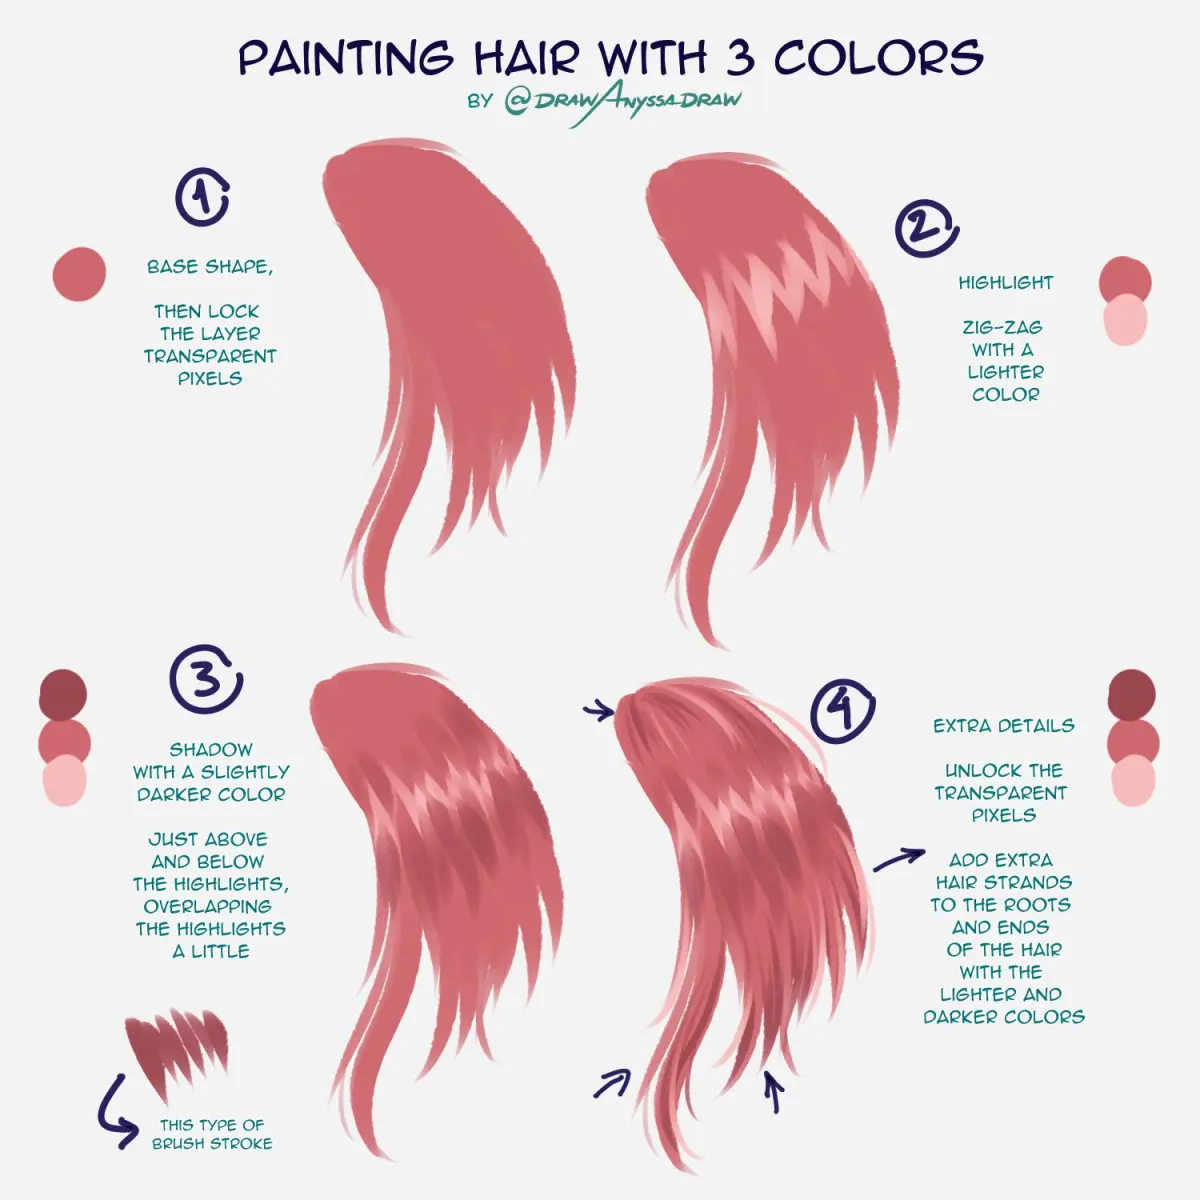
- Apply a dark base color to establish the overall shape and shadow areas.
- Paint the mid-tones to define the primary direction and curvature of the hair.
- Add thin, sharp highlights along the edges of the hair clumps where the light catches.
- Soften the transitions between these zones using a blending brush or soft edges to avoid a harsh, plastic appearance.
Best brushes and tools for hair painting
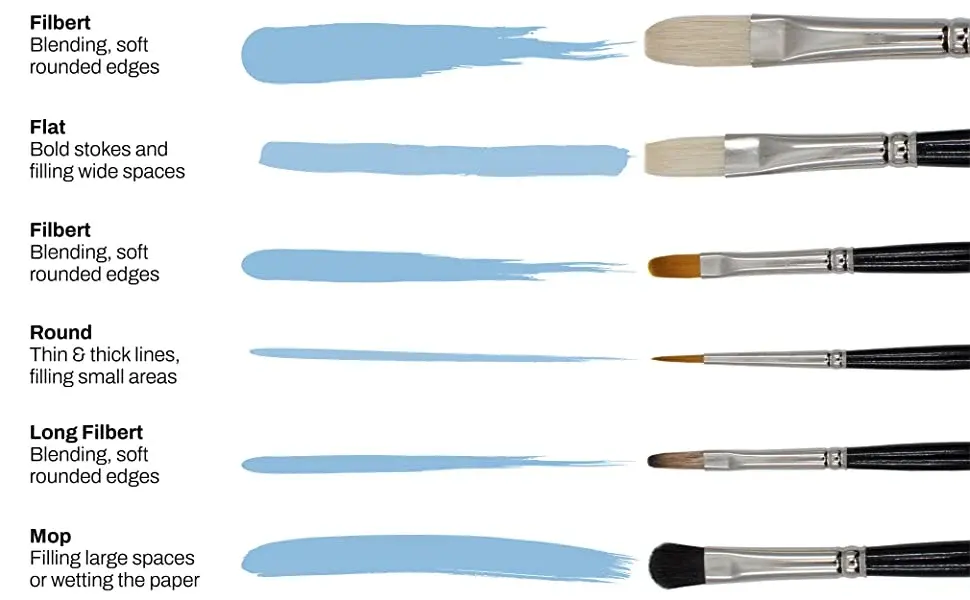
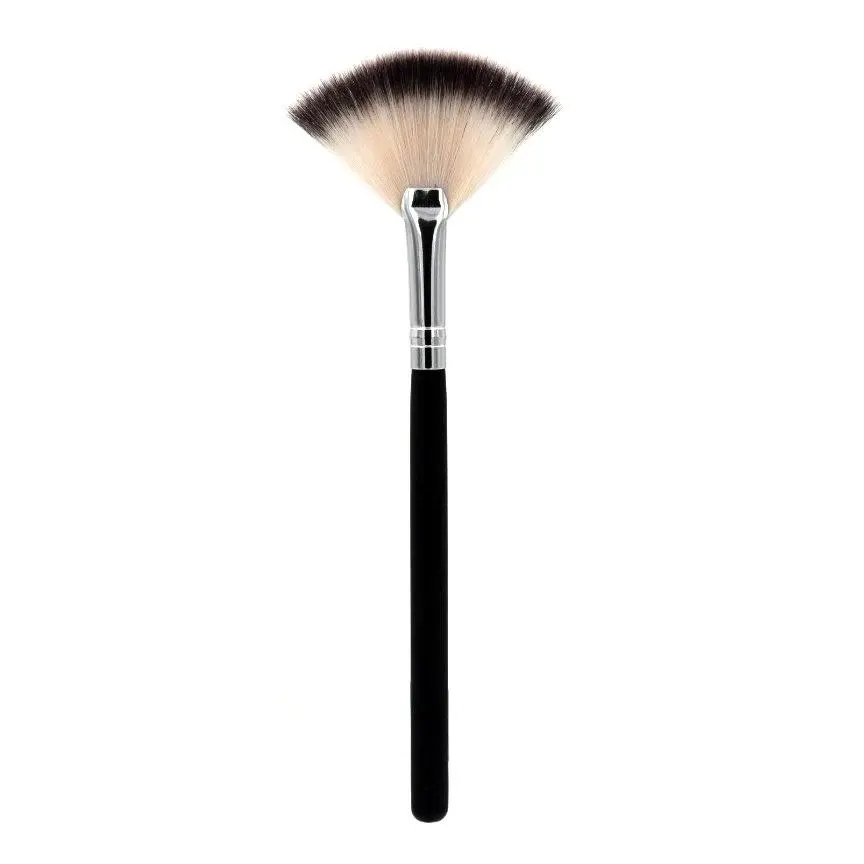
The choice of tools significantly influences the final texture of the hair. For traditional painting, a filbert brush is ideal because its rounded edge mimics the soft, flowing nature of hair strands. For digital painting, choose brushes that have a slight taper or a "hair-like" texture to allow for more organic strokes. Using a pressure-sensitive tablet is essential for digital artists to control the thickness and opacity of each stroke.
Regardless of the medium, keep a variety of brush sizes on hand. Start with large brushes to cover the main areas and transition to smaller, finer brushes only for the final highlights. Using a brush that is too small too early will lead to a cluttered, messy look. Remember that the quality of your brushes matters less than your ability to manage the flow and direction of your strokes.
Why hair looks stiff or unnatural
Hair often appears stiff when an artist treats it as a series of parallel, uniform lines. In reality, hair is composed of overlapping layers that move in response to gravity and head movement. If every strand is painted with the same level of detail and clarity, the eye becomes overwhelmed and the hair loses its sense of volume. This lack of variation is the most common reason hair looks like a wig.
To avoid this, ensure that your highlights are not uniform in length or brightness. Some strands should be more defined, while others should fade into the shadows. Pay attention to the "flyaways" or stray hairs that break the silhouette, as these small details add a sense of realism. If the hair looks like a solid block, you likely need to break up the edges with softer, thinner strokes that allow the background to peek through.
Common mistakes when painting hair
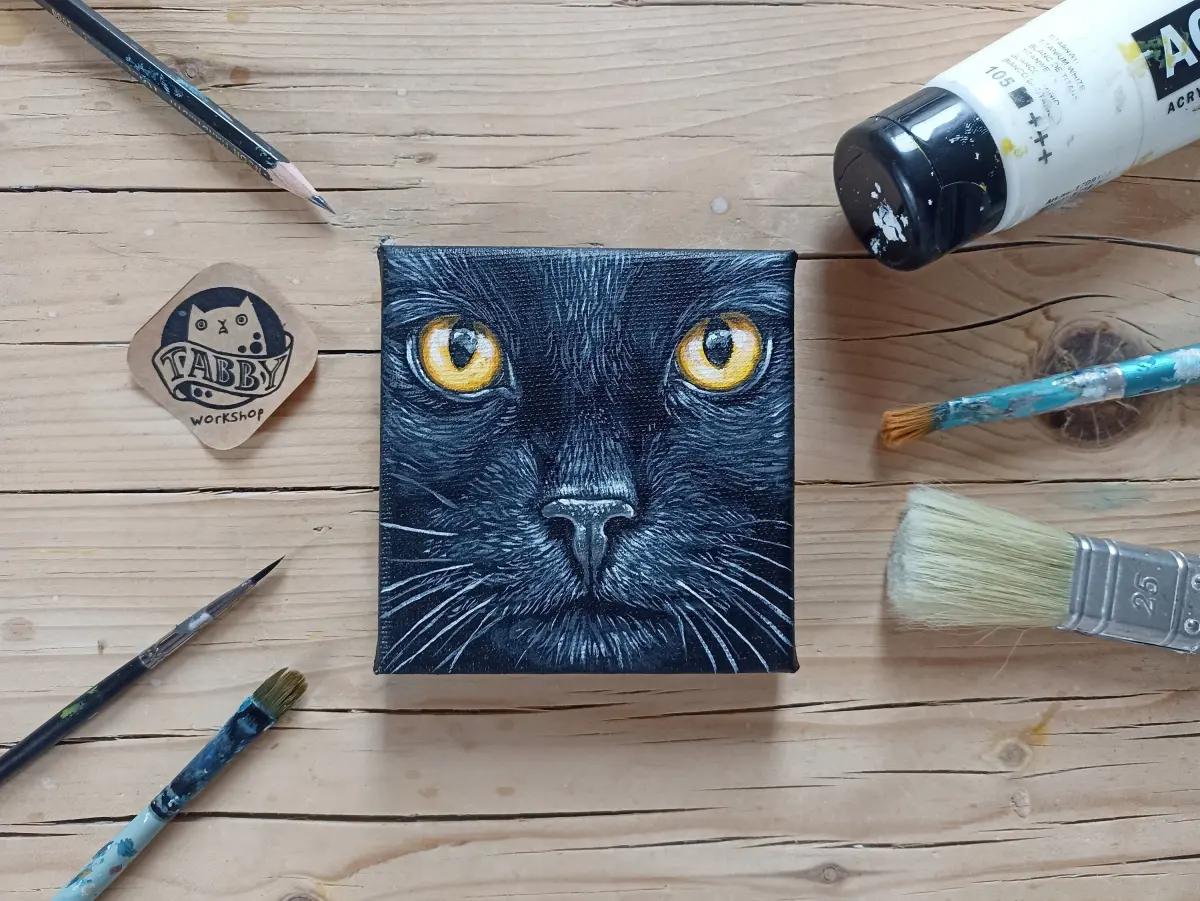
A frequent error is over-detailing the hair before the underlying form is correct. Many beginners spend hours painting individual strands, only to realize the overall shape is distorted or incorrectly lit. Another common mistake is using pure white for highlights and pure black for shadows. This creates a high-contrast, cartoonish look that lacks the subtle color shifts found in natural hair. Always mix a bit of the base color into your highlight and shadow tones.
Avoid these common pitfalls to improve your results:
- Neglecting the scalp: Always consider where the hair originates, as this dictates the direction of the flow.
- Ignoring reflected light: Hair often picks up colors from the environment or the shoulders, which adds complexity.
- Over-blending: Too much blending creates a muddy, greasy appearance rather than soft, clean strands.
- Painting every strand: Only define the most prominent strands to guide the viewer's eye.
By focusing on the overall form and using detail sparingly, you will achieve a much more convincing and artistic representation of hair.
Key facts
- Paint hair in clumps or "ribbons" rather than drawing every individual strand.
- Start with a solid base color that matches the darkest shadows of the hair.
- Use a small, firm brush to apply highlights, following the natural curve of the head.
- Vary the thickness of your brushstrokes to create a sense of depth and movement.
- Leave the darkest areas of the hair mostly untouched to maintain contrast.
- Apply flyaway strands only at the very end to add realism and texture.
The bottom line
Painting realistic hair is less about individual strands and more about capturing the overall volume, light, and shadow. By treating hair as a series of connected shapes or ribbons, you can build depth through layering. Focus on establishing a dark base, adding mid-tone clumps, and applying sharp highlights to define the form. With patience and careful observation of light, you can create convincing, dynamic hair textures.
People also ask
What type of brushes are best for painting hair?
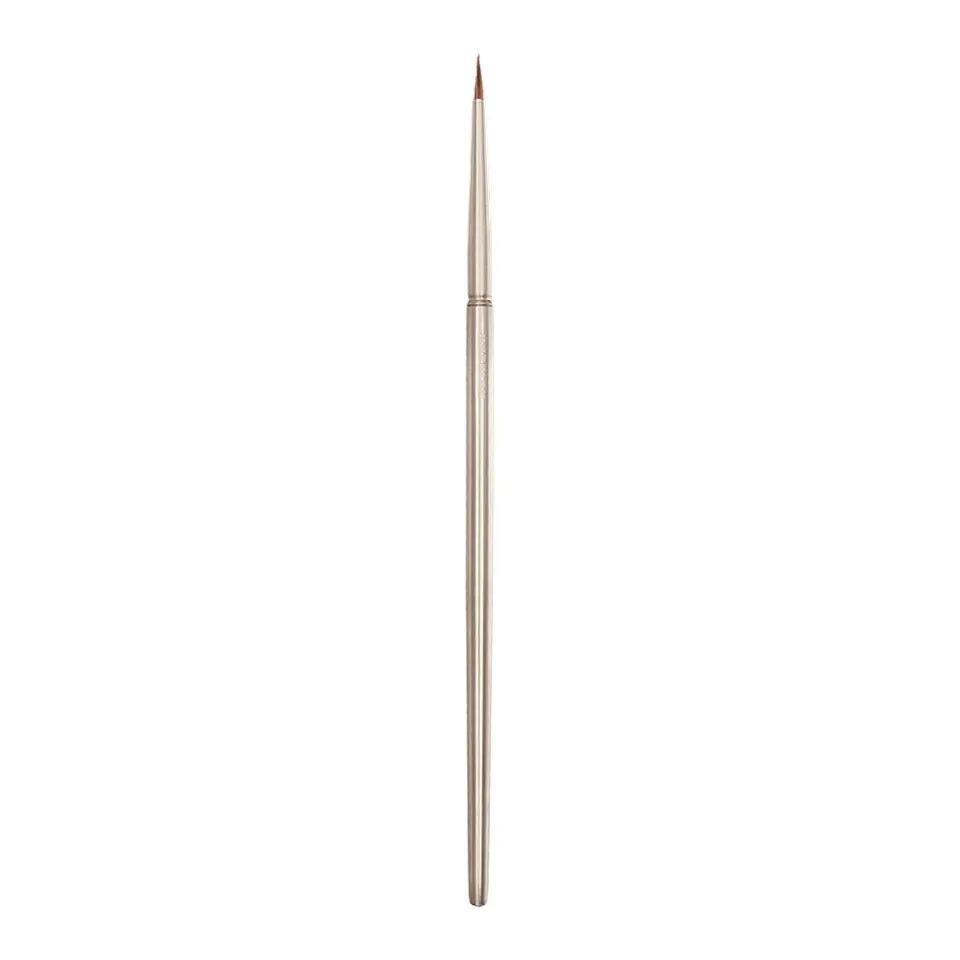
Synthetic filbert or round brushes with a sharp point are ideal for capturing fine details. A "rigger" or "liner" brush is also useful for adding thin, wispy strands at the end of the process.
How do I choose the right colors for hair?
Avoid using pure black or white, as these can look flat. Instead, mix complementary colors like deep blues or purples into your shadows and warm yellows or ochres into your highlights to create a natural look.
Should I paint hair before or after the face?
It is generally best to paint the hair after the face is mostly finished. This allows you to overlap the hairline slightly onto the forehead, which makes the hair look like it is growing from the scalp.
How do I make hair look shiny?
Shiny hair is created by placing sharp, high-contrast highlights where the light hits the hair most directly. Keep these highlights concentrated in one area to simulate a glossy, reflective surface.
Why does my painted hair look like a solid helmet?
This usually happens when the highlights are too uniform or the edges are too soft. Break up the shape by introducing smaller, irregular clumps and ensuring the shadows have enough depth.
Is it better to use oil or acrylic paint for hair?
Both work well, but oils provide more time to blend colors for soft transitions. Acrylics dry quickly, which is excellent for layering sharp highlights on top of a dark base.
This answer was created with the help of AI research tools and reference sources. Spotted an error? Let us know — we correct mistakes quickly. See our editorial policy.