How do you make a mosaic?
Short answer
Creating a mosaic involves arranging small pieces of material, known as tesserae, onto a substrate using adhesive. You then fill the gaps with grout to secure the design. This ancient art form combines precision and creativity, requiring basic tools like nippers, tile adhesive, a substrate, and grout to complete a durable project.

On this page
What materials are needed for a mosaic?
To begin a mosaic project, you must select appropriate materials based on your environment. For indoor projects, a plywood or MDF board works well as a base. For outdoor installations, use cement board or a weatherproof substrate to prevent moisture damage. The tesserae—the individual pieces of your design—can be made from glass, ceramic tile, stone, or even recycled pottery. You will also need a high-quality adhesive, such as thin-set mortar for heavy tiles or PVA glue for smaller, lighter glass pieces.
Gathering the right tools is equally important for success. You will need a pair of wheeled glass nippers to shape your tesserae into specific sizes. A notched trowel helps spread adhesive evenly, while a rubber grout float is essential for applying the final finish. Keep a bucket, sponges, and a soft cloth nearby for cleaning excess material as you work. Investing in basic, high-quality tools prevents frustration and ensures your mosaic remains structurally sound for years to come.
How to design and prepare a mosaic
Start by sketching your design on paper to determine the layout and color scheme. Beginners should opt for simple, bold patterns rather than intricate, detailed portraits, as small details are difficult to replicate with hard tiles. Once your design is finalized, transfer the outline onto your substrate using a pencil or a permanent marker. If you are using a wooden base, consider priming it with a sealant to prevent the wood from absorbing moisture from the adhesive, which could cause warping over time.
Before applying adhesive, perform a "dry lay" of your tesserae. This process involves placing your pieces on the substrate without glue to ensure they fit correctly and look visually balanced. If you find gaps that are too large, use your nippers to trim pieces to size. This step allows you to adjust your composition without the pressure of drying adhesive. Once you are satisfied with the arrangement, take a photograph of the layout to serve as a reference while you glue each piece down.
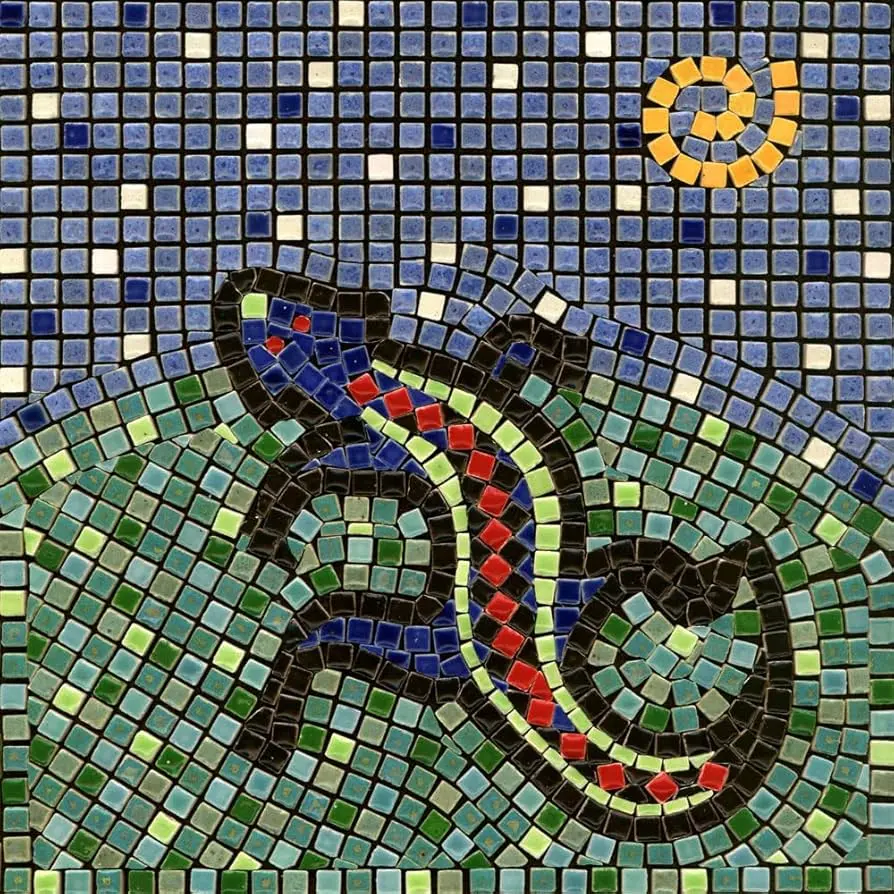
Step-by-step process for making a mosaic
- Clean your substrate surface to ensure the adhesive bonds properly.
- Apply a thin layer of adhesive to a small section of the base using a notched trowel.
- Press your tesserae firmly into the adhesive, maintaining a consistent gap of about 1/8 inch between pieces for the grout.
- Allow the adhesive to cure completely, typically for 24 hours, before proceeding to the next stage.
- Mix your grout according to the manufacturer’s instructions until it reaches a consistency similar to peanut butter.
- Use a rubber float to spread the grout over the entire surface, pressing it firmly into the gaps.
- Wait 15 to 20 minutes, then wipe away the excess grout with a damp sponge, being careful not to pull it out of the crevices.
Common mistakes when making a mosaic
One frequent error is failing to account for the thickness of the grout lines during the design phase. If pieces are placed too close together, the grout will not penetrate the gaps, leading to weak spots where tiles may eventually fall off. Conversely, leaving gaps that are too wide can make the surface unstable and visually distracting. Always aim for a uniform spacing that allows the grout to provide structural support for the surrounding tiles.
Another mistake involves using the wrong type of adhesive for the environment. Using water-soluble glue for an outdoor mosaic will lead to immediate failure once the piece is exposed to rain or humidity. Similarly, not allowing the adhesive to cure fully before grouting can cause the tiles to shift or pop out of place. Patience is the most critical tool in mosaic making; rushing the curing process often results in a compromised finished product that will not stand the test of time.
How long does it take to finish a mosaic?
The time required to complete a mosaic depends heavily on the complexity of the design and the size of the project. A small, simple coaster might take only two or three hours of active work, while a large wall panel or tabletop could require several days or even weeks. You must factor in the drying time for both the adhesive and the grout, which usually adds at least 48 hours to the total timeline. Do not attempt to rush these drying stages, as the structural integrity of the mosaic depends on the chemical bonding of these materials.
Maintenance is also a factor to consider after the project is finished. If your mosaic is placed in a high-traffic area, you may need to apply a grout sealer once the grout has fully cured to prevent staining. This simple step protects the porous grout lines from dirt and moisture. By dedicating enough time to both the construction and the finishing touches, you ensure that your mosaic remains a beautiful and durable piece of functional art for a very long time.
Key facts
- Mosaics are created by arranging small, durable pieces called tesserae, such as glass, stone, or ceramic, onto a base surface.
- The "direct method" involves gluing tiles directly onto a substrate, while the "indirect method" requires placing tiles face-down on adhesive paper for later transfer.
- Always use a substrate appropriate for the environment, such as marine-grade plywood for indoors or cement board for outdoor installations.
- Thin-set mortar is the industry standard for outdoor or heavy-duty projects, while water-based PVA glue is sufficient for light, indoor decorative items.
- Grout fills the gaps between tiles; choose a sanded grout for gaps wider than 1/8 inch and unsanded for thinner lines.
- Protect your hands with gloves when handling glass shards and use safety glasses to prevent eye injuries when cutting tiles with nippers.
The bottom line
Creating a mosaic is a rewarding process that combines careful planning with artistic execution. By selecting the right materials for your environment, using proper safety equipment, and allowing sufficient time for adhesives and grout to cure, you can produce durable, professional-quality art. Whether you are decorating a small frame or a large garden feature, precision in your layout and patience during the finishing stages ensure lasting results.
People also ask
What is the best adhesive for beginners?
For small indoor projects like coasters or picture frames, a clear-drying, water-based PVA craft glue is ideal. It is easy to apply, non-toxic, and allows for minor adjustments before the bond sets.
How do I cut tiles into specific shapes?
Use wheeled glass nippers to shape your tiles by applying steady pressure to the edges. For larger ceramic tiles, a score-and-snap tool or a wet tile saw provides cleaner, more precise straight lines.
Can I use mosaic art outdoors?
Yes, but you must use weather-resistant materials like frost-proof ceramic, glass, or stone. Ensure your substrate is cement-based and use a high-quality outdoor-rated thin-set mortar and grout to prevent cracking from moisture.
How do I prevent grout from staining the tiles?
Apply a grout release or a light coat of wax to the surface of porous tiles before grouting. This creates a barrier that allows you to wipe away excess grout without leaving a cloudy residue.
What is the purpose of the "grout float"?
A rubber grout float is designed to push the grout mixture firmly into the joints between tiles without scratching the surface. It ensures the gaps are completely filled and provides a professional, level finish.
How long should a mosaic cure before it is ready for use?
Most adhesives require 24 hours to set before grouting, and the finished grout should cure for at least 48 to 72 hours. Avoid getting the piece wet or placing heavy items on it until the full curing time has passed.
This answer was created with the help of AI research tools and reference sources. Spotted an error? Let us know — we correct mistakes quickly. See our editorial policy.