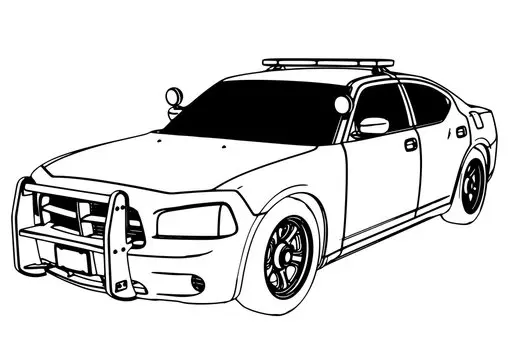
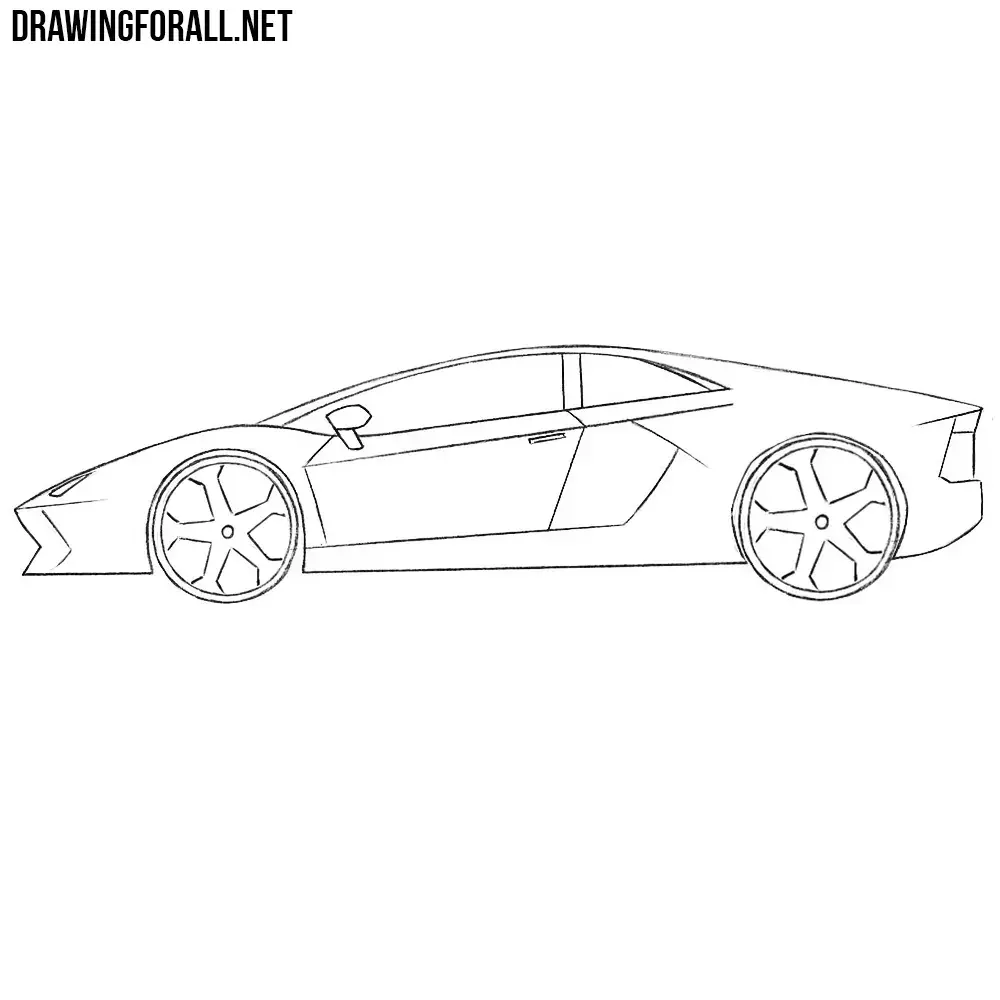
How do you draw a car?
Short answer
Drawing a car requires establishing a solid structural foundation using basic geometric shapes like rectangles and ellipses. By focusing on perspective, proportion, and the interplay of light on curved surfaces, you can create a convincing vehicle. Success relies on layering details from the chassis upward, refining the silhouette, and adding essential mechanical features.
On this page
How to draw a car step by step
To begin your drawing, start with a light pencil sketch to establish the vehicle's overall proportions. Most cars are essentially two stacked boxes: a lower, longer rectangle for the body and a smaller, trapezoidal shape for the cabin. Use a ruler or a straight edge to ensure your horizon line is level, as this anchors the car in space. Once the basic volume is established, refine the silhouette by rounding off the sharp corners to reflect the aerodynamic design typical of modern automobiles.
After defining the body, focus on the wheel arches and the placement of the tires. The wheels should be roughly one-third the height of the car's body and spaced evenly. Follow these steps to build the structure:
- Sketch a long, low rectangle to represent the main chassis.
- Add a smaller, sloped shape on top for the greenhouse or cabin area.
- Mark two circles for the wheels, ensuring they are aligned with the wheelbase.
- Draw the A-pillar and roofline to connect the front and back sections.
- Lightly sketch the door lines and window frames to establish scale.
Best drawing tools for beginners
For those just starting, a standard HB graphite pencil is ideal because it allows for light, erasable lines that do not indent the paper. You should also use a high-quality kneaded eraser, which can be molded into precise shapes to lift graphite without damaging the surface. A set of drawing pens with varying nib sizes, such as 0.3mm and 0.5mm, will help you create clean, professional outlines once your initial sketch is finalized.
When choosing paper, opt for smooth-surfaced bristol board or heavy-weight sketch paper. These surfaces prevent graphite from smudging and allow for smoother shading transitions. If you intend to add color, colored pencils or alcohol-based markers are excellent choices. Markers provide a sleek, glossy finish that mimics the reflective qualities of automotive paint, while colored pencils offer better control for subtle gradients and highlights on metallic surfaces. Always keep a sharpener and a blending stump nearby to refine your textures.
How to master car perspective
Perspective is the most critical element in making a car look three-dimensional rather than flat. Most automotive drawings utilize two-point perspective, where the front and side of the car recede toward two separate vanishing points on the horizon line. If you ignore these points, the car will appear distorted or "off-balance." Practice drawing simple cubes in perspective first to understand how lines converge as they move away from the viewer.
To enhance the sense of depth, pay attention to the "foreshortening" of the wheels. The wheel closer to the viewer should be slightly larger and more detailed than the wheel on the opposite side. Additionally, ensure that the front bumper and headlights follow the same perspective grid as the body panels. By keeping your vanishing points consistent, you ensure that the car sits firmly on the ground plane. A car that lacks proper perspective will look like a toy model rather than a functional vehicle.
Common mistakes when drawing cars
A frequent error is placing the wheels too high or too low within the wheel wells, which ruins the vehicle's stance. The tires should appear to support the weight of the car, meaning they must be firmly grounded on the horizon line. Another common mistake is neglecting the thickness of the glass and body panels. Beginners often draw windows as flat stickers, but they should be recessed slightly into the frame to show depth and structural integrity.
Avoid over-detailing the small components before the overall form is correct. If the proportions of the chassis are wrong, no amount of detail on the headlights or door handles will fix the drawing. Here are common pitfalls to avoid:
- Drawing wheels that are too small or disproportionate to the body.
- Failing to account for the curvature of the windshield and side windows.
- Using heavy, dark outlines too early, which makes the drawing look stiff.
- Ignoring the reflection of the ground on the lower body panels.
- Making the car look perfectly symmetrical, which ignores the natural perspective.
Why shading creates realism
Shading is what transforms a simple outline into a realistic, metallic object. Automotive paint is highly reflective, meaning it captures light from the sky above and the ground below. To achieve this, use a "gradient" technique where you transition from dark shadows at the bottom of the car to bright highlights along the roof and hood. The brightest white spots, known as specular highlights, should be placed where the light source hits the most curved surfaces, such as the fenders or the hood.
When shading, think about the car as a collection of planes. Flat panels will have consistent lighting, while curved surfaces will show a gradual shift in tone. Use your blending stump to soften these transitions, ensuring the light flows naturally across the bodywork. Remember to leave the windows slightly transparent by showing the interior shapes through the glass. By carefully balancing light and shadow, you create the illusion of a polished, high-gloss finish that defines the aesthetic of professional automotive design.
Key facts
- Start by sketching a long, low rectangle to define the car's overall length and height.
- Use two circles positioned roughly one-third of the way from each end to represent the wheels.
- Draw the body as a silhouette, connecting the wheels with a curved line to create the chassis.
- Add the "A-pillar" and "C-pillar" to define the cabin space and window placement.
- Apply perspective by ensuring the side of the car closer to the viewer is slightly taller than the far side.
- Avoid drawing details like headlights or door handles until the basic geometric proportions are accurate.
The bottom line
Drawing a car successfully requires mastering basic geometry and perspective before adding intricate details. By starting with simple shapes like rectangles and ellipses, you establish the correct proportions that define the vehicle's character. Focus on the silhouette and the placement of the wheels first. With practice, you can refine your technique to capture the sleek, aerodynamic curves that make automotive design both challenging and rewarding.
People also ask
Why do my car drawings look flat?
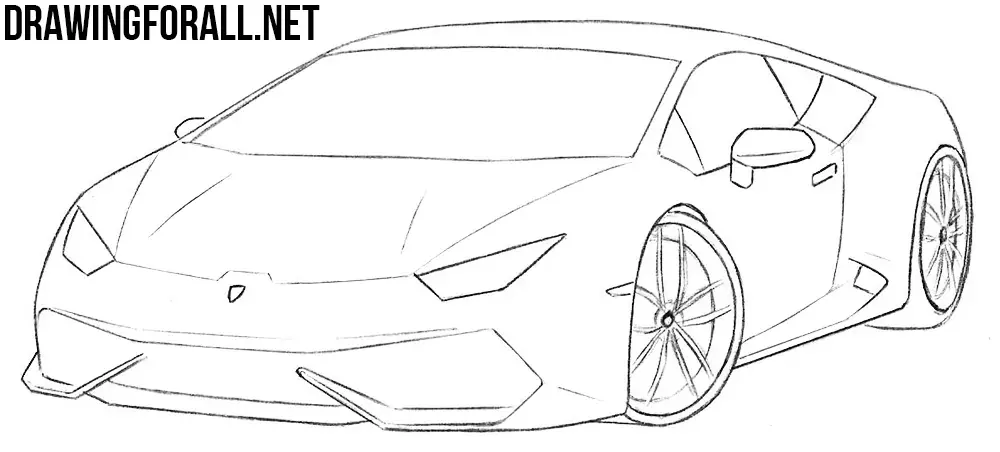
Drawings often look flat because they lack perspective lines or fail to show the vehicle's volume. Try drawing the car at a three-quarter angle rather than a direct side profile to add depth.
How do I make the wheels look realistic?
Avoid drawing perfect circles, as wheels often appear as ellipses when viewed from an angle. Ensure the tires have thickness by adding a secondary inner ring to represent the rim.
What is the most common mistake when drawing a car?
The most frequent error is getting the proportions wrong, such as making the windows too large or the wheels too small. Always sketch the entire frame lightly before committing to permanent lines.
Should I use a ruler for my initial sketches?
It is better to sketch freehand to maintain fluid, organic curves that mimic automotive design. Use a ruler only for final touches or specific technical details like straight trim lines.
How do I add shading to a car drawing?
Identify a single light source and keep it consistent across the entire vehicle. Darken the areas underneath the car and the lower body panels to ground the vehicle on the surface.
What kind of pencil should I use?
Use a hard lead pencil, such as an HB or 2H, for the initial light construction lines. Switch to a softer 2B or 4B pencil to darken the final outlines and add depth.
This answer was created with the help of AI research tools and reference sources. Spotted an error? Let us know — we correct mistakes quickly. See our editorial policy.