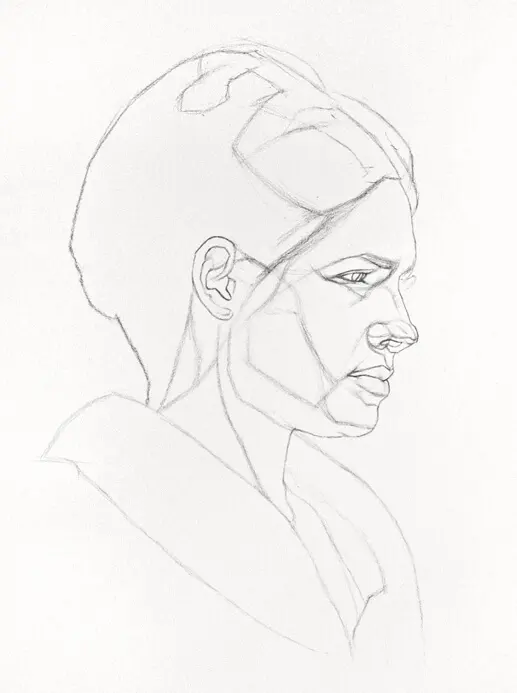
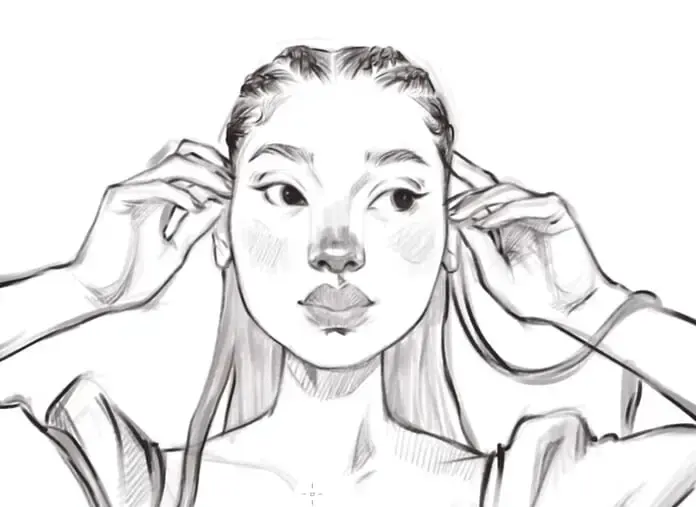
How do you get better at drawing faces?
Short answer
Improving at drawing faces requires mastering foundational human proportions, understanding light and shadow, and practicing consistent observation. By learning the Loomis method or similar structural frameworks, artists can accurately map facial features. Regular practice focusing on anatomy, skull structure, and individual expressions will significantly enhance your ability to draw realistic portraits.
On this page
How to learn facial proportions for beginners
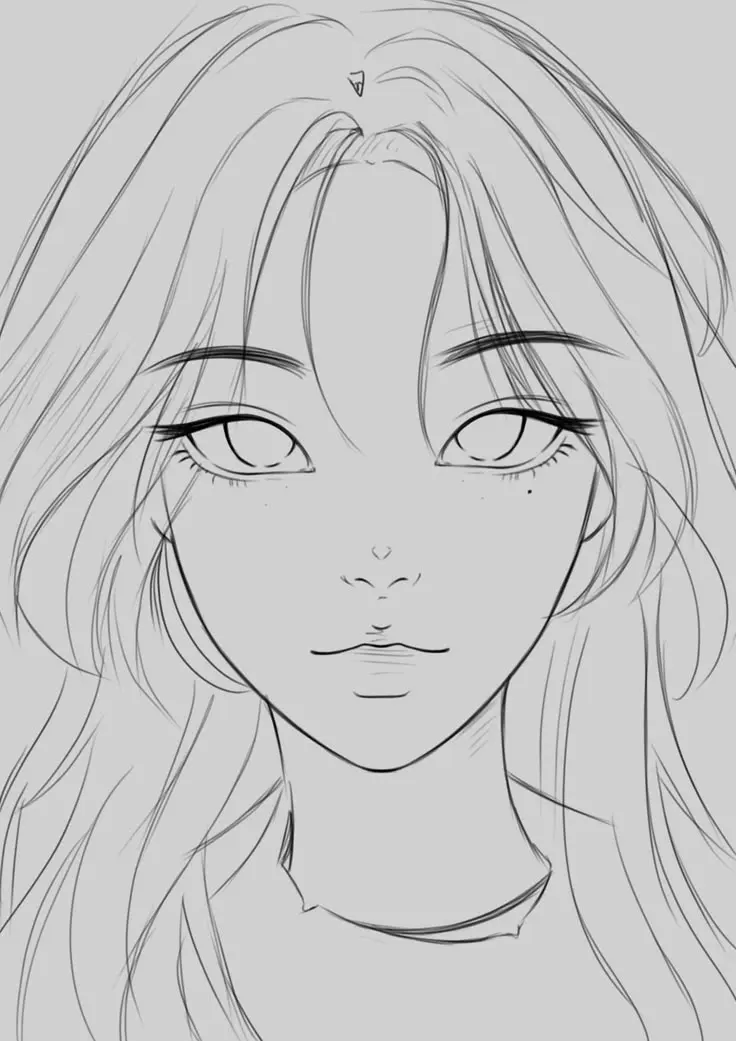
The human face is governed by specific proportions that provide a blueprint for accurate drawing. A common starting point is the "rule of thirds," which divides the face from the hairline to the chin into three equal sections: the forehead, the nose, and the mouth-to-chin area. Understanding these measurements prevents common errors like placing eyes too high or making the chin too small.
To begin building a face, follow these structural steps:
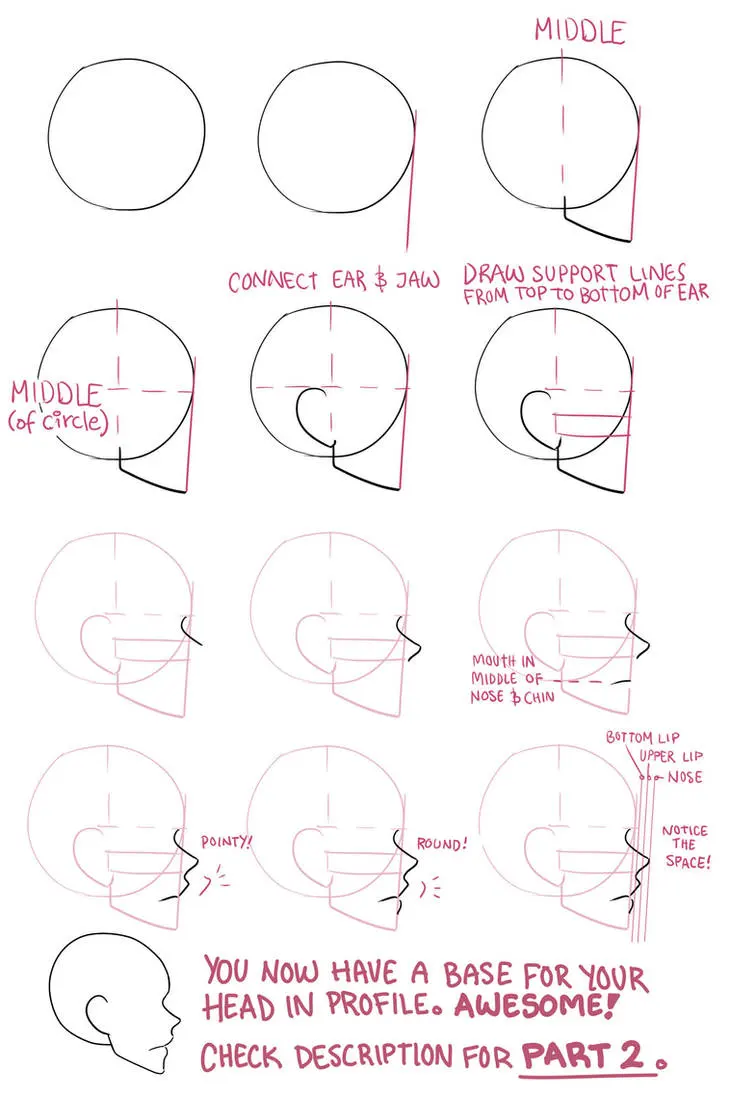
- Draw a circle to represent the cranium and add a line extending downward for the jaw.
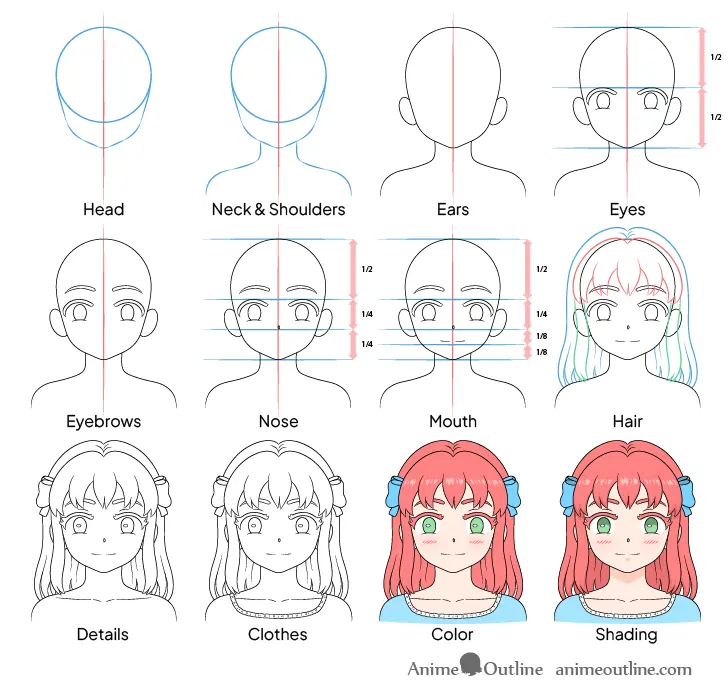
- Divide the face horizontally with a line for the eyes, placing them halfway between the top of the head and the chin.
- Mark the bottom of the nose one-third of the way down from the eye line to the chin.
- Place the mouth one-third of the way between the nose and the chin.
- Align the inner corners of the eyes with the edges of the nose.
Why faces look distorted when drawing
Distortion often occurs because the brain prioritizes symbols over actual observation. When you draw an eye, you might default to a generic almond shape instead of observing the specific curve of the eyelid or the way the skin folds around the socket. This "symbol drawing" leads to flat, lifeless portraits that lack depth and anatomical accuracy.
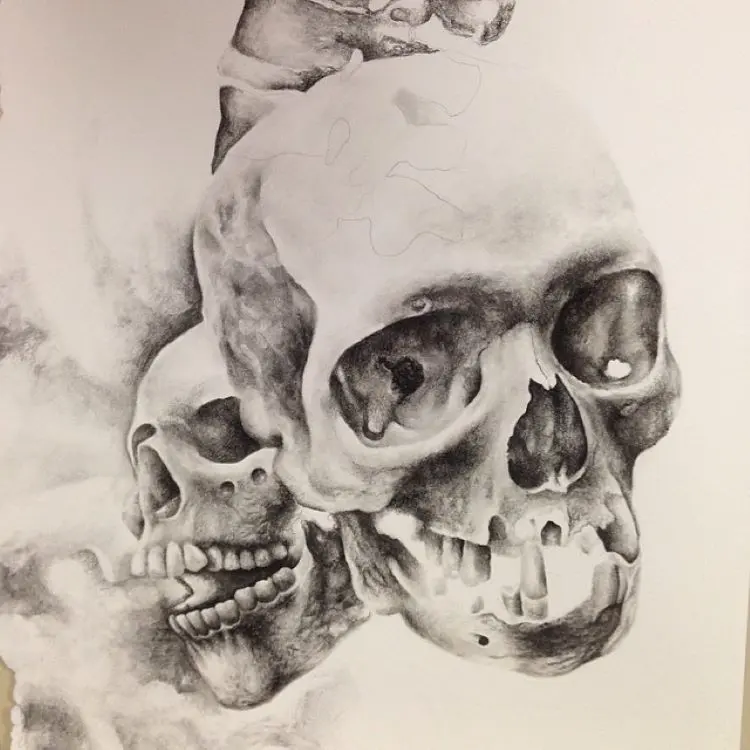
Another major cause of distortion is failing to account for the three-dimensional nature of the skull. A face is not a flat surface; it is a complex collection of planes and curves. If you ignore the perspective of the head—such as how the features shift when a person looks up or down—the drawing will appear skewed. Always visualize the head as a solid, rotating object rather than a collection of separate shapes.
Best techniques for shading and depth
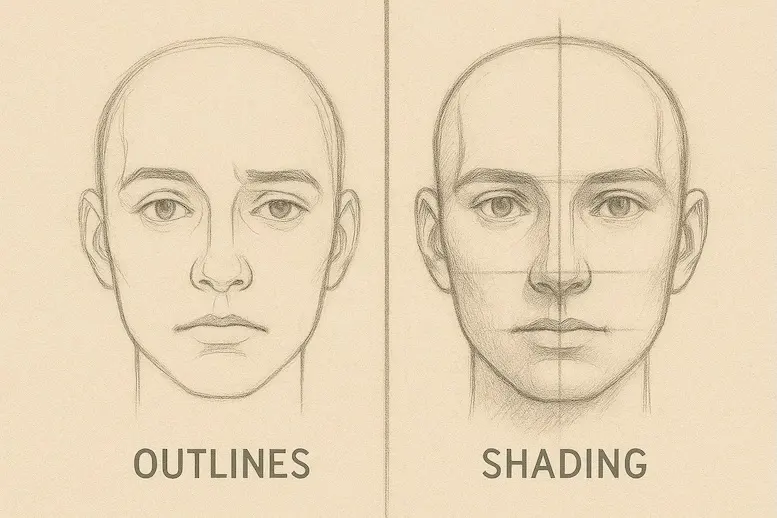
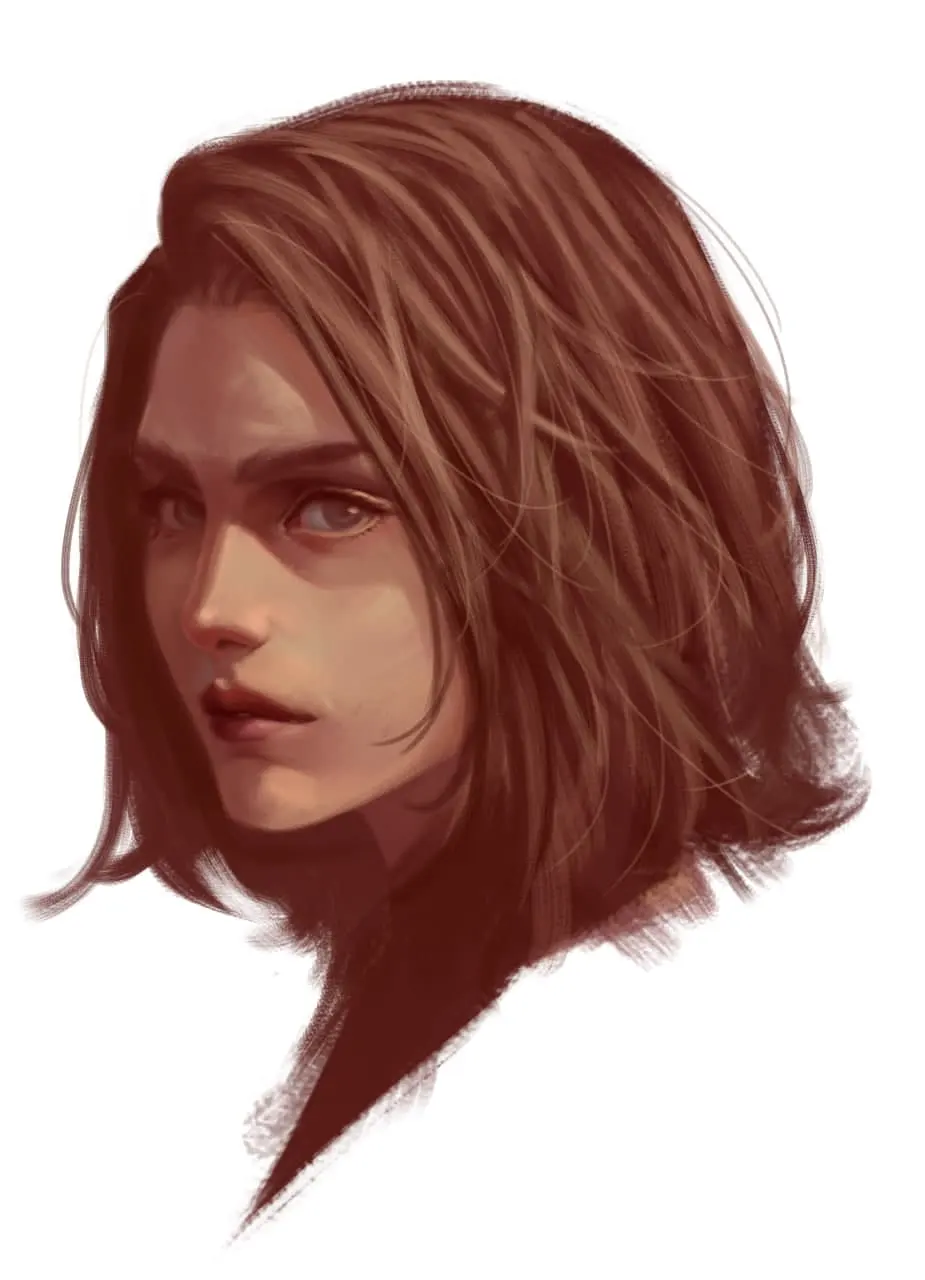
Shading is the process of defining form through light and shadow. To create a realistic face, you must identify the primary light source and determine how it interacts with the facial planes. Areas such as the eye sockets, the underside of the nose, and the area beneath the chin typically receive the least light and require deeper, more deliberate shading.
Use these techniques to improve your shading:
- Use a variety of pencil grades, such as 2H for light outlines and 4B or 6B for deep shadows.
- Practice "cross-hatching" or "blending" to create smooth transitions between light and dark tones.
- Always leave a small "highlight" on the pupil of the eye to give the portrait a lifelike, reflective quality.
- Avoid over-blending, which can make skin look muddy; instead, use controlled strokes to mimic the texture of skin.
Common mistakes when drawing facial features
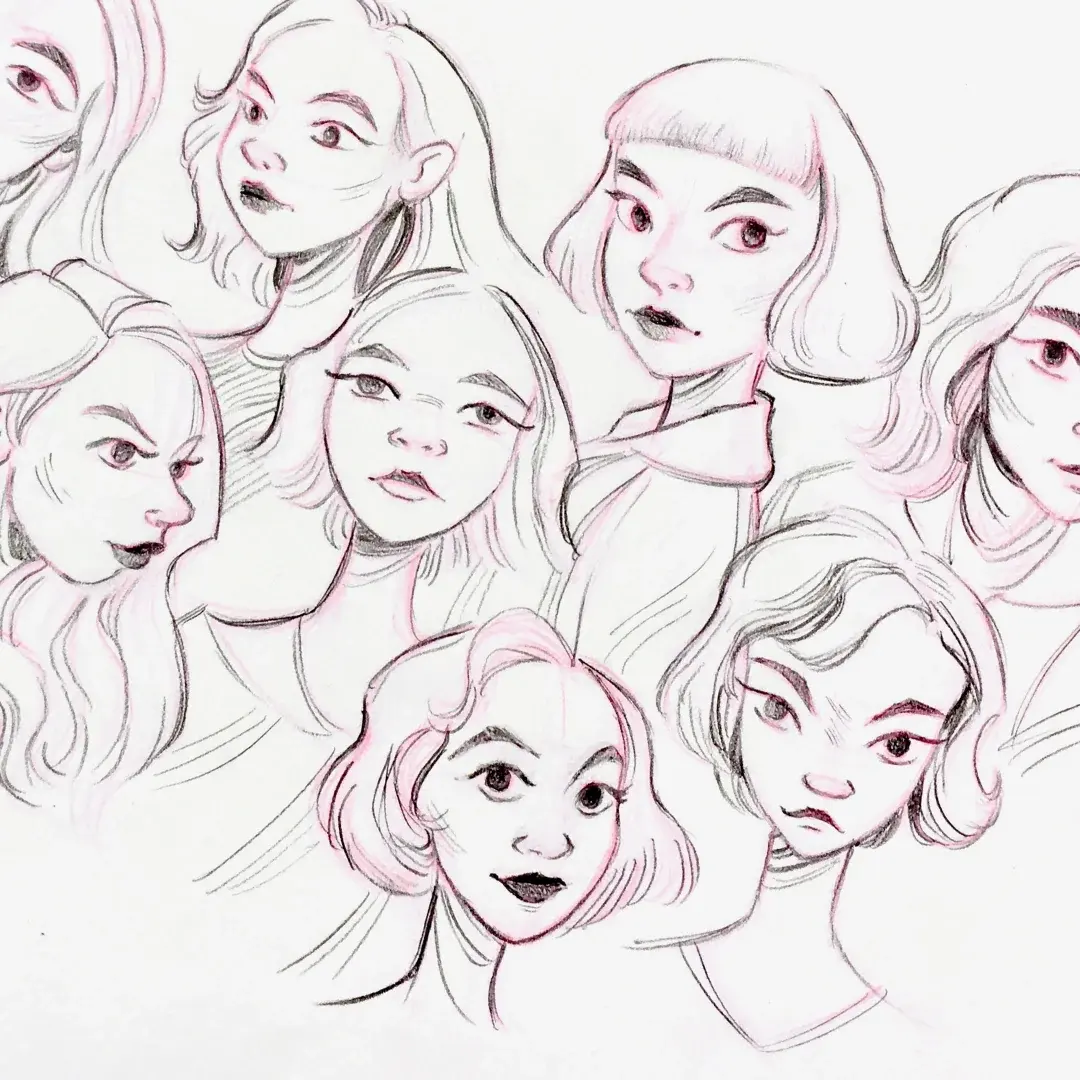
Many beginners struggle with the eyes, often drawing them too large or failing to account for the curvature of the eyeball. Another frequent error is drawing the ears as simple loops; in reality, the top of the ear typically aligns with the brow line, while the bottom aligns with the base of the nose. Neglecting these alignments makes the face feel disconnected.
Additionally, artists often overlook the neck and shoulders, which are essential for grounding the head. A head drawn without a neck can appear detached or floating. When drawing the mouth, avoid drawing individual teeth, as this often results in a jagged, unnatural look. Instead, focus on the shadow cast by the upper lip and the subtle highlight on the lower lip to suggest volume and form.
How long does it take to get better at drawing faces
Improving your portrait skills is a gradual process that depends on the quality and frequency of your practice. While some individuals may see significant progress within a few months of daily sketching, achieving professional-level proficiency often takes years of dedicated study. Focus on "deliberate practice," which involves analyzing your mistakes and specifically working to correct them rather than just repeating the same habits.
To accelerate your growth, keep a sketchbook and dedicate at least 15 to 30 minutes each day to drawing from life or high-quality reference photos. Study the works of master portraitists like John Singer Sargent or Leonardo da Vinci to understand how they handled light, shadow, and expression. By consistently challenging yourself with different angles, ages, and lighting conditions, you will develop the muscle memory and visual intuition necessary to draw faces with confidence and precision.
Key facts
- The human head is roughly an oval shape, often divided into three equal sections: the hairline to the eyebrows, the eyebrows to the bottom of the nose, and the nose to the chin.
- Eyes are typically positioned halfway down the total height of the head, rather than near the top.
- The width of the head is generally about five eye-lengths across, with one eye-length of space between the two eyes.
- Ears usually align horizontally with the space between the eyebrows and the bottom of the nose.
- Drawing from life or high-quality photographs is more effective for learning anatomy than relying on stylized cartoons.
- Consistent practice, such as sketching for 15 minutes daily, builds the muscle memory required for accurate proportions and shading.
The bottom line
Mastering facial drawing requires a disciplined focus on anatomical proportions and the observation of light. By dividing the head into standard segments and prioritizing the structure of the skull over individual features, you create a solid foundation for realism. Consistent practice, combined with the use of accurate references, will eventually allow you to capture the nuances of human expression with confidence and technical precision.
People also ask
Should I start by drawing the eyes or the overall shape of the head?
Always start by lightly sketching the overall shape of the head and the center guidelines. Focusing on individual features too early often leads to incorrect placement and skewed proportions.
How do I make skin look realistic instead of flat?
Use a full range of values, including deep shadows and bright highlights. Observe how light wraps around the spherical form of the skull rather than treating the face as a flat surface.
Why do my drawings look like they are staring in different directions?
This usually happens when the pupils are not aligned correctly within the iris or the eyelids are uneven. Ensure the gaze of both eyes follows the same focal point by drawing them simultaneously.
How can I improve my shading technique?
Avoid smudging graphite with your fingers, as this creates muddy textures. Use cross-hatching or smooth, controlled strokes with a sharpened pencil to build depth gradually.
Is it better to draw from memory or reference?
Beginners should always use reference photos or live models to understand how light and bone structure actually function. Memory drawing is a skill best developed after you have mastered anatomical accuracy.
How do I draw hair without making it look like a solid block?
Treat hair as large masses or volumes rather than individual strands. Focus on the highlights and shadows that define the shape of the hair, adding detail only at the very end.
This answer was created with the help of AI research tools and reference sources. Spotted an error? Let us know — we correct mistakes quickly. See our editorial policy.