How do you draw a face from above?
Short answer
Drawing a face from a high-angle perspective requires shifting the facial features downward and foreshortening the cranium. By placing the eyes, nose, and mouth lower on the head shape and emphasizing the top of the skull, you create the illusion of looking down, effectively capturing the vertical depth of the subject.
On this page
How to map the head shape from above
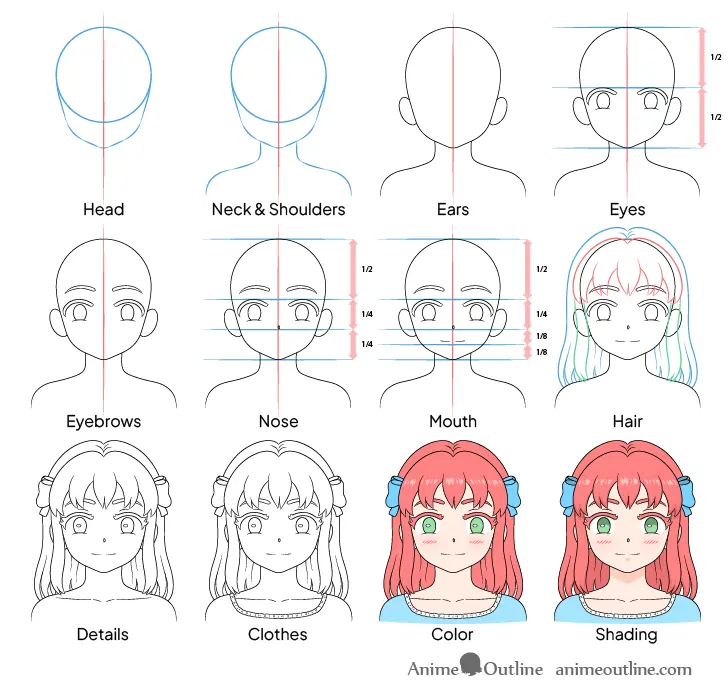
When viewing a subject from above, the head is no longer a simple oval. The top of the skull becomes the most prominent feature, while the chin appears significantly closer to the neck. Start by drawing a circle for the cranium, but extend the jawline much shorter than you would for a front-facing portrait. Because the head tilts downward, the forehead occupies more space, and the back of the head is hidden behind the crown.
Use these steps to establish the initial structure:
- Draw a large circle to represent the top of the head.
- Sketch a smaller, narrower shape below it for the jaw, ensuring it overlaps the bottom of the circle.
- Establish a vertical centerline that curves slightly to follow the tilt of the face.
- Mark the horizontal guidelines for the eyes and nose, placing them much lower than the center of the total head shape.
Why facial features shift downward
Foreshortening is the primary reason facial features appear to migrate toward the chin in high-angle drawings. As the head tilts away from the viewer, the distance between the eyes and the chin compresses visually. The nose becomes the most prominent feature because it protrudes outward, often overlapping the philtrum or the upper lip. This creates a distinct perspective where the eyebrows appear to sit higher on the forehead than usual.
To maintain accurate proportions, remember that the ears will appear to sit higher on the head. In a standard view, the top of the ear aligns with the eyebrows; from above, the ears move upward toward the crown. The jawline also loses its defined angle, appearing more rounded as the chin points toward the chest. Keep your lines fluid, as the perspective causes the features to curve around the spherical form of the skull.
Common mistakes when drawing high angles
One of the most frequent errors is keeping the features centered on the head. Beginners often draw the eyes in the middle of the oval, which makes the face look flat rather than tilted. Another common mistake is failing to account for the neck. When looking down at someone, the neck is often partially obscured by the chin or the back of the head, yet artists frequently draw it as if it were fully visible from the side.
Avoid these pitfalls to improve your accuracy:
- Drawing the chin too long, which creates a distorted, elongated appearance.
- Ignoring the overlap of the nose over the mouth area.
- Placing the eyes on a flat horizontal line instead of a curve that wraps around the face.
- Forgetting that the top of the head should be the largest, most dominant shape in the composition.
Best shading techniques for depth
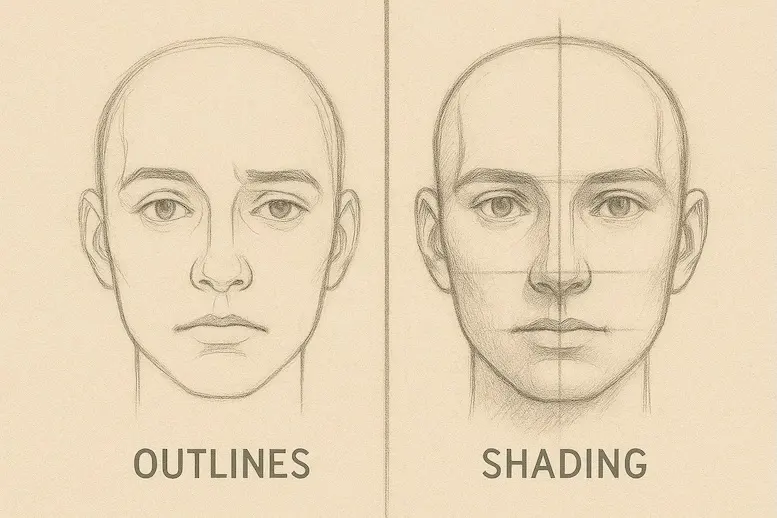
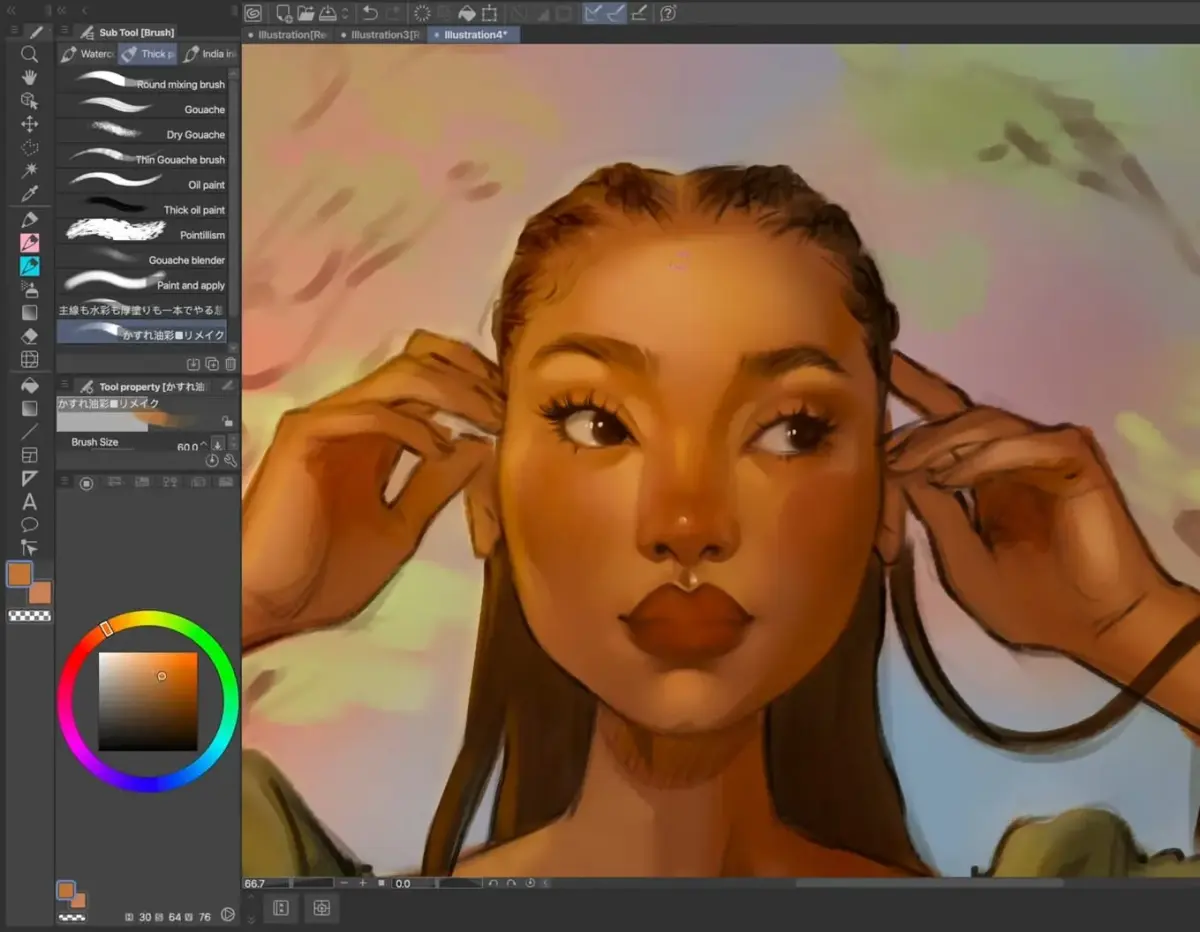
Shading is essential for defining the three-dimensional form of a head viewed from above. Because the top of the head is closest to the light source, it often receives the most highlights. Conversely, the areas under the brow, the nose, and the chin will fall into deep shadow. Use a soft transition to show how the light rolls over the curve of the forehead and the bridge of the nose.
Focus on the shadows cast by the features themselves to ground the drawing. The nose should cast a small, dark shadow onto the upper lip, and the chin will cast a shadow onto the neck or chest. By darkening the area under the jaw, you create a clear separation between the head and the torso. Always consider the light source before applying tone, as high-angle perspectives often involve complex lighting that highlights the crown of the head while obscuring the lower face.
How to practice perspective consistently
Consistency comes from studying the relationship between the skull and the neck. Practice by drawing a simple ball and adding a small cylinder for the neck at different angles. Once you master the basic volume, begin adding the facial features as if they are stickers wrapped around the surface of that ball. This exercise helps you understand how the planes of the face change when the head rotates or tilts downward.
Try these exercises to build your muscle memory:
- Sketch ten-minute thumbnails of heads from various high-angle photographs to observe the placement of the ears and jaw.
- Use a mannequin head or a ball with a line drawn on it to visualize how the horizontal axis curves.
- Focus on drawing the "T" shape of the eyes and nose as a single unit, then place that unit onto the head shape.
- Regularly compare your drawing to a reference image to see if the chin and forehead proportions align with the intended perspective.
Key facts
- Foreshortening is the primary challenge, as features appear compressed when viewed from a high angle.
- The top of the head occupies more visual space than the chin, which appears to recede toward the neck.
- Eyes should be placed significantly higher on the head shape than they would be in a standard frontal portrait.
- The nose is the most prominent feature from above and will often overlap the mouth area.
- Ears appear lower on the sides of the head because the cranium tilts forward, shifting the skull's orientation.
- Use a circle as your base shape, but flatten the bottom curve to account for the downward tilt.
The bottom line
Drawing a face from above requires mastering foreshortening, where features compress as they move away from the viewer. By prioritizing the top of the head and placing eyes higher, you create a convincing sense of depth. Focus on the nose as a protruding wedge and minimize the chin area. Practice these spatial adjustments to ensure your portraits maintain a realistic, three-dimensional quality despite the challenging high-angle perspective.
People also ask
How does the hairline change when drawing from a high angle?
The hairline becomes the most visible part of the scalp, often appearing as a large, rounded shape at the top of the head. Because the forehead is tilted away from the viewer, the hair covers more surface area than it does in a standard portrait.
Should I draw the neck when looking down at a subject?
Usually, the neck is partially or entirely hidden by the chin and jawline when viewed from above. If the subject is looking up, you might see the back of the neck, but in a standard downward gaze, the head often rests directly against the shoulders.
Why do the eyes look distorted in my high-angle drawings?
Distortion occurs when you fail to follow the curve of the skull. Remember that the eye sockets sit within a rounded form; draw them as thin, curved ellipses that follow the contour of the face rather than flat horizontal lines.
How do I handle the nose when it is pointing toward the ground?
The nose should be drawn as a triangular wedge that protrudes outward. Focus on the underside of the nostrils, as these will be more visible than the bridge of the nose from this specific vantage point.
What is the biggest mistake beginners make with high-angle portraits?
The most common error is maintaining standard facial proportions, which makes the head look unnaturally long. Always compress the distance between the nose, mouth, and chin to simulate the effect of the face receding into the distance.
Does the jawline shape change when viewed from above?
Yes, the jawline appears shorter and more rounded. Instead of a sharp, angular chin, focus on the curve of the jaw as it connects to the neck, which will often look like a soft, continuous arc.
This answer was created with the help of AI research tools and reference sources. Spotted an error? Let us know — we correct mistakes quickly. See our editorial policy.