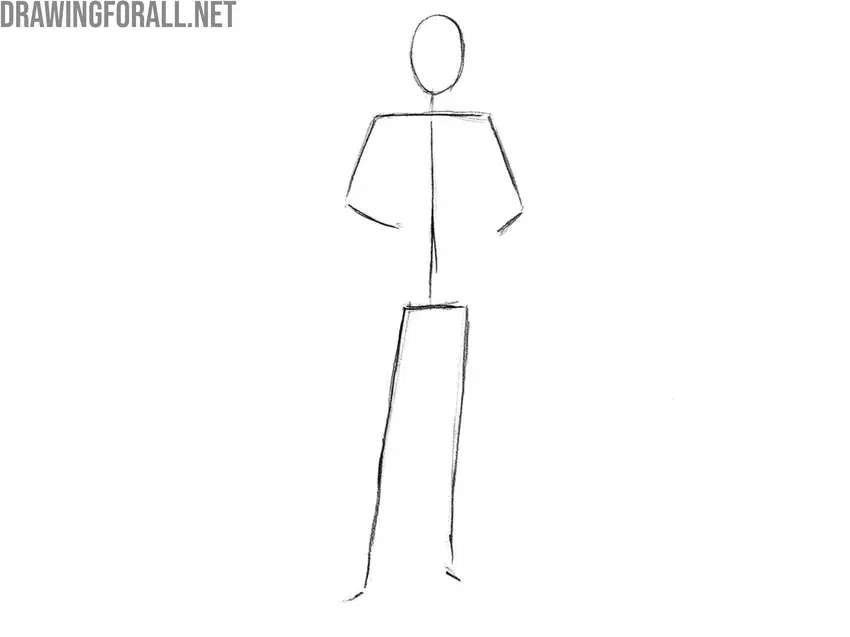
What is foreshortening in drawing?
Short answer
Foreshortening is a visual technique used in drawing to create the illusion of an object or figure receding into the distance. By compressing the length of an object along the viewer's line of sight, artists make three-dimensional forms appear to project toward or away from the observer on a two-dimensional surface.
On this page
What is foreshortening in drawing?
Foreshortening is a fundamental principle of perspective that relies on the laws of optics. When an object is viewed at an angle, the parts closest to the eye appear larger, while the parts further away appear significantly smaller and more compressed. This distortion is not an error but a necessary adjustment to represent depth accurately. Without this technique, a figure reaching toward the viewer would look flat or elongated, failing to convey the physical space it occupies.
The concept gained prominence during the Italian Renaissance as artists sought to create more realistic, immersive scenes. Famous examples include Andrea Mantegna’s Lamentation of Christ, where the body is depicted feet-first, drastically shortening the torso to emphasize the viewer's perspective. By manipulating these proportions, artists can guide the viewer’s eye and establish a clear sense of volume. Mastering this requires moving beyond drawing what you know to be true about an object's size and instead drawing exactly what you see from your specific vantage point.
Why foreshortening happens in art
Foreshortening occurs because of the way light rays converge toward the eye. As an object moves closer to the observer, the angle of the light rays coming from the near end is much wider than the angle from the far end. Consequently, the brain registers the near end as taking up more space in the field of vision. This effect is mathematically consistent with linear perspective, where parallel lines appear to meet at a vanishing point on the horizon line.
To visualize this, imagine holding a pencil horizontally at arm's length. It looks like a long, thin line. If you rotate it so the tip points directly at your eye, the length seems to vanish, leaving only the circular tip visible. This transition from a long shape to a foreshortened point is the core of the technique. Artists use this phenomenon to create dynamic poses, such as a hand reaching forward or a figure lying down, which adds energy and three-dimensional realism to otherwise static compositions.
How to draw foreshortened figures
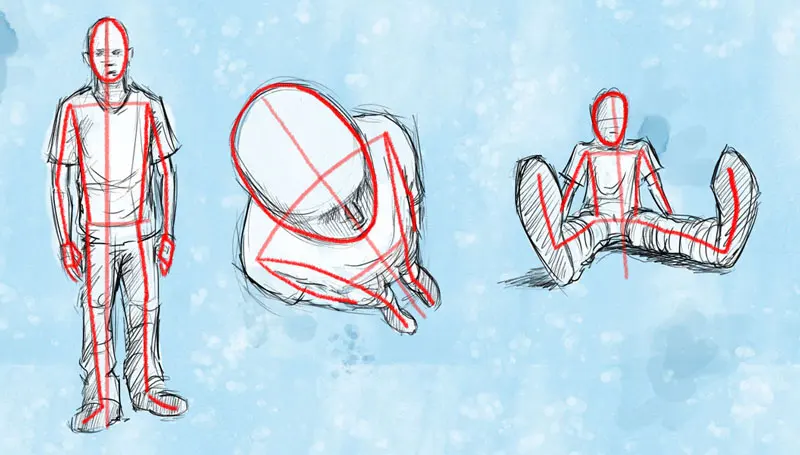
Achieving accurate foreshortening involves breaking complex forms into simpler geometric shapes. By treating limbs as cylinders or boxes, you can more easily map how they recede into space.
- Establish the primary gesture line of the pose to maintain flow and balance.
- Use basic geometric shapes like spheres for joints and cylinders for limbs to map out the volume.
- Observe the overlap of these shapes; the part of the form that is closer to the viewer should overlap the part that is further away.
- Check your proportions by measuring the width of the shape against its apparent length, which will be much shorter than usual.
- Apply shading to define the contours and emphasize the roundness of the forms, which helps the eye understand the depth.
Consistent practice with these steps will help you overcome the urge to draw limbs at their "actual" length rather than their "perceived" length.
Common mistakes when drawing foreshortening
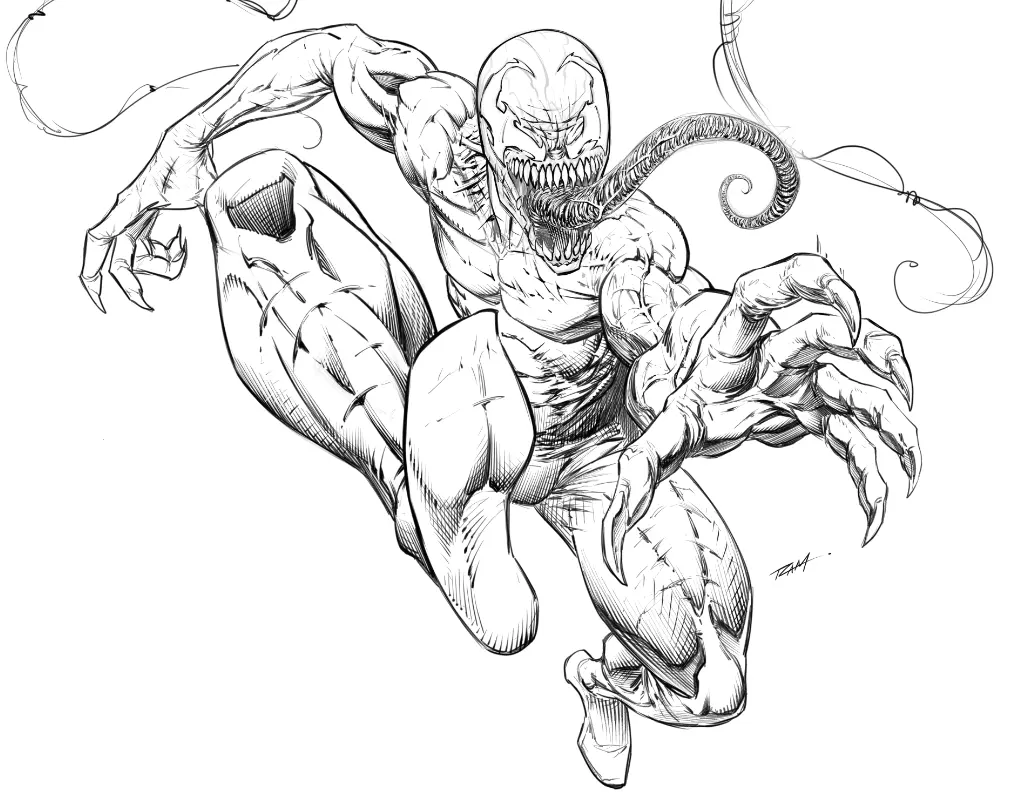
The most frequent error is the tendency to draw objects at their full, anatomical length, which results in a "stiff" or "broken" appearance. Beginners often fear that the object will look too short, so they compensate by elongating the limbs, which destroys the illusion of depth. Another common mistake is failing to account for overlapping planes. When a form is foreshortened, the overlapping sections are the primary visual cues that tell the brain an object is moving toward the viewer.
- Ignoring the vanishing point, which leads to inconsistent perspective.
- Failing to use enough contrast in shading, which makes the foreshortened object look flat.
- Over-detailing the distant parts, which pulls them forward and ruins the depth effect.
- Drawing from memory rather than observation, which leads to anatomical inaccuracies.
To avoid these pitfalls, always compare the width of the object to its length. If the object is pointing toward you, its width will often be nearly equal to its compressed length.
Best tools for practicing foreshortening
Developing a strong grasp of foreshortening requires tools that allow for quick iteration and clear observation. Sketchbooks with high-quality paper are essential for repeated drawing sessions, while graphite pencils ranging from HB to 4B provide the necessary range for both structural lines and deep, form-defining shadows. Many artists also find that using a mannequin or a reference photo is crucial for understanding how light hits complex, angled surfaces.
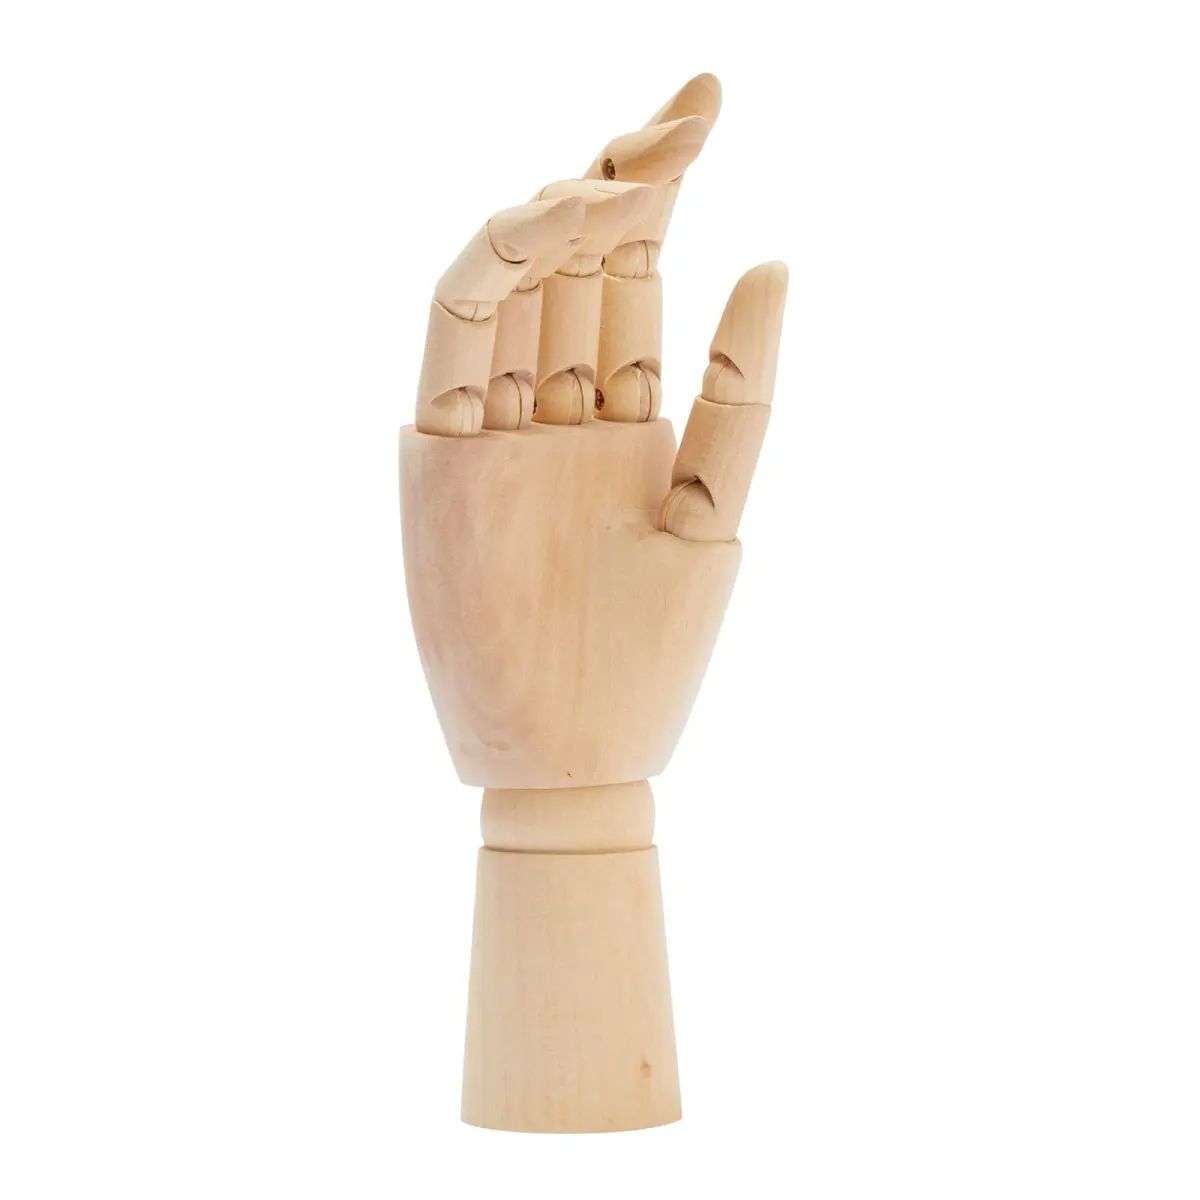
- Use a wooden artist mannequin to study how joints overlap at various angles.
- Utilize a camera to take photos of your own limbs in foreshortened positions for reference.
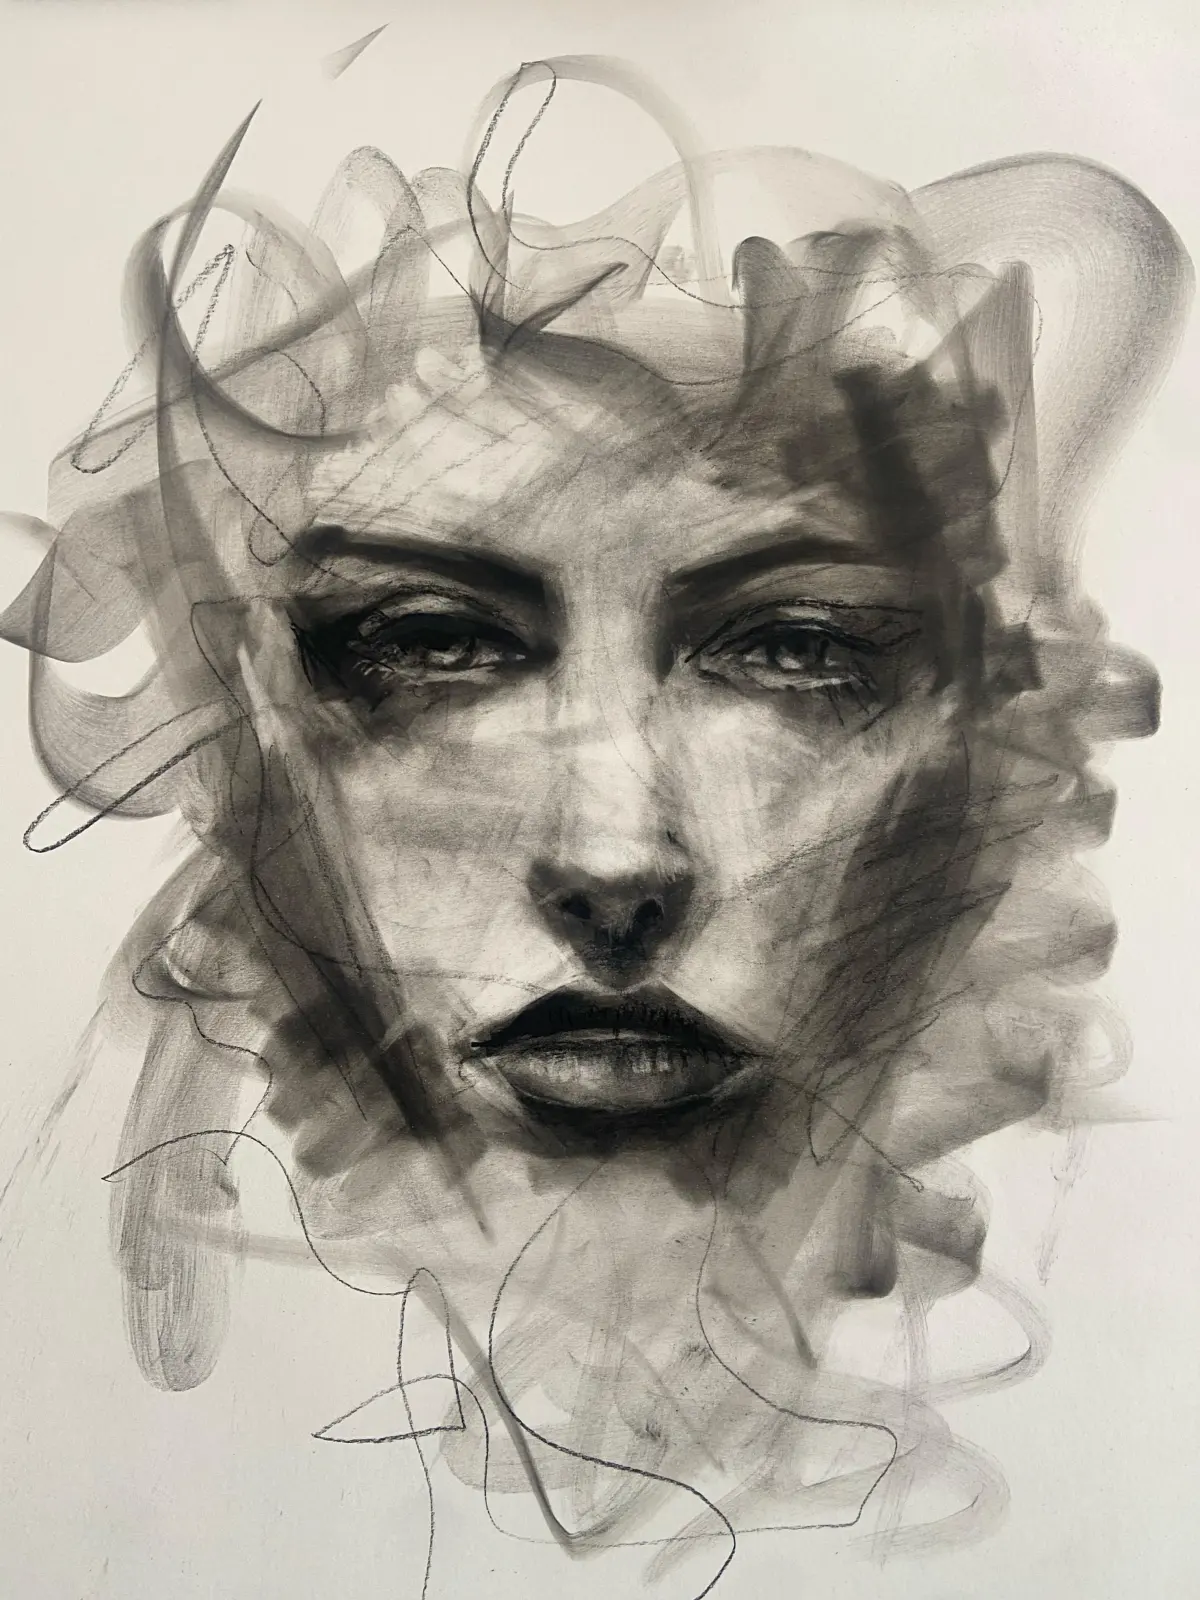
- Work with charcoal for larger studies to focus on mass and volume rather than fine detail.
- Keep a mirror nearby to observe your own body in different postures.
By consistently applying these techniques and using the right resources, you will eventually develop an intuitive sense of how forms occupy space. This skill is vital for any artist aiming to create compelling, lifelike illustrations that feel grounded in a three-dimensional world.
Key facts
- Foreshortening is a technique used to create the illusion that an object or figure is receding strongly into the background.
- It relies on the rules of linear perspective, where objects closer to the viewer appear larger than those further away.
- The technique compresses the length of an object, making it appear shorter than its actual physical dimensions.
- Renaissance artist Andrea Mantegna is famous for his 1480 work Lamentation over the Dead Christ, which masterfully uses extreme foreshortening.
- To practice, draw a cylinder or a human limb pointing directly at the viewer to observe how the proportions shrink.
- A common mistake is drawing the object at its true length, which results in a flat image that lacks depth and spatial realism.
The bottom line
Foreshortening is a vital artistic technique that allows you to translate three-dimensional depth onto a two-dimensional surface by compressing the visual length of objects. By prioritizing direct observation over preconceived notions of size, you can create compelling, realistic images. Mastering this skill requires practice in observing how angles and proportions change as objects move toward the viewer, ultimately adding significant drama and spatial complexity to your artwork.
People also ask
How do I practice foreshortening at home?
Start by placing a simple object like a pencil or a tube pointing toward your eye. Sketch only the shapes you see from that specific angle, ignoring what you know the object looks like from the side.
Why does my foreshortened drawing look distorted?
Distortion often occurs when you try to "correct" the shapes based on your mental knowledge of an object's true size. Trust your observation of the compressed shapes rather than your memory of the object's full length.
Is foreshortening only used for human figures?
No, it applies to any three-dimensional object in space. You can use it to depict architectural elements, animals, or furniture to make a scene feel more dynamic and immersive.
What is the difference between perspective and foreshortening?
Perspective is the overall system used to represent depth on a flat surface, while foreshortening is a specific application of that system to shorten individual objects. Foreshortening is essentially a localized effect within a larger perspective drawing.
How can I check if my foreshortening is accurate?
Use a viewfinder or hold your pencil up to measure the relative heights and widths of the object. If the measurements on your paper match the proportional relationships you see in reality, your foreshortening is likely correct.
Does lighting affect how I should draw foreshortened objects?
Yes, lighting is crucial because it defines the planes of the object as they recede. Use strong highlights and deep shadows to emphasize the volume of the compressed form, which helps the viewer understand the spatial depth.
This answer was created with the help of AI research tools and reference sources. Spotted an error? Let us know — we correct mistakes quickly. See our editorial policy.