How do you draw a forest?
Short answer
Drawing a forest requires layering shapes to create depth, starting with foreground silhouettes and fading details toward the background. Use atmospheric perspective by making distant trees lighter, smaller, and less detailed than those in the front. By establishing a clear horizon line and varying tree heights, you build a realistic, immersive woodland scene.
On this page
How to structure a forest composition
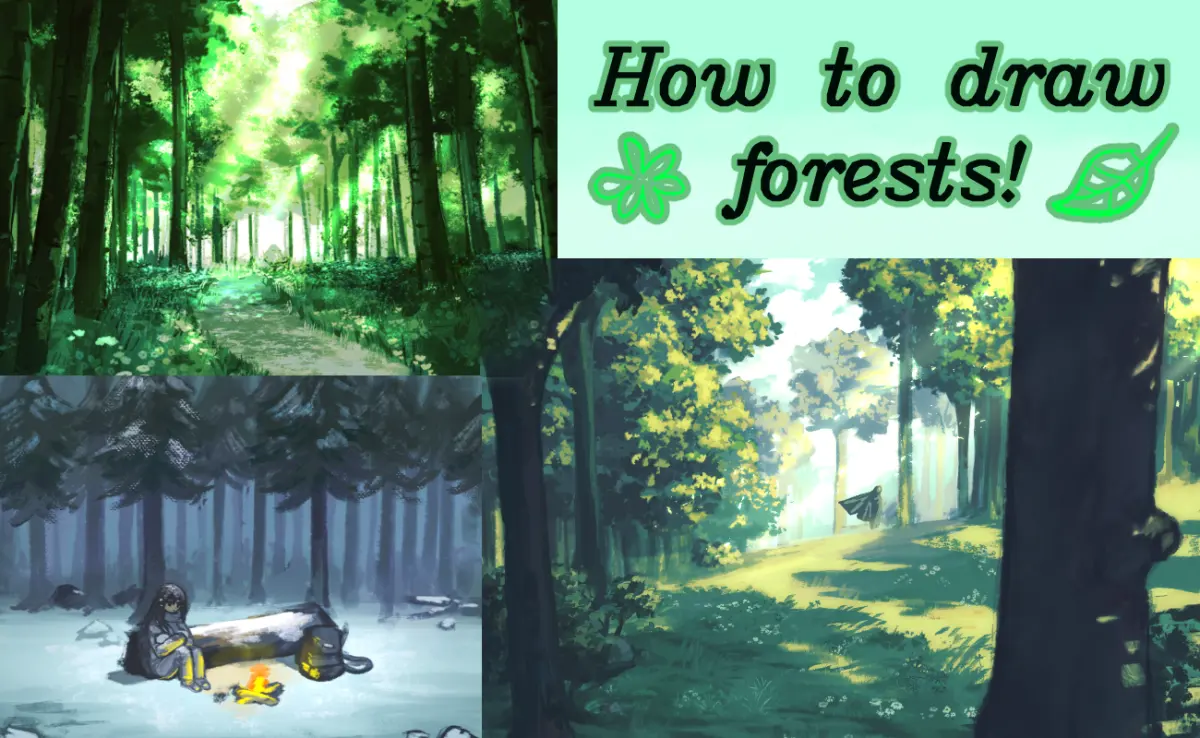
The secret to a compelling forest drawing is establishing a sense of depth through a clear foreground, midground, and background. Begin by sketching a horizon line, though it may be obscured by trees, to ground your perspective. Place large, dark, and highly detailed tree trunks in the foreground to frame the scene. As you move toward the center, introduce smaller trees with slightly less contrast to create the midground. Finally, the background should consist of soft, faint shapes that suggest a dense canopy or distant hills.
To achieve this spatial layering, follow these foundational steps:
- Sketch light guidelines for the placement of major tree trunks.
- Define the foreground trees with heavy pressure and sharp edges.
- Use lighter, thinner lines for midground trees to imply distance.
- Apply minimal detail and very light shading to background elements.
- Add overlapping branches to connect the trees and unify the composition.
Best drawing techniques for beginners
For those new to landscape art, the most effective approach is to simplify complex natural forms into basic geometric shapes. Instead of drawing every individual leaf, treat the foliage as clusters or "clouds" of texture. This technique prevents the drawing from becoming cluttered and helps maintain focus on the overall structure of the forest. Use a soft graphite pencil, such as a 4B or 6B, to build up dark shadows, while keeping a harder 2H pencil for lighter, distant details.
Focusing on the negative space between branches is equally important for beginners. Rather than drawing the leaves themselves, observe the shapes of the sky peeking through the canopy. By shading the areas around these gaps, you naturally form the silhouette of the trees. This method forces you to see the forest as a cohesive unit rather than a collection of disconnected parts, resulting in a more professional and balanced final image.
How to create depth with atmospheric perspective
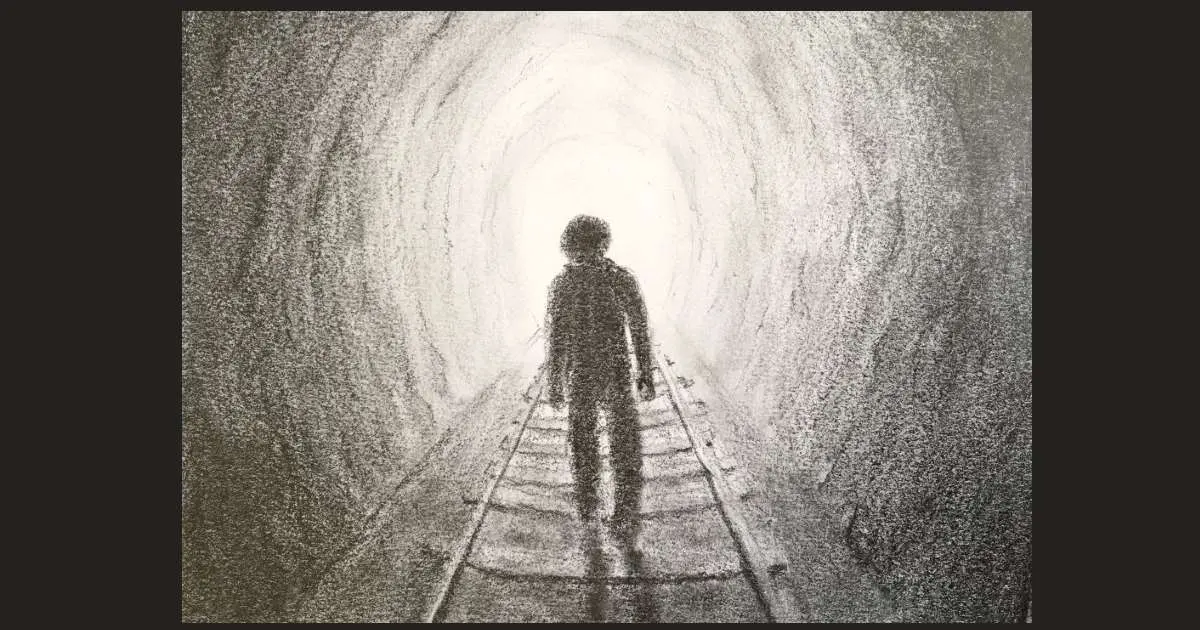
Atmospheric perspective is the optical phenomenon where objects appear lighter and less saturated as they recede into the distance. In a forest, this means the trees closest to the viewer should have the highest contrast between light and shadow. As the trees move further away, the shadows should become softer and the overall value of the trees should shift closer to the color of the sky. This trick mimics the way moisture and dust in the air obscure distant details.
To master this effect, consider these essential rules:
- Foreground trees: Use deep blacks and crisp, hard edges.
- Midground trees: Use mid-tones and slightly blurred edges.
- Background trees: Use very light grays and minimal definition.
- Sky holes: Keep these bright and clear near the front, but muted in the back.
- Overlap: Ensure trees overlap each other to push the background further away.
Common mistakes when drawing trees
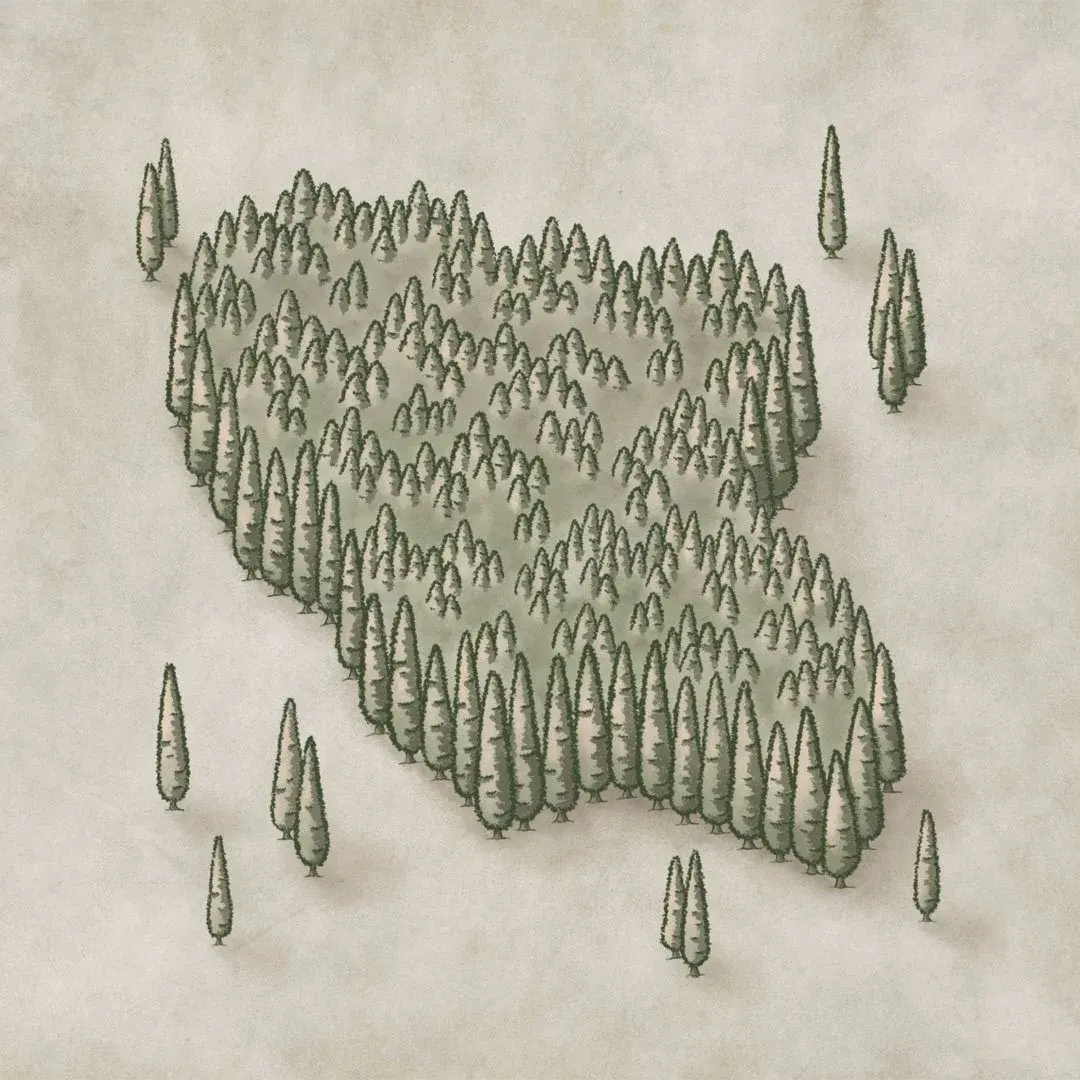
One of the most frequent errors is drawing every tree trunk as a perfectly straight, parallel cylinder. Nature is rarely uniform; trees grow toward light sources, bend around obstacles, and feature knots or irregular bark. If you draw all your trunks perfectly vertical and identical in width, the forest will look stiff and artificial. Vary the thickness of your trunks and introduce subtle curves or leaning angles to give each tree a unique personality and sense of life.
Another common pitfall is "floating" trees, where the base of the trunk does not appear anchored to the ground. Always ensure your trees have roots or are partially obscured by grass, ferns, or bushes to ground them in the landscape. Avoid drawing a single, flat line for the ground; instead, use small, irregular bumps to represent the uneven forest floor. These small details prevent the trees from looking like they are hovering on a blank page.
How to add texture and detail
Adding texture is the final stage that brings a drawing to life, but it must be applied selectively. Focus your most intricate bark patterns and leaf textures on the foreground trees where the eye naturally rests. Use short, flicking pencil strokes to suggest the rough texture of bark, and vary the direction of these strokes to wrap around the cylindrical shape of the trunk. For foliage, use a stippling or circular motion to create the illusion of dense, layered leaves.
Do not feel obligated to texture every single tree in the drawing. If you apply the same level of detail to the background as you do to the foreground, the image will lose its sense of scale and depth. Keep the background textures soft and suggestive, using only light, hazy marks to hint at the density of the woods. By concentrating your effort on the foreground, you guide the viewer's eye through the scene, creating a professional and visually satisfying forest drawing that feels expansive and deep.
Key facts
- Use atmospheric perspective by drawing distant trees lighter and less detailed than foreground trees.
- Vary the height, width, and tilt of tree trunks to avoid a repetitive, unnatural appearance.
- Group trees into clusters rather than spacing them evenly to mimic how forests grow in nature.
- Draw foliage as simple, rounded shapes or "clouds" first, then add individual leaf texture only in the foreground.
- Establish a single light source to ensure shadows on trunks and ground remain consistent throughout the drawing.
- Use vertical lines for trunks, but add subtle curves to show that trees grow toward light and respond to wind.
The bottom line
Drawing a convincing forest relies on mastering the balance between structure and chaos. By varying the shapes of your trees, layering them to create depth, and using light to define form, you move beyond simple symbols toward a realistic landscape. Remember that nature is rarely symmetrical or uniform; embracing irregularities in your lines and spacing will ultimately bring your woodland scene to life with natural energy.
People also ask
How do I make my forest look deep and expansive?
You can create depth by layering trees in three distinct zones: foreground, middle ground, and background. Make the background trees smaller, paler, and less defined to simulate the effect of atmospheric haze.
Should I draw every single leaf on the trees?
No, drawing every leaf often makes a drawing look cluttered and flat. Focus on the overall silhouette of the canopy and suggest texture only on the trees closest to the viewer.
What is the best way to draw realistic tree bark?
Use short, broken vertical strokes that follow the contour of the trunk. Avoid drawing continuous lines around the tree, as this makes the bark look like a flat pattern rather than a textured surface.
How do I handle shadows on the forest floor?
Shadows should be cast in the direction opposite your light source. Keep ground shadows soft and irregular to account for the uneven terrain and the way light filters through the canopy.
Why does my forest look like a row of telephone poles?
This happens when trunks are perfectly vertical and evenly spaced. Break the monotony by angling some trees, overlapping them, and grouping them into dense thickets with open clearings in between.
What drawing tools work best for a forest scene?
Graphite pencils are excellent for beginners because they allow for easy shading and erasing. Charcoal is ideal for dramatic, high-contrast scenes, while fine-liner pens work well for intricate, detailed botanical illustrations.
This answer was created with the help of AI research tools and reference sources. Spotted an error? Let us know — we correct mistakes quickly. See our editorial policy.