How do you draw a realistic tree?
Short answer
Drawing a realistic tree requires observing the structural hierarchy of the trunk, primary branches, and secondary twigs. By establishing a solid geometric base and layering foliage in clusters rather than drawing individual leaves, you create depth. Consistent light source application and varied line weights will provide the necessary volume and naturalistic texture.
On this page
How to structure a tree sketch
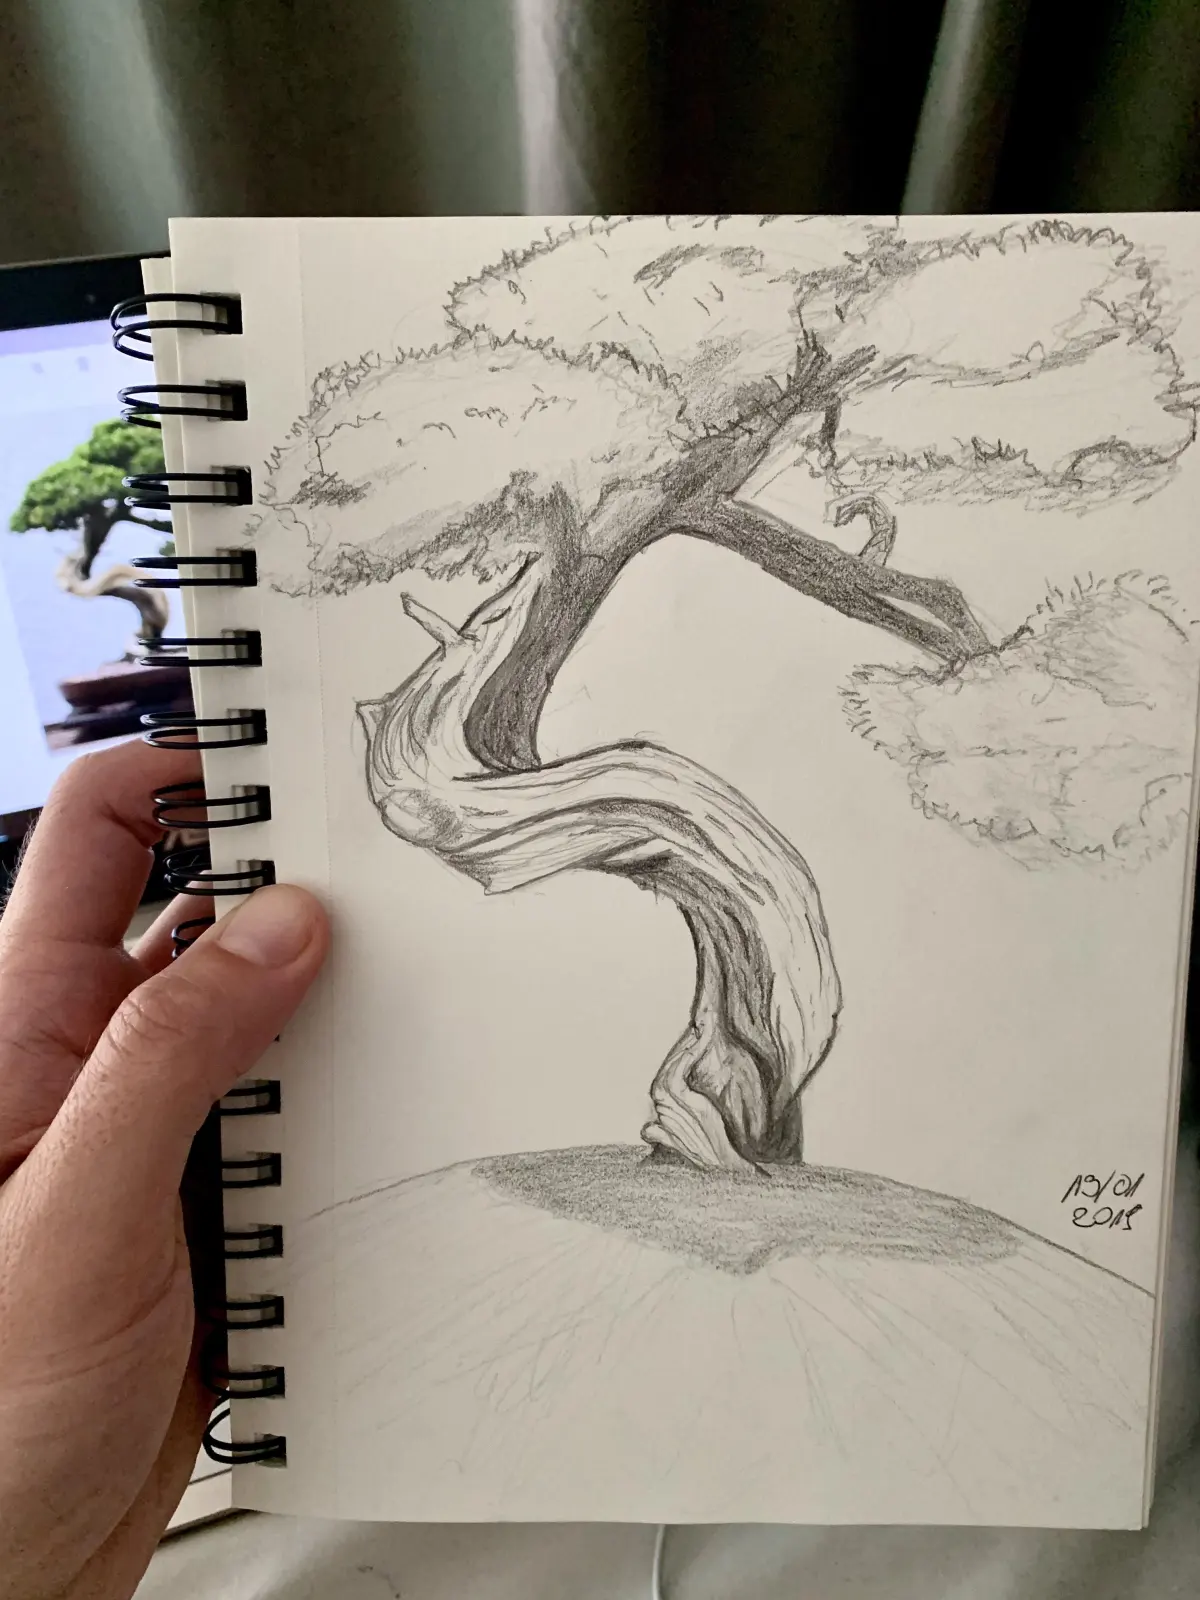
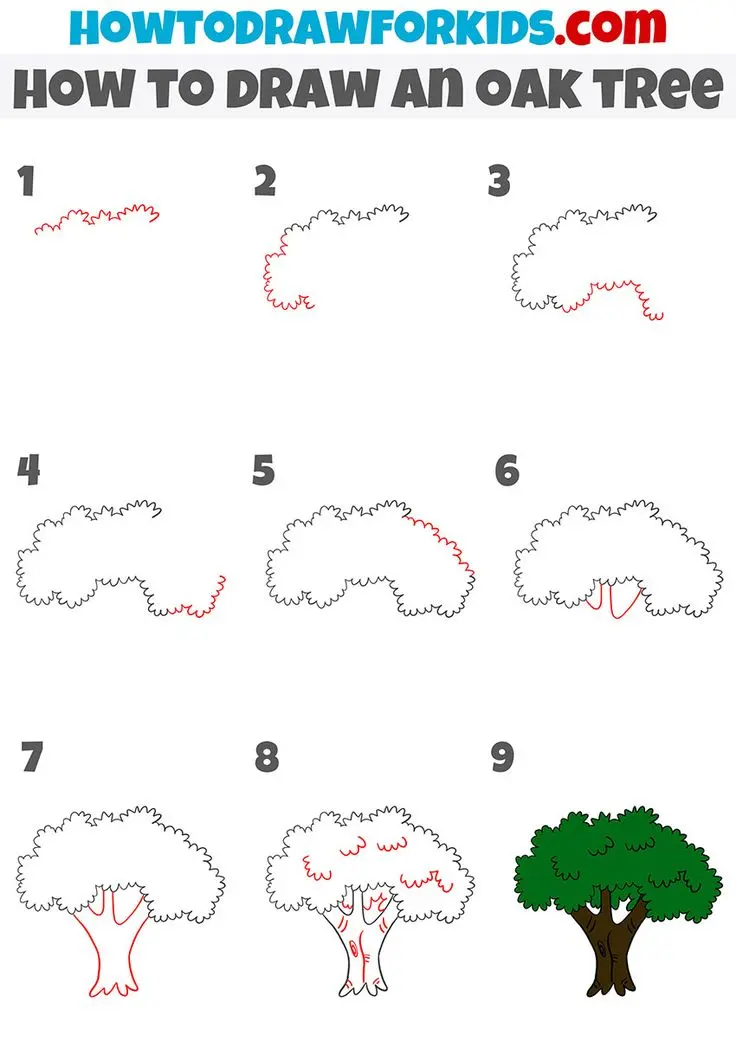
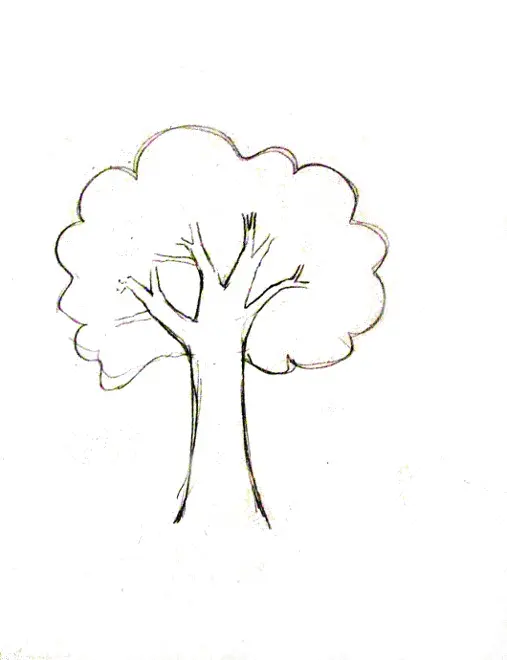
A realistic tree is built from the ground up using a structural framework. Begin by drawing a vertical line for the trunk, noting that it is rarely perfectly straight; it should taper as it rises and curve slightly to mimic natural growth. Use a light pencil to map out the primary branches, which should emerge from the trunk at alternating angles rather than directly opposite one another.
To ensure your tree looks grounded, follow these steps to establish the skeleton:
- Sketch the trunk with a slight flare at the base where it meets the ground.
- Draw primary branches that grow upward and outward, becoming thinner as they extend.
- Add secondary branches that fork off the primary ones, creating a "Y" shape at each junction.
- Keep these lines light and gestural, as they serve only as a guide for the final form.
How to add volume and texture
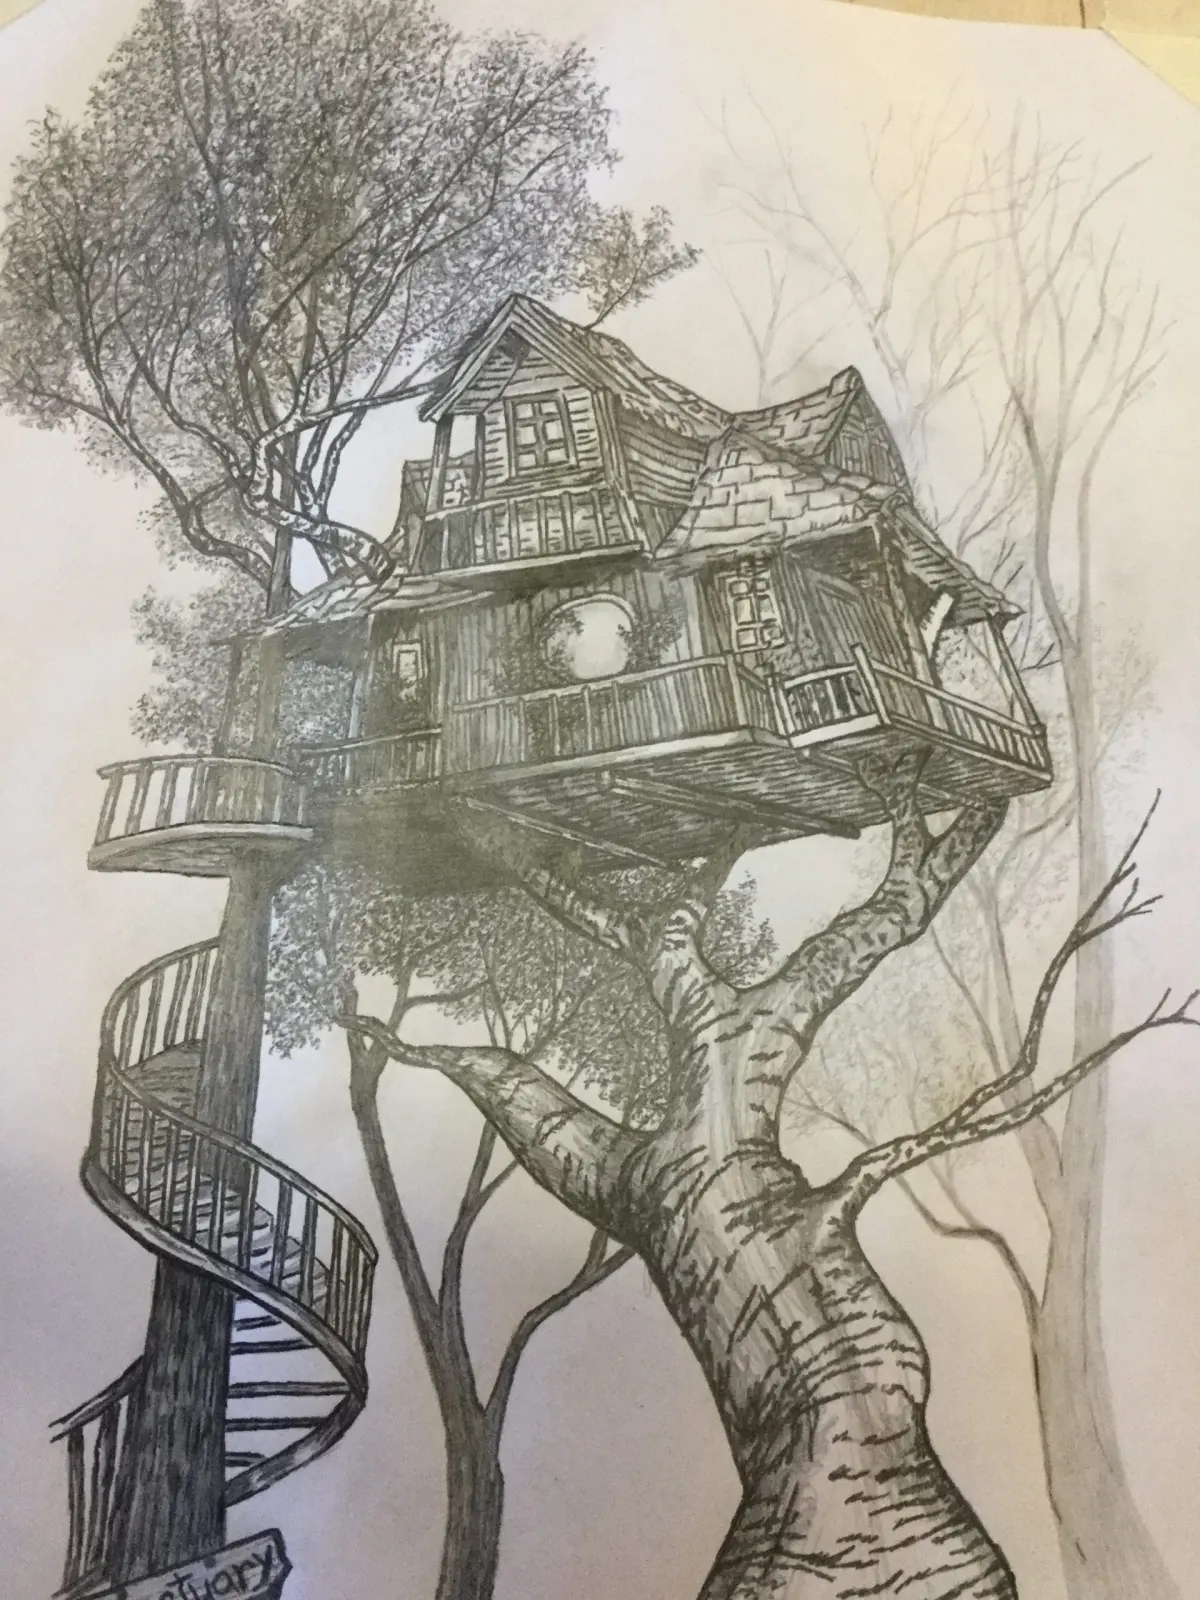
Once the framework is established, you must define the tree's mass. Trees are not solid blocks; they are collections of foliage clusters. Instead of drawing thousands of individual leaves, visualize the tree as a series of rounded shapes or "clouds" attached to the branches. These clusters should vary in size and overlap one another to create a sense of depth and density.
Focus on the following to enhance the three-dimensional quality of your drawing:
- Use short, flicking pencil strokes at the edges of foliage clusters to suggest individual leaves.
- Leave gaps between clusters to allow the sky to show through, which adds realism.
- Vary the pressure of your pencil to create darker, recessed areas within the foliage.
- Maintain a consistent light source, ensuring one side of the tree is brighter than the other.
Why trees look flat in drawings
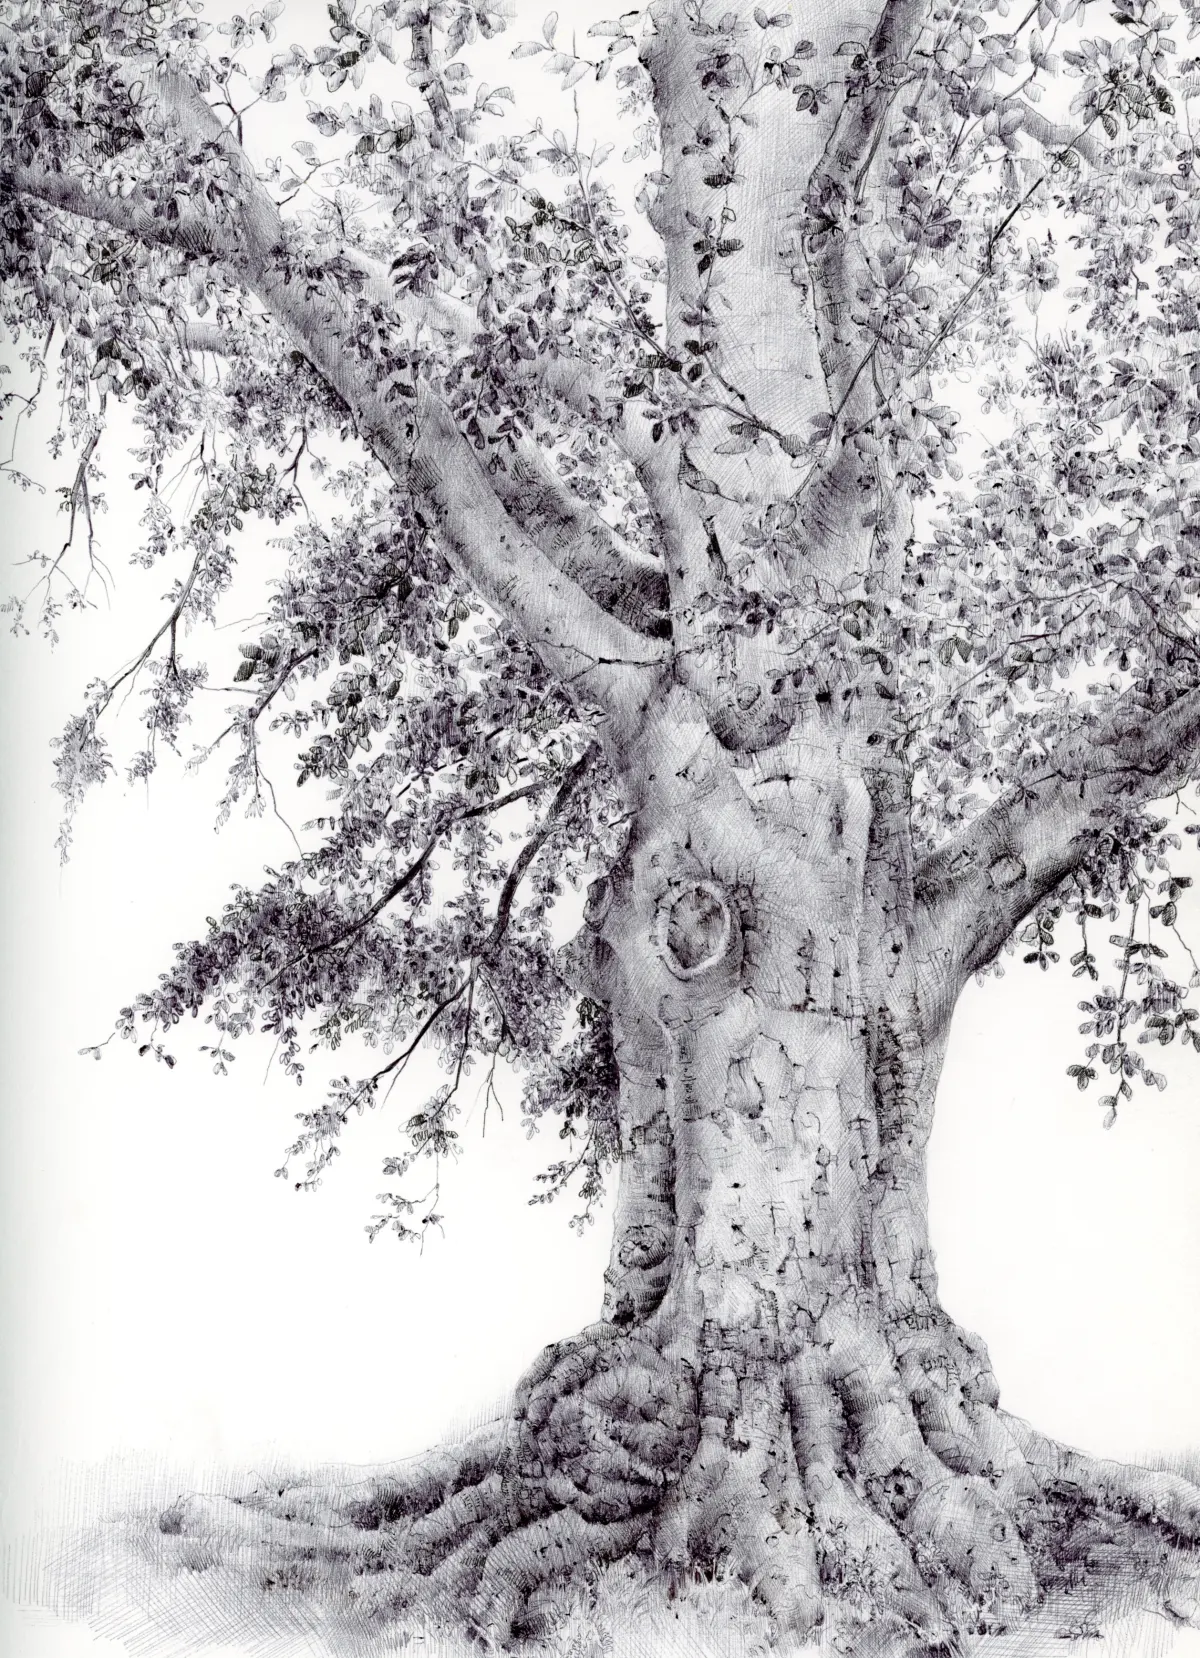
The most common reason a drawing looks two-dimensional is a lack of contrast. If you shade the entire tree with the same level of gray, it will appear as a flat silhouette. You must identify the core shadow, which is the darkest part of the tree, and the cast shadow, which is the dark area on the ground. By pushing your darkest values to the side opposite your light source, you create the illusion of a rounded, solid object.
Another factor is the texture of the bark. Beginners often draw bark as a series of vertical lines, which makes the tree look like a flat pole. In reality, bark texture is irregular and follows the contour of the trunk. Use horizontal hatching or cross-hatching to wrap around the cylindrical form of the trunk, which reinforces its roundness and prevents it from looking like a flat board.
Best shading techniques for beginners
Shading is the process of defining form through light and shadow. To achieve a realistic look, start by applying a light base tone across the entire tree. Gradually build up darker values in the areas where branches overlap or where the foliage is densest. Using a softer graphite pencil, such as a 4B or 6B, allows for richer, deeper shadows that make the highlights pop by comparison.
When shading the foliage, avoid over-blending with a finger or stump, as this creates a muddy, artificial look. Instead, use controlled, directional strokes that mimic the growth pattern of the leaves. Keep your highlights sharp and your shadows soft, transitioning between them with subtle gradations. Remember that the underside of each foliage cluster should be darker than the top, as the upper surfaces catch more ambient light from the sky.
Common mistakes when drawing trees
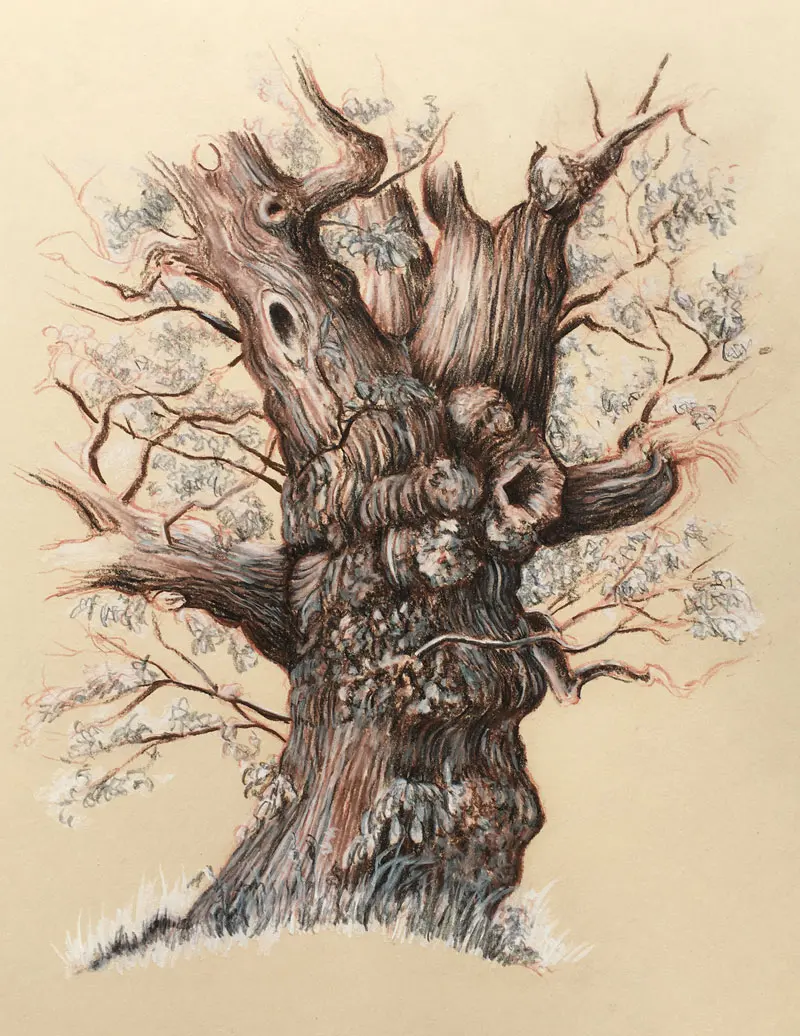
One frequent error is drawing branches that are too symmetrical or uniform. Nature is chaotic; branches should be asymmetrical, with some broken or missing to reflect the harsh realities of the environment. Another mistake is drawing the trunk as a perfect cylinder. Real tree trunks are irregular, often featuring knots, burls, or uneven roots that protrude from the soil, adding character and a sense of age to the specimen.
Finally, avoid the "lollipop" effect, where the foliage is perfectly circular and sits on top of a straight stick. To avoid this:
- Ensure the branches extend into the foliage, rather than stopping at the edge.
- Vary the height and width of the tree to create a unique silhouette.
- Observe real trees to see how gravity pulls branches downward as they grow older.
- Never outline the entire tree with a heavy, continuous line, as this flattens the image and separates it from the surrounding environment.
Key facts
- Trees are defined by their fractal nature, where branches divide into smaller versions of the main trunk.
- Use a "gesture drawing" approach to map the primary movement of the trunk before adding details.
- Light source consistency is critical; pick one side for highlights and keep the opposite side in shadow.
- Vary the thickness of your lines to create depth, using bolder strokes for the base and thinner ones for twigs.
- Avoid drawing every individual leaf; instead, group foliage into clusters or "clouds" to suggest volume.
- Texture is achieved by using broken, jagged lines for bark and soft, circular marks for leaf masses.
The bottom line
Drawing a realistic tree requires shifting your focus from individual details to the overall structure and light. By treating the trunk as a solid, tapering column and the foliage as layered, shaded clusters, you create depth and volume. Remember to prioritize the direction of light and use varied line weights. With practice, observing the natural branching patterns of real trees will significantly improve your artistic accuracy.
People also ask
How do I make tree bark look realistic?
Use vertical, interrupted strokes that follow the contour of the trunk. Avoid solid lines; instead, use cross-hatching and varied pressure to suggest the rough, uneven surface of the wood.
Should I draw the entire outline of the tree first?
No, drawing a hard outline makes the tree look like a flat cutout. Focus on the internal structure and the edges of foliage clusters to create a sense of three-dimensional space.
How do I handle the perspective of a tree?
Draw the base of the trunk wider than the top to establish a solid foundation. As branches move further away or higher up, they should appear thinner and less detailed to simulate distance.
What is the best way to represent foliage?
Think of foliage as solid, rounded shapes rather than individual leaves. Shade the undersides of these shapes to create depth and leave the tops lighter to indicate where sunlight hits.
How do I show the difference between branches and leaves?
Use smooth, fluid lines for branches to emphasize their structural strength. Use light, stippled, or scribbled marks for leaves to suggest a lighter, more delicate texture.
Why does my tree look like a flat symbol?
This usually happens because the shading is too uniform or the branches are all on one plane. Overlap your branches and foliage clusters to create layers that push some parts forward and others back.
This answer was created with the help of AI research tools and reference sources. Spotted an error? Let us know — we correct mistakes quickly. See our editorial policy.