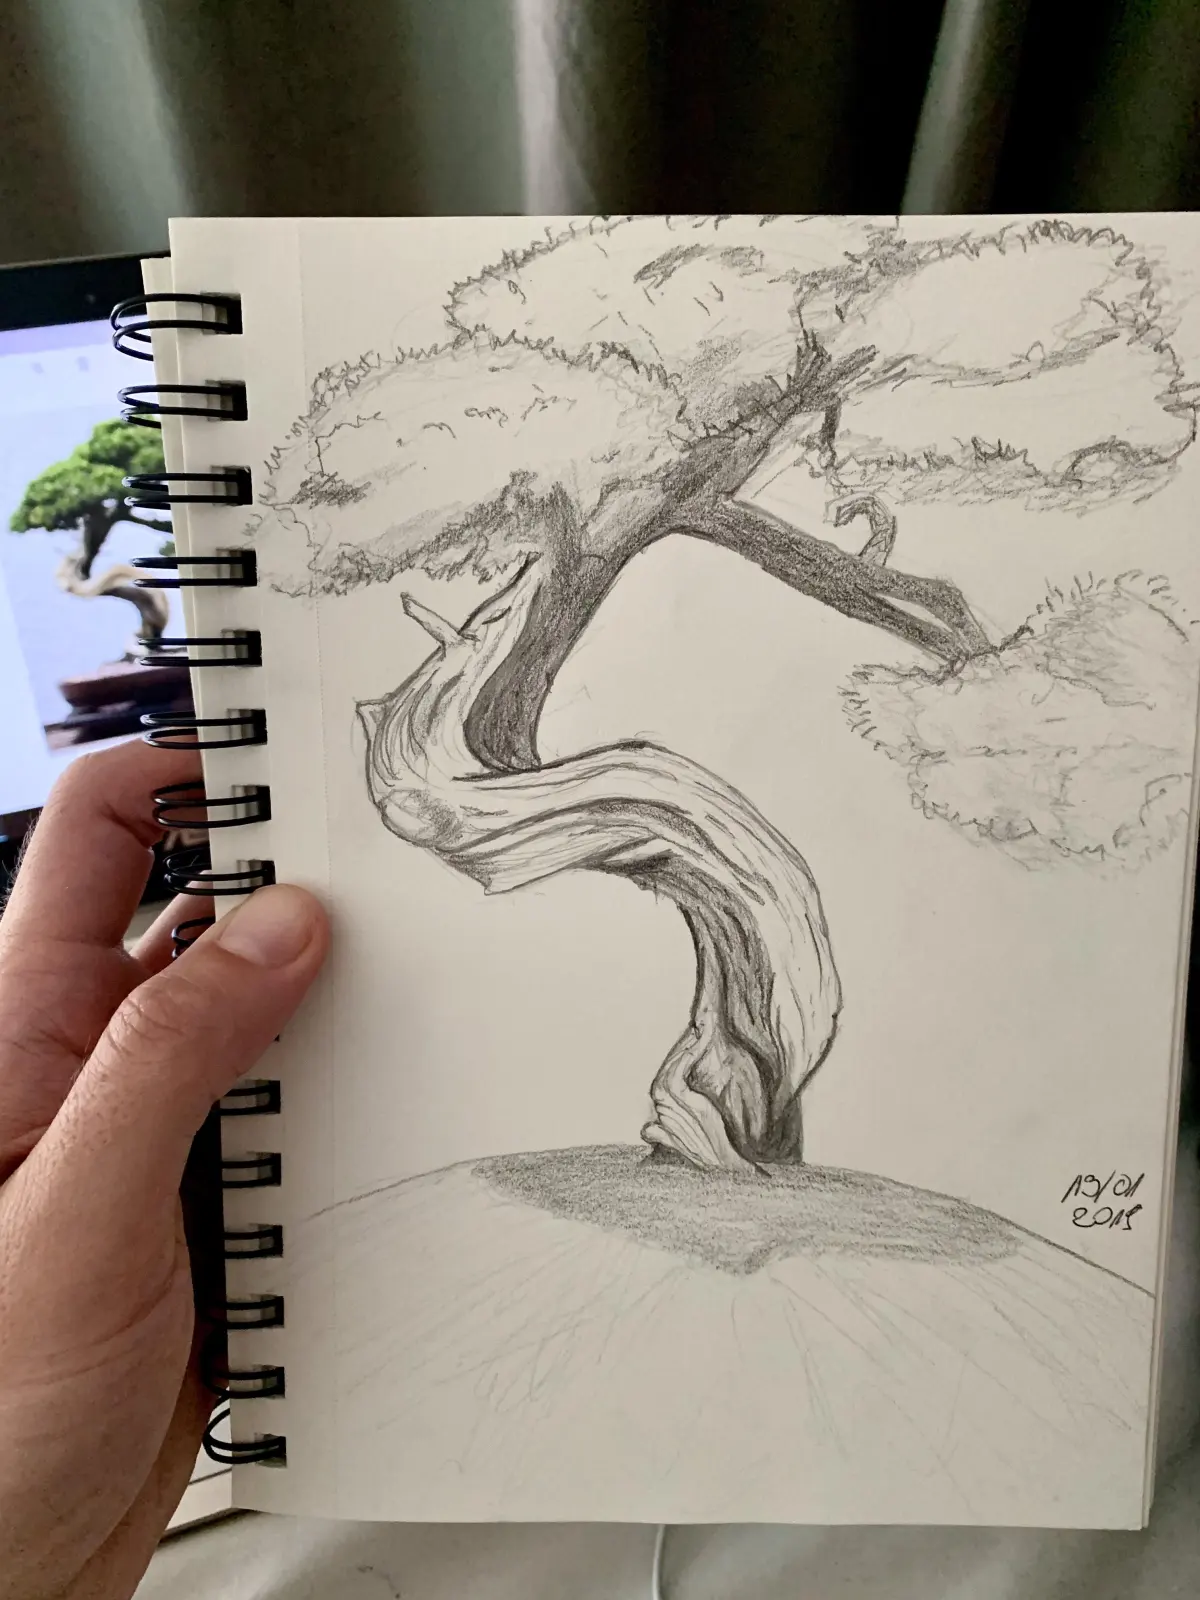
What is the easiest way to draw a pine tree?
Short answer
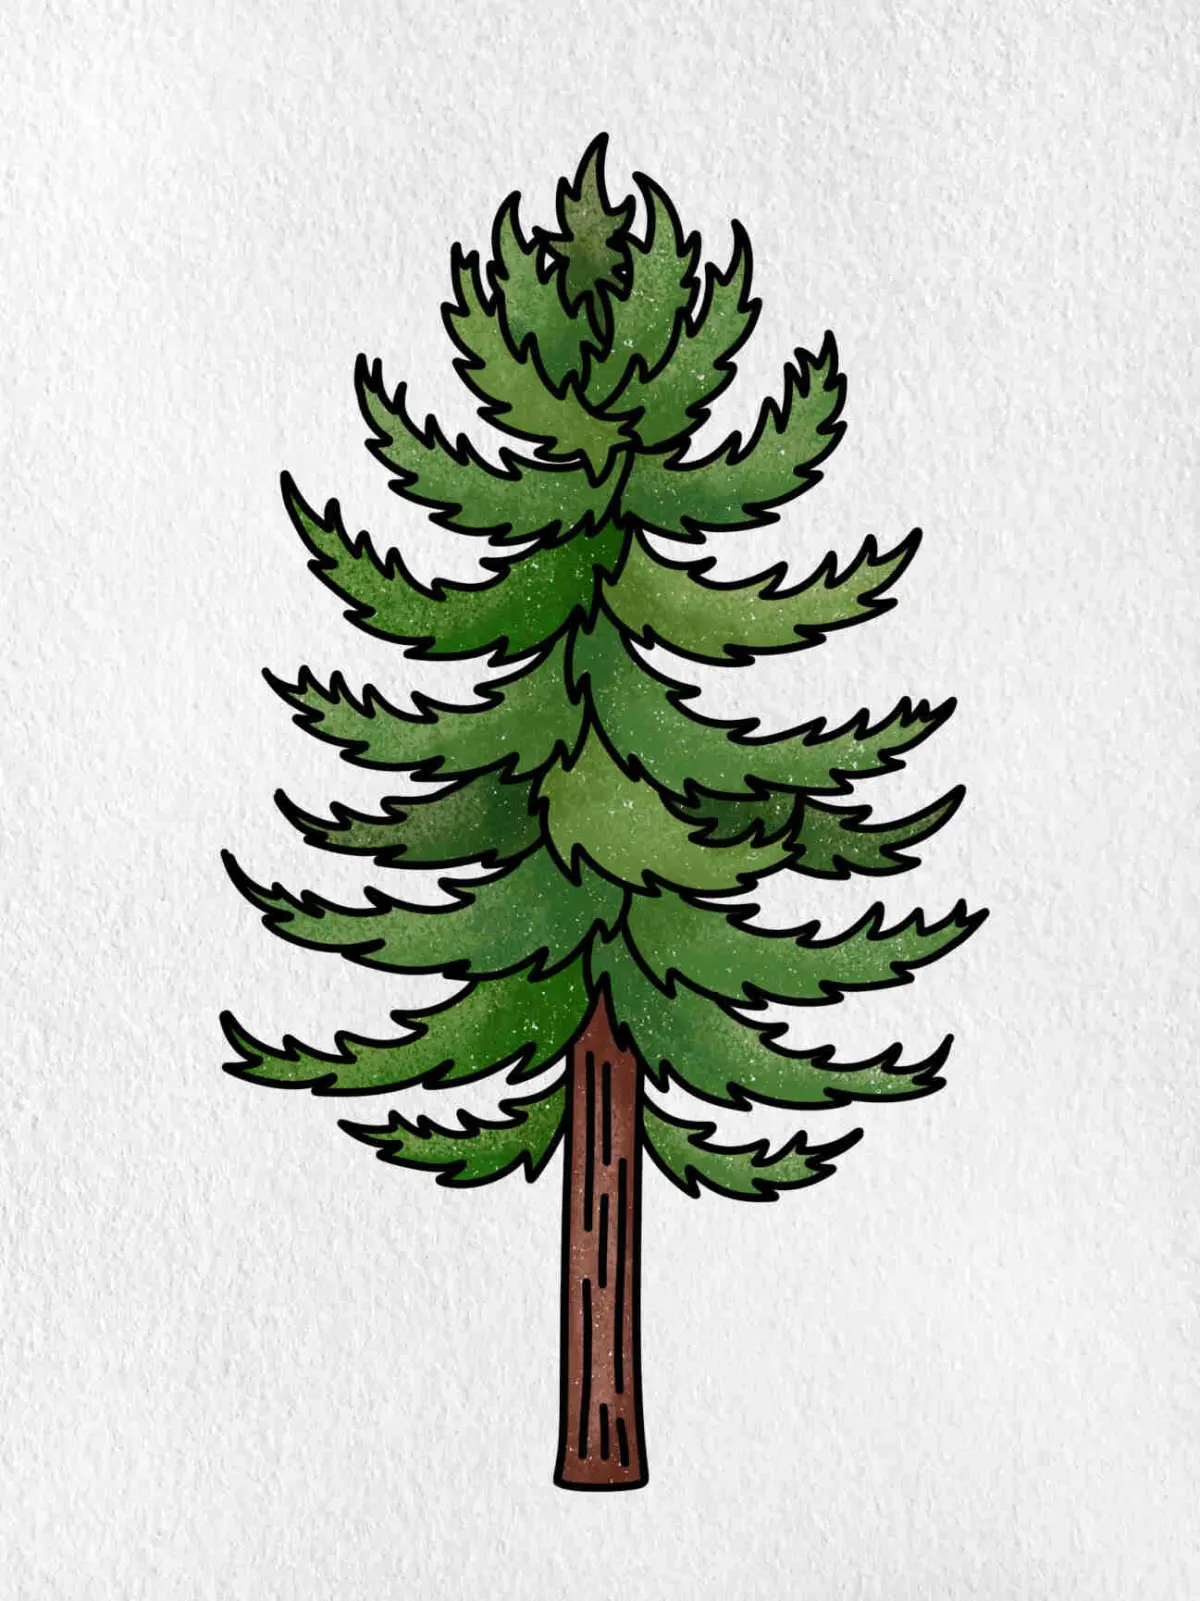
The easiest way to draw a pine tree is to use a triangular, layered approach. Start by drawing a vertical line for the trunk, then sketch overlapping, jagged triangles from the top down. By varying the width of these segments and adding texture to the edges, you create a realistic, classic evergreen appearance.
On this page
How to draw a basic pine tree shape
The most efficient method for drawing a pine tree involves building a silhouette using stacked triangles. Begin by drawing a light vertical guideline to serve as the center of your tree. This ensures your branches remain balanced as you work from the top of the tree toward the bottom.
- Draw a small, narrow triangle at the very top of your center line.
- Sketch a second, slightly wider triangle directly beneath the first, allowing them to overlap slightly.
- Continue adding progressively wider triangles as you move downward, stopping when you reach the desired height.
- Erase the center guideline and the overlapping lines inside the tree to reveal a clean, layered structure.
This geometric foundation provides the perfect framework for adding detail later. By keeping your initial strokes light, you can easily refine the silhouette before committing to darker, more permanent lines.
Best tools for beginners to use
For those just starting, graphite pencils are the most forgiving medium because they allow for easy adjustments. A standard HB pencil is ideal for the initial sketch, while a 2B or 4B pencil works well for adding depth and shadow. Using a kneaded eraser is also recommended, as it can lift graphite without damaging the paper surface.
- Graphite pencils (HB for outlines, 2B for shading)
- A high-quality white vinyl or kneaded eraser
- Smooth-surface drawing paper or a sketchbook
- A pencil sharpener to maintain fine points for needle detail
If you prefer working with ink, use a fine-liner pen after completing your pencil sketch. The contrast between the dark ink and the white paper creates a striking, graphic look that is common in botanical illustrations. Always ensure your pencil lines are light enough to be erased or covered by ink.
Why pine trees look layered
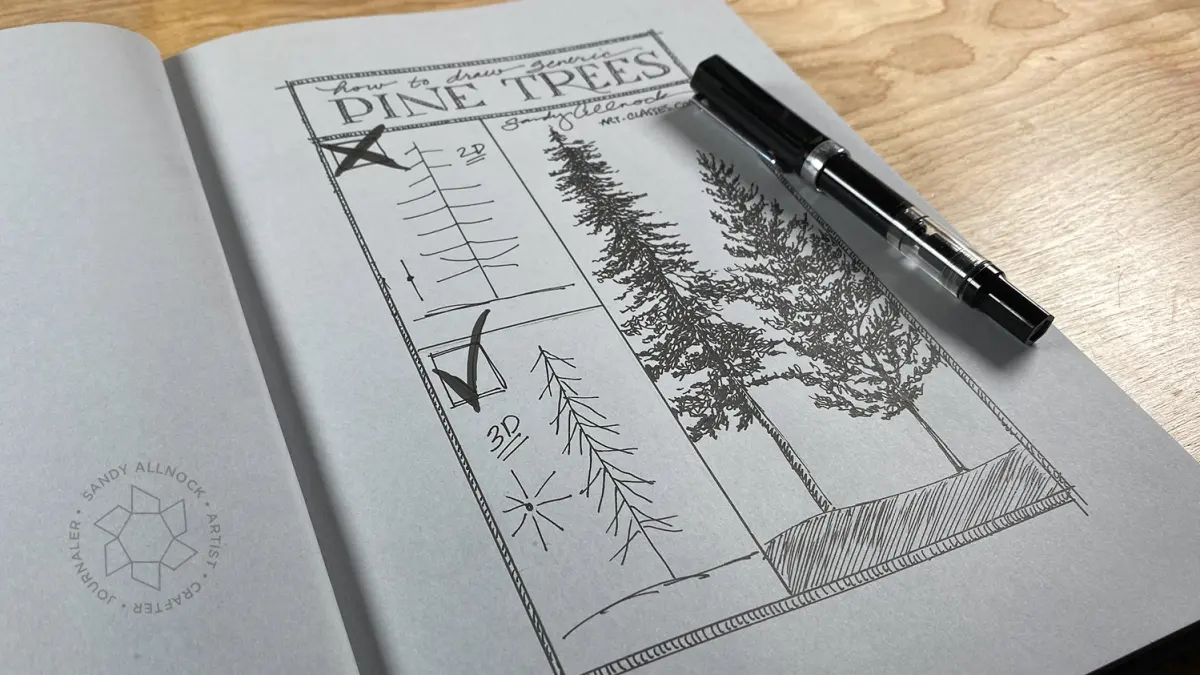
The characteristic tiered appearance of a pine tree is a biological adaptation designed to shed heavy snow. The branches grow in whorls around the trunk, with the needles pointing outward to maximize sunlight exposure. When drawing these trees, mimicking this natural layering is essential for achieving a realistic look rather than a flat, cartoonish image.
To capture this effect, avoid drawing straight, solid lines for the edges of your triangles. Instead, use short, quick, zig-zagging strokes that suggest the presence of needles. By varying the pressure of your pencil, you can create the illusion of depth, making the branches closer to the viewer appear darker and more defined than those in the background.
Common mistakes when drawing pine trees
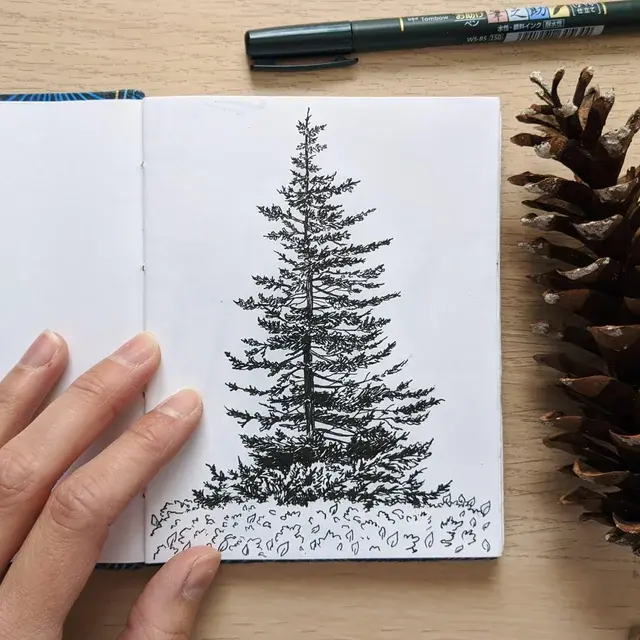
One of the most frequent errors is making the tree perfectly symmetrical. While pine trees follow a general triangular shape, natural growth is rarely uniform. Branches often break, lean, or grow at irregular angles due to wind, light availability, or age. Introducing slight asymmetries—such as a branch that is shorter on one side or a trunk that has a subtle curve—will make your drawing appear much more organic.
Another common mistake is over-detailing the needles. Attempting to draw every individual needle will result in a cluttered, messy image that loses its overall form. Focus instead on the general texture of the foliage. Use small, repetitive marks to suggest needles along the outer edges of the branches, leaving the inner sections of the triangle relatively clear to represent shadow and density.
How to add depth and texture
Once your basic shape is established, you can enhance the drawing by focusing on light and shadow. Identify a primary light source and shade the opposite side of the tree accordingly. Pine trees are dense, so the areas underneath the branch layers should be significantly darker than the tops, which catch the light.
- Use cross-hatching to create deep shadows in the crevices between branch layers.
- Add texture to the trunk by drawing vertical, broken lines to simulate rough, peeling bark.
- Leave small gaps in your foliage lines to suggest light filtering through the needles.
- Vary the length of your needle strokes to create a more natural, unkempt appearance.
By applying these techniques, you transform a simple geometric sketch into a complex, lifelike representation of a forest evergreen. Practice these steps consistently to develop a style that balances the structural integrity of the tree with the delicate, textured nature of its foliage.
Key facts
- Start by drawing a single vertical line to act as the central trunk and guide for the tree's height.
- Sketch a series of overlapping triangles or zig-zagging horizontal lines that get progressively wider toward the base.
- Keep the branches shorter and tighter near the top, gradually increasing their length as you move downward.
- Use a light touch for the outer edges to create a soft, needle-like texture rather than harsh, solid lines.
- Add small, irregular gaps between the layers to suggest depth and allow the viewer to see through the foliage.
- Vary the angle of your strokes to mimic the natural, slightly drooping appearance of real pine needles.
The bottom line
To draw an effective pine tree, focus on the triangular silhouette and the texture of the branches rather than individual needles. By layering zig-zag shapes that expand toward the bottom and keeping your lines loose, you capture the essence of the tree's form. Practice varying your pressure to create natural shadows, which adds the necessary depth to transform a simple sketch into a convincing, professional-looking forest element.
People also ask
Should I use a ruler to draw the trunk?
Avoid using a ruler, as natural pine trunks are rarely perfectly straight. A slightly curved or uneven line creates a more organic and realistic appearance.
How do I make the tree look three-dimensional?
Add shading to one side of the trunk and the underside of the branch layers. Consistent lighting from one direction helps define the volume of the foliage.
What type of pencil is best for sketching pine trees?
An HB pencil is ideal for initial light outlines, while a 2B or 4B pencil works well for adding darker, textured shadows to the needles.
Do pine trees need to be perfectly symmetrical?
Real pine trees are often asymmetrical due to wind and light exposure. Drawing slightly uneven branches makes the tree look more authentic and less like a cartoon.
How many layers should a pine tree have?
There is no set rule, but five to seven layers are usually sufficient to convey the shape of a mature pine. More layers are better for larger, taller drawings.
Can I use color for a pine tree?
Yes, using multiple shades of green helps create depth. Apply darker greens toward the center of the tree and lighter, yellow-tinted greens on the outer edges.
This answer was created with the help of AI research tools and reference sources. Spotted an error? Let us know — we correct mistakes quickly. See our editorial policy.