How do you photograph children?
Short answer
Photographing children requires patience, adaptability, and a focus on candid moments rather than forced poses. By lowering your camera to their eye level, utilizing natural light, and engaging them in play, you can capture authentic expressions. Keep sessions short, prioritize comfort, and always remain ready to document the unexpected, genuine personality of the child.
On this page
How to get children to cooperate for photos
The most effective way to photograph children is to meet them on their own terms. Instead of demanding they sit still or smile, incorporate movement and play into the session. If a child is restless, suggest a game like "Simon Says" or ask them to show you their favorite toy. When children feel like they are participating in an activity rather than enduring a chore, their expressions become naturally animated and relaxed.
Preparation is equally important for cooperation. Ensure the child is well-rested and fed before you begin, as hunger and fatigue are the primary causes of irritability. Keep the session duration brief, ideally under 45 minutes for younger children, to prevent burnout. If they lose interest, take a break to reset the environment. By maintaining a lighthearted atmosphere, you reduce the pressure that often leads to forced, unnatural smiles.
Best camera settings for child photography
Capturing fast-moving children requires technical adjustments to your camera settings. Use a fast shutter speed, ideally at least 1/500th of a second, to freeze motion and prevent blur. If you are shooting in a dimly lit room, increase your ISO sensitivity, but be mindful of digital noise. A wide aperture, such as f/2.8 or f/4.0, helps isolate the child from a distracting background by creating a soft, blurred effect known as bokeh.
- Set your camera to Shutter Priority mode to ensure the shutter speed remains high.
- Enable continuous autofocus (often called AI Servo or AF-C) to track the child as they move toward or away from you.
- Use burst mode to take multiple frames in rapid succession, increasing your chances of capturing a sharp image with a perfect expression.
- Focus specifically on the eyes, as they are the most important focal point in any portrait.
Why eye level makes a difference
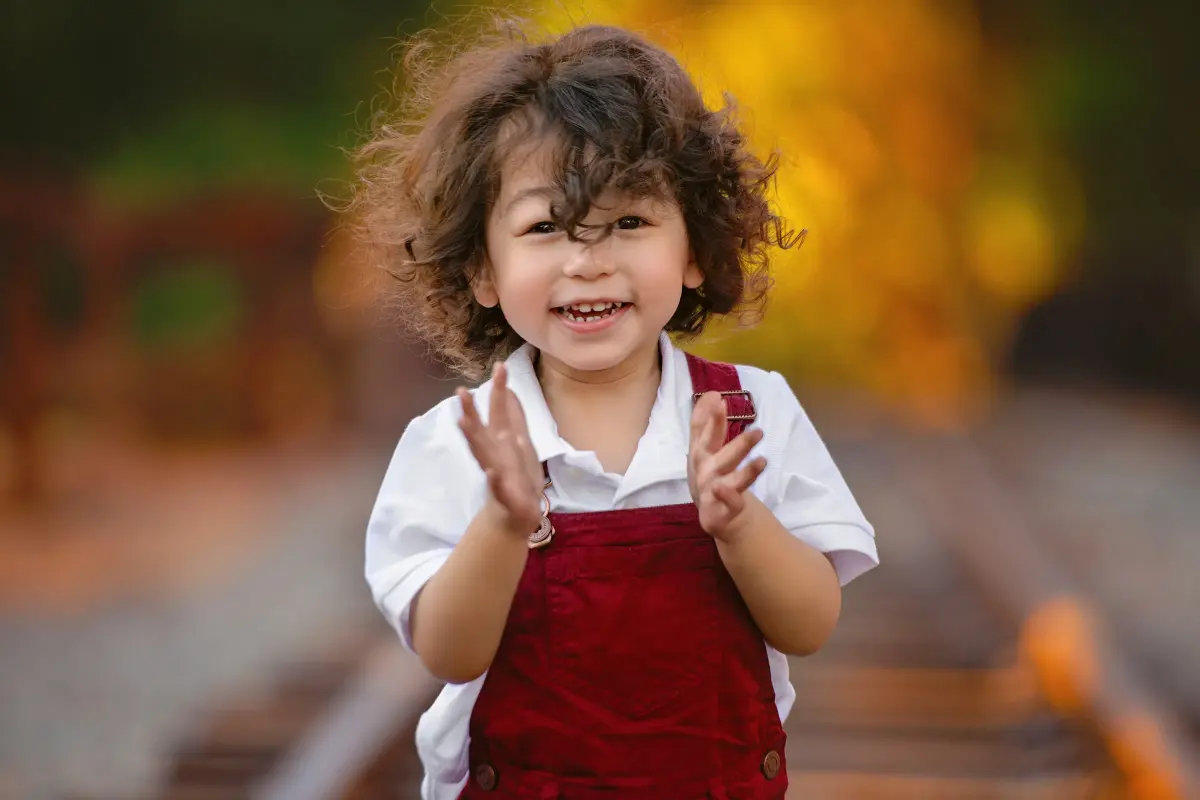
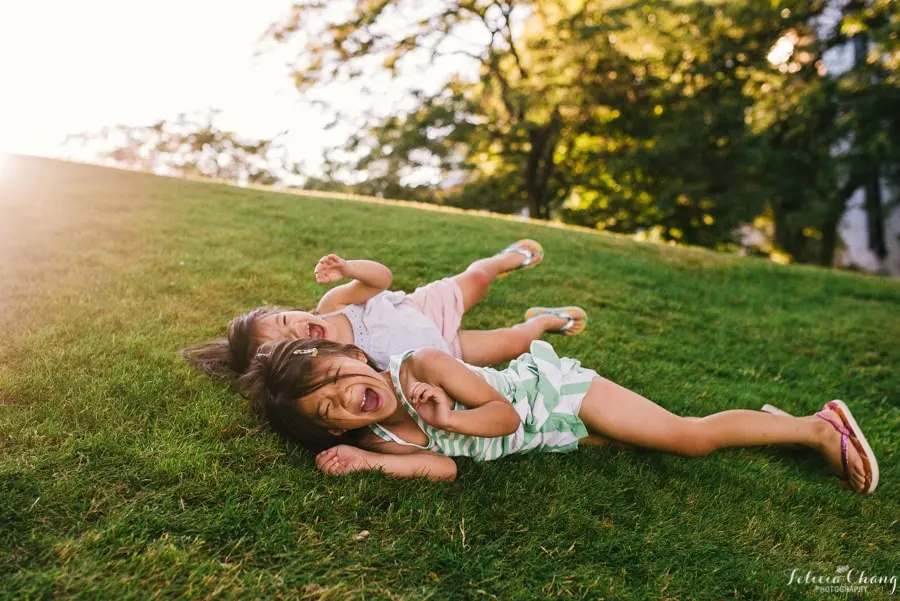
Shooting from an adult’s standing height often results in unflattering, downward-looking angles that diminish the child's presence. By physically lowering yourself to the child’s eye level—whether by kneeling, sitting, or lying on the ground—you enter their perspective. This creates a sense of intimacy and connection, making the viewer feel as though they are part of the child's world rather than an observer looking down upon them.
This technique also helps in creating a cleaner background. When you are low to the ground, you are more likely to capture the sky or a distant wall behind the child, rather than the cluttered floor or grass immediately at their feet. This separation allows the subject to stand out more clearly. Always check your surroundings for distracting elements like trash cans or bright neon signs that might draw the eye away from the child’s face.
Common mistakes when photographing children
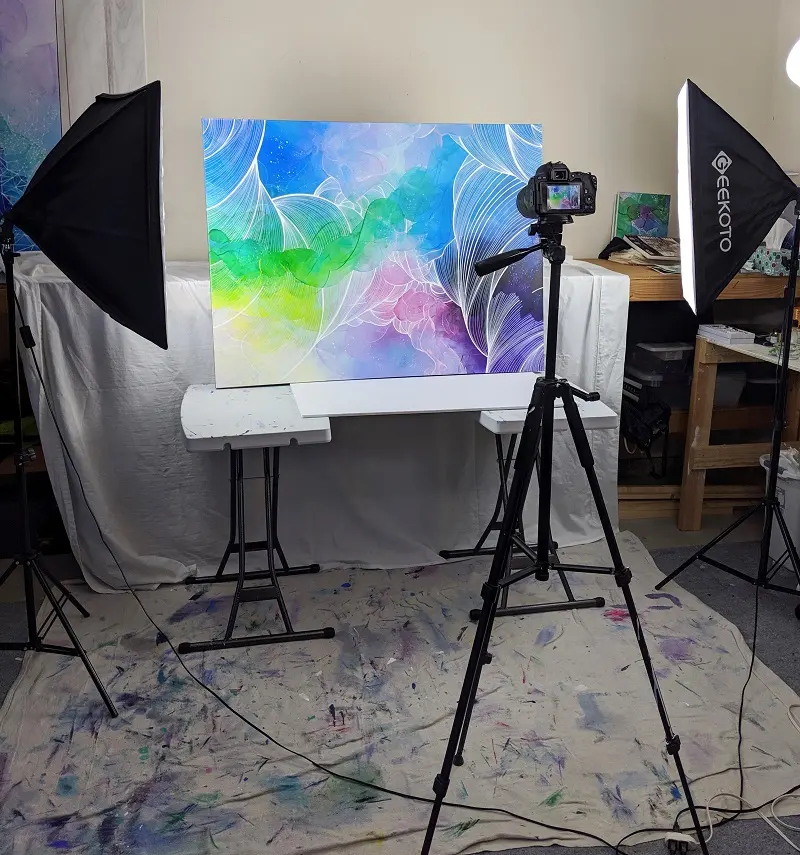
One of the most frequent errors is over-directing the subject. When photographers constantly tell a child to "say cheese" or "look here," the resulting photos often feature strained, fake smiles. Instead, observe the child from a distance and capture them while they are focused on an activity. Another mistake is using a flash directly in the child's face, which can be startling and cause red-eye. Whenever possible, rely on soft, natural light coming from a window or an overcast sky.
- Avoid using heavy, cumbersome equipment that might intimidate the child.
- Do not force a specific outfit if the child finds it uncomfortable or itchy.
- Stop immediately if the child becomes genuinely upset; a forced photo is rarely worth the distress.
- Avoid cluttered backgrounds that compete with the child for the viewer's attention.
- Do not ignore the importance of background lighting, as backlighting can create a beautiful halo effect.
How to use natural light for portraits
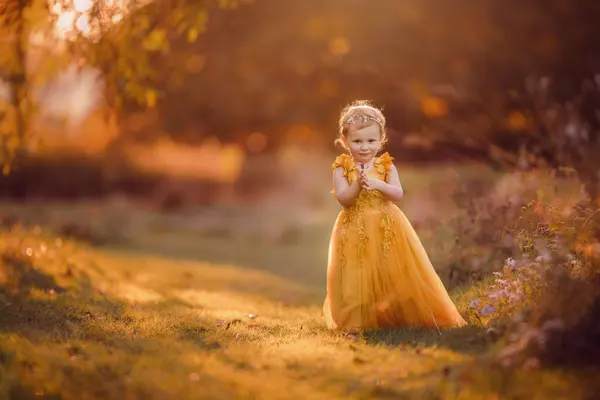
Natural light is the most flattering light source for children, providing a soft glow that highlights their features without harsh shadows. The best time to shoot outdoors is during the "golden hour," which occurs shortly after sunrise or just before sunset. During these times, the sun is low in the sky, providing warm, diffused light that is gentle on the skin. If you are shooting indoors, position the child near a large window to benefit from the indirect light.
Avoid direct, midday sun, as it creates deep, unflattering shadows under the eyes and nose. If you must shoot in bright conditions, seek out open shade, such as the shadow of a building or a large tree. This provides consistent, even lighting across the child's face. By paying attention to the quality and direction of the light, you can elevate a simple snapshot into a professional-looking portrait that captures the true essence of childhood.
Key facts
- Shoot at the child's eye level to create an intimate, engaging perspective that avoids the "looking down" effect.
- Use a fast shutter speed, such as 1/500th of a second or higher, to freeze motion and prevent blurry images.
- Prioritize natural light by positioning the child near a large window or in open shade to avoid harsh shadows.
- Engage the child with games or conversation rather than posing them to capture genuine expressions and natural movement.
- Use a wide aperture, like f/2.8 or f/4, to create a shallow depth of field that keeps the child in focus while blurring the background.
- Keep portrait sessions short, ideally under 30 minutes, to prevent the child from becoming bored or frustrated.
The bottom line
The secret to successful child photography lies in patience and perspective. By lowering your camera to the child's eye level and embracing their natural energy, you can capture authentic moments rather than staged poses. Focus on using fast shutter speeds to freeze motion and soft, natural light to highlight their expressions. Ultimately, keeping the environment fun and stress-free will yield the most compelling and memorable results.
People also ask
What is the best lens for photographing children?
A prime lens with a focal length between 50mm and 85mm is ideal for portraits. These lenses allow for a wide aperture, which creates a soft background and performs well in low-light conditions.
How do I get a shy child to smile for the camera?
Avoid asking them to "say cheese," as this often results in forced expressions. Instead, ask them silly questions, play a quick game of peek-a-boo, or have a parent stand behind the photographer to make them laugh.
Should I use a flash when photographing kids indoors?
It is generally better to avoid direct flash, as it can be startling and create harsh, unflattering light. If you must use light, bounce it off a white ceiling or wall to create a softer, more natural effect.
How can I keep a toddler still for a photo?
Do not expect a toddler to sit perfectly still for long periods. Use a fast shutter speed to capture them while they are playing, or provide them with an interesting prop to hold that keeps them occupied in one spot.
What are the most common mistakes when photographing children?
The most common errors include shooting from an adult's standing height, using a slow shutter speed that causes blur, and over-directing the child. These mistakes often lead to detached, blurry, or stiff-looking photographs.
How do I handle difficult lighting conditions?
If you are outdoors, avoid direct midday sun, which creates dark shadows under the eyes. Seek out open shade, such as the area under a tree or a building overhang, to ensure soft, even illumination on the face.
This answer was created with the help of AI research tools and reference sources. Spotted an error? Let us know — we correct mistakes quickly. See our editorial policy.