How do you make a cardboard castle?
Short answer
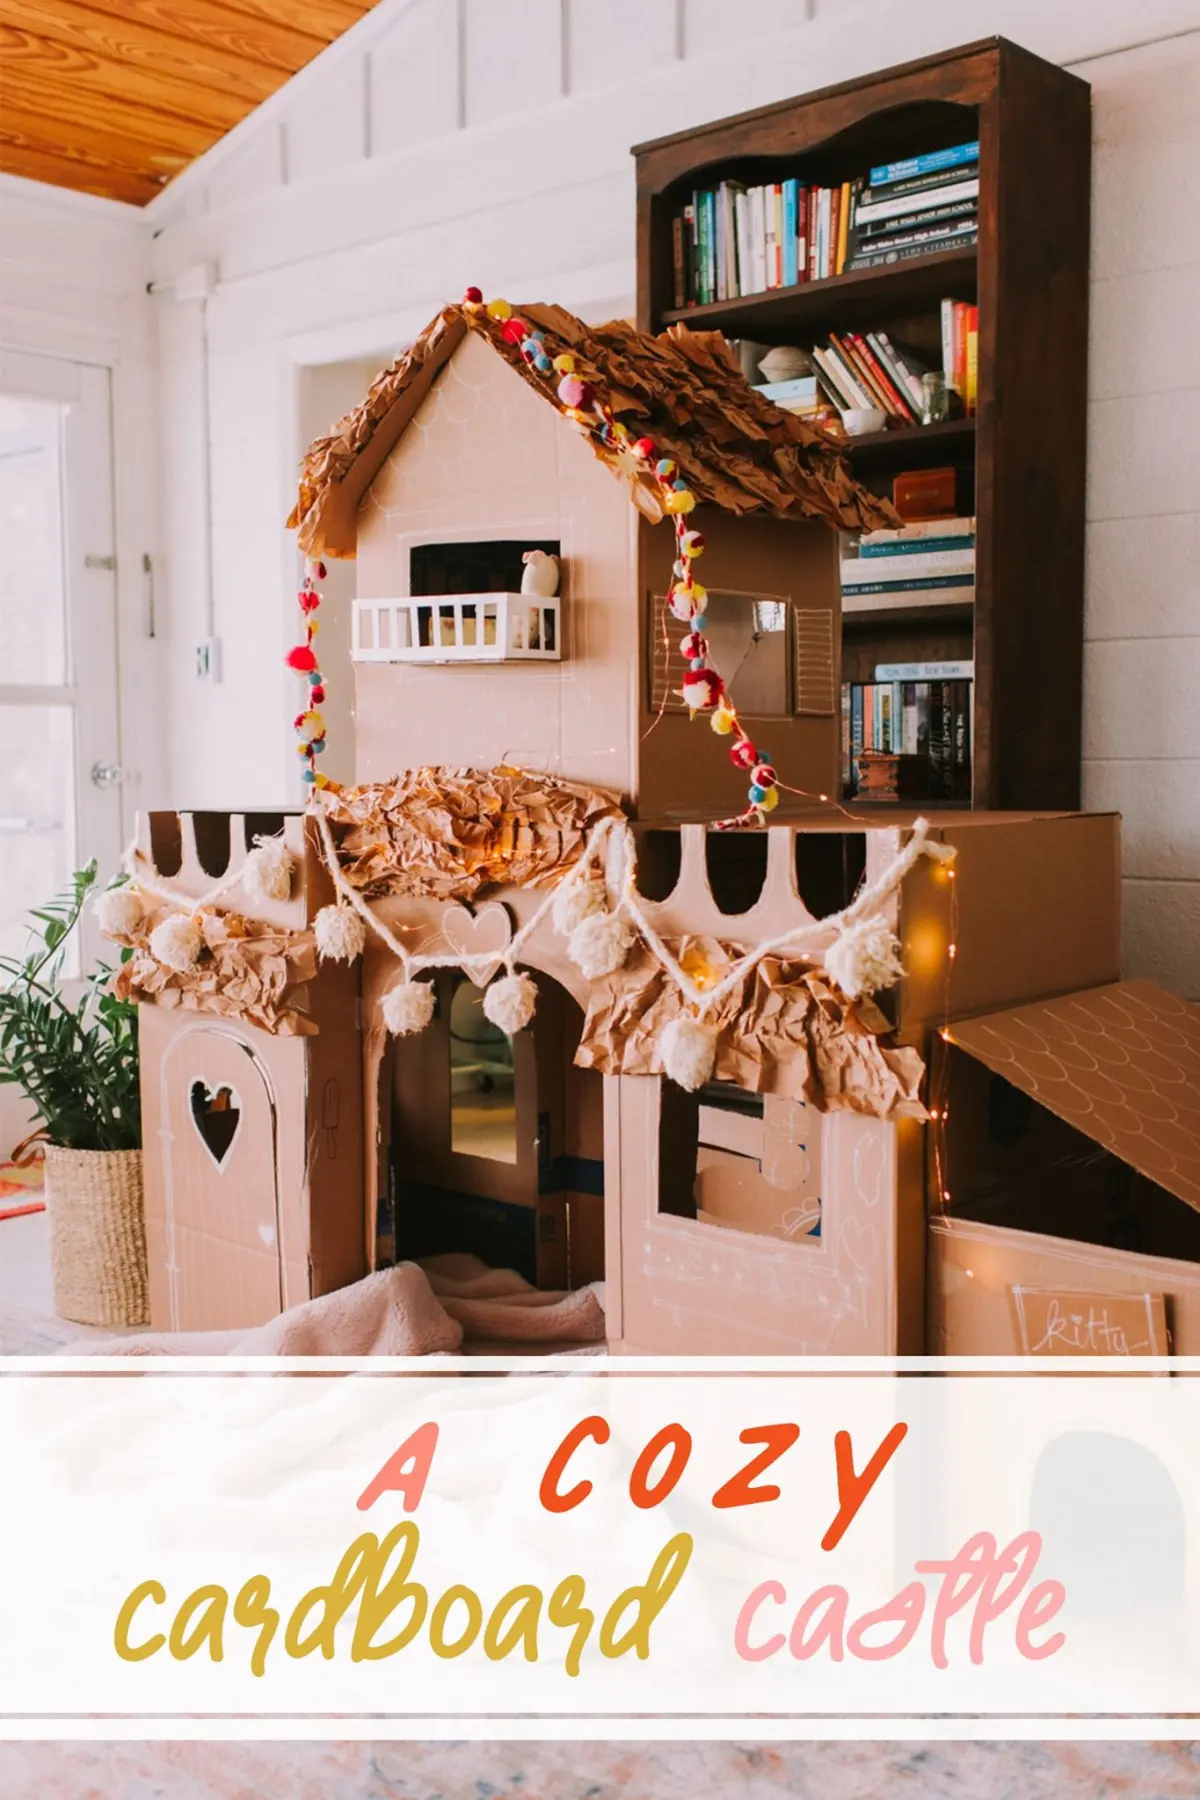
Constructing a cardboard castle requires gathering several large shipping boxes, a sharp utility knife, and heavy-duty adhesive tape. By stacking boxes for height, cutting out crenelated battlements, and reinforcing structural joints, you can create a durable, immersive play space. The process typically takes several hours, depending on the complexity of your design.
On this page
How to plan a cardboard castle design
Before cutting any material, sketch a basic floor plan to determine the scale of your fortress. A square layout with four corner towers is the most stable configuration, providing a solid base that prevents the structure from tipping over. Measure your available floor space to ensure the castle fits comfortably in the room while leaving enough clearance for doors and windows. Consider the age of the intended users, as younger children need larger openings to move through safely.
Gather materials that provide structural integrity, such as double-walled corrugated cardboard, which is significantly stronger than single-ply shipping boxes. You will need a reliable cutting tool, such as a retractable utility knife or a box cutter, along with a metal ruler for straight edges. If you intend to paint the castle, select water-based acrylics or spray paints that adhere well to recycled paper surfaces. Planning ahead ensures you have enough adhesive, such as duct tape or hot glue, to secure the heavy joints.
Best tools for building a cardboard castle
Precision is vital when working with rigid cardboard, as jagged edges can be sharp and unstable. A sharp utility knife is the most effective tool for clean cuts, but it requires caution and a cutting mat to protect your floors. If you prefer a safer alternative for younger builders, heavy-duty shears or a specialized cardboard saw can be used to achieve similar results. Always keep extra blades on hand, as cardboard dulls metal edges very quickly during extended projects.
- Utility knife with retractable blades for precision cutting.
- Metal straight edge or yardstick to guide your cuts.
- Heavy-duty duct tape or paper-based masking tape for structural seams.
- Hot glue gun for rapid, permanent attachment of decorative elements.
- Cutting mat or a thick piece of scrap wood to prevent surface damage.
Use these tools to score the cardboard before cutting, which allows for clean, crisp folds rather than messy, crushed edges. Scoring involves running the knife blade lightly along the line where you want to fold, without cutting all the way through the material.
How to assemble the castle structure
The assembly process relies on creating strong connections between the various boxes. Begin by taping the bottom flaps of your primary boxes shut to create a solid foundation. If you are joining two boxes together, use a "tab and slot" method or overlap the edges by at least two inches for maximum stability. Apply tape to both the inside and outside of every seam to prevent the walls from buckling under their own weight during play.
When adding towers, ensure they are securely anchored to the main walls using reinforced corner braces made from triangular cardboard scraps. These braces distribute weight more evenly and prevent the towers from leaning or collapsing. If you want to add a drawbridge, attach it to the main gate using sturdy twine or fabric hinges. This allows the bridge to swing open and closed without tearing the cardboard, adding a functional, interactive element to your finished fortress.
How to add realistic castle details
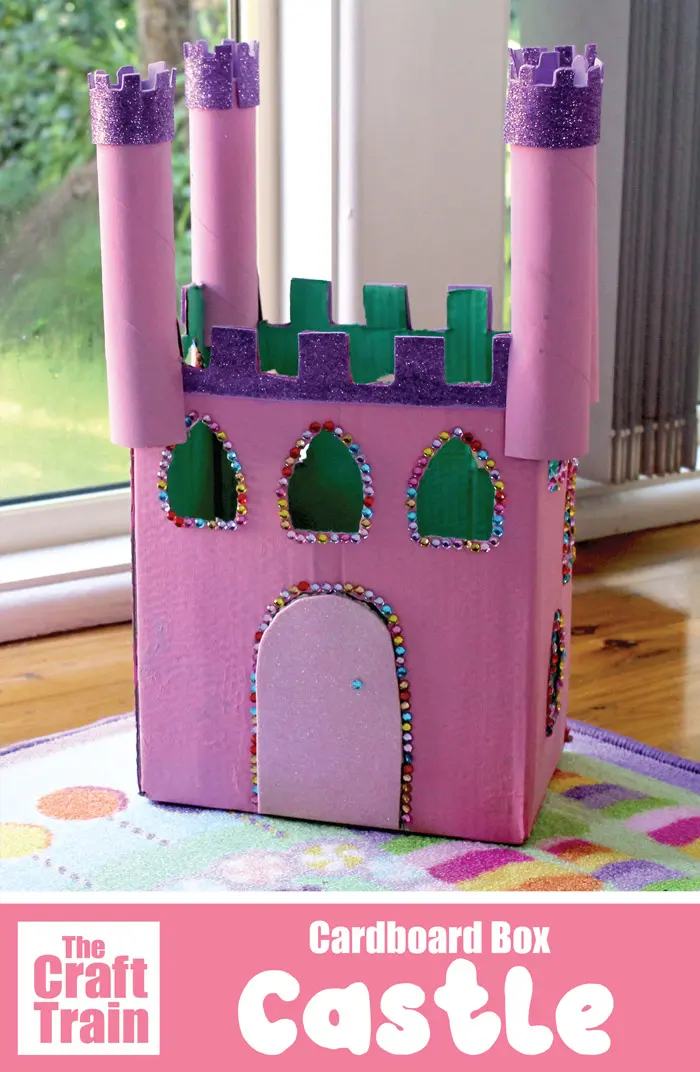
Once the main structure is standing, focus on the architectural features that define a castle’s aesthetic. The most recognizable feature is the crenelated battlement, which is the notched wall at the top of the towers. To create this, measure and cut alternating rectangular sections out of the top edge of your cardboard walls. This simple addition instantly transforms a plain box into an authentic-looking fortification that appeals to the imagination.
- Draw windows and arrow slits with a pencil before cutting to ensure symmetry.
- Use markers or paint to draw brick patterns on the exterior walls.
- Attach cardboard triangles to the tops of towers to create conical roofs.
- Create a flag using construction paper and a dowel rod for the highest turret.
- Add a coat of gray or stone-colored paint to give the cardboard a more realistic, weathered texture.
These details do not just improve the visual appeal; they also provide opportunities for creative play. Encourage builders to customize their castle with heraldry or personal crests to make the structure unique.
Common mistakes when building a cardboard castle
The most frequent error is failing to account for the weight of the cardboard, which can lead to sagging walls. To avoid this, always reinforce vertical corners and ensure that the bottom boxes are not overloaded with heavy decorative items. Another common mistake is using too little tape; cardboard is heavy and creates significant tension at the seams. Always use high-quality adhesive and apply it generously to all connection points to ensure the structure remains standing for weeks of play.
Avoid cutting too many windows or doors, as every hole reduces the structural integrity of the walls. If you must cut large openings, reinforce the perimeter of the hole with an extra layer of cardboard or a frame made of tape. Finally, never leave the castle in a damp area, as moisture will quickly soften the fibers and cause the entire structure to collapse. By keeping the castle in a dry, climate-controlled environment, you ensure the longevity of your hard work and creativity.
Key facts
- Use heavy-duty double-walled corrugated cardboard for structural integrity.
- Apply hot glue for fast, permanent bonds, but use masking tape for temporary positioning.
- Score the cardboard with a dull butter knife before folding to ensure clean, straight lines.
- Cut windows and doors using a sharp utility knife on a self-healing cutting mat.
- Reinforce corners with triangular cardboard gussets to prevent the walls from buckling.
- Paint the exterior with acrylics or spray paint, but avoid excessive water-based liquids that weaken the paper.
The bottom line
Building a cardboard castle is a rewarding engineering project that requires careful planning and structural reinforcement. By mastering techniques like scoring, gusseting, and proper adhesive application, you can transform simple shipping boxes into a durable, multi-dimensional structure. Focus on creating a solid foundation and using sharp tools for precise cuts, ensuring your final creation remains stable while providing a creative canvas for your architectural imagination.
People also ask
How do you attach two large cardboard walls together?
Use the "hinge" method by leaving an extra two-inch flap on one edge, folding it, and gluing it to the interior of the adjacent panel. This creates a flexible, sturdy corner joint.
What is the best adhesive for cardboard crafts?
Hot glue is ideal for quick assembly, while wood glue provides a stronger, long-term bond for load-bearing sections. Avoid standard school glue sticks, as they lack the strength to hold heavy corrugated sheets.
How can I make the castle towers stay upright?
Roll the cardboard into cylinders and secure them with tape, or create square towers by folding four equal panels. Weight the base of each tower with a heavy object or glue it to a wide, flat cardboard floor.
Can I use recycled boxes for this project?
Yes, recycled shipping boxes are excellent, provided they are clean and dry. Ensure you remove all plastic shipping tape before painting or gluing, as adhesives do not bond well to plastic surfaces.
How do I cut intricate shapes without tearing the cardboard?
Always use a fresh, sharp blade and make multiple shallow passes rather than trying to cut through the entire thickness at once. Use a metal ruler as a guide to keep your lines straight.
How do I add a drawbridge to my cardboard castle?
Cut a rectangular opening in the front wall, leaving the bottom edge uncut to act as a hinge. Attach string or twine to the top corners of the door and thread them through small holes in the wall to raise and lower it.
This answer was created with the help of AI research tools and reference sources. Spotted an error? Let us know — we correct mistakes quickly. See our editorial policy.