What is the easiest way to draw a deer in the forest?
Short answer
The easiest way to draw a deer is to use the "shape-stacking" method, which breaks the animal down into simple ovals and circles. By sketching a large oval for the body and a smaller circle for the head, you establish proportions before adding details like slender legs and ears to complete the form.
On this page
How to draw a deer using basic shapes
The most efficient approach for beginners is to simplify the complex anatomy of a deer into geometric primitives. Start by placing a large, horizontal oval in the center of your paper to represent the ribcage. Above this, draw a smaller, slightly tilted oval for the hindquarters and a small circle for the head. Connecting these shapes with curved lines creates the deer's spine and underbelly, providing a structural foundation that ensures the proportions remain accurate.
Once the primary masses are established, you can refine the silhouette. Use thin, straight lines to map out the legs, adding small triangles at the bottom for the hooves. Remember that a deer's joints—the knees and hocks—are prominent, so place small circles at these points to guide your line work. By focusing on these underlying shapes rather than the fur or facial features, you avoid the common trap of getting lost in unnecessary detail before the anatomy is correctly positioned.
Best tools for drawing deer for beginners
For those just starting, using a graphite pencil with a range of hardness levels is highly recommended. An HB pencil is ideal for the initial light sketching of shapes, as it can be easily erased without damaging the paper. Once the outline is set, a 2B or 4B pencil allows for darker, more confident strokes to define the final form. Keep a kneaded eraser nearby, as it is gentle on the surface and perfect for lifting away light construction lines.
When choosing a drawing surface, a medium-tooth sketchbook or smooth cartridge paper works best. The texture of the paper affects how well the graphite adheres and how easily you can blend shadows. Consider the following tools to improve your results:
- HB pencil for light construction lines.
- 2B pencil for defining edges and adding shadow.
- Kneaded eraser for precision cleanup.
- Blending stump or soft tissue for smoothing out gradients.
- Fine-liner pen for adding crisp details to the eyes and nose.
How to add forest surroundings to a deer drawing
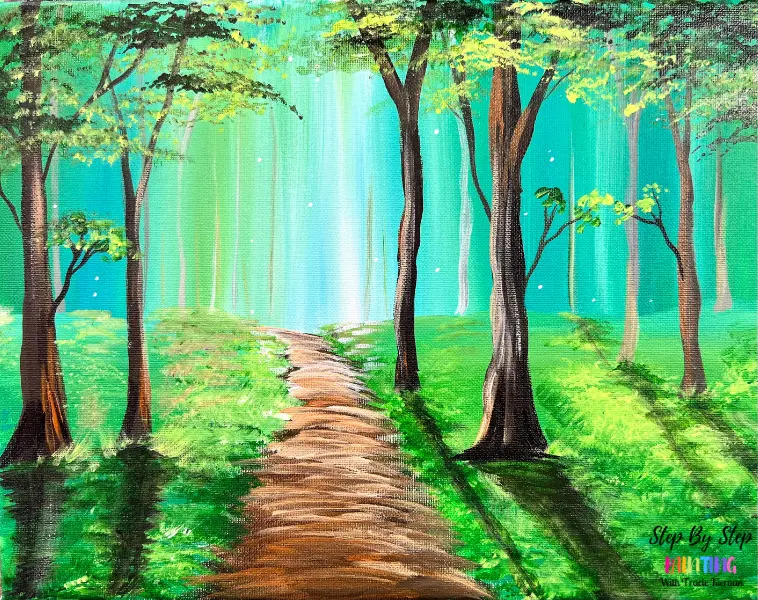
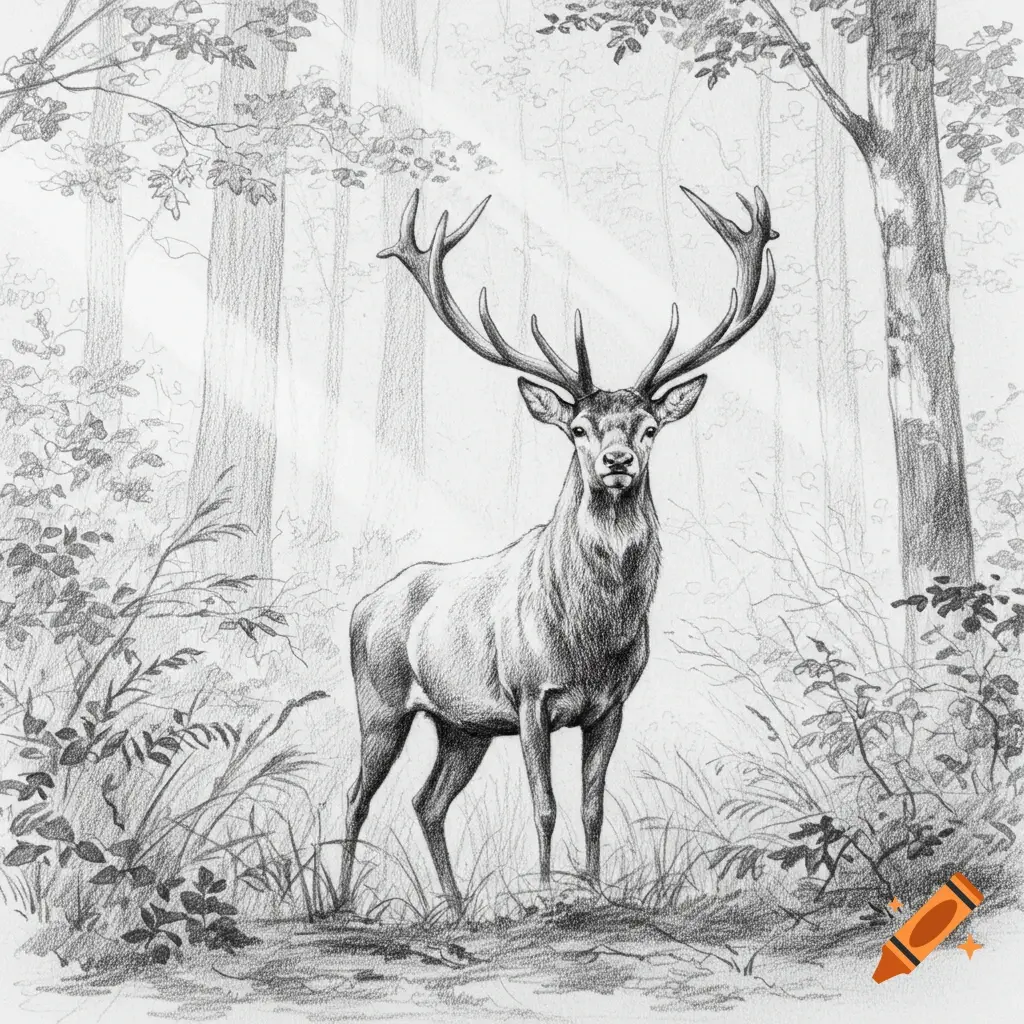
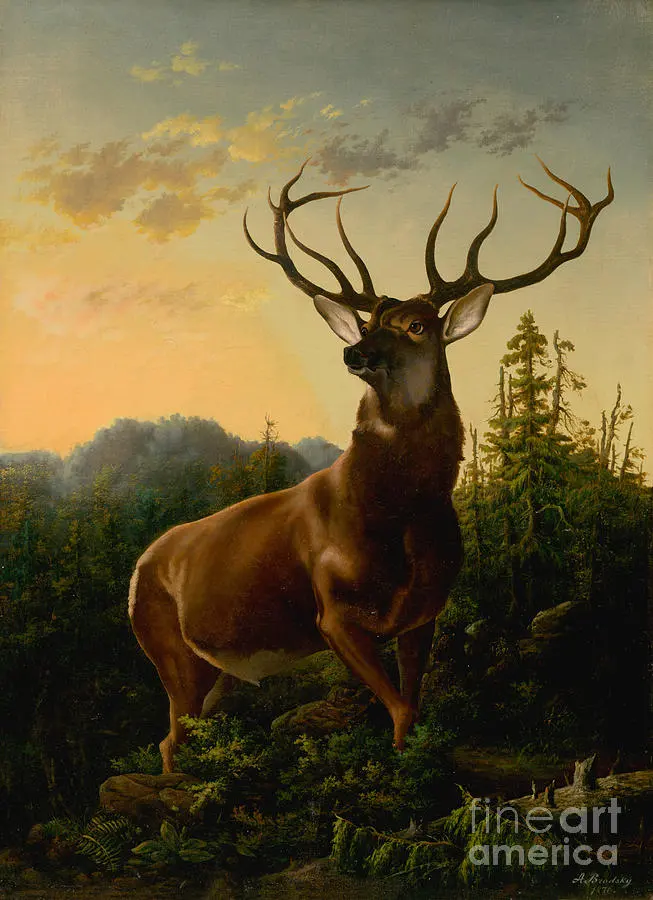
A deer looks most natural when placed within its environment, but adding a forest does not require intricate detail. Start by drawing a simple horizon line behind the deer to ground it in space. Use vertical, slightly irregular lines to suggest tree trunks in the background, keeping them lighter and less detailed than the deer itself. This atmospheric perspective creates a sense of depth, ensuring the viewer’s eye remains focused on the animal rather than the foliage.
To enhance the forest atmosphere, add a few horizontal strokes near the deer's hooves to represent grass or ferns. You do not need to draw every individual blade; instead, use quick, flicking motions with your pencil to suggest texture. Consider these elements to ground your subject:
- Draw vertical lines of varying widths to indicate distant trees.
- Add overlapping shapes at the base of the trees to suggest bushes.
- Use light, horizontal shading to indicate the ground plane.
- Keep the background elements less defined to make the deer stand out.
Common mistakes when drawing deer anatomy
One of the most frequent errors is making the legs too thick or uniform in width. Deer have very slender, delicate legs that taper significantly toward the hooves. If the legs look like tree trunks, the entire drawing will lose its sense of agility and grace. Another common mistake is placing the eyes too far toward the front of the head; remember that deer are prey animals, so their eyes are positioned on the sides of their skulls to provide a wider field of vision.
Additionally, beginners often neglect the neck, drawing it as a simple cylinder. The neck of a deer is actually quite thick where it meets the chest and tapers toward the head. Failing to capture this transition makes the animal look unnatural or cartoonish. Always check your reference photos to compare the thickness of the neck to the size of the head, ensuring the proportions reflect the animal's natural, muscular build.
Why proportions matter in animal sketching
Proportions are the most critical factor in making a drawing look realistic. If the head is too large for the body, the deer will appear juvenile or stylized. A good rule of thumb is that the length of the head should fit into the length of the body roughly two and a half times. By measuring these distances with your pencil before you begin, you ensure that your drawing maintains anatomical integrity throughout the entire process.
Consistency in scale is also vital when adding environmental elements. If the trees in the background are drawn too large, the deer will appear tiny, like a miniature figurine. Always compare the size of your subject to the elements surrounding it to maintain a believable sense of scale. By taking the time to map out these relationships early on, you build a stronger, more professional composition that conveys the true majesty of a deer in its natural forest habitat.
Key facts
- Start by drawing a large oval for the body and a smaller circle for the head to establish proportions.
- Connect the head and body with two curved lines to form a graceful, slender neck.
- Use simple geometric shapes like triangles for the ears and rectangles for the legs to maintain symmetry.
- Position the deer slightly off-center to create a more natural composition within the forest setting.
- Add depth to the forest by drawing vertical lines of varying thickness to represent tree trunks in the foreground and background.
- Keep the deer’s legs thin at the bottom and thicker toward the torso to reflect the animal's actual anatomy.
The bottom line
Drawing a deer in a forest is most effective when you prioritize basic geometric shapes before adding anatomical details. By establishing the body's proportions with circles and ovals, you create a stable foundation. Focus on the deer's silhouette first, then integrate simple vertical lines for trees to build the environment. Practice consistent light sources to add depth, ensuring your final piece feels grounded within its natural habitat.
People also ask
What is the best pencil grade for sketching animals?
An HB pencil is ideal for initial outlines because it is easy to erase. You can switch to a 2B or 4B pencil later to add darker shadows and texture to the fur.
How do I draw realistic fur texture?
Use short, quick strokes in the direction of the hair growth rather than solid lines. Varying the pressure of your pencil will create natural highlights and shadows that mimic the look of a coat.
Should I draw the background or the deer first?
Always draw the deer first to ensure it is the focal point of your composition. Once the deer is positioned, you can add background elements like trees and foliage around it.
How can I make the deer look like it is standing on uneven ground?
Draw a slightly curved horizontal line beneath the hooves to represent the forest floor. Adding small tufts of grass or rocks around the feet helps anchor the deer to the terrain.
How do I draw deer antlers correctly?
Start with a simple "Y" shape extending from the top of the head. Add smaller branches off the main beams, keeping them slightly asymmetrical to look more authentic.
What is the most common mistake when drawing deer legs?
Beginners often draw legs that are too short or lack the distinct joints found at the knees and hocks. Study reference photos to ensure the legs have the correct length and articulation for a standing deer.
This answer was created with the help of AI research tools and reference sources. Spotted an error? Let us know — we correct mistakes quickly. See our editorial policy.