How do you draw a face at a three-quarter view step by step?
Short answer
Drawing a face at a three-quarter view involves shifting facial features to account for perspective and rotation. By establishing a central axis that curves around the head’s volume, you can accurately place the eyes, nose, and mouth. This technique creates depth, making the portrait appear three-dimensional rather than flat or static.
On this page
How to structure the head for three-quarter views
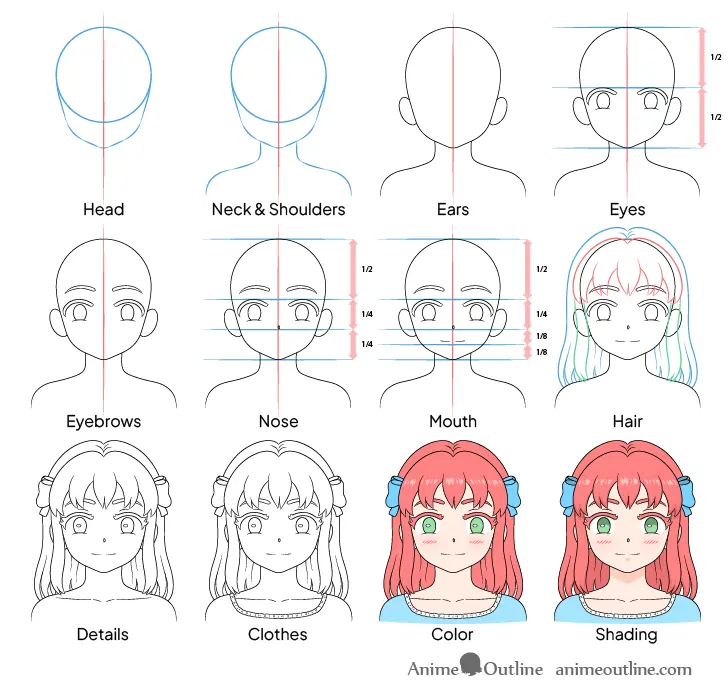
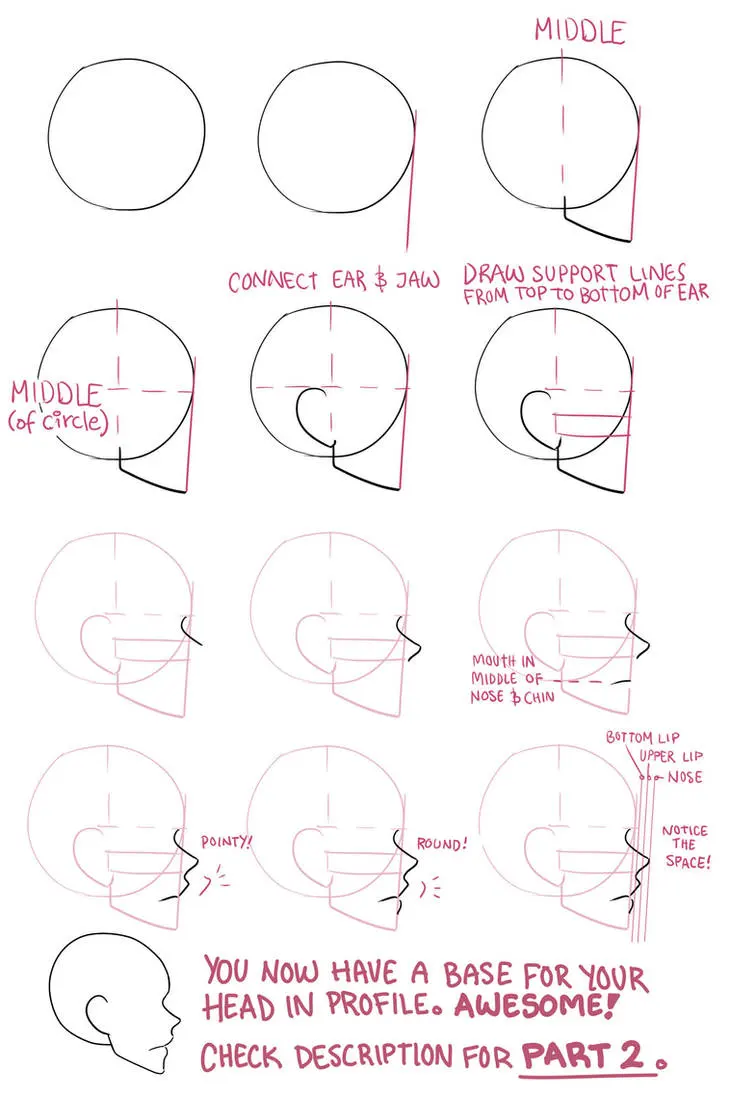
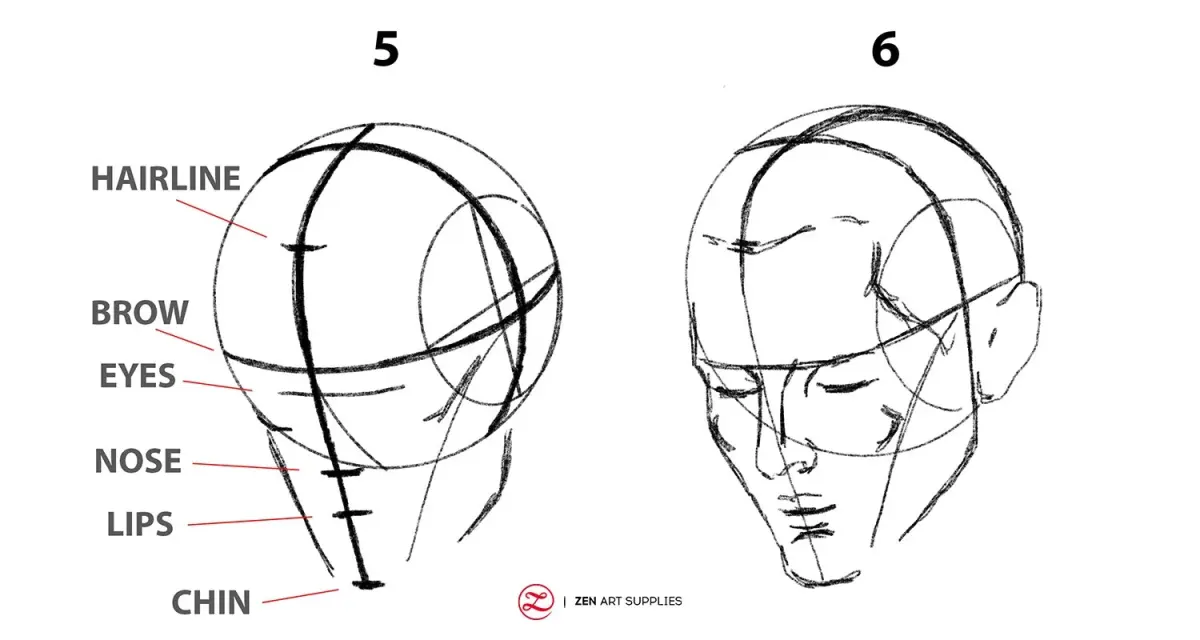
To begin a three-quarter view, draw a circle to represent the cranium and add a jawline that connects to it. Unlike a front-facing portrait, the vertical centerline of the face must curve slightly to follow the sphere of the skull. This centerline acts as a guide for the nose and the philtrum, helping you visualize how the face wraps around the head's depth.
Once the basic shape is established, divide the head into three horizontal sections: the hairline to the brow, the brow to the bottom of the nose, and the nose to the chin. In a three-quarter perspective, the side of the face furthest from the viewer will appear narrower due to foreshortening. Keep these proportions consistent to ensure the head does not look distorted or lopsided.
- Draw a circle for the skull and a vertical line curving toward the direction the face is turned.
- Mark the brow line, nose line, and chin line horizontally across the sphere.
- Define the jawline, remembering that the side turned away will be shorter and more compressed.
- Establish the eye line halfway between the hairline and the bottom of the nose.
How to place facial features correctly
The most critical aspect of the three-quarter view is the placement of the eyes and nose. Because the head is turned, the eye on the far side of the face will appear shorter horizontally than the near eye. The nose will also project outward, creating a slight overlap with the far cheek. This overlapping effect is essential for suggesting volume and physical space.
When positioning the mouth, ensure it follows the same curved perspective as the eyes and nose. The corner of the mouth on the far side will be closer to the edge of the face, while the near side remains more prominent. Always verify that the center of the lips aligns with the curved vertical axis you drew initially. This alignment maintains the structural integrity of the entire facial anatomy.
- The near eye should be wider than the far eye.
- The nose should extend past the vertical centerline toward the far side.
- The ear on the near side will be clearly visible, while the far ear may be partially hidden.
- The eyebrow on the far side will appear slightly shorter due to the angle of rotation.
Why perspective creates depth in portraits
Perspective is the primary tool for moving from a flat, two-dimensional drawing to a realistic, three-dimensional representation. In a three-quarter view, the face is essentially a series of planes turning away from the light and the viewer. By acknowledging these planes, you can use shading to emphasize the cheekbones, the bridge of the nose, and the receding jawline.
Foreshortening is the technique of compressing an object’s length to show it is angled toward or away from the viewer. In portraiture, this means the features on the side of the face turning away should be slightly squashed. If you draw both eyes the same width, the portrait will look like a flat mask. Mastering this depth requires consistent practice with basic geometric shapes before applying them to complex human features.
Common mistakes when drawing three-quarter faces
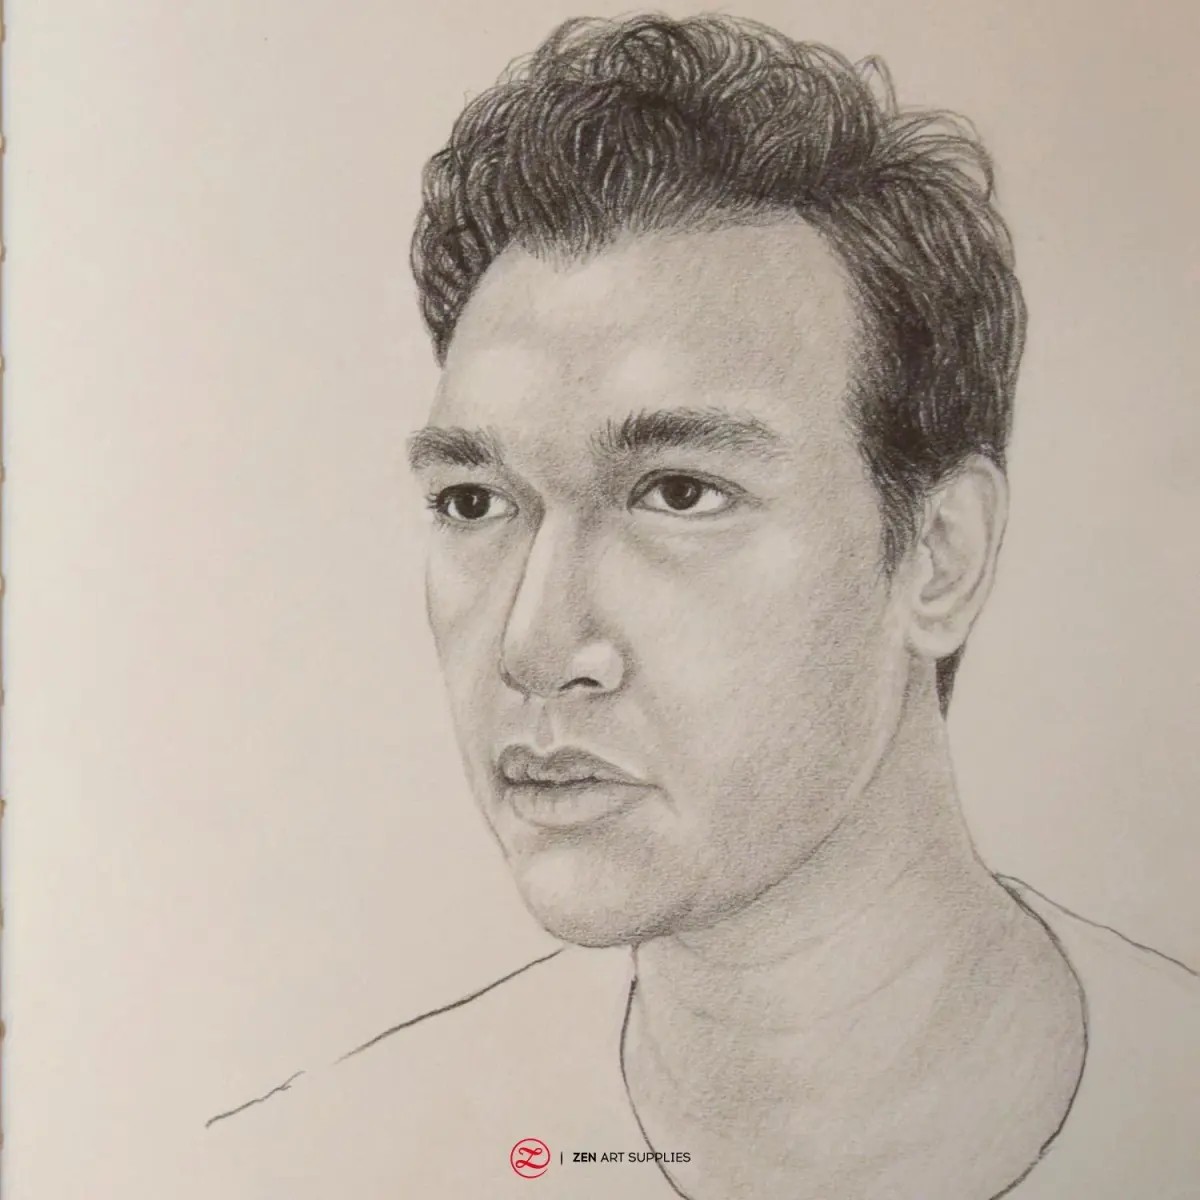
A frequent error is drawing the far eye too large or placing it too far toward the edge of the skull. Beginners often forget that the skull has significant mass behind the eye socket. If the eye is placed too close to the outline of the head, the face will look like it is sliding off the cranium. Always leave enough space between the eye and the outer edge of the head.
Another mistake is failing to account for the curvature of the jaw. When the head turns, the jawline does not remain a simple symmetrical curve. Instead, it becomes asymmetrical, with one side appearing more angular or foreshortened than the other. Avoid drawing a perfectly symmetrical chin, as this will immediately flatten the perspective and ruin the illusion of a three-quarter turn.
- Placing the far ear too far forward on the side of the head.
- Drawing the nose as a straight line instead of a three-dimensional wedge.
- Ignoring the tilt of the head, which changes the alignment of the eyes and mouth.
- Making the far cheek too wide, which makes the face appear distorted.
Best tools and techniques for beginners
For those just starting, using a soft graphite pencil like a 2B or 4B is ideal for sketching initial guidelines. These pencils allow you to draw light, erasable lines that won't leave deep indentations on the paper. Start by practicing the "Loomis method," a popular system developed by illustrator Andrew Loomis that uses spheres and planes to map out the head at any angle.
If you find it difficult to visualize the rotation, use a reference photo and draw a vertical line directly over the face to see how it curves. Analyzing how the features intersect with that line will improve your intuition over time. Remember that drawing is a skill built on observation and repetition. By consistently practicing these structural steps, you will eventually be able to draw a three-quarter view from memory with confidence and precision.
Key facts
- The three-quarter view is defined by the head being rotated approximately 45 degrees, making one side of the face appear narrower than the other.
- Use the Loomis Method, which involves drawing a circle for the cranium and adding a jawline, to establish correct proportions.
- In this view, the eye on the far side of the face will appear shorter horizontally due to the principles of foreshortening.
- The nose should align with the vertical center line of the face, which curves slightly to follow the contour of the skull.
- Always place the ear on the side of the head that is turned away, positioned between the brow line and the base of the nose.
- Avoid drawing the far eye too close to the edge of the face, as it must remain within the boundary of the skull's curve.
The bottom line
Mastering the three-quarter view requires balancing anatomical accuracy with the principles of perspective. By utilizing a circular base for the cranium and a curved centerline, you can effectively map the facial features to create a convincing sense of depth. Focus on the subtle foreshortening of the far eye and the contour of the jaw to ensure your portrait feels three-dimensional, natural, and structurally sound.
People also ask
Why does the far eye look distorted in a three-quarter view?
The far eye appears distorted because of foreshortening, which is the visual effect where an object appears shorter than its actual length when angled toward the viewer. You must draw it slightly narrower and closer to the nose to maintain an accurate perspective.
How do I determine the correct placement of the ears?
The ears typically align with the horizontal lines established for the eyebrows and the bottom of the nose. In a three-quarter view, the ear on the far side will be partially obscured by the curve of the jaw and cheek.
What is the biggest mistake beginners make with this angle?
Beginners often draw the far eye too far toward the outer edge of the face, which makes the head look flat or distorted. Always ensure the far eye stays within the silhouette of the skull to maintain a three-dimensional appearance.
Should the center line of the face be straight?
No, the center line must be curved to represent the rounded shape of the face. A straight line will make the head look like a flat piece of paper rather than a solid, volumetric object.
How does the jawline change in this perspective?
The jawline becomes asymmetrical; the side closer to the viewer will show more of the chin and jaw structure, while the far side will appear more compressed. Focus on the angle of the jawbone to suggest the depth of the head.
Do the proportions of the features change in this view?
While the actual size of the features remains the same, their apparent width changes significantly. Practice observing how the cheekbone on the far side creates a contour that hides part of the eye socket.
This answer was created with the help of AI research tools and reference sources. Spotted an error? Let us know — we correct mistakes quickly. See our editorial policy.