How do you shade an apple?
Short answer
Shading an apple requires identifying the light source and applying gradual tonal transitions. Start by establishing a base color, then layer darker values in the shadow areas and lighter values on the highlights. Use circular strokes to mimic the spherical form, ensuring the transition between light and dark remains smooth and consistent.
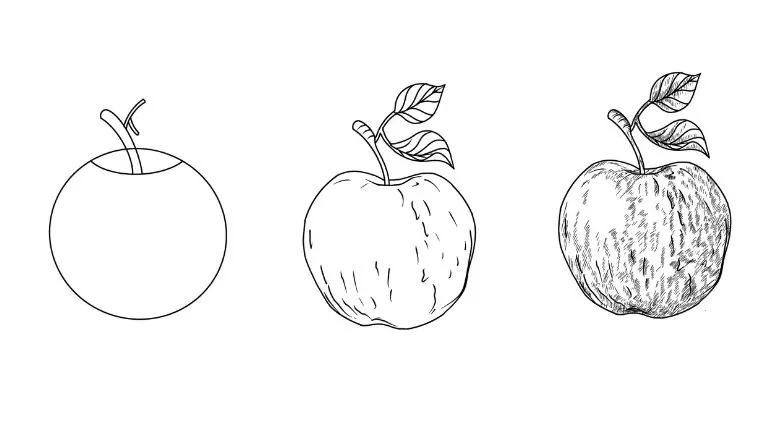
On this page
How to identify light and shadow on an apple
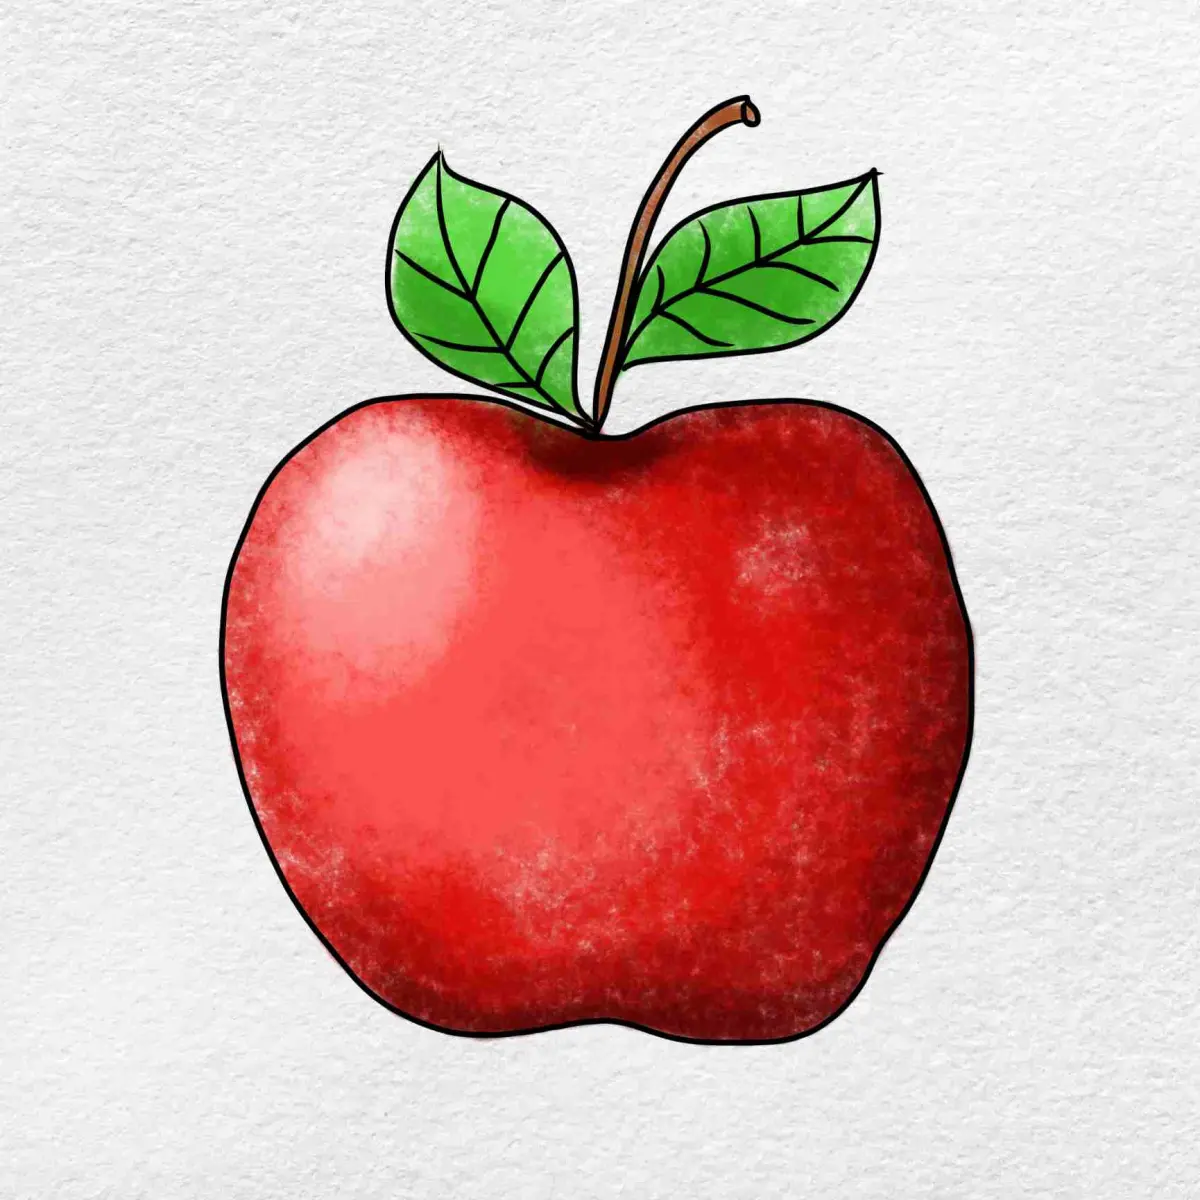
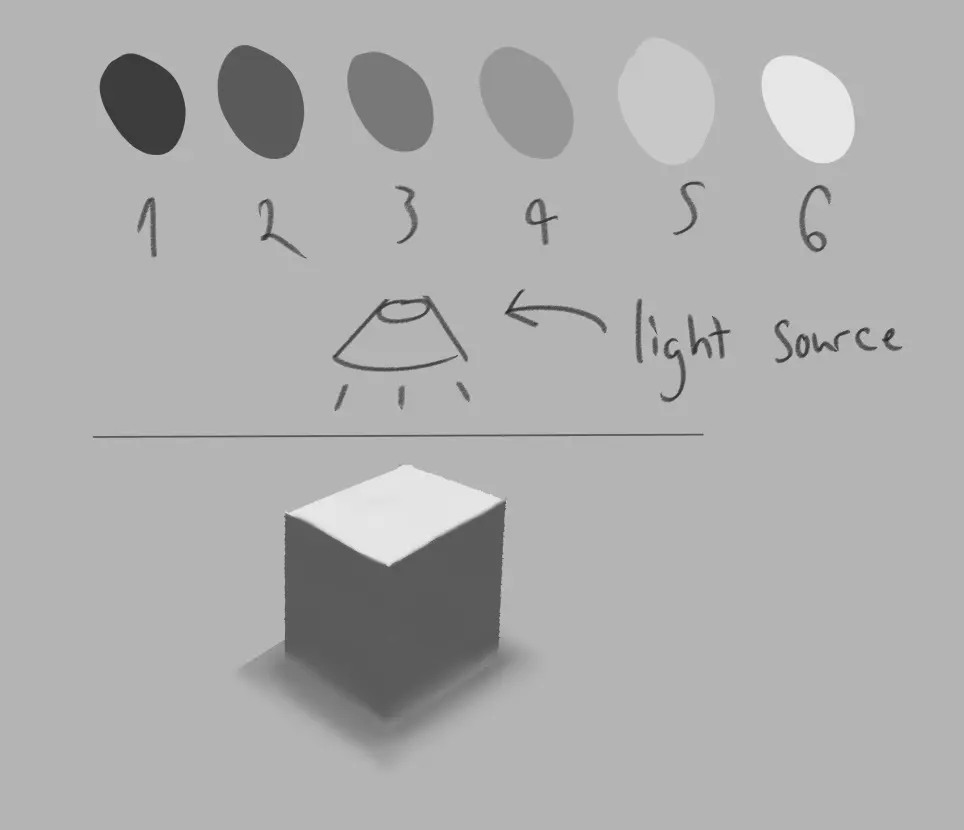
To shade an apple effectively, you must first determine the direction of your light source. The light hits the apple at a specific angle, creating a bright highlight, a mid-tone area, and a deep shadow. The area directly opposite the light source is the darkest, known as the core shadow. Beneath the apple, you will find a cast shadow that anchors the object to the surface.
Understanding these zones is essential for creating a three-dimensional illusion on a two-dimensional surface. The highlight is the point closest to the light, while the reflected light—a subtle glow on the shadowed side—prevents the apple from appearing flat. Observe your subject closely to see how these zones interact. Most apples have a slight indentation at the top and bottom, which alters how light travels across the curved surface.
- Locate the primary light source.
- Identify the brightest highlight.
- Determine the core shadow area.
- Observe the reflected light on the underside.
- Map the cast shadow on the table surface.
Best shading techniques for beginners
Beginners should focus on building value through layering rather than pressing hard with a pencil or brush. Start with light, sweeping strokes to establish the overall shape and the darkest areas of the apple. Gradually increase the pressure or add more layers of pigment to deepen the shadows. This approach allows for better control and easier corrections if you make a mistake.
Blending is another critical skill for achieving a realistic look. Use a soft blending stump, a tissue, or controlled cross-hatching to smooth out the transitions between tones. Avoid harsh lines, as the surface of an apple is generally smooth and curved. By softening the edges where light meets shadow, you create a natural gradient that mimics the apple’s skin. Remember that the transition should be subtle, moving slowly from the darkest core shadow toward the lighter mid-tones.
- Use a 2B or 4B pencil for a good range of values.
- Keep your pencil strokes following the contour of the apple.
- Layer colors or graphite slowly to avoid muddy textures.
- Use an eraser to pull out highlights after shading.
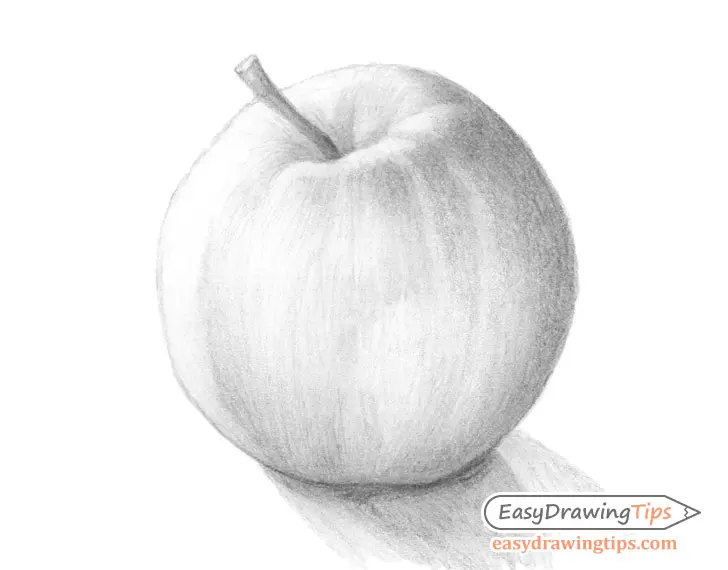
Why shading looks flat or unrealistic
Shading often looks flat when the transition between light and dark is too abrupt or when the reflected light is ignored. If you shade only the dark side without considering the subtle light bouncing back from the surface, the apple will look like a dark circle rather than a sphere. Additionally, failing to account for the cast shadow makes the object appear as if it is floating in space.
Another common issue is inconsistent light direction. If you place the highlight on the left but put the cast shadow on the left as well, the viewer’s eye will immediately detect that something is wrong. Ensure that your shadow placement is logically consistent with your light source. Furthermore, avoid using pure black for shadows unless the lighting is extremely dramatic. Instead, use deep blues, purples, or dark browns to add depth and richness to the shadowed portions of the fruit.
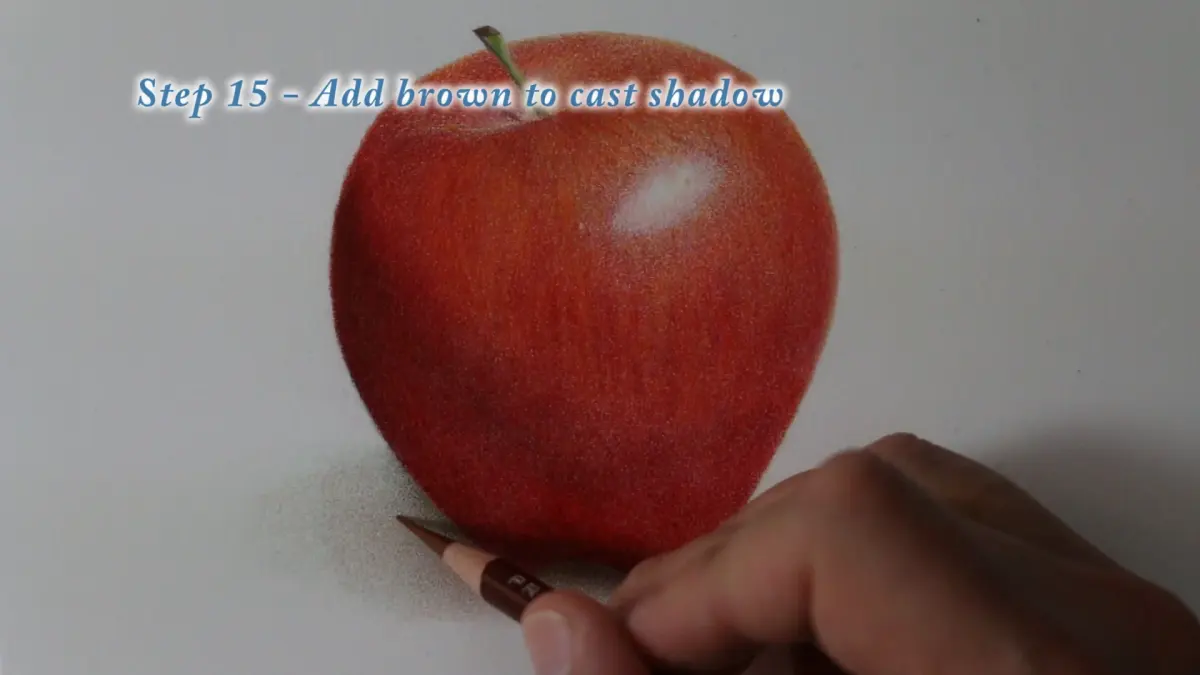
Common mistakes when shading fruit
One frequent mistake is outlining the apple with a heavy, dark line. Outlines often flatten the form and make the drawing look like a cartoon. Instead of drawing a solid perimeter, use changes in value to define the edges of the apple. If you must use an outline, keep it very light and integrate it into the shading so it disappears into the darker areas of the fruit.
Another error involves ignoring the texture of the apple. While the apple is smooth, it may have subtle variations, spots, or a stem that requires specific attention. Do not shade the stem as if it were part of the round body; it has its own light and shadow planes. Beginners also tend to neglect the shadow cast by the stem onto the top of the apple. Paying attention to these small details significantly enhances the realism of your final piece.
- Avoid heavy, permanent outlines.
- Do not forget the shadow cast by the stem.
- Ensure the cast shadow is darker than the core shadow.
- Remember that the apple is not a perfect sphere.
How to refine your shading for realism
Refining your work involves checking the contrast between your lightest highlights and your darkest shadows. If your drawing lacks impact, you may need to darken your shadows further or brighten your highlights with a kneaded eraser. A high-contrast drawing often appears more dynamic and professional. Compare your drawing to the actual subject frequently to ensure the proportions and tonal values remain accurate.
Finally, consider the environment surrounding the apple. Does the table surface have a texture or a specific color? Does the apple cast a shadow that is sharp or soft? Soft shadows suggest a diffused light source, while sharp shadows indicate a direct, intense light. By incorporating these environmental details, you move beyond simple object shading and create a complete, believable scene. Consistent practice with these techniques will allow you to render any spherical object with confidence and artistic precision.
Key facts
- Identify your light source first, as the highlight should be placed on the side of the apple closest to the light.
- Use a hard-edged shadow where the apple meets the surface to ground the object firmly in space.
- Apply a "core shadow" on the side of the apple opposite the light to create the illusion of a rounded, three-dimensional volume.
- Incorporate a "reflected light" area near the bottom edge of the apple to prevent the shadow side from looking flat or muddy.
- Keep your pencil strokes curved to follow the spherical contour of the fruit rather than using straight lines.
- Layer your graphite or color gradually, starting with light pressure and building up to the darkest tones slowly.
The bottom line
Shading an apple effectively requires a disciplined approach to light and shadow. By establishing a clear light source, you can define the highlight, core shadow, and reflected light to create a convincing three-dimensional volume. Avoid the common mistake of over-blending or using uniform pressure. Instead, follow the apple’s natural curvature with your strokes, building depth gradually to achieve a realistic, professional-looking result.
People also ask
Where should the highlight be placed on an apple?
The highlight should be placed on the side of the apple where the light source is hitting it most directly. This is usually a small, bright area that remains white or very light to indicate a glossy surface.
What is a core shadow?
The core shadow is the darkest area on the apple itself, located just past the transition from light to shadow. It is essential for defining the roundness of the fruit and providing depth.
How do I create a cast shadow?
The cast shadow is created on the surface where the apple sits, extending away from the light source. It should be darkest near the base of the apple and become lighter and softer as it moves further away.
Should I use blending stumps or my fingers to smooth the shading?
While blending stumps can create a smooth finish, using your fingers is generally discouraged because natural skin oils can leave smudges and ruin the paper. Use a clean paper stump or a soft brush to blend graphite gently.
Why does my apple drawing look flat?
A flat appearance usually results from a lack of contrast between the light and dark areas. Ensure you have a clear transition from the highlight through the midtones to the darkest core shadow.
What is the purpose of reflected light?
Reflected light occurs when light bounces off the table surface back onto the shadowed side of the apple. Including this small detail makes the object look realistic and prevents the dark side from appearing like a black hole.
This answer was created with the help of AI research tools and reference sources. Spotted an error? Let us know — we correct mistakes quickly. See our editorial policy.