How do you color clouds with colored pencils?
Short answer
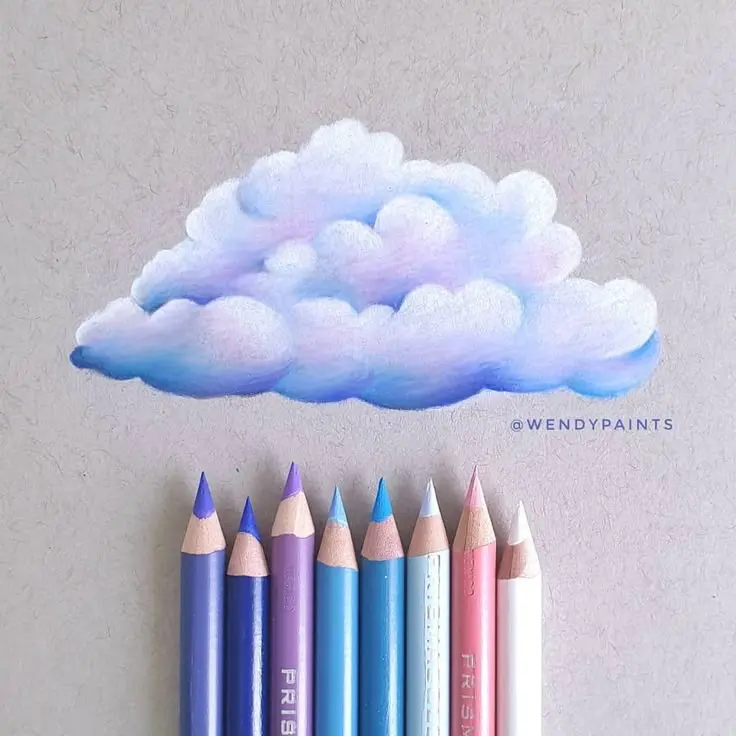
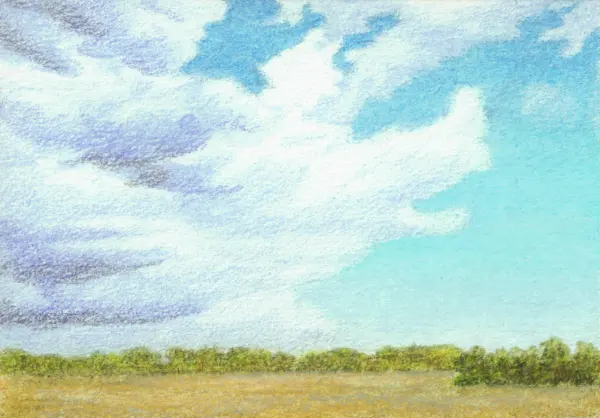
Coloring realistic clouds with colored pencils requires layering light colors, preserving white space for highlights, and using soft, circular strokes to blend edges. By applying subtle blues, purples, or warm oranges in the shadows and leaving the brightest areas paper-white, you create depth, volume, and a natural, atmospheric appearance in drawings.
On this page
How to layer colors for realistic clouds
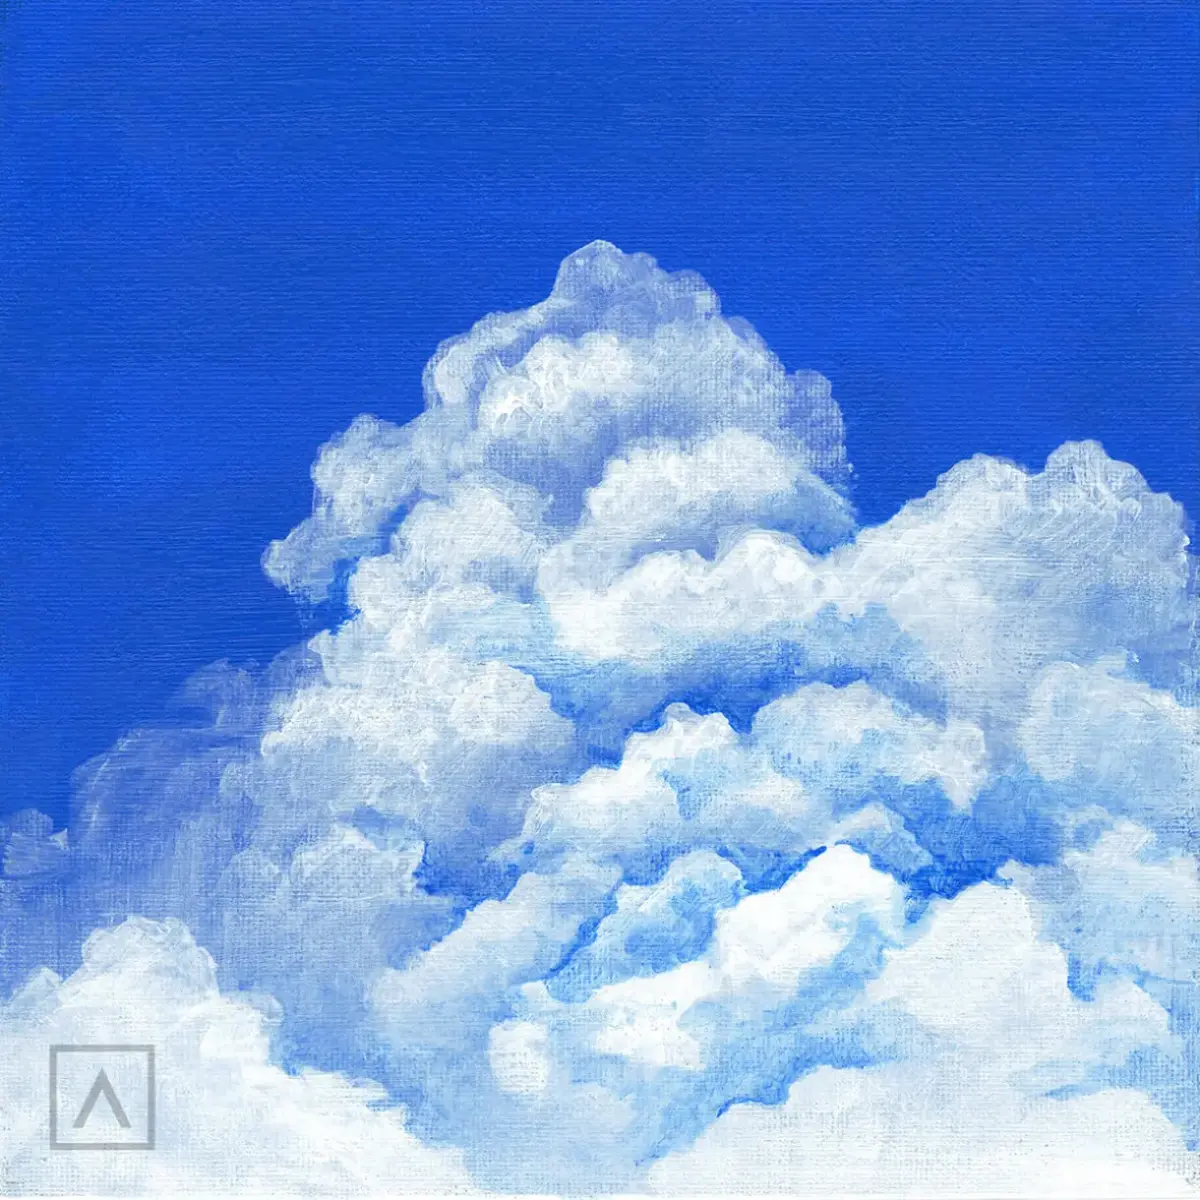
To achieve a three-dimensional look, you must avoid coloring clouds as flat, white shapes. Begin by identifying the light source and mapping out the brightest highlights, which should remain the color of your paper. Use a light touch to apply cool grays or pale blues in the areas furthest from the light, as these represent the shadows within the cloud's mass.
Building up these layers gradually is essential for a soft, airy texture. Use a light pressure to avoid filling the paper's "tooth," which is the texture that grabs the pigment. If you press too hard early on, you will create a waxy surface that prevents further blending. Follow these steps to build your base:
- Lightly outline the cloud’s general shape with a very pale gray or blue pencil.
- Apply a light wash of color to the shadow areas using circular motions.
- Gradually intensify the shadows by layering slightly darker tones toward the bottom of the cloud.
- Leave the top edges and brightest highlights completely untouched to maintain the illusion of light.
Best colored pencils for beginners
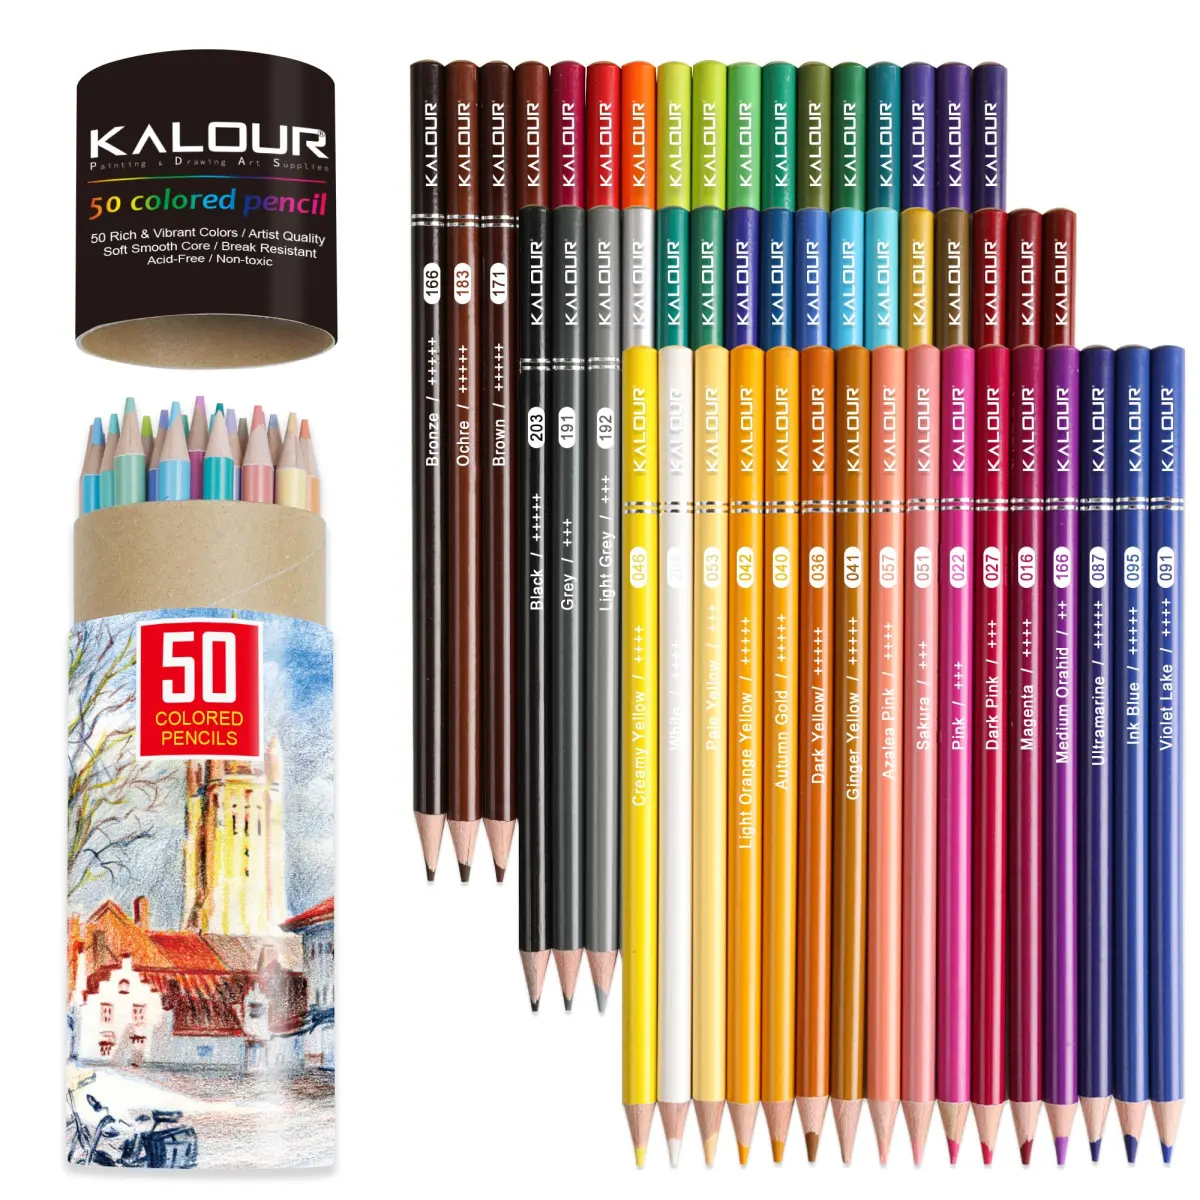
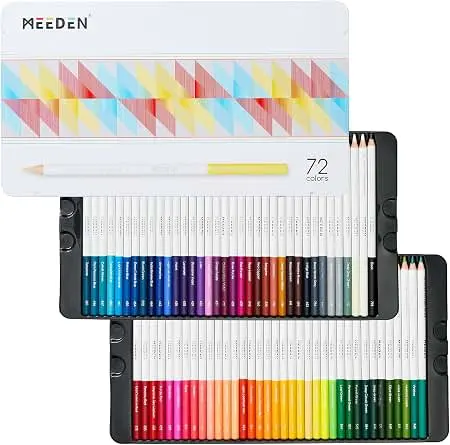
While professional-grade pencils offer more pigment, beginners can achieve excellent results with wax-based or oil-based pencils. Wax-based pencils, such as Prismacolor Premier, are softer and blend more easily, making them ideal for the soft, diffused edges of clouds. Oil-based pencils, like Faber-Castell Polychromos, are harder and maintain a sharp point longer, which is useful for defining specific cloud formations or wispy edges.
Regardless of the brand, focus on the quality of the binder. A soft core allows you to layer colors without scratching the paper, which is crucial for the delicate transitions found in sky scenes. You do not need a massive set; a small palette of whites, cool grays, warm grays, and pale blues is sufficient. Focus on controlling your pressure rather than relying on a vast array of colors to create the desired atmospheric effects.
How to blend clouds for a soft look
Blending is the secret to making clouds look like vapor rather than solid objects. You can use a colorless blender pencil, which is essentially a wax-based pencil without pigment, to smooth out the transition between your shadow colors and the white paper. Alternatively, a paper stump or a soft cloth can be used to smudge the pigment gently, creating a seamless gradient.
When blending, always work from the lightest areas toward the darker shadows. This prevents you from dragging dark pigment into your highlight areas, which can muddy the drawing. If you find the edges are still too sharp, use a kneaded eraser to gently lift some pigment. This technique mimics the way clouds dissipate into the sky, creating a natural, soft-focus effect that is difficult to achieve with standard pencil strokes alone.
Common mistakes when drawing clouds
One of the most frequent errors is outlining clouds with a dark, heavy line. In nature, clouds have soft, undefined edges, and a harsh outline will immediately make them look like cartoon shapes rather than realistic formations. Instead of drawing a solid boundary, use light, broken strokes to suggest the edge of the cloud, allowing the background sky color to bleed into the cloud’s perimeter.
Another common mistake is using pure white colored pencil over dark colors. Most colored pencils are translucent, meaning they will not effectively cover darker layers. If you need to add highlights after shading, use a white gel pen or a high-quality opaque white gouache. Additionally, avoid using too much pressure when layering. If the paper becomes too smooth or "burnished," it will no longer accept additional pigment, making it impossible to add the final, delicate details that give clouds their characteristic depth and volume.
Why clouds have different colors
Clouds change color based on the position of the sun and the composition of the atmosphere. During sunrise or sunset, the light travels through more of the atmosphere, scattering shorter blue wavelengths and leaving longer red, orange, and pink wavelengths to illuminate the clouds. To capture this, incorporate warm colors like peach, soft pink, or pale yellow into the undersides of the clouds.
- Use cool blues and purples for high-altitude cirrus clouds.
- Use warm oranges and pinks for low-hanging cumulus clouds at sunset.
- Use deep grays and near-blacks for storm clouds, focusing on high contrast.
- Use neutral grays for standard midday clouds to keep them looking natural.
By observing how light interacts with moisture in the sky, you can choose a color palette that reflects the time of day and weather conditions. Remember that clouds are rarely just white; they are mirrors of the light around them, constantly shifting in hue and intensity throughout the day.
Key facts
- Clouds are not solid objects; use light, circular strokes to mimic their soft, airy texture.
- Leave the white of the paper untouched to represent the brightest highlights of the cloud.
- Apply colors in layers, starting with light blues or grays for shadows before adding warmer tones.
- Use a colorless blender pencil to soften harsh graphite lines and create a smooth, misty transition.
- Avoid heavy pressure, as wax-based pencils can create a waxy buildup that prevents further blending.
- Focus on the edges of the cloud, keeping them soft and blurry rather than sharp or defined.
The bottom line
Drawing realistic clouds requires a focus on light and shadow rather than solid lines. By layering soft colors and preserving the white of the paper, you can capture the ethereal nature of the sky. Always prioritize gentle pressure and smooth blending to maintain a hazy, atmospheric appearance. With practice, these techniques will help you transition from flat shapes to dynamic, volumetric clouds that anchor your landscape drawings.
People also ask
What is the best type of pencil for drawing clouds?
Soft-core wax-based colored pencils are ideal because they blend easily and allow for layering. Harder pencils are better for fine details, but soft pencils are superior for capturing the diffused look of vapor.
How do I create a sunset effect on clouds?
Use warm colors like orange, pink, and violet in the lower sections of the clouds. Gradually blend these into the surrounding sky colors to ensure the light appears to glow from within.
Should I outline my clouds before coloring?
Avoid drawing hard outlines, as this makes clouds look like cartoon shapes rather than natural formations. Instead, define the edges by shading the area around the cloud with a darker sky color.
How do I make clouds look three-dimensional?
Identify where the light source is coming from and apply darker shadows on the opposite side of each cloud puff. Use cool grays or pale blues to add depth to these shaded regions.
Why do my clouds look muddy?
Muddy colors occur when you press too hard or layer too many clashing colors at once. Stick to a limited palette of three or four colors and build the intensity slowly.
Can I use an eraser to add highlights?
A kneaded eraser is excellent for lifting pigment to create thin, wispy cloud strands. Gently dab the paper to lighten areas that have become too dark during the coloring process.
This answer was created with the help of AI research tools and reference sources. Spotted an error? Let us know — we correct mistakes quickly. See our editorial policy.