How do you color grass with colored pencils?
Short answer
Coloring grass effectively requires layering multiple shades of green and applying directional strokes to mimic individual blades. By building depth with dark shadows and highlights, you create a realistic texture. Use a sharp pencil to define edges and vary your pressure to achieve a natural, organic look rather than flat color.
On this page
How to layer colors for realistic grass
Creating the illusion of realistic grass involves more than just selecting a single green pencil. Start by establishing a base layer using a light, yellow-toned green to represent the sunlit areas of the lawn. Gradually transition into deeper, cooler forest greens as you move toward the shaded areas or the base of the grass clumps. This layering process builds depth that a single stroke cannot achieve.
To add complexity, incorporate subtle hints of brown, ochre, or even cool blue into the shadows. These neutral tones prevent the grass from looking like a flat, artificial green plastic. By layering these colors, you mimic the natural variations found in outdoor vegetation. Always apply your lightest colors first, as dark pigments are difficult to lift or cover once they are heavily applied to the paper.
- Apply a light base coat using light pressure.
- Add mid-tones to define the shape of grass clusters.
- Use dark greens or browns to create deep shadows at the base.
- Finish with sharp, light-colored highlights on the tips.
Best pencil techniques for grass texture
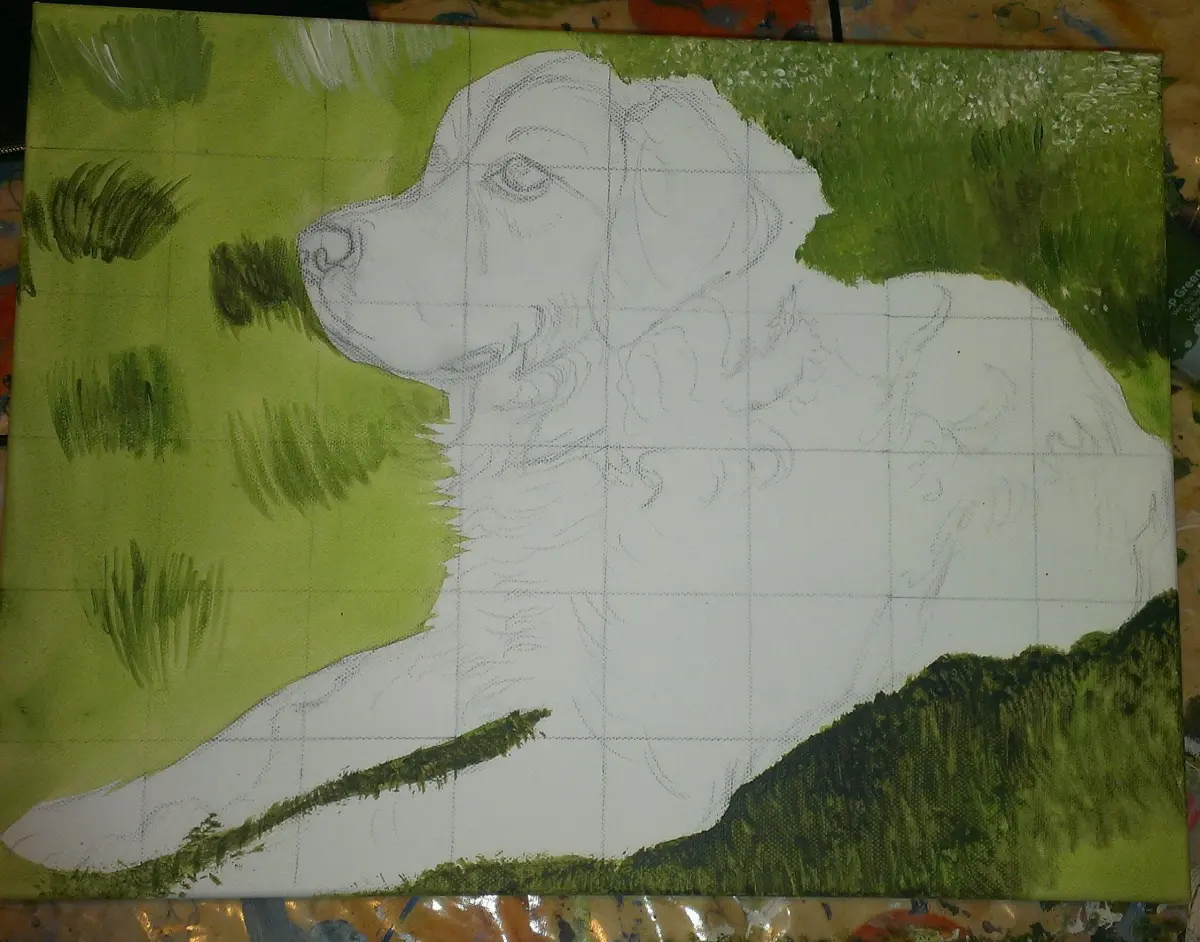
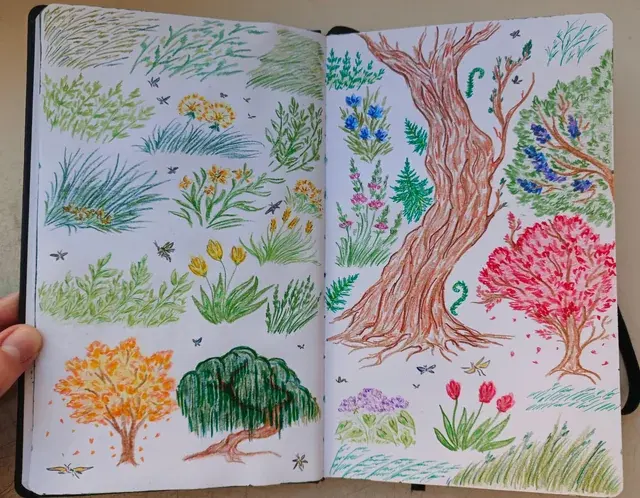
The secret to convincing grass lies in the direction and shape of your pencil strokes. Avoid coloring in uniform blocks; instead, use short, flicking motions that originate from the base of the grass and lift off the paper as you reach the tip. This technique creates a tapered appearance that mimics the sharp, pointed ends of real blades. Varying the length of these flicks helps create a natural, unmanicured appearance.
Beyond the flicking motion, you should focus on the density of your marks. In areas where the grass is sparse, leave small gaps of white paper to represent light catching the blades. In denser patches, overlap your strokes to create a thick, lush look. Rotating your pencil frequently keeps the tip sharp, which is essential for maintaining the thin, crisp lines necessary for individual blades of grass.
- Use a sharp point for foreground blades to add detail.
- Use a duller point for background grass to soften the focus.
- Vary the angle of your strokes to show movement or wind.
- Press harder at the base of the blade for a grounded look.
How to create depth and shadow
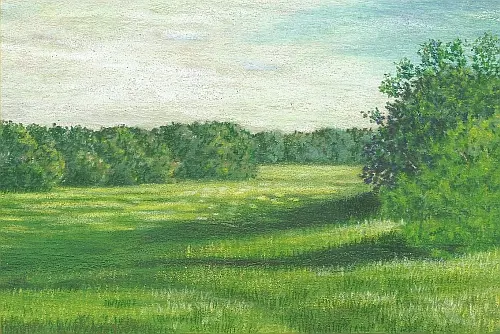
Depth is achieved by manipulating the contrast between light and shadow. The grass closest to the viewer should have the highest contrast, with bright highlights and deep, dark shadows. As you move toward the background, decrease the contrast and lighten the overall color intensity. This atmospheric perspective mimics how human vision perceives distance in a landscape, making your drawing appear three-dimensional.
Pay close attention to where light hits the grass. If your light source is coming from the left, the right side of individual blades should be slightly darker. You can achieve this by lightly shading one side of the blade with a darker green or a cool grey. This subtle shading adds volume to each blade, transforming flat lines into rounded, realistic structures that stand out from the page.
Common mistakes when coloring grass
A frequent error is using a single shade of green for the entire surface. This results in a flat, cartoonish appearance that lacks the organic vitality of a real meadow. Another common mistake is applying too much pressure too early, which fills the paper's "tooth" and prevents further layering. Once the paper is saturated with wax or oil from the pencil, you cannot add more detail or depth.
Additionally, many beginners draw every blade of grass with the same length and thickness. Real grass is chaotic, with blades bending, overlapping, and growing at different heights. Avoid creating a perfectly uniform pattern or a grid-like structure. If your grass looks like a fence or a carpet, try breaking up the lines by adding a few blades that cross over one another or bend at different angles.
How to finish and blend your drawing
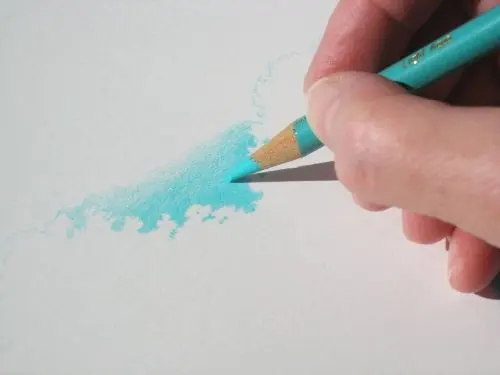
Blending is the final step to unify your colors and remove harsh, scratchy lines. You can use a colorless blender pencil to soften the transitions between your light and dark layers. Alternatively, a light touch with a white pencil can help blend colors while simultaneously adding a soft, sun-bleached highlight to the tips of the grass. Be careful not to over-blend, as this can turn your crisp blades into a muddy smear.
If you want to add extra detail, use a sharp, dark pencil to re-define the most prominent blades after blending. This creates a sharp foreground that pops against the softer, blended background. Finally, consider adding small specks of yellow or white near the base to represent small wildflowers or light reflecting off dew. These tiny, intentional details provide a sense of scale and realism that completes the overall composition of your grass.
Key facts
- Use a base layer of light yellow or pale green to establish the underlying tone of the grass.
- Apply pencil strokes in quick, flicking motions upward to mimic the natural growth pattern of grass blades.
- Vary the pressure of your strokes to create depth, using heavier pressure for shadows and lighter pressure for highlights.
- Incorporate cool blues or purples into the shadowed areas to prevent the green from appearing flat or muddy.
- Use a white or colorless blender pencil to soften harsh lines and unify the different green hues.
- Leave small gaps between strokes to allow the paper texture to show through, which creates a more realistic, airy appearance.
The bottom line
Achieving realistic grass with colored pencils requires layering multiple shades and mimicking the organic growth of blades through directional, flicking strokes. By incorporating yellow for highlights and cool tones for shadows, you avoid a flat, artificial appearance. Focus on varying your pressure and leaving negative space to create texture, ensuring your final composition captures the natural depth and movement found in a real meadow.
People also ask
What is the best type of colored pencil for drawing grass?
Wax-based pencils are generally preferred because they blend smoothly and allow for easy layering of colors. Oil-based pencils are also excellent for fine detail work because they maintain a sharp point longer without breaking.
How do I create a sense of distance in a grassy field?
Use more detailed, saturated greens in the foreground and transition to desaturated, cooler, or lighter blue-greens in the background. This technique, known as atmospheric perspective, helps the eye perceive depth.
Should I use a single green pencil for the entire drawing?
Never use just one shade of green, as grass in nature contains a spectrum of colors including yellow, brown, and blue. Layering at least three different shades of green will provide the necessary visual complexity.
How do I fix a section that looks too dark or muddy?
You can lift some pigment using a kneaded eraser or apply a lighter yellow pencil over the top to brighten the area. If the paper is overworked, try using a colorless blender to push the pigment deeper into the tooth of the paper.
How do I draw grass that looks like it is blowing in the wind?
Direct your pencil strokes diagonally or in a slight curve rather than straight up and down. Following a consistent directional flow across the page will effectively suggest the movement of the wind.
Is it better to draw individual blades or a solid block of color?
For a realistic look, draw individual blades in the foreground and use softer, overlapping strokes for the mid-ground. A solid block of color should only be used as a distant, blurred base layer.
This answer was created with the help of AI research tools and reference sources. Spotted an error? Let us know — we correct mistakes quickly. See our editorial policy.