What is the difference between linear and atmospheric perspective?
Short answer
Linear perspective uses geometric lines and vanishing points to create the illusion of depth by controlling the scale and placement of objects. Atmospheric perspective relies on color, contrast, and clarity to simulate depth, mimicking how air particles scatter light and blur distant objects to make them appear paler, cooler, and less detailed.
On this page
How does linear perspective work?
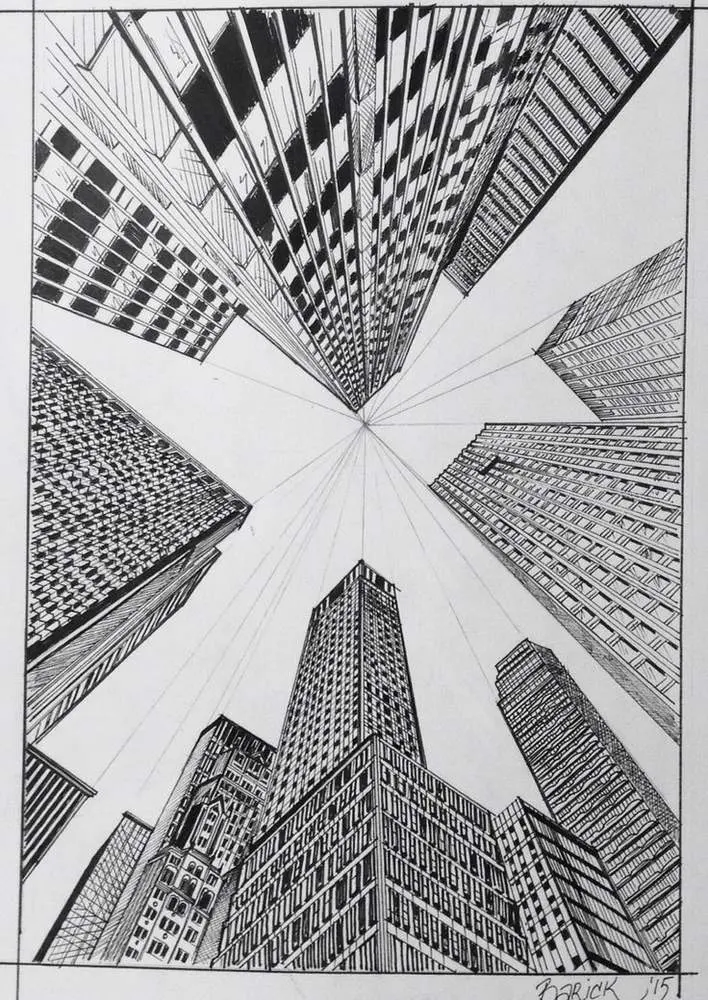
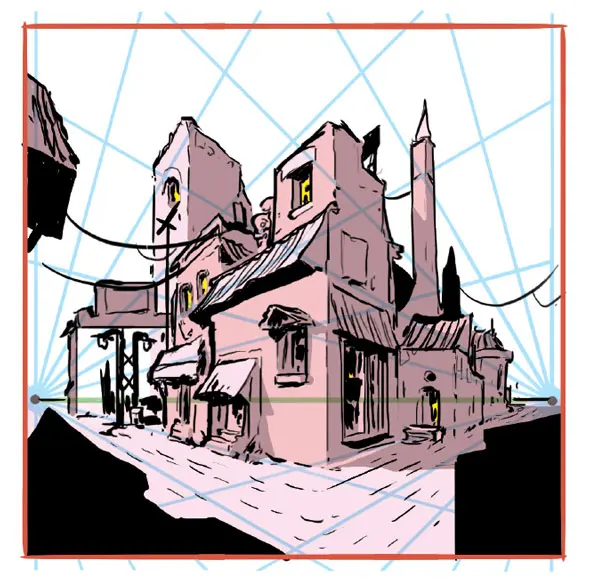
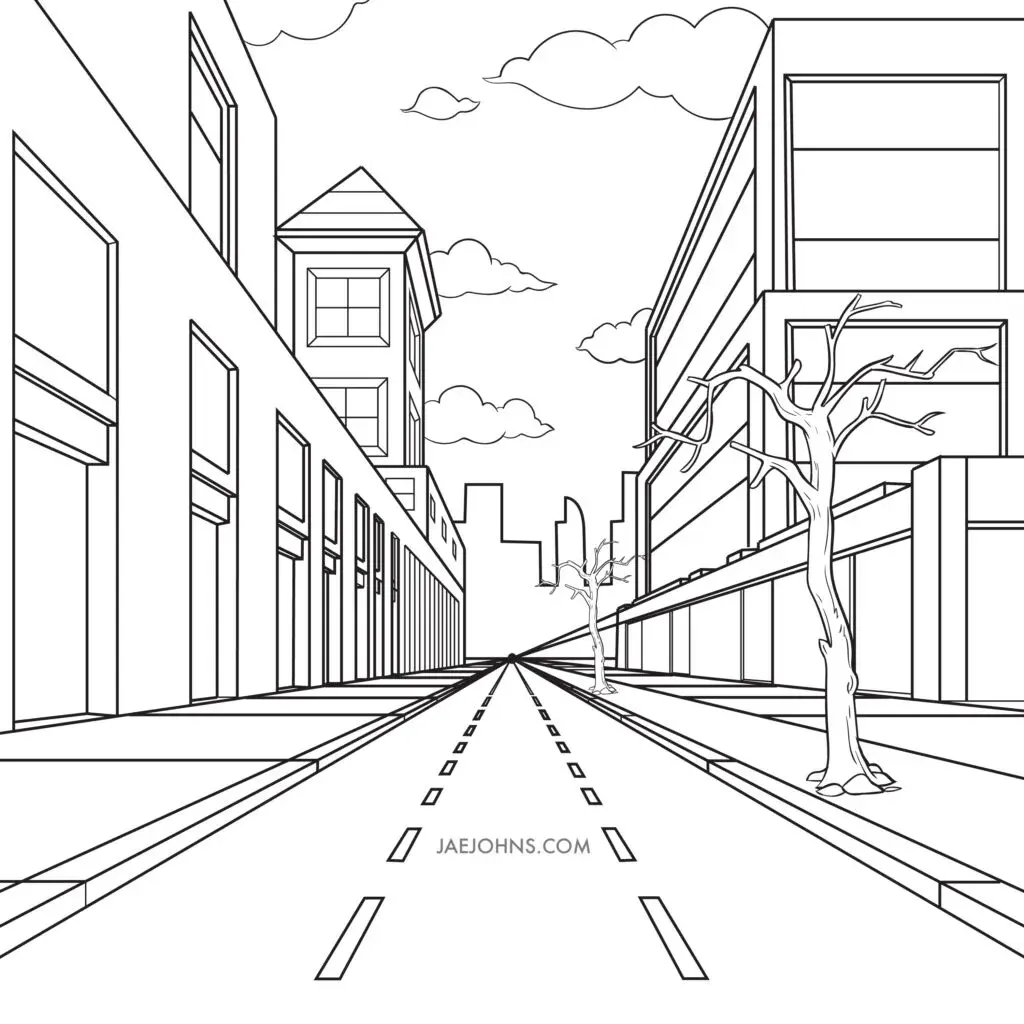
Linear perspective is a mathematical system used to represent three-dimensional space on a two-dimensional surface. Developed during the Italian Renaissance, most notably by architect Filippo Brunelleschi around 1415, this technique relies on the principle that parallel lines appear to converge at a single point on the horizon line, known as the vanishing point. By anchoring every object to these lines, an artist can precisely calculate the relative size and placement of elements to mimic human binocular vision.
This method provides a rigid, structural framework for composition. It is most effective for drawing man-made environments like buildings, roads, or tiled floors where straight edges are prominent. To master this technique, artists typically follow these steps:
- Draw a horizontal line across the page to represent the eye level of the viewer.
- Place a vanishing point on this line where all receding lines will converge.
- Use a straightedge to draw orthogonal lines from the edges of objects toward that point.
- Ensure all vertical lines remain perfectly perpendicular to the horizon to maintain structural integrity.
Why does atmospheric perspective happen?
Atmospheric perspective, also called aerial perspective, is a natural phenomenon caused by the scattering of light as it passes through the Earth's atmosphere. As the distance between the viewer and an object increases, more air, moisture, and dust particles sit between them. These particles scatter shorter blue light waves more effectively than longer red waves, which causes distant objects to lose their intensity and shift toward a lighter, bluish-gray hue.
This technique is essential for landscape painting because it provides a sense of vastness that geometry alone cannot achieve. Leonardo da Vinci famously documented this effect in his notebooks, noting that the clarity of contours diminishes with distance. To effectively utilize atmospheric perspective, artists must adjust their color palette and level of detail based on the perceived depth of the scene:
- Foreground: Use high contrast, warm colors, and sharp, intricate details.
- Middle ground: Use moderate contrast and slightly desaturated colors.
- Background: Use low contrast, cool blue or violet tones, and minimal detail.
How to use both techniques together
Combining these two methods creates a highly realistic and immersive image. While linear perspective establishes the physical structure and scale of the scene, atmospheric perspective provides the environmental context. For instance, in a cityscape, you might use linear perspective to ensure the buildings align correctly toward a vanishing point, while applying atmospheric perspective to make the buildings furthest away appear paler and less distinct than those in the foreground.
When integrating these techniques, consider the lighting conditions of your environment. On a clear day, the transition between foreground and background will be more subtle, while on a foggy or humid day, atmospheric perspective becomes much more pronounced. You can practice this integration by sketching a simple outdoor scene:
- Establish your horizon line and vanishing point to place your primary structures.
- Paint the foreground objects with dark, saturated, and warm colors.
- Gradually lighten the colors and reduce the contrast as objects approach the horizon line.
- Apply a thin, cool-toned glaze or wash over the distant elements to simulate the effect of the atmosphere.
Common mistakes when using perspective
One of the most frequent errors in linear perspective is the "tilted horizon" effect, which occurs when the vanishing points are not perfectly aligned with the viewer's eye level. This makes the entire scene feel unstable or as if it is sliding off the page. Another common issue is inconsistent scaling; if an object is placed far away but retains the same level of detail and contrast as a foreground object, the illusion of depth will collapse immediately.
In atmospheric perspective, the most common mistake is over-saturating distant objects. Beginners often try to make background mountains or trees look "real" by adding too much detail or using dark, vibrant greens. However, in reality, the atmosphere acts as a filter that obscures these details. Always remember that the further away an object is, the more it should blend into the color of the sky. If you are struggling, squint your eyes while looking at your reference photo to see which details disappear; those are the details you should omit in your background.
Best tools for perspective drawing
For linear perspective, the most important tool is a high-quality metal ruler or a T-square. Because the entire system relies on the precision of straight lines, even a slight deviation can make a drawing look warped. Many artists also use a drafting compass or a protractor to ensure that angles remain consistent across the composition. For digital artists, software tools like perspective grids are invaluable, as they allow for the automatic snapping of lines to vanishing points, saving significant time during the initial layout phase.
For atmospheric perspective, the focus shifts to color theory and medium control. If you are working with watercolors or acrylics, you need a reliable set of cool-toned pigments, such as cerulean blue or cobalt violet, to desaturate your distant colors. Brushes with soft, synthetic bristles are ideal for blending edges, which helps in creating the soft, out-of-focus look required for distant landscapes. Regardless of the medium, keeping a scrap piece of paper nearby to test your color mixtures before applying them to the final piece is a vital habit for ensuring your depth transitions remain smooth and believable.
Key facts
- Linear perspective uses mathematical vanishing points to create the illusion of depth on a flat surface.
- Atmospheric perspective relies on color, contrast, and clarity to suggest distance.
- Filippo Brunelleschi formalized linear perspective in the early 15th century.
- Leonardo da Vinci famously described atmospheric perspective in his notebooks as "sfumato."
- In linear perspective, parallel lines converge as they move toward the horizon.
- In atmospheric perspective, objects lose saturation and detail as they recede into the distance.
The bottom line
Linear perspective and atmospheric perspective are essential tools for creating depth in art. While linear perspective uses rigid geometry and vanishing points to define the physical layout of a scene, atmospheric perspective uses color and clarity to simulate how the air affects our vision over distance. Mastering both allows an artist to construct a convincing, three-dimensional world that feels both structurally sound and naturally immersive.
People also ask
Can you use both techniques in a single painting?
Yes, most Renaissance masters combined them to create highly realistic spaces. Linear perspective provides the structural framework, while atmospheric perspective adds the naturalistic finish.
Why do distant mountains look blue?
This happens because light scatters as it passes through the atmosphere. The shorter blue wavelengths reach the eye more easily than longer red ones, creating a cool, hazy appearance.
What is a vanishing point?
It is a specific spot on the horizon line where all parallel lines that recede into the distance appear to meet. Artists use this point to anchor the geometry of a scene.
Read the full answer →Does atmospheric perspective work indoors?
It is significantly less effective indoors because the air lacks the volume and particles necessary to create a noticeable haze. Artists typically rely on linear perspective or lighting shifts to suggest depth in interior spaces.
What is the most common mistake when drawing perspective?
Beginners often make objects too dark or high-contrast in the background. To fix this, remember that as things get further away, they must become lighter and less defined to mimic natural vision.
Do I need a ruler for atmospheric perspective?
No, atmospheric perspective is about observation and color mixing rather than geometry. It is a technique of painting and shading rather than structural drawing.
This answer was created with the help of AI research tools and reference sources. Spotted an error? Let us know — we correct mistakes quickly. See our editorial policy.