What techniques did Leonardo da Vinci use?
Short answer
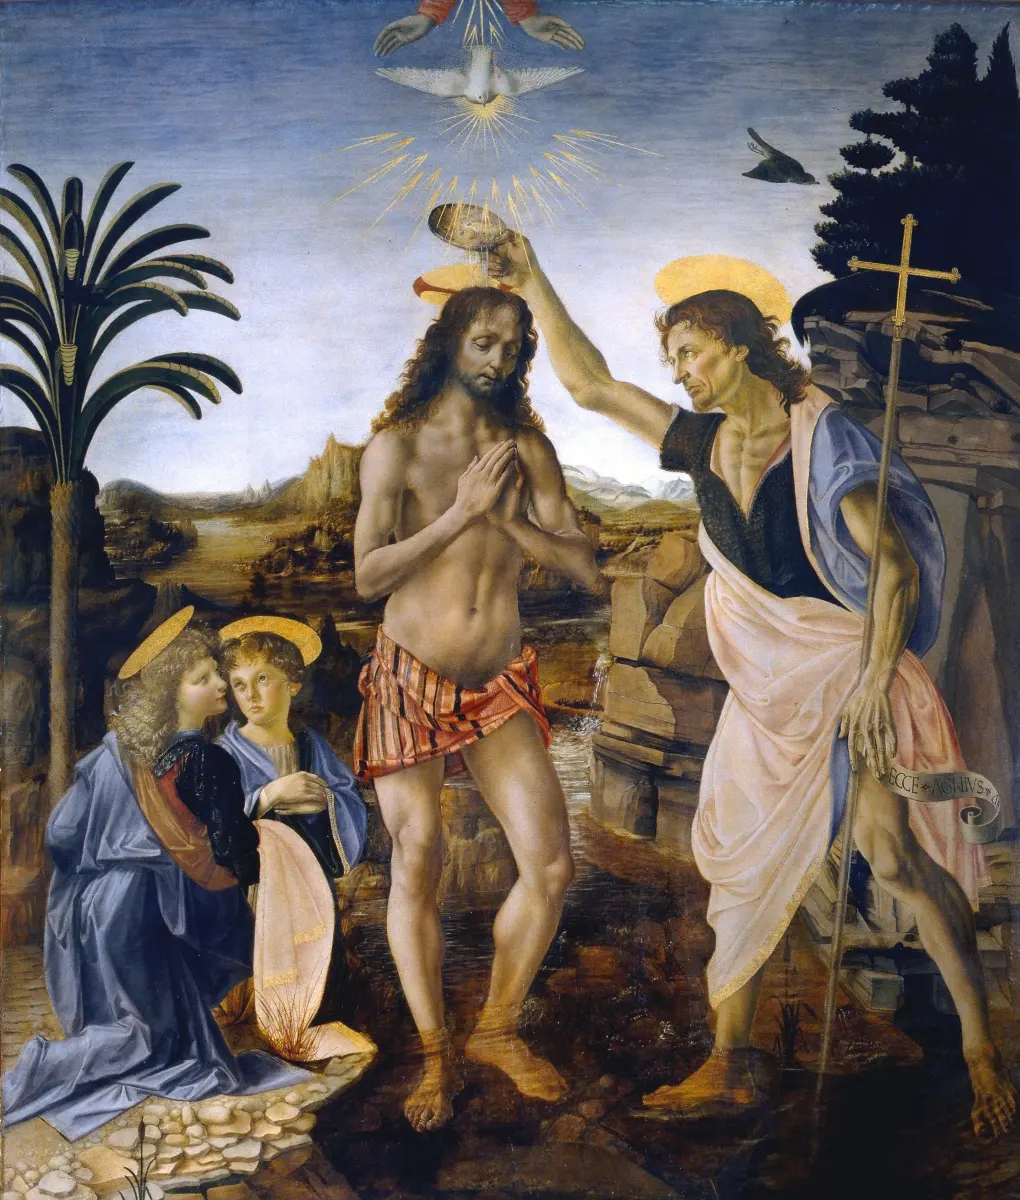
Leonardo da Vinci revolutionized Renaissance art through scientific observation and technical innovation. His primary techniques included sfumato for seamless tonal transitions, chiaroscuro for dramatic light and shadow, and linear perspective to create spatial depth. By integrating anatomical study with precise oil glazing, he achieved unparalleled realism and psychological depth in his masterpieces.
On this page
How to use sfumato in painting
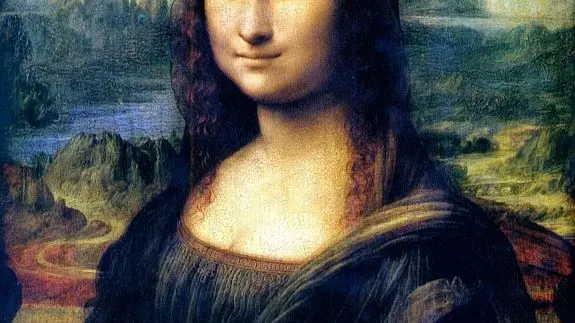
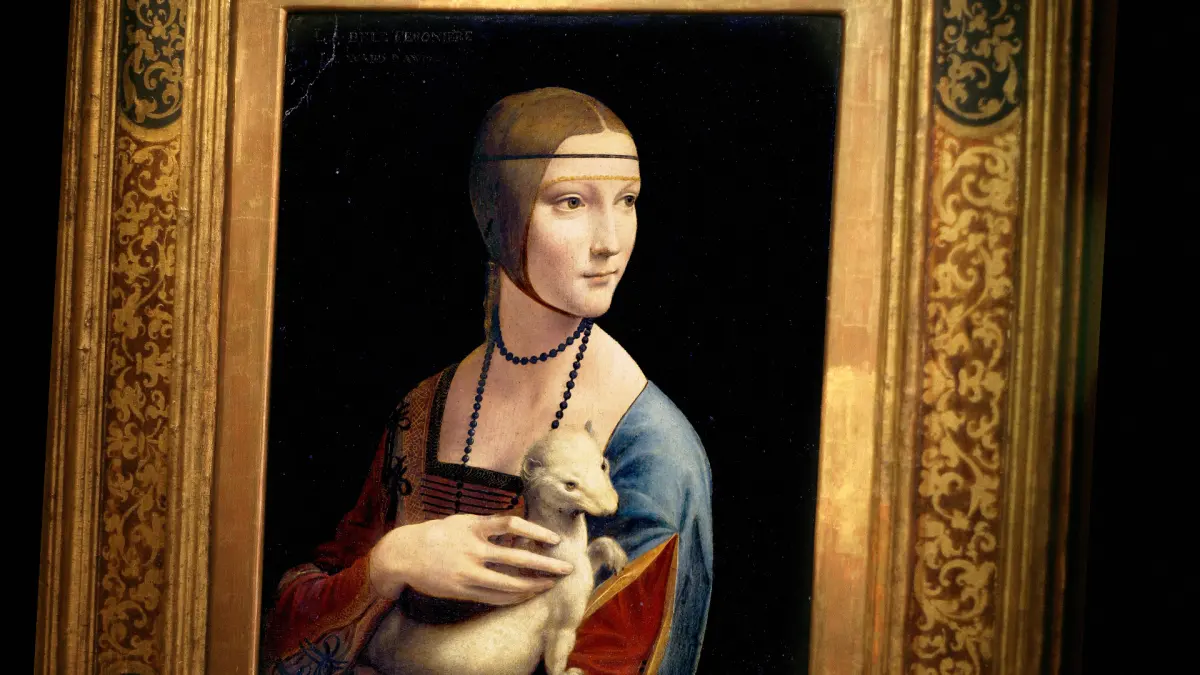
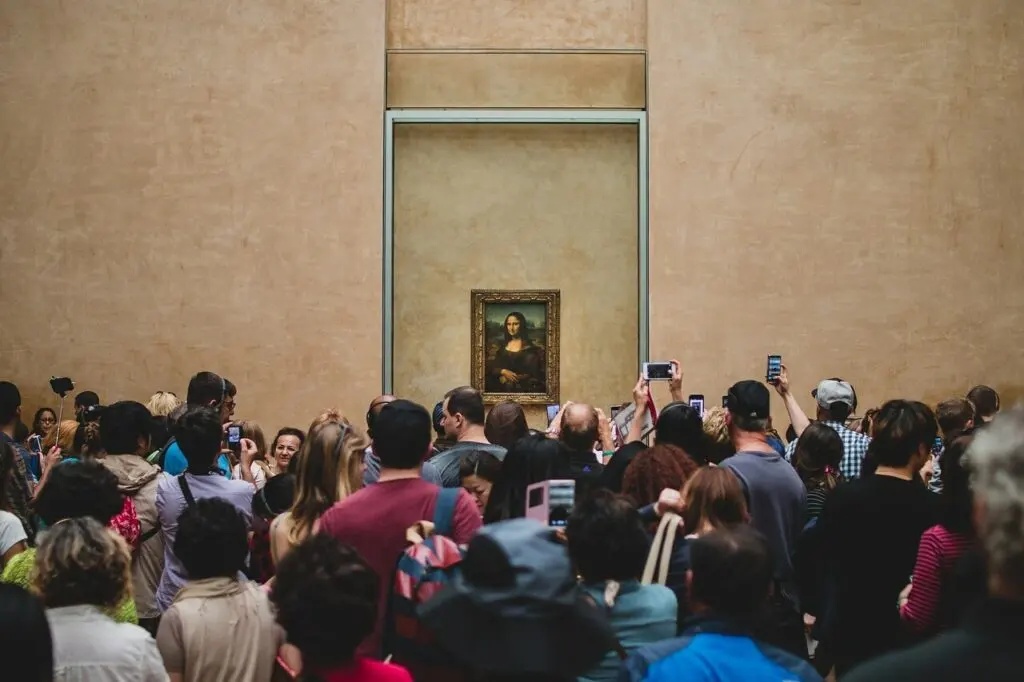
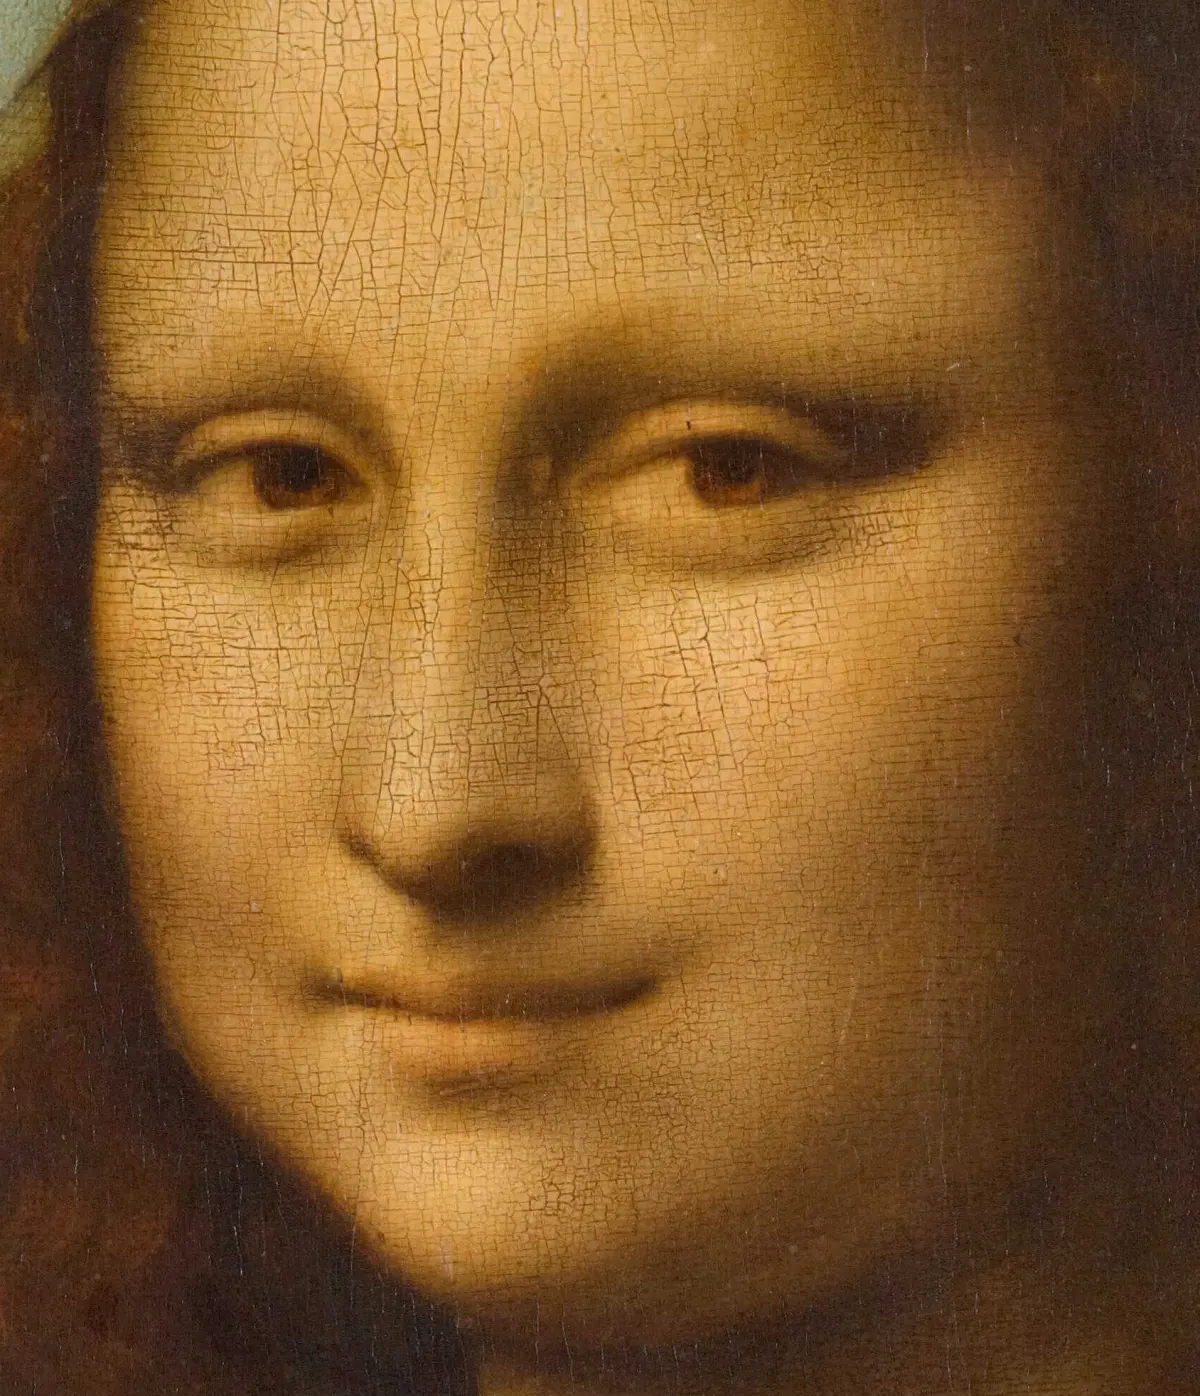
Leonardo’s most famous contribution to painting technique is sfumato, a term derived from the Italian word for "smoke." This method involves applying extremely thin, translucent layers of oil paint to blur the edges between colors and tones. By eliminating harsh outlines, Leonardo mimicked the way the human eye perceives objects in soft, ambient light. This technique is most famously observed in the subtle transitions around the eyes and mouth of the Mona Lisa.
To achieve this effect, you must work with very little pigment and a high ratio of medium, such as linseed oil. The goal is to build up the form through dozens, sometimes hundreds, of microscopic glazes. Because the layers are so thin, they dry quickly, allowing for constant refinement. You should avoid using heavy brushstrokes or opaque colors, as these will destroy the atmospheric quality that defines the technique.
How to master chiaroscuro for volume
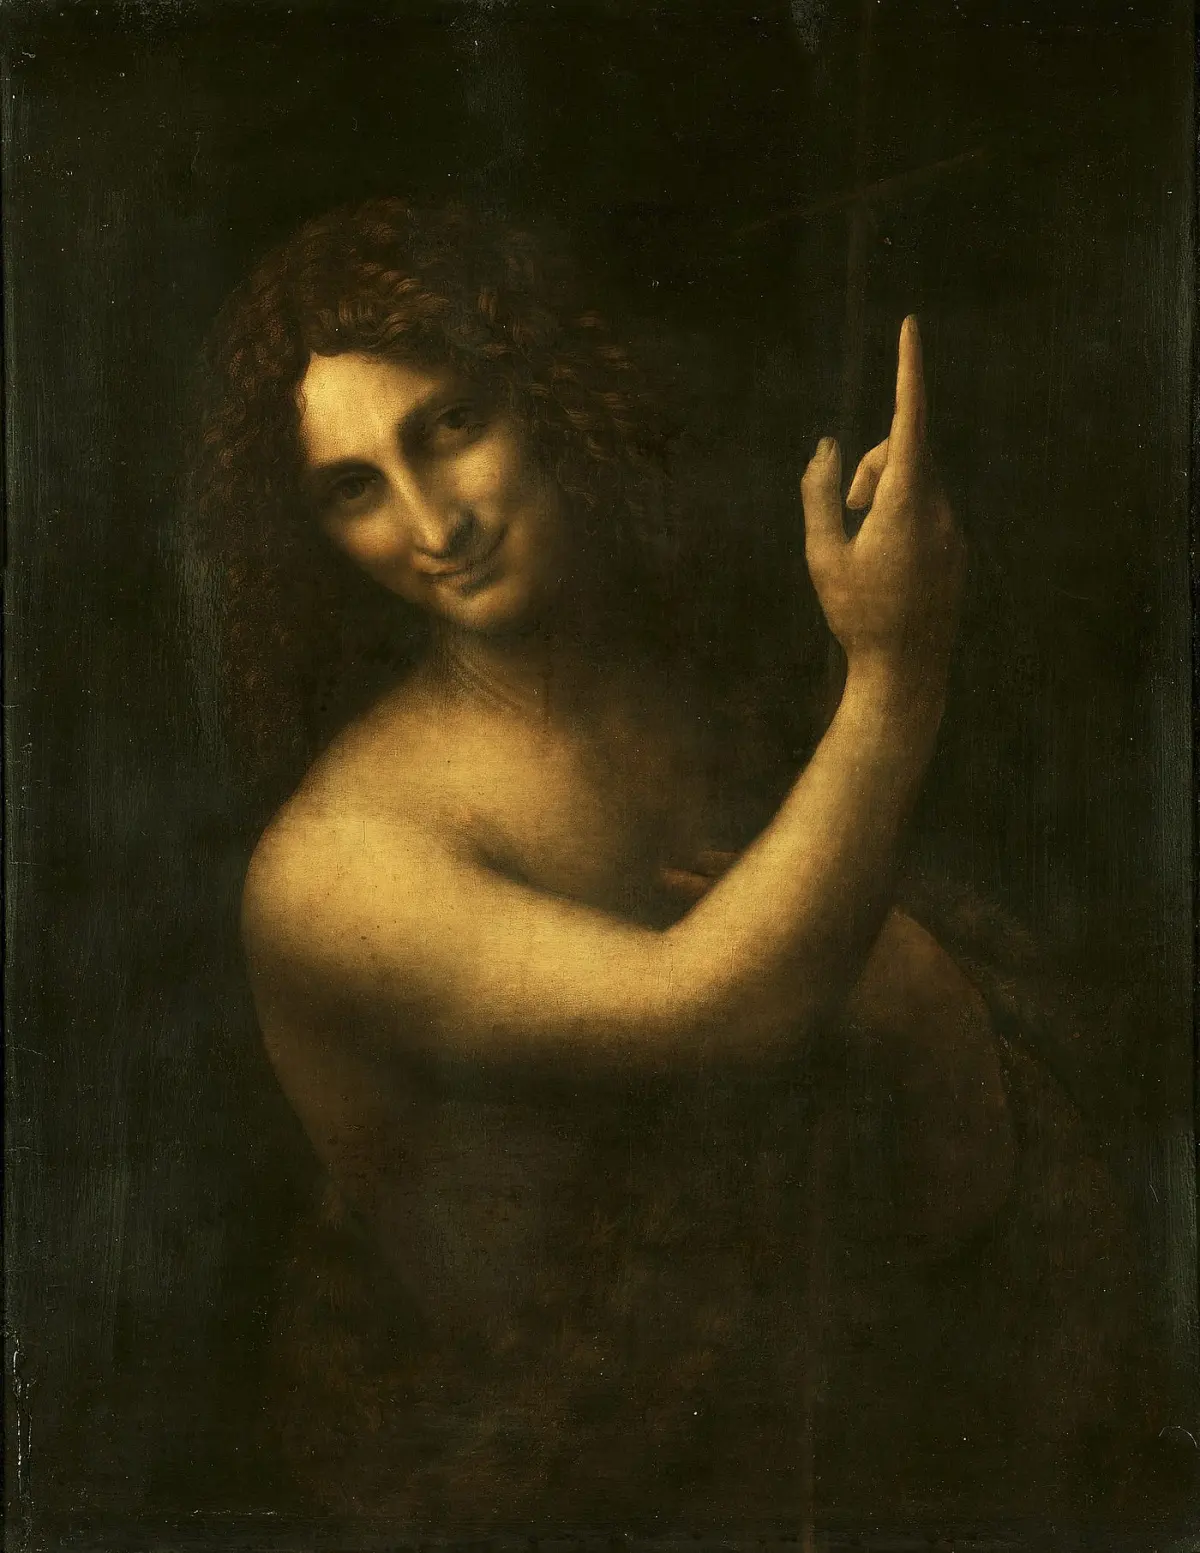
Chiaroscuro, meaning "light-dark," is the technique of using strong contrasts between illumination and shadow to model three-dimensional forms on a two-dimensional surface. Leonardo believed that light hitting a curved surface creates a gradual transition from highlight to deep shadow. By carefully mapping these gradients, he gave his figures a sense of physical weight and presence that broke away from the flat, stylized traditions of the early Renaissance.
When applying this technique, consider these steps for building form:
- Establish your primary light source and maintain its consistency across the entire composition.
- Apply a mid-tone base layer to the entire figure to provide a neutral starting point.
- Gradually deepen the shadows using dark, transparent glazes while keeping the highlights relatively opaque.
- Use a soft, dry brush to blend the edges of the shadows into the mid-tones.
Why anatomical study improves realism
Leonardo’s technical prowess was rooted in his obsessive study of human anatomy. He performed over 30 dissections to understand how muscles, tendons, and bones function beneath the skin. This scientific foundation allowed him to paint figures that appear capable of movement rather than static statues. He understood, for instance, that a smile involves specific facial muscles, which he meticulously mapped in his sketches.
To apply this to your own work, focus on the underlying structure before adding surface details. If you are drawing a portrait, study the skull structure to understand how skin stretches over bone. If you are painting a body in motion, research the mechanics of the joints involved. By prioritizing the internal structure, you ensure that the external appearance remains convincing even in complex poses. A common mistake is focusing on surface texture, such as hair or fabric, before the anatomical proportions are correctly established.
Best tools for linear perspective
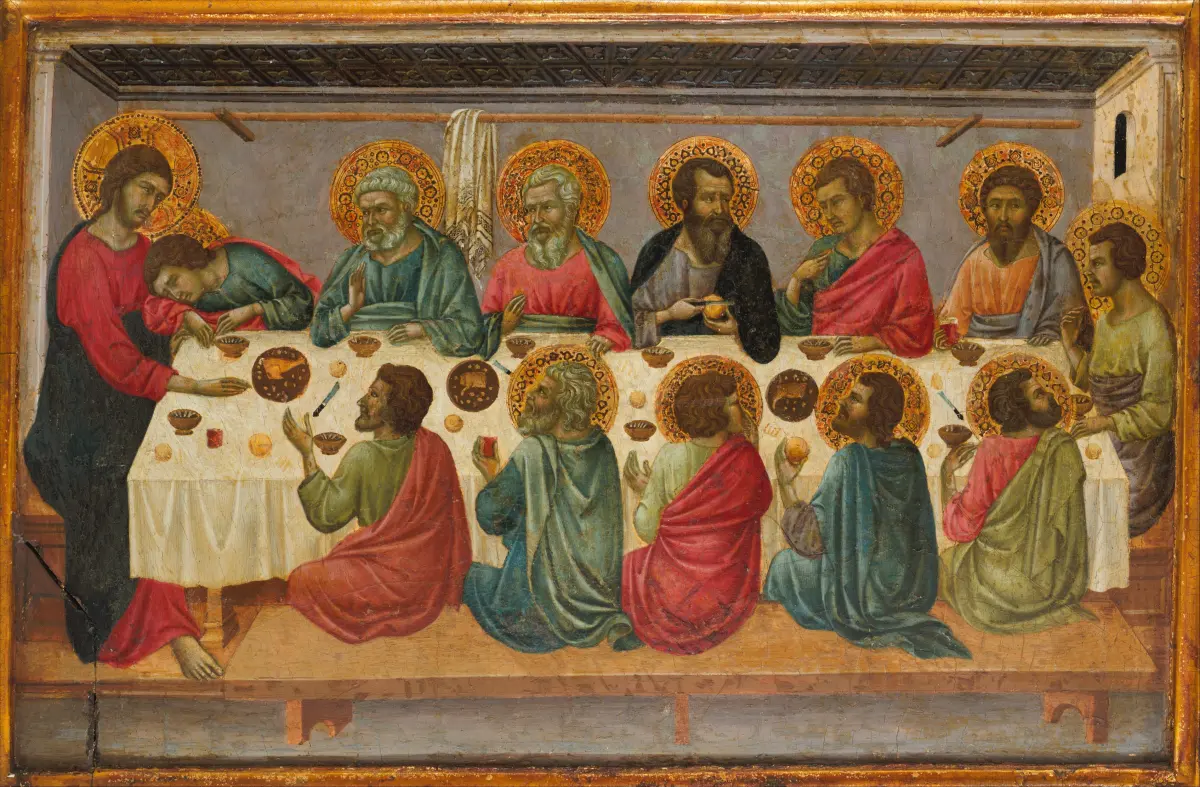
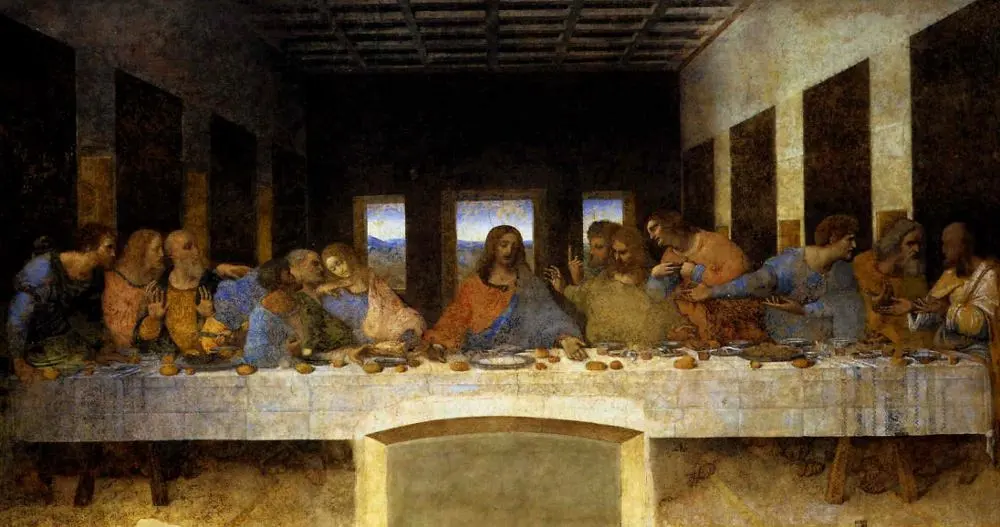
Linear perspective is the mathematical system used to create the illusion of depth on a flat surface. Leonardo used a single vanishing point to draw the viewer’s eye toward a specific focal point, often placing it behind the main subject. In The Last Supper, he used the architectural lines of the room to converge exactly at Christ’s temple. This creates a sense of order and draws the viewer into the narrative space.
To implement linear perspective in your work, use the following tools and techniques:
- A long metal ruler or straightedge to ensure all orthogonal lines are perfectly straight.
- A light graphite pencil for drawing your horizon line and vanishing points, which should be erased later.
- A viewfinder or grid system to help translate three-dimensional scenes onto your two-dimensional canvas.
- A consistent scale guide to ensure that objects appear smaller as they recede toward the vanishing point.
Common mistakes when layering glazes
Many artists struggle with the patience required for Leonardo’s glazing technique. A frequent error is applying a new layer of paint before the previous one is fully dry, which causes the colors to muddy and lose their luminosity. Leonardo worked in oil because it dries slowly, allowing him to manipulate the paint for days. You must respect the "fat over lean" rule, which means using more oil in the upper layers than in the lower layers to prevent cracking as the paint cures.
Another mistake is using too much paint, which creates a thick, textured surface that reflects light unevenly. Leonardo’s surfaces are remarkably smooth, often appearing as if they were not painted by human hands at all. To avoid this, use high-quality, finely ground pigments and apply them with soft, natural-hair brushes that leave no visible marks. By maintaining a disciplined, slow approach, you allow the light to penetrate the layers and reflect off the white ground, creating the inner glow characteristic of his work.
Key facts
- Sfumato, meaning "smoky," involves applying thin, translucent glazes to blur transitions between colors and tones.
- Leonardo utilized a "cartoon," a full-scale preparatory drawing on paper, to transfer complex compositions onto his final painting surface.
- He practiced "chiaroscuro," the bold contrast between light and shadow, to give his figures a three-dimensional, sculptural volume.
- His technique of "cangiante" involved using contrasting colors to model shadows rather than simply adding black paint.
- Leonardo often used walnut or linseed oil as a binder, allowing for a slower drying time that enabled him to blend pigments directly on the panel.
- He frequently employed "aerial perspective," painting distant objects with less detail and cooler, bluer tones to simulate atmospheric depth.
The bottom line
Leonardo da Vinci’s mastery relied on the patient application of thin, translucent glazes and the softening of edges through sfumato. By prioritizing the scientific study of light, shadow, and atmospheric perspective, he transformed flat surfaces into windows of deep, realistic space. His legacy teaches that true artistic excellence requires a rigorous synthesis of observation, technical patience, and the willingness to refine one's work through constant experimentation.
People also ask
Why did Leonardo often leave his paintings unfinished?
Leonardo was a perfectionist who frequently abandoned works because he became preoccupied with new scientific inquiries or technical experiments. He often found that his technical skill could not fully capture the complex natural phenomena he observed, leading him to set projects aside indefinitely.
What is the significance of the "Mona Lisa" smile?
The elusive expression is achieved through sfumato, which blurs the corners of the mouth and eyes. Because these areas are not sharply defined, the viewer's brain interprets the expression differently depending on where they focus, creating the illusion of a shifting, living smile.
Did Leonardo use a specific type of brush?
Leonardo primarily used fine-bristled brushes made from animal hair, such as sable or squirrel, to achieve his characteristic smooth finish. These soft brushes allowed him to apply oil glazes without leaving visible brushstrokes on the surface of the panel.
How did he prepare his painting surfaces?
He typically used wooden panels, such as poplar, coated with multiple layers of gesso. This smooth, white ground provided a reflective base that made his translucent oil glazes appear luminous and deep.
What was his approach to drawing?
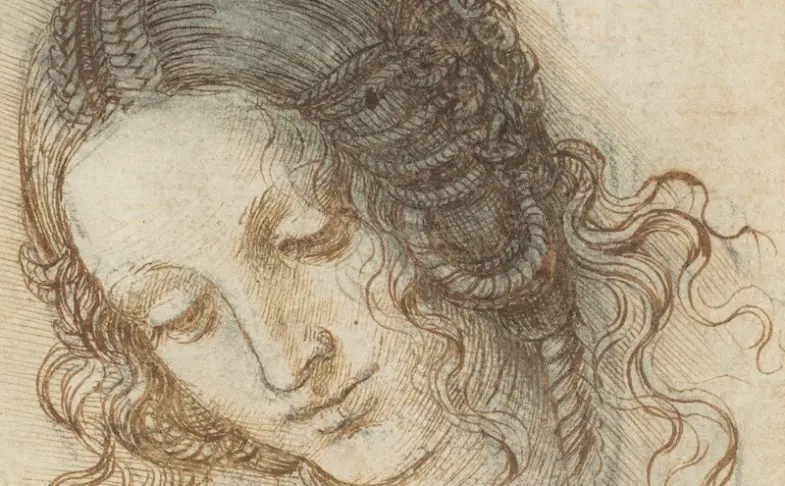
Leonardo used metalpoint, red chalk, and ink to capture anatomical precision and movement. He emphasized the "sfumato" effect even in his sketches, using cross-hatching and soft shading to define the curvature of human muscles and bones.
What is a common mistake when trying to replicate his style?
A common error is applying paint too thickly, which obscures the subtle light transitions he is famous for. To achieve his look, one must work in extremely thin, transparent layers, allowing the light to reflect off the white ground through the glazes.
This answer was created with the help of AI research tools and reference sources. Spotted an error? Let us know — we correct mistakes quickly. See our editorial policy.