What techniques did Rembrandt use?
Short answer
Rembrandt van Rijn mastered the use of chiaroscuro to create dramatic light and shadow, alongside a signature impasto technique that gave his canvases physical texture. He layered thin glazes over textured underpaintings to achieve luminous skin tones, while his expressive, loose brushwork evolved throughout his career to prioritize emotional depth over detail.
On this page
How did Rembrandt use chiaroscuro?
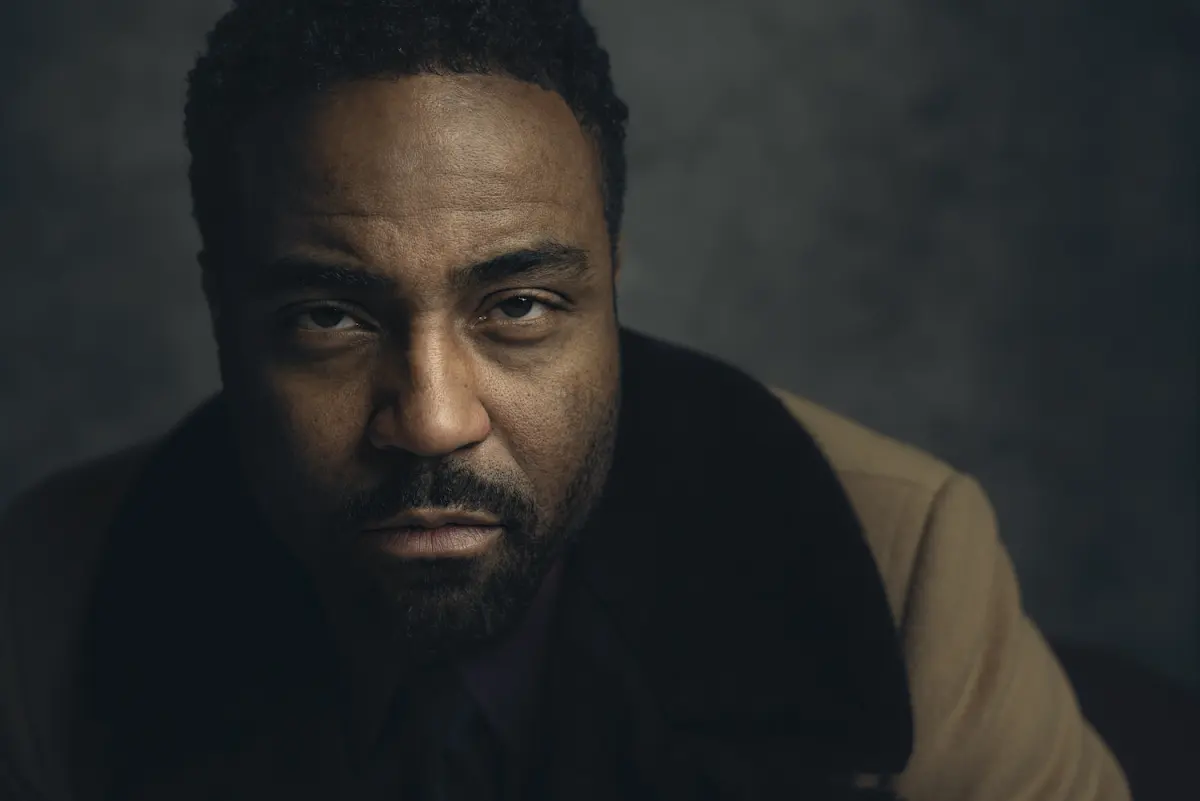
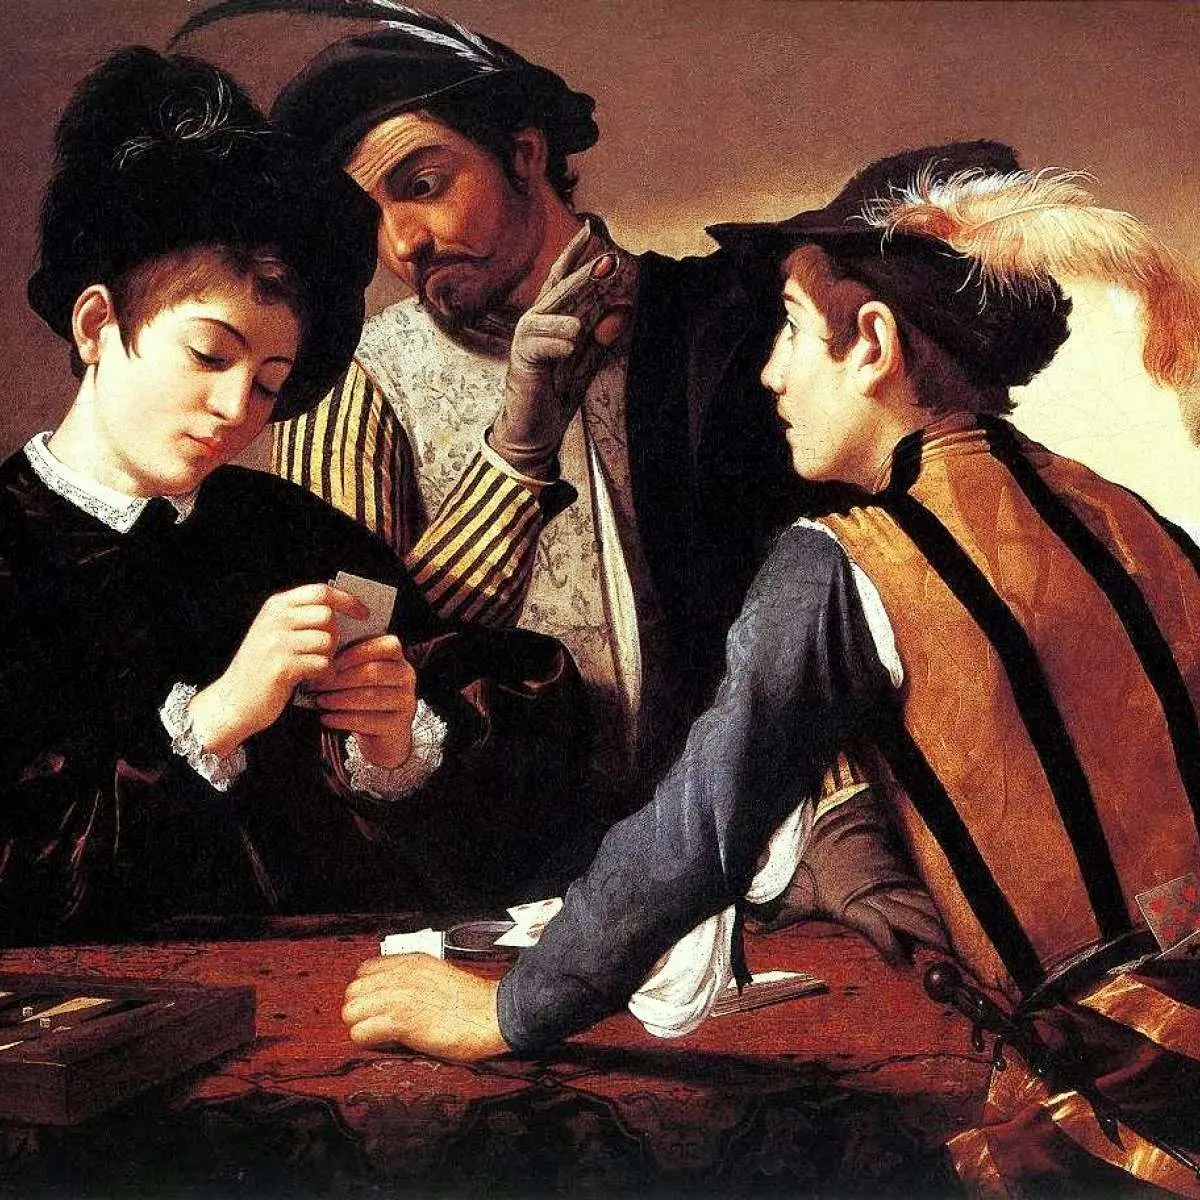
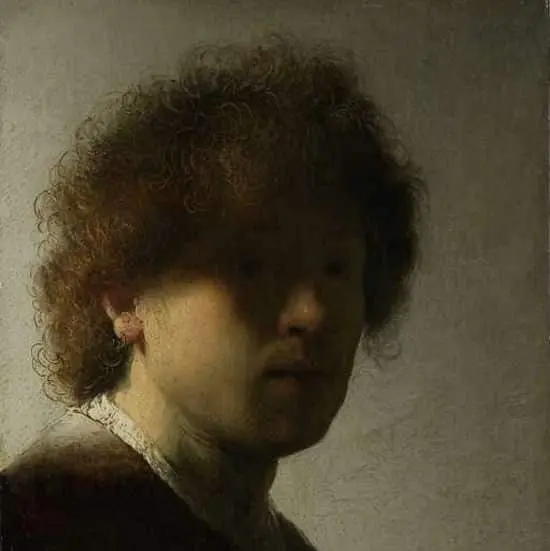
Rembrandt is most famous for his sophisticated application of chiaroscuro, an Italian term for the bold contrast between light and dark. Unlike many of his contemporaries who used even illumination, Rembrandt utilized deep, murky shadows to push his subjects into the foreground. By isolating illuminated areas with bright highlights, he directed the viewer's eye to specific emotional focal points, such as a face or a hand. This technique effectively stripped away unnecessary background distractions, creating an intimate atmosphere that feels both theatrical and profoundly human.
To achieve this effect in your own work, consider these essential principles:
- Establish a single, dominant light source to maintain consistency across the composition.
- Use a limited palette of earth tones to ensure the shadows remain transparent rather than muddy.
- Gradually build up highlights with opaque paint while keeping shadow areas thin and dark.
- Soften the edges where light transitions into shadow to avoid a harsh, cut-out appearance.
What is Rembrandt’s impasto technique?
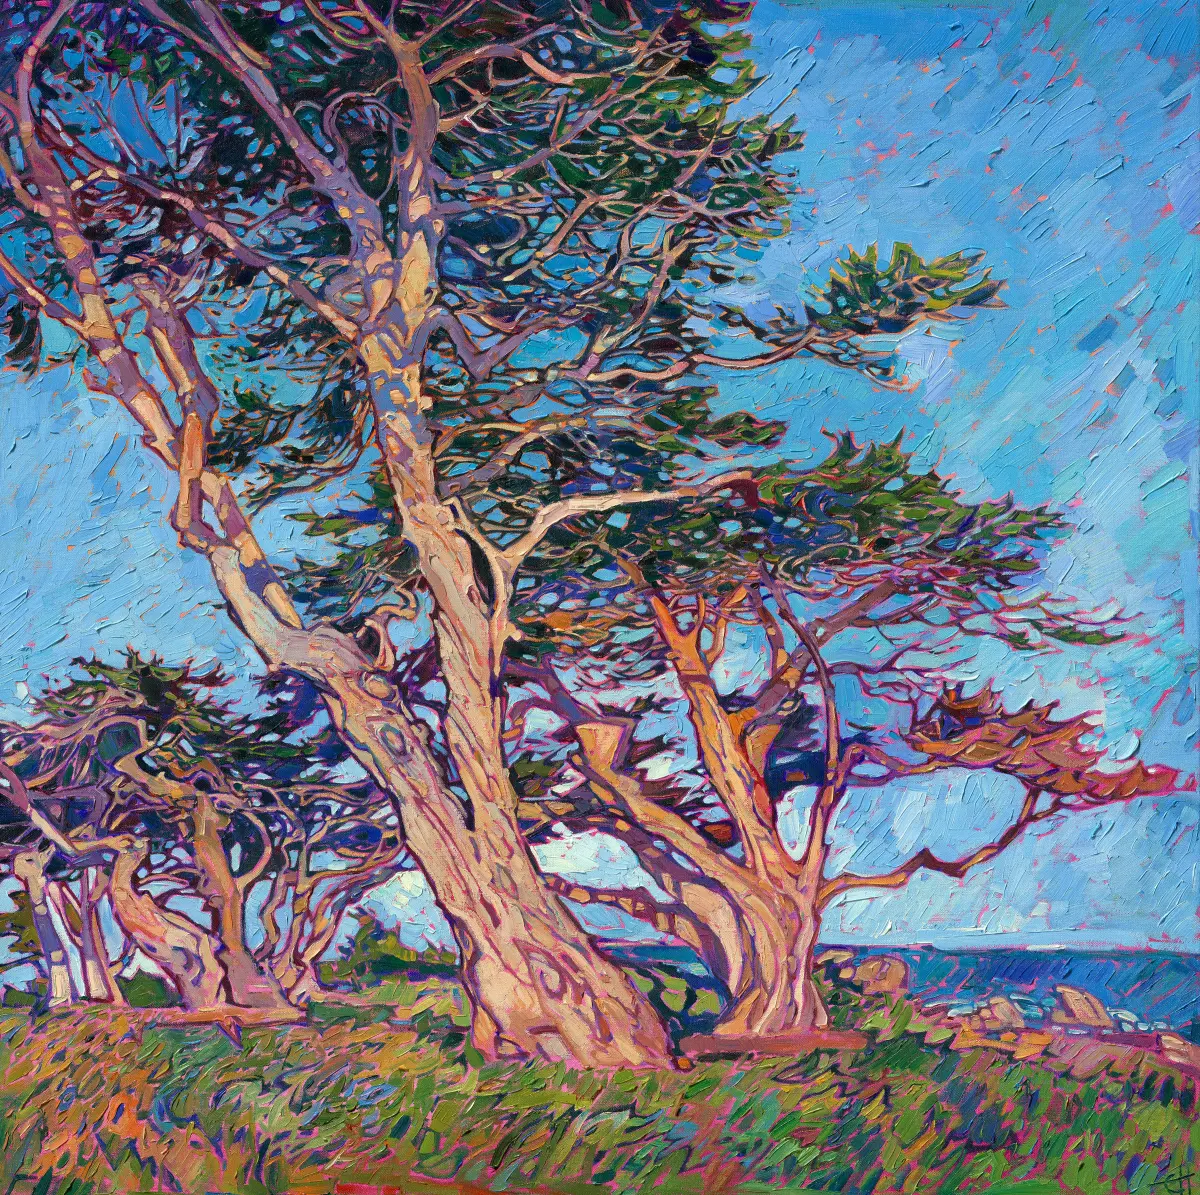
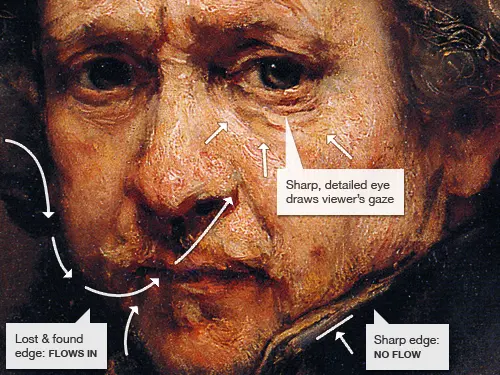
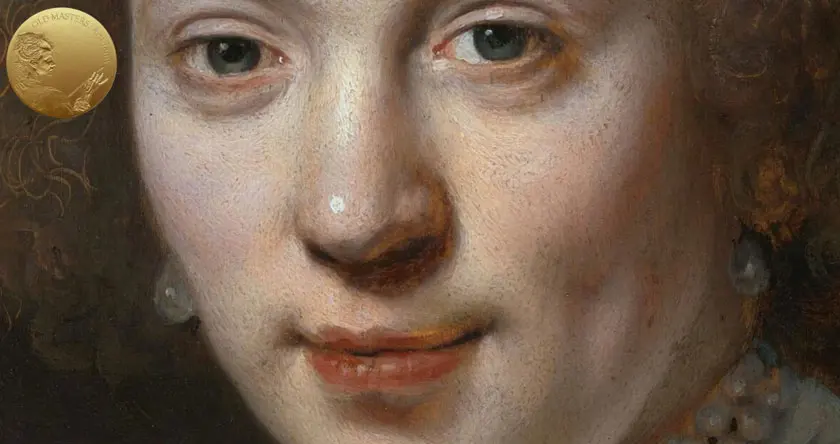
Rembrandt’s impasto involved applying paint so thickly that it stood out from the surface of the canvas. By loading his brush with heavy, unthinned pigment, he created a three-dimensional effect that caught real light in the gallery, making jewelry, lace, or skin appear to shimmer. This physical texture added a sense of energy and spontaneity to his portraits, moving away from the smooth, invisible brushwork favored by the Dutch academic painters of his time. It allowed the viewer to see the artist’s hand at work, bridging the gap between the painted subject and the physical reality of the viewer.
When experimenting with heavy paint application, follow these steps to maintain structural integrity:
- Prepare your canvas with a firm, stable ground to support the weight of the heavy paint layers.
- Mix your pigment with a thickening medium to ensure the paint retains its peaks and ridges without sagging.
- Apply the thickest paint only in the final stages of the painting to highlight the most important features.
- Allow each layer to dry thoroughly before adding more, as thick paint can crack if the surface dries faster than the interior.
How to achieve Rembrandt’s glazing technique?
Glazing is the process of applying thin, transparent layers of oil paint over a dried, opaque underpainting. Rembrandt used this method to create depth, particularly in his later years, as it allowed light to pass through the top layer and reflect off the lighter surface beneath. This created a rich, jewel-like glow that is impossible to replicate with a single opaque application. By layering subtle variations of color, he achieved complex skin tones that look alive and translucent, rather than flat or plastic.
Common mistakes when glazing include:
- Using too much medium, which can make the paint run or become overly glossy and difficult to control.
- Applying a new glaze before the previous layer is completely dry, which risks lifting or muddying the colors.
- Choosing colors that are too opaque; always ensure your glazing pigments are inherently transparent to allow the light to bounce back through the layers.
- Attempting to cover large areas with dark glazes, which can quickly turn a painting into a flat, monochromatic mess if not applied with extreme precision.
How did Rembrandt use brushwork?
Rembrandt’s brushwork evolved significantly throughout his life, shifting from the precise, detailed style of his youth to a much looser, more gestural approach. In his later works, he often used large brushes and broad strokes to suggest form rather than defining every line. This economy of style forced the viewer’s brain to "fill in" the missing details, which paradoxically made the paintings feel more realistic and emotionally resonant. By leaving certain areas unfinished or sketchy, he emphasized the movement and life of his subjects.
To develop a more expressive brush style, practice the following:
- Hold your brush further back on the handle to encourage looser, more fluid movements.
- Limit the amount of time you spend on any single area to prevent overworking the paint.
- Use different brush sizes to create variety, using wide brushes for shadows and smaller, finer brushes only for the most critical highlights.
- Focus on the direction of the stroke, as the physical mark left by the brush can help guide the viewer's eye across the canvas.
What were Rembrandt’s color palette secrets?
Contrary to the vibrant, multi-colored palettes of the Italian Renaissance, Rembrandt relied heavily on a restricted range of earth tones. His primary colors included lead white, bone black, yellow ochre, raw and burnt sienna, and various iron oxide reds. By limiting his palette, he achieved a remarkable sense of harmony and unity throughout his compositions. He understood that color is relative; a small touch of red or blue appears much more vibrant when surrounded by a sea of muted browns and ochres than it would in a kaleidoscopic scene.
When working with a limited palette, keep these tips in mind:
- Focus on value—the lightness or darkness of a color—rather than hue, as value is the primary driver of depth.
- Experiment with mixing your own blacks rather than using tube black, as a mixture of burnt umber and ultramarine blue creates a more luminous, "cool" shadow.
- Use the natural warmth of the canvas or a toned underpainting to influence the overall temperature of your finished piece.
- Always test your mixtures on a palette scrap to ensure they harmonize with the existing colors already established on your canvas.
Key facts
- Use a "grisaille" underpainting in neutral tones to establish light and shadow before applying vibrant colors.
- Apply thick, textured paint known as "impasto" to highlight areas where light hits, creating a physical 3D effect.
- Utilize "chiaroscuro" by placing deep, dark shadows against brilliant highlights to create dramatic, focused compositions.
- Scumble thin, opaque layers of light-colored paint over darker, dried layers to create a soft, atmospheric glow.
- Mix pigments with varying amounts of linseed oil to control the transparency and drying time of different layers.
- Avoid blending colors too smoothly; keep brushstrokes visible to maintain the energy and tactile quality of the surface.
The bottom line
Rembrandt’s mastery relied on the strategic manipulation of light and texture. By combining the dramatic contrast of chiaroscuro with the physical depth of impasto, he transformed static portraits into living, breathing subjects. Aspiring artists should focus on building layers, preserving visible brushwork, and embracing a limited palette. Ultimately, his work proves that the emotional impact of a painting is defined by how light interacts with shadow.
People also ask
Did Rembrandt use a specific type of canvas?
Rembrandt primarily painted on stretched linen canvases, which he often primed with a mixture of earth-toned pigments. This dark ground helped him build up his complex lighting effects more efficiently than starting on a white surface.
What was the purpose of Rembrandt’s heavy impasto?
He used thick impasto to physically lift paint off the surface, which caught actual light in a gallery setting. This technique draws the viewer’s eye to the most important parts of the painting, such as a face or a piece of jewelry.
How did he achieve such realistic skin tones?
Rembrandt layered multiple glazes of transparent colors over opaque underpaintings to mimic the depth of human skin. He avoided flat, single-color applications, preferring to build complexity through subtle variations in hue and value.
Did he use assistants to help with his paintings?
Yes, Rembrandt ran a large studio where pupils often prepared canvases and painted background elements. However, he typically applied the final highlights and key facial features himself to maintain the quality of his work.
Why are many of his paintings so dark?
The darkness is a deliberate artistic choice called tenebrism, which emphasizes the subject by obscuring the background. Over centuries, some of his original glazes have darkened, but the deep shadows remain a hallmark of his dramatic style.
How can a beginner practice Rembrandt’s lighting technique?
Start by painting a simple object using only black, white, and one earth tone like burnt umber. Focus on creating a clear separation between the deepest shadow and the brightest highlight without using mid-tones.
This answer was created with the help of AI research tools and reference sources. Spotted an error? Let us know — we correct mistakes quickly. See our editorial policy.