What is Rembrandt lighting?
Short answer
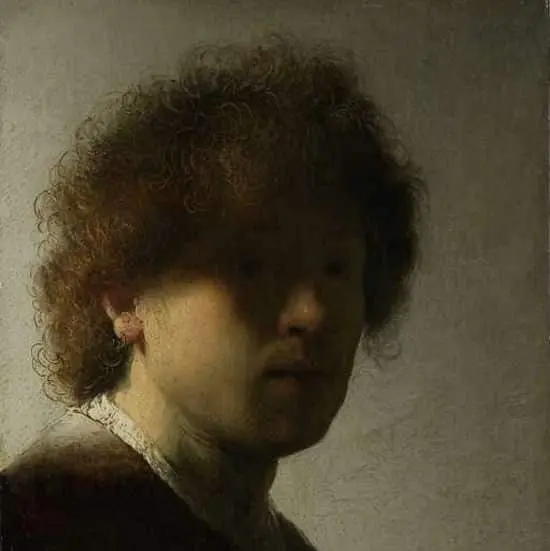
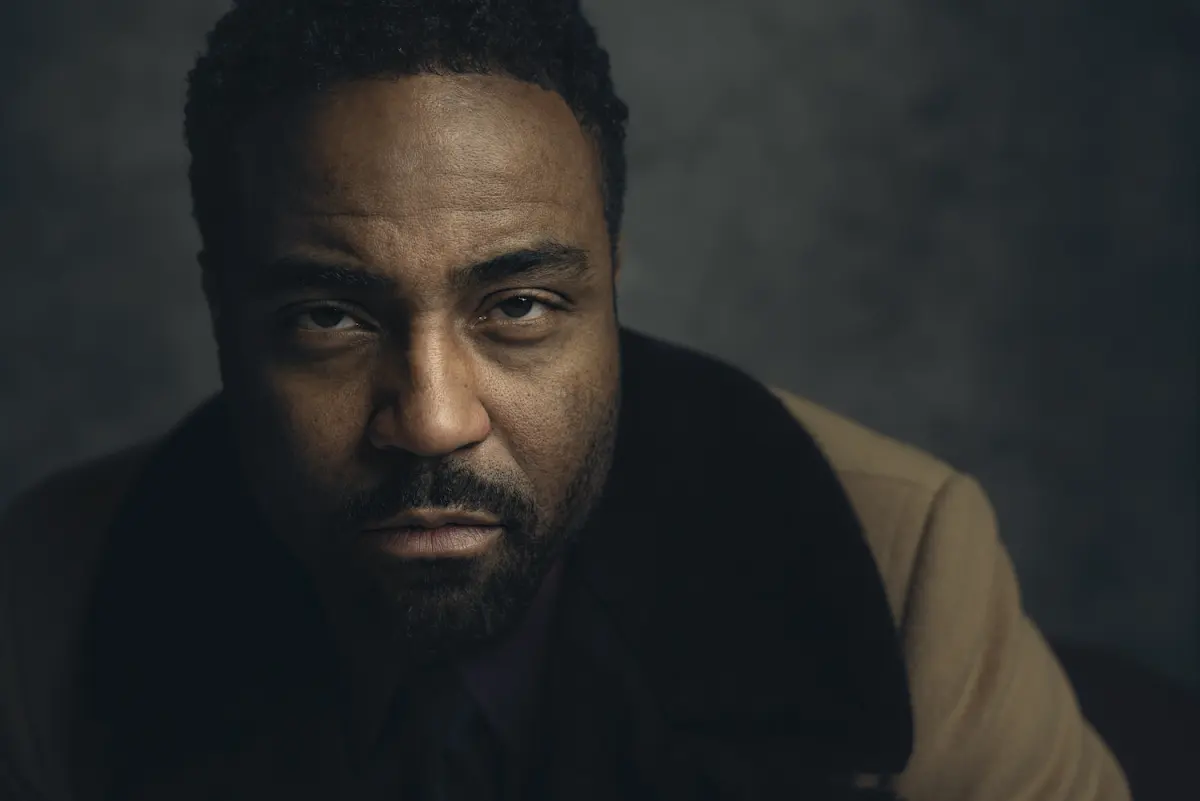
Rembrandt lighting is a classic portrait photography technique characterized by a small, inverted triangle of light on the shadowed side of the subject’s face. Named after the Dutch master painter Rembrandt van Rijn, it creates a moody, dramatic aesthetic by balancing highlights and deep shadows to add depth and dimension.
On this page
What is Rembrandt lighting?
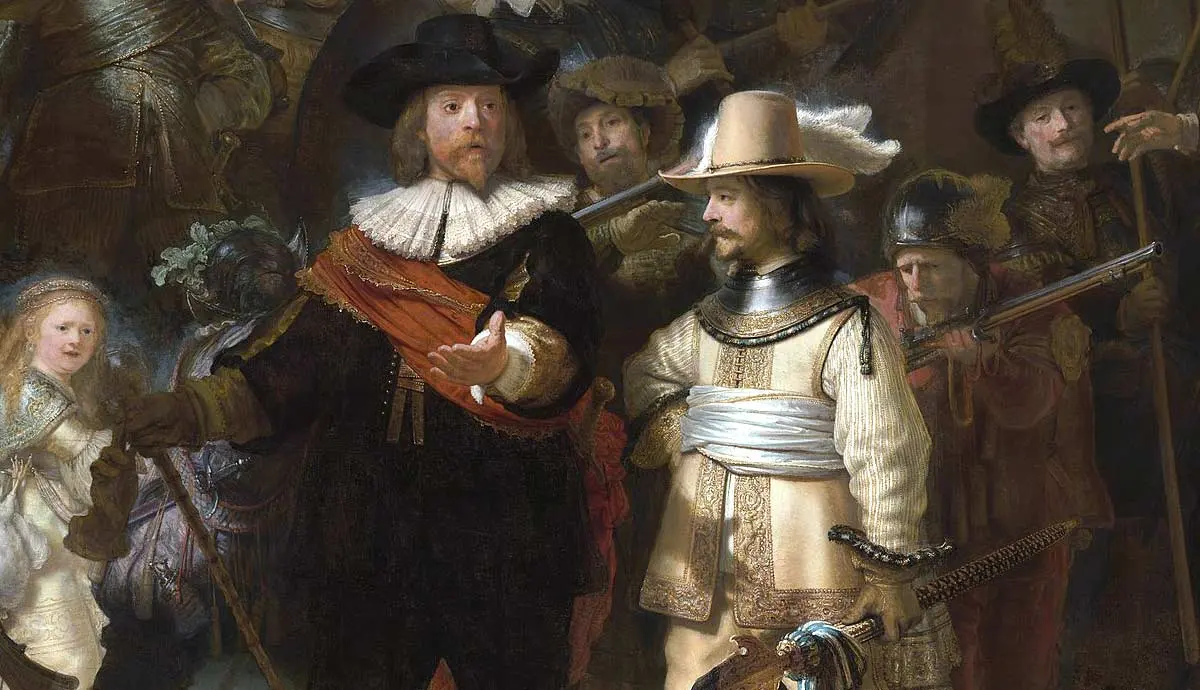
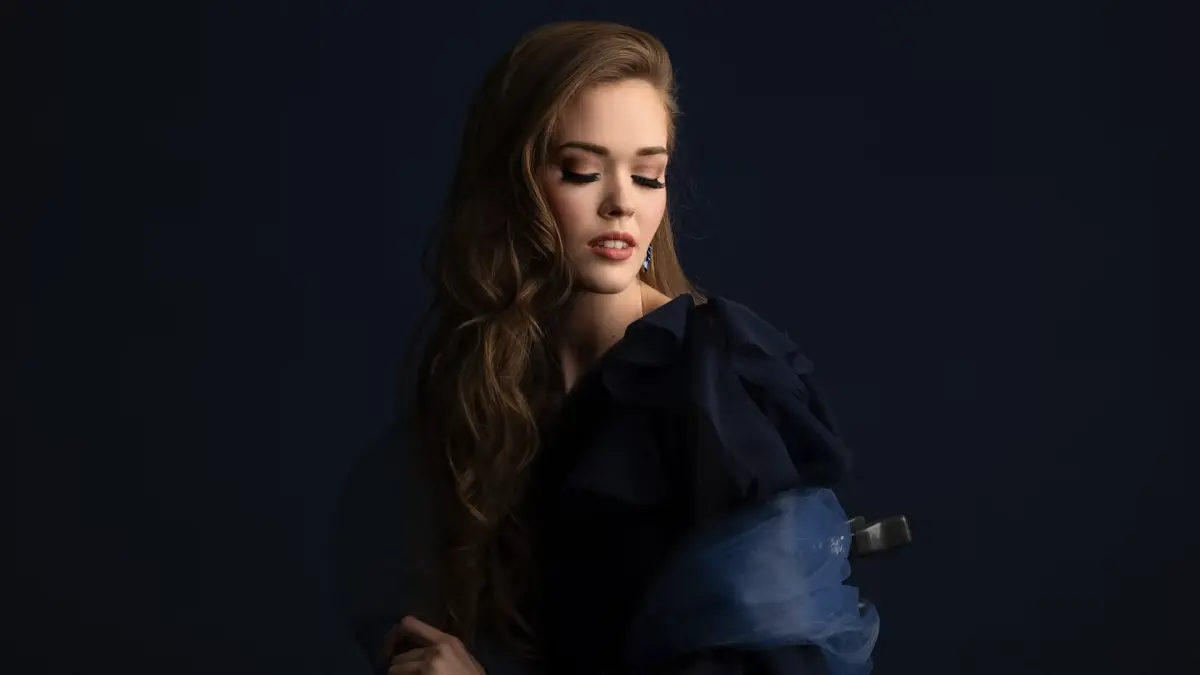
Rembrandt lighting is a specific style of portrait illumination that mimics the dramatic light patterns frequently observed in the oil paintings of 17th-century artist Rembrandt van Rijn. The defining feature of this setup is the "Rembrandt triangle," a small, glowing patch of light that appears on the subject’s cheek opposite the primary light source. This technique is highly valued by photographers for its ability to create a sense of mystery, intimacy, and three-dimensional form.
By positioning a single light source at a specific angle, the photographer allows the shadow of the nose to connect with the shadow of the cheek. This creates the signature triangular highlight, which must be clearly defined to qualify as true Rembrandt lighting. If the triangle is too large, it loses its distinct shape; if it is too small or absent, the lighting style shifts toward what is known as "short lighting" or "split lighting."
How to set up Rembrandt lighting
Achieving this look requires precise placement of your light source and the subject. You generally want the light to be positioned at a 45-degree angle to the subject’s face, elevated slightly above their eye level. This downward angle ensures that the nose shadow falls toward the corner of the mouth, creating the necessary bridge to form the triangle on the opposite cheek.
Follow these steps to establish the lighting pattern:
- Place your main light source at a 45-degree angle to the subject, raised about two feet above their head.
- Direct the light toward the subject’s face, ensuring the nose shadow extends toward the cheek.
- Observe the shadow side of the face to ensure a small, distinct triangle of light is visible on the cheek.
- Adjust the subject’s head position slightly toward or away from the light to refine the shape and size of the triangle.
Why use Rembrandt lighting for portraits
This lighting style is widely considered one of the most flattering and professional techniques in portraiture. Because it emphasizes the contours of the face, it is particularly effective for subjects with strong bone structure. The contrast between the illuminated side and the shadowed side adds a cinematic quality that draws the viewer’s eye directly to the subject’s eyes, which remain the focal point of the composition.
Beyond its aesthetic appeal, Rembrandt lighting is practical because it can be achieved with minimal equipment. Whether you are using a professional studio strobe, a softbox, or even a window, the principles remain the same. It is a versatile tool that works equally well for serious, dramatic portraits and more casual, artistic photography. By mastering this single light pattern, you gain a foundational skill that elevates the perceived quality of your images significantly.
Common mistakes when using Rembrandt lighting
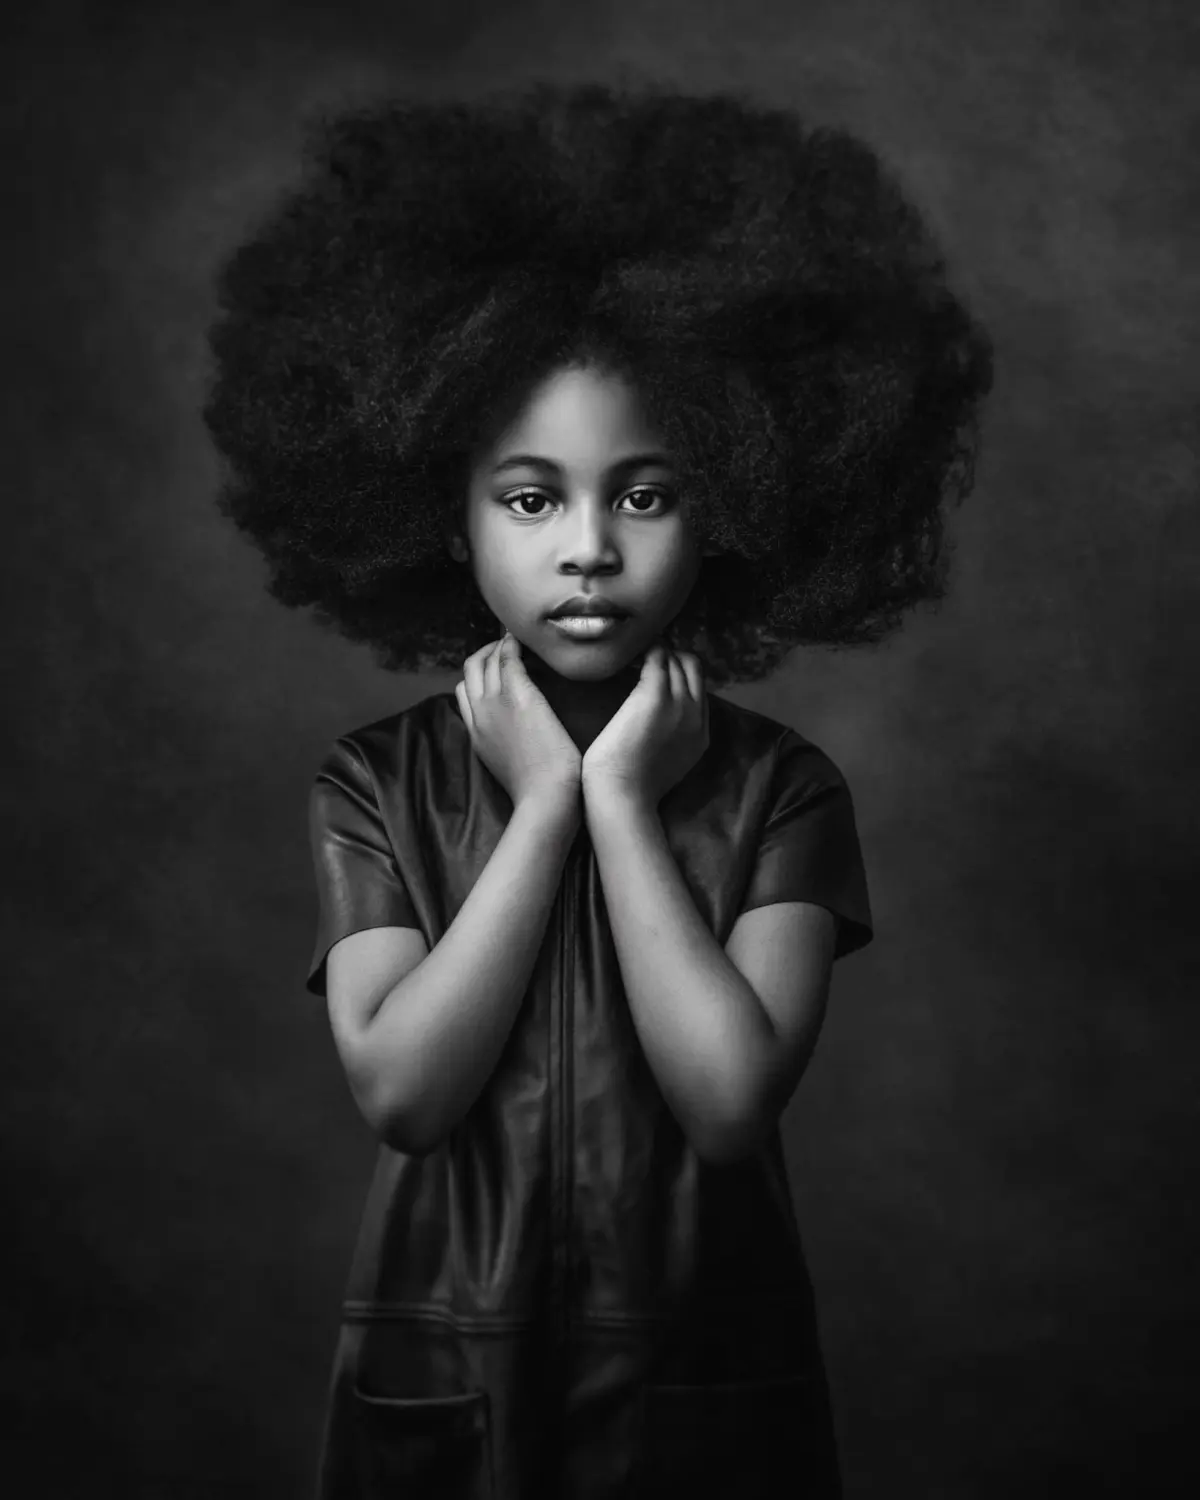
A frequent error is placing the light too far to the side, which results in "split lighting" where half the face is completely dark. Another common mistake is positioning the light too low; this causes the nose shadow to rise upward, which can look unnatural and unflattering. Beginners often struggle with the size of the triangle, frequently allowing it to become too large, which diminishes the dramatic impact of the shadow.
To avoid these issues, keep the following tips in mind:
- Ensure the light is high enough to cast the nose shadow downward toward the mouth.
- Keep the light source close enough to the subject to maintain soft, gradual transitions between light and shadow.
- Use a reflector on the shadow side if the darkness is too intense, but keep it subtle to preserve the mood.
- Check the catchlights in the subject's eyes to ensure the light is hitting them correctly.
Best tools for Rembrandt lighting
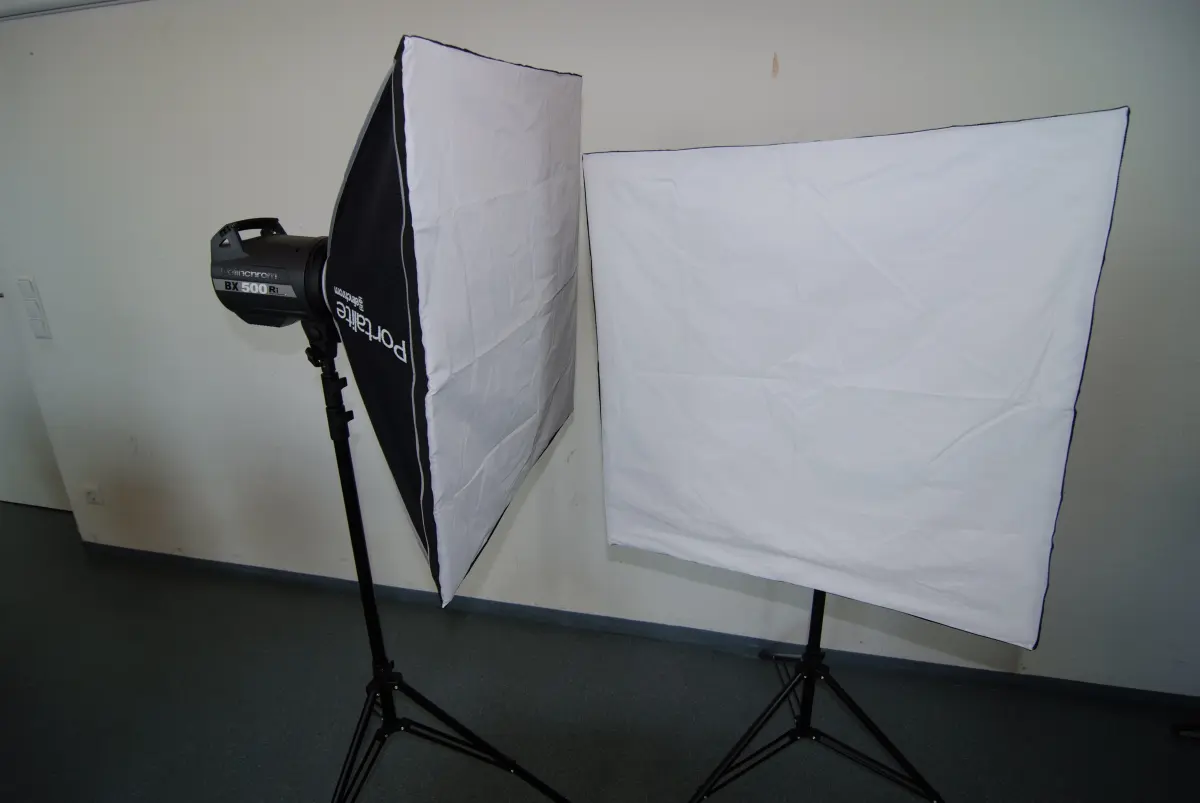
While you can achieve this look with basic equipment, the quality of your light source significantly impacts the final result. A softbox is the most popular choice because it provides a diffused, gentle light that prevents harsh, distracting transitions. If you prefer a more dramatic, high-contrast look, a bare bulb or a grid-modified light can create sharper, more defined shadows that emphasize the texture of the skin.
For those working in a home studio, a large window acts as an excellent natural light source. By using the window as your primary light and blocking off excess light with curtains or foam boards, you can replicate the classic look with ease. Regardless of the tool, the key is control. Always prioritize the placement of the light and the angle of the subject’s face over the complexity of your gear, as the fundamental geometry of the triangle is what defines the style.
Key facts
- Rembrandt lighting is a portrait technique characterized by an illuminated triangle of light on the shadowed side of the subject's face.
- The technique is named after the 17th-century Dutch master Rembrandt van Rijn, who frequently used this lighting pattern in his paintings.
- To achieve the effect, place your main light source at a 45-degree angle to the subject and slightly above eye level.
- The triangle of light should be no wider than the subject's eye and no longer than the length of the nose.
- A reflector or fill light is often placed on the opposite side to soften the shadows and add detail to the dark areas.
- This style is prized for its dramatic, moody aesthetic that adds depth and a sense of three-dimensionality to a portrait.
The bottom line
Rembrandt lighting remains a cornerstone of portrait photography because of its ability to create depth, drama, and a classic, painterly aesthetic. By mastering the placement of a single light source to create that iconic triangle on the cheek, you can transform a simple portrait into a compelling image. Focus on the size of the triangle and the quality of shadows to achieve a professional, timeless look.
People also ask
Is Rembrandt lighting suitable for all face shapes?
While it is a versatile technique, it works best on faces with defined cheekbones. On very round faces, the shadow can sometimes obscure facial features, so adjustments to the light angle may be necessary.
What is the difference between Rembrandt lighting and split lighting?
Split lighting divides the face exactly in half with light and shadow, whereas Rembrandt lighting maintains a small triangle of light on the shadow side. Rembrandt lighting is generally considered more subtle and flattering for portraiture.
Do I need professional studio equipment to create this look?
No, you can achieve this effect with a single window and a piece of white foam board. Position your subject near the window and use the board to bounce light back into the shadows.
Why is the triangle of light so important?
The triangle acts as a focal point that draws the viewer's eye to the subject's eyes. Without this highlight, the shadow side of the face can look flat or "dead" in a photograph.
How high should the main light be positioned?
The light should be placed high enough to cast a shadow from the nose downward toward the corner of the mouth. If the light is too low, the shadow will look unnatural and distracting.
Can I use Rembrandt lighting for group photos?
It is difficult to use this technique for groups because the light angle only creates the signature triangle for one specific position. It is best reserved for individual portraits or close-ups.
This answer was created with the help of AI research tools and reference sources. Spotted an error? Let us know — we correct mistakes quickly. See our editorial policy.