How do you draw the moon?
Short answer
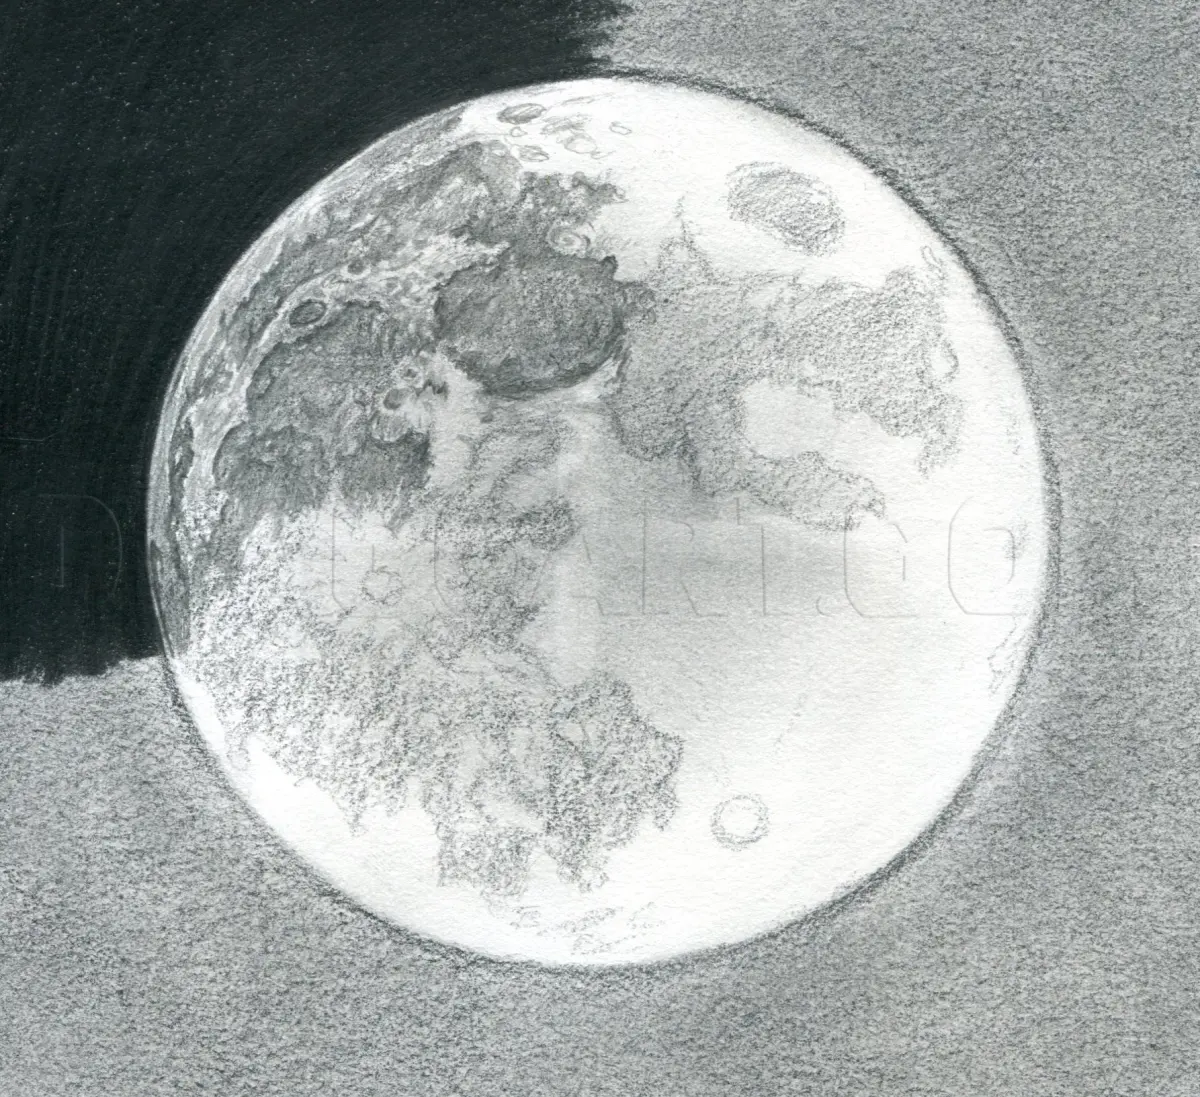
Draw the moon by sketching a circle, then defining the terminator line—the boundary between light and shadow—to create a crescent or gibbous shape. Use soft graphite pencils to shade the craters and lunar maria, focusing on high-contrast textures. By layering values from light gray to deep black, you achieve realistic depth.
On this page
How to sketch the basic lunar shape
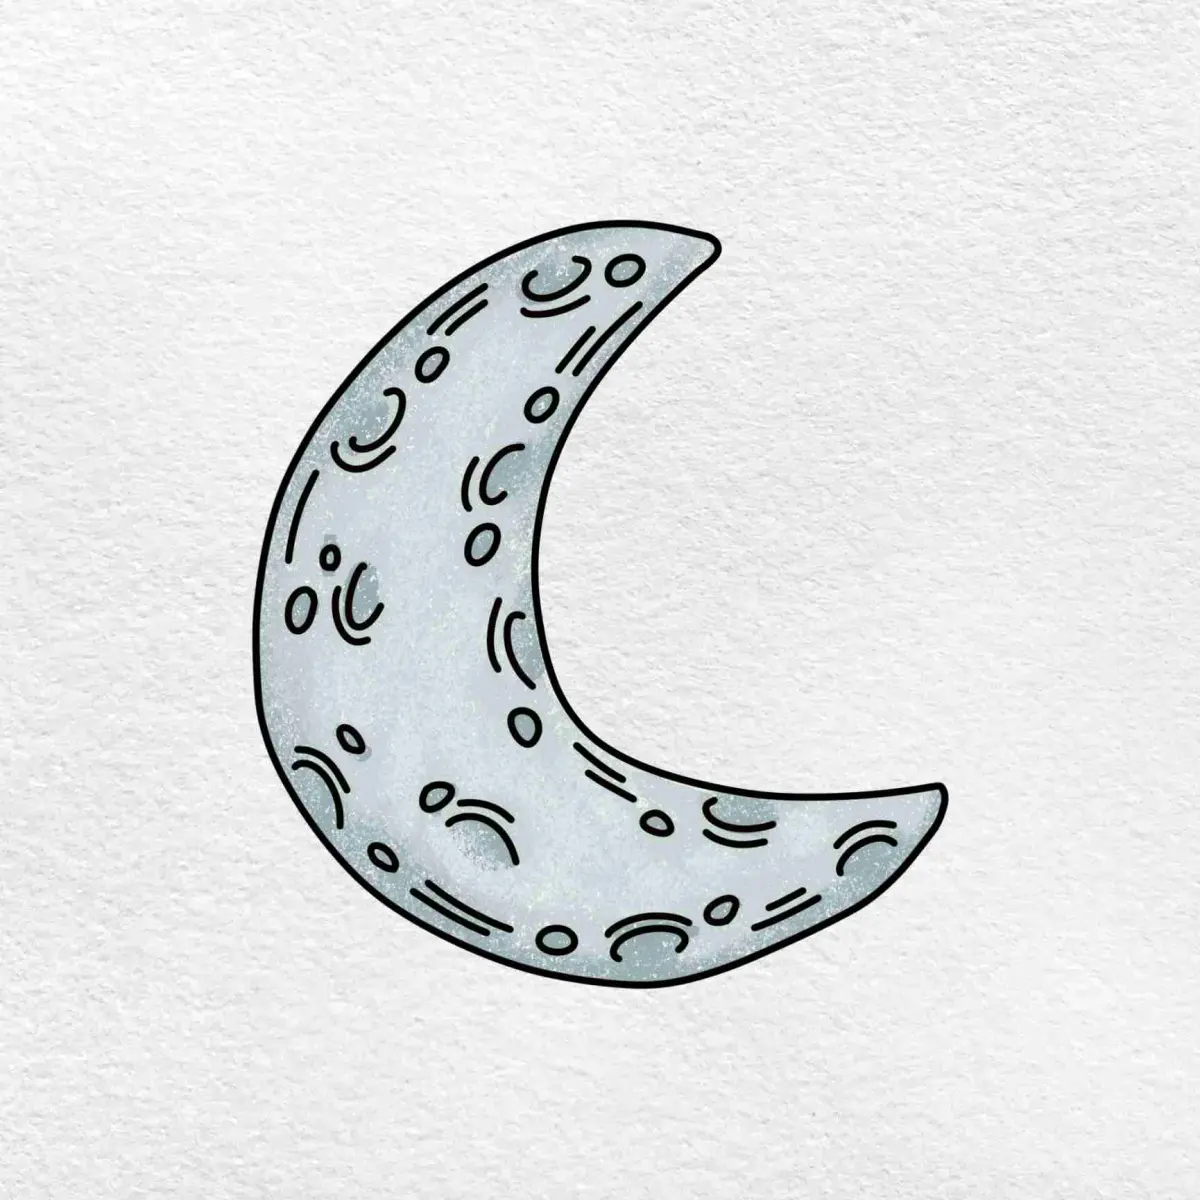
The moon is rarely a perfect circle in the sky, so observing its current phase is the most important first step. Begin by drawing a very faint circle using a hard lead pencil, such as an H or 2H, to ensure the lines remain easy to erase. If you are drawing a crescent moon, sketch a smaller circle inside the larger one to define the curve of the shadow. This creates a guide for the "terminator," the line where sunlight ends and darkness begins.
Precision during this initial phase prevents distortion later. Use a compass if you require geometric perfection, but freehand sketching often captures the organic nature of the moon more effectively. Keep your lines light enough that they disappear once you begin shading. Remember that the moon is a sphere, not a flat disc, so your initial outline should serve as a frame for the three-dimensional volume you will build later.
Best shading techniques for beginners
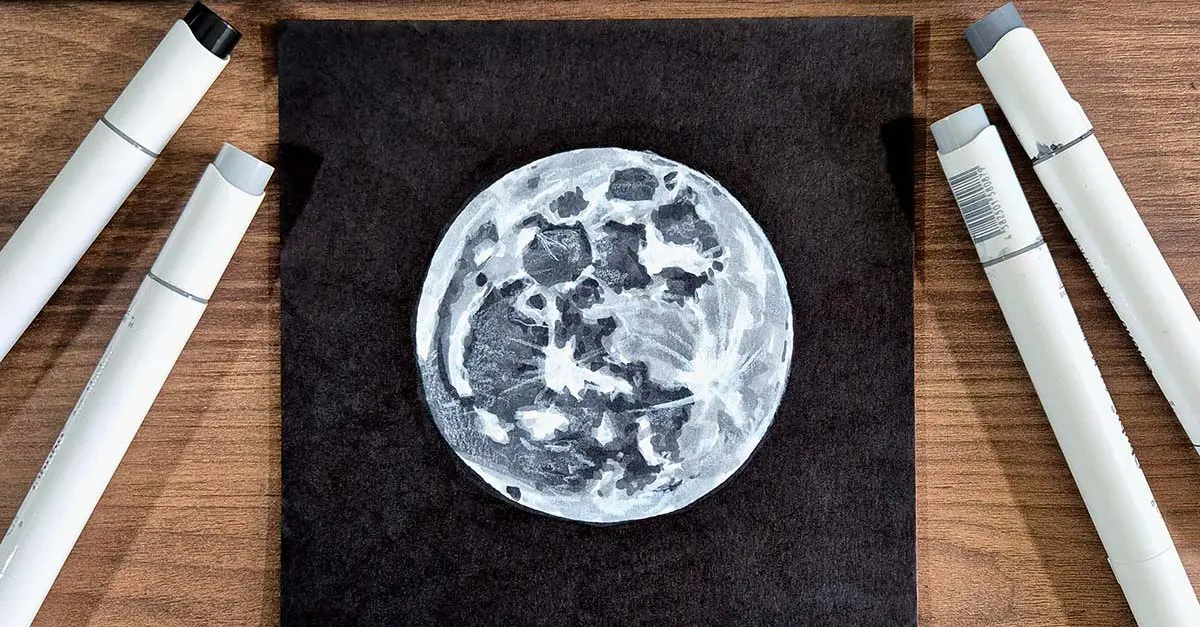
Achieving a realistic moon requires mastering the transition between light and shadow. Use a soft pencil, such as a 4B or 6B, to build up the dark areas of the lunar maria, which are the large, dark basaltic plains. Avoid smudging your work with your fingers, as the natural oils on your skin can create uneven patches that are difficult to correct. Instead, use a paper blending stump to smooth out the transition between the bright highlights and the deep shadows.
- Identify the light source to determine which side of the craters should remain bright.
- Apply light, circular strokes to build texture, leaving small white spots for crater rims.
- Use a kneaded eraser to lift graphite and create bright "peaks" within the shadows.
- Layer your shadows gradually rather than pressing hard, which maintains the paper's tooth for later detail.
Why craters and maria look different
The moon’s surface is defined by its rugged topography, which consists primarily of impact craters and vast, dark plains called maria. When drawing these features, avoid making every crater a perfect circle. Craters near the edge of the moon, known as the limb, appear elongated or elliptical due to the curvature of the lunar surface. By varying the shapes and sizes of these craters, you add a sense of realism that makes the drawing feel like an actual celestial body.
- Maria: These are large, smooth, and dark patches that should be shaded with consistent, flat values.
- Highlands: These are the brighter, heavily cratered regions that require more complex, layered shading.
- Rays: These are bright streaks radiating from young craters like Tycho, which are best rendered with a sharp, white eraser.
- Terminator: This boundary is where the most dramatic shadows occur, as the sun hits the craters at a low angle.
Common mistakes when drawing the moon
One of the most frequent errors is treating the moon as a flat object rather than a sphere. Beginners often draw craters as simple circles on a flat surface, which makes the moon look like a patterned coin. To fix this, remember that shadows should follow the curve of the sphere. The shadows inside craters should be darkest on the side closest to the terminator line, creating the illusion of depth and volume that defines a three-dimensional object.
Another common mistake is excessive contrast. While the moon has bright spots, it is actually quite gray in color. If you make the shadows too black and the highlights too white, the drawing will look harsh and artificial. Aim for a full range of mid-tones to capture the subtle texture of the lunar regolith. If your drawing feels too flat, go back and soften the edges of your shadows to better mimic the way light interacts with the moon's surface.
How to add texture and detail
The final stage of your drawing involves adding the fine details that bring the lunar surface to life. Use a sharpened pencil to add tiny dots and short, jagged lines to represent the smaller, secondary impact craters scattered across the maria. Focus on the contrast between the smooth plains and the rugged highlands to create a balanced composition. This stage requires patience, as adding too much detail can sometimes clutter the image and distract from the overall shape.
Take a step back from your drawing frequently to look at it from a distance. This helps you see the moon as a whole rather than just a collection of individual craters. If the moon looks like it is floating in space, consider adding a very subtle, dark background to make the white edges of the moon pop. Once you are satisfied with the depth and texture, use a fixative spray to prevent the graphite from smudging, ensuring your lunar portrait remains crisp and clear for years to come.
Key facts
- The Moon is a sphere, so use shading to create a 3D effect rather than drawing a flat circle.
- Light always hits the Moon from the direction of the Sun, meaning the terminator line—the edge between light and dark—is always curved.
- Use a compass or a circular object to ensure a perfect outline before adding topographical features.
- Lunar maria, the dark patches visible from Earth, are ancient basaltic plains formed by volcanic eruptions.
- Craters are best represented as irregular, overlapping circles rather than perfect, symmetrical rings.
- Add "rays" or bright streaks extending from major craters like Tycho to give the drawing a realistic, textured appearance.
The bottom line
Drawing the Moon effectively requires moving beyond a simple flat circle to embrace its spherical nature and complex topography. By focusing on the interplay of light and shadow, you can define the maria and craters that give the lunar surface its distinctive character. Remember that accuracy comes from observing the terminator line and using varied shading techniques to capture the depth of the Moon's rugged, ancient landscape.
People also ask
Why does the Moon look like it has a face?
This phenomenon is known as pareidolia, where the human brain identifies patterns in random data. The "face" is actually composed of large, dark volcanic plains called maria that contrast with the lighter, cratered highlands.
How do I draw the crescent moon correctly?
A crescent shape is formed by the intersection of two arcs of different sizes. Ensure the points of the crescent, known as cusps, always point directly away from the Sun's position.
Should I use pure white for the brightest parts of the Moon?
Avoid using pure white for the entire surface because the Moon has a low albedo, meaning it reflects only about 12 percent of sunlight. Use a light gray for the brightest highlands and reserve white only for the most intense highlights.
What is the best tool for blending lunar shadows?
A blending stump or a soft tissue works best to create smooth gradients. Gradual transitions between light and shadow are essential for capturing the Moon's spherical volume.
How do I make craters look deep?
Place the darkest shading on the inside rim of the crater closest to the light source. This creates the illusion of depth by mimicking how sunlight hits a bowl-shaped depression.
Does the Moon always show the same side to Earth?
Yes, due to tidal locking, the Moon rotates on its axis at the same rate it orbits Earth. This means we always see the same lunar features, which is helpful when using reference photos for your drawing.
This answer was created with the help of AI research tools and reference sources. Spotted an error? Let us know — we correct mistakes quickly. See our editorial policy.