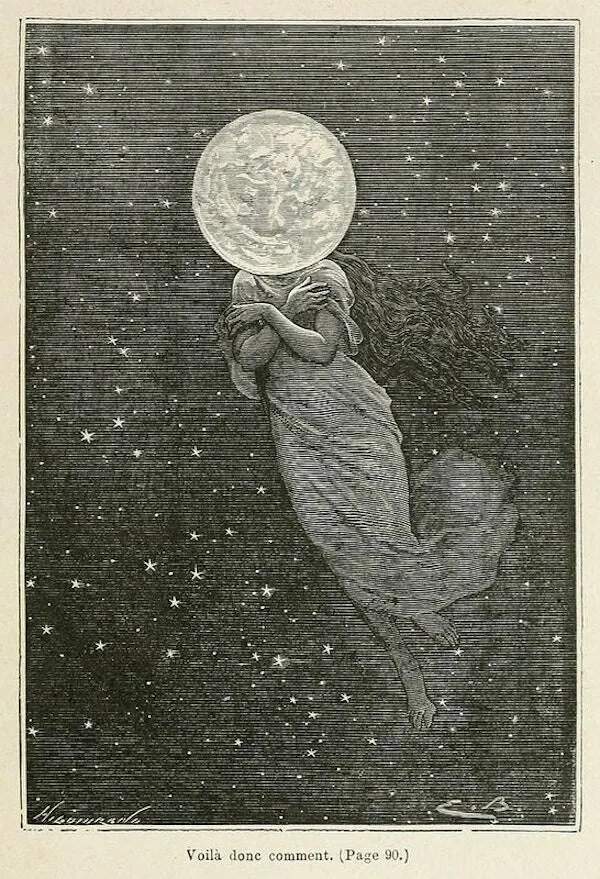
How do you draw a moon with stars step by step?
Short answer
Draw a crescent moon by overlapping two circles to create a curved shape, then refine the edges. Add stars by placing small, five-pointed shapes or simple dots at varying distances around the moon. Using a light pencil sketch first allows you to adjust proportions before finalizing your drawing with ink or shading.
On this page
How to draw a crescent moon shape
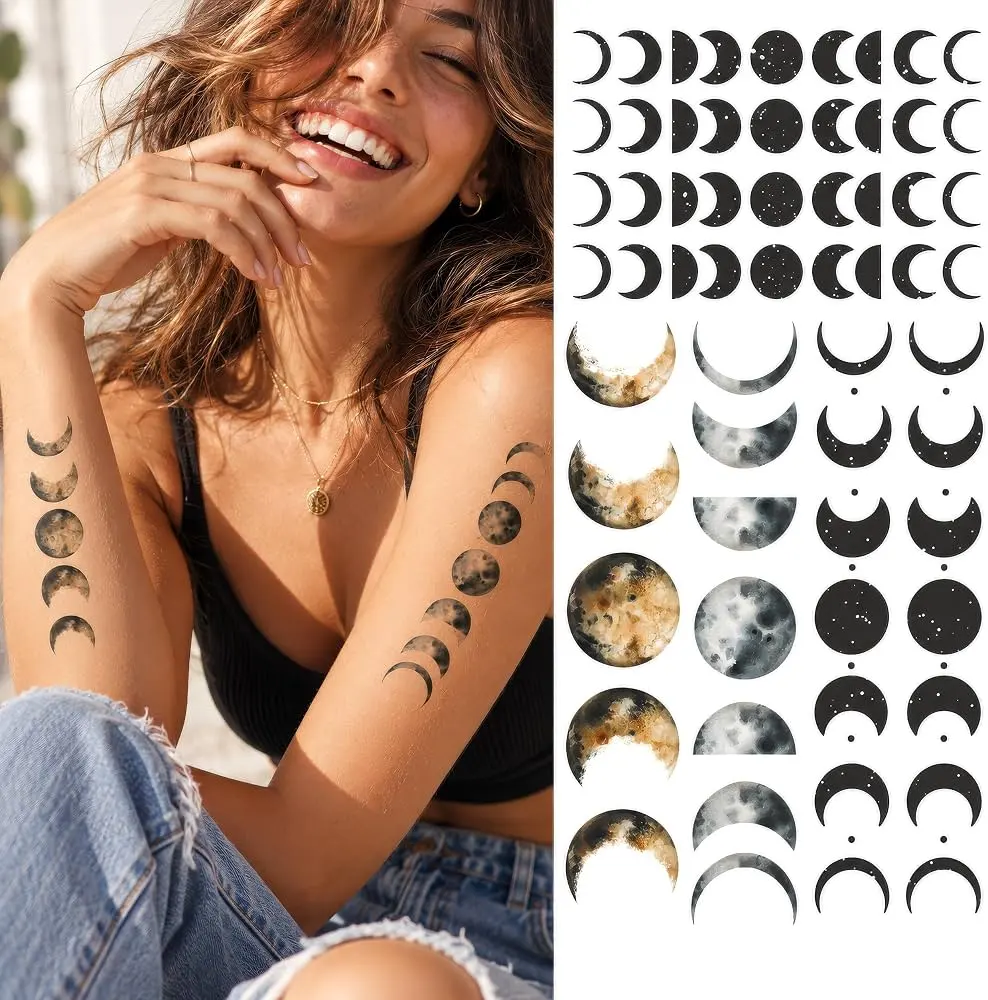
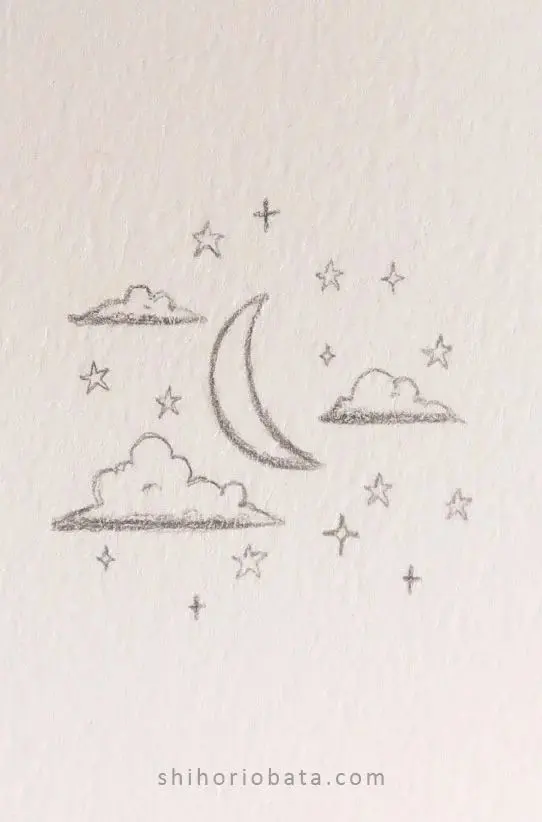
Drawing a realistic crescent moon begins with understanding geometric proportions. Start by lightly sketching a large circle to establish the base of your moon. Next, draw a second, slightly smaller circle that overlaps the first one, positioned toward one side. The crescent shape is formed by the area where the two circles do not overlap.
Once you have established the overlapping shapes, use an eraser to remove the unnecessary lines from the outer edges. This leaves you with a clean, curved arc that tapers to sharp points at both ends. To add depth, consider the light source; if the sun is hitting the moon from the left, the right side of the crescent should appear slightly more rounded.
- Lightly draw a large circle with a compass or a circular object.
- Draw a smaller circle overlapping the right side of the first.
- Erase the intersecting lines to leave the crescent shape.
- Refine the tips of the crescent to ensure they are pointed.
Best tools for drawing stars
The quality of your stars depends heavily on the precision of your tools. For beginners, a fine-tip felt pen or a mechanical pencil with 0.5mm lead is ideal for creating crisp, distinct points. If you want a softer, more ethereal look, a charcoal stick or a soft graphite pencil allows for smudging and varied light intensity.
When drawing stars, variety is essential to replicate the natural appearance of the night sky. Use a mix of sizes and shapes to create a sense of depth and distance. Larger stars should be placed closer to the viewer, while tiny, faint dots represent distant galaxies or stars further away in the cosmos.
- Use a sharp pencil for crisp, geometric star points.
- Use a white gel pen on dark paper for high-contrast effects.
- Use a blending stump to create a soft glow around larger stars.
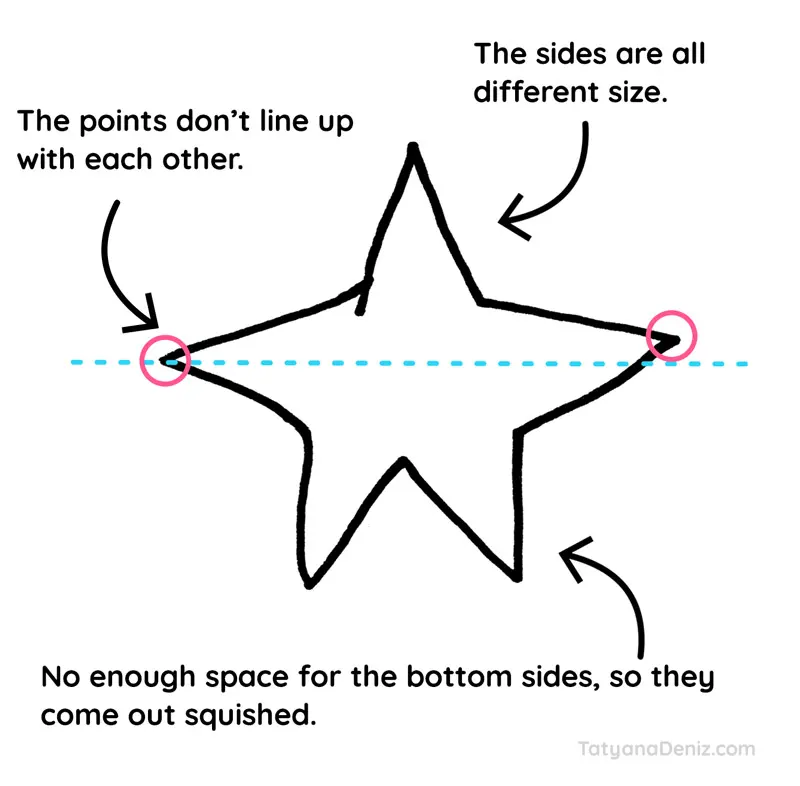
- Use a ruler if you prefer perfectly symmetrical five-pointed stars.
How to arrange stars in the sky
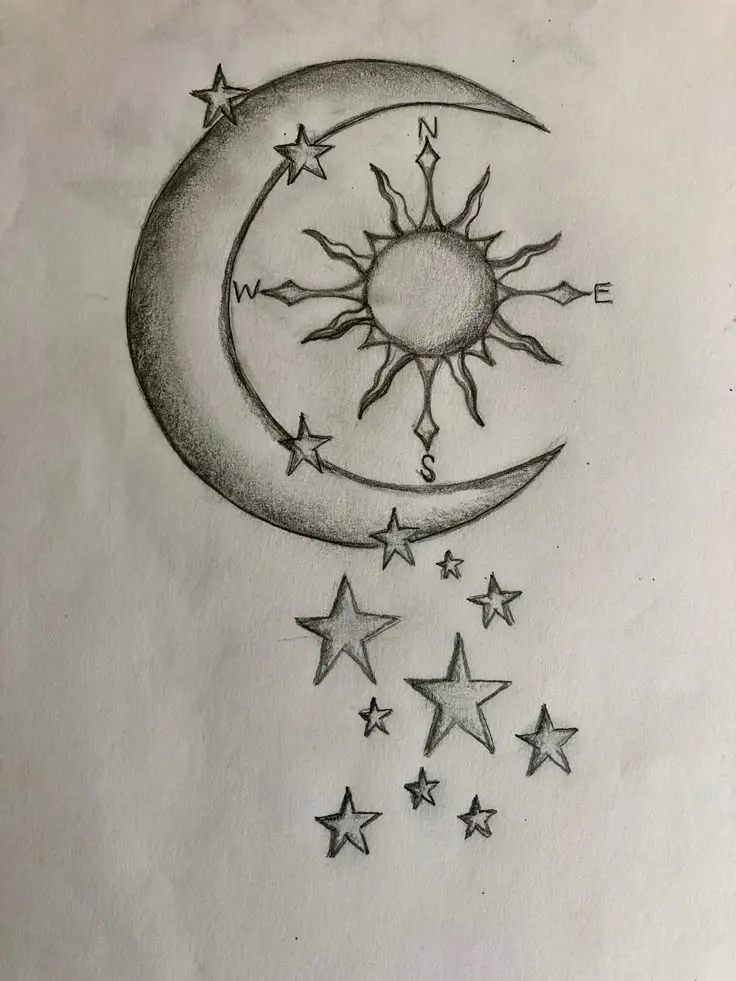
Composition is the secret to a professional-looking celestial drawing. Avoid placing stars in a uniform grid or a straight line, as this looks unnatural and artificial. Instead, scatter them in clusters, leaving large patches of empty space between groups to mimic the actual distribution of constellations in the night sky.
Think of the moon as the focal point of your composition. You might place a few bright stars near the moon to draw the eye, while keeping the outer edges of the paper more sparsely populated. This technique, known as negative space, prevents the drawing from feeling cluttered and helps the moon stand out as the primary subject.
- Start by placing three to five large stars at irregular intervals.
- Fill the remaining space with smaller dots of varying sizes.
- Create a "star cluster" by grouping several tiny dots together.
- Leave intentional gaps to create a sense of vastness.
Common mistakes when drawing moons
One of the most frequent errors is drawing the crescent moon with uneven or blunt tips. Ensure that the two arcs meet at a sharp, elegant point to maintain the aesthetic of a celestial body. Another common mistake is making the moon perfectly symmetrical, which can look like a cartoon icon rather than a natural object.
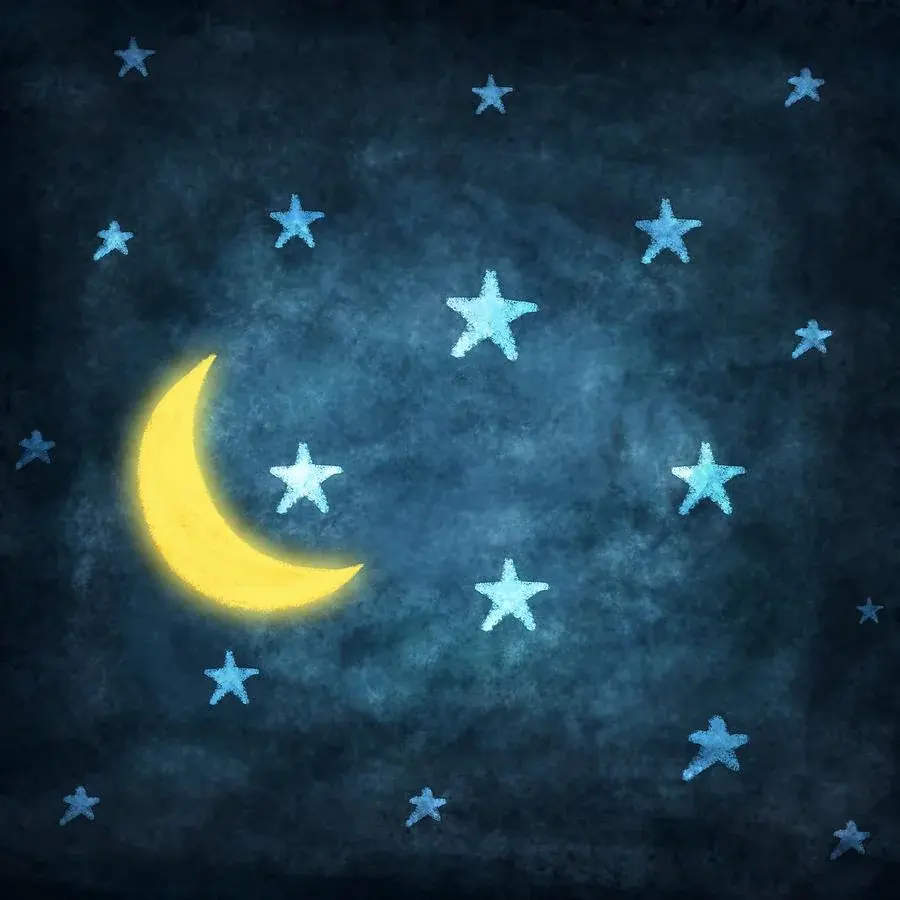
Beginners often struggle with the "glow" effect, either neglecting it entirely or making it too dark. If you want to show light radiating from the moon, use a light shading technique around the outer curve. Avoid using heavy, dark lines for the glow, as this can make the moon look like it is floating on a flat, solid surface rather than suspended in deep space.
- Avoid drawing stars directly on top of the moon's outline.
- Do not make all stars the same size, as this flattens the image.
- Ensure the moon's curve is consistent with the curvature of a sphere.
- Do not press too hard with your pencil during the initial sketching phase.
Why stars look different in drawings
Stars appear different in art because of how artists interpret light and atmosphere. A simple dot represents a distant star, while a cross or a five-pointed star represents a bright, twinkling point of light. By combining these different styles, you can create a dynamic scene that feels alive and vibrant.
The final step is to add texture to the moon itself. Use light, circular shading to suggest craters, which adds realism and prevents the moon from looking like a flat sticker. By balancing the stark, dark background with the bright, textured moon and the varied points of light from the stars, you achieve a professional and visually engaging result. Always step back from your work periodically to assess the overall balance and make adjustments before finalizing your drawing with permanent ink or deep shading.
Key facts
- A crescent moon is defined by the intersection of two circles, creating a curved shape with two pointed tips called cusps.
- The illuminated side of the moon always faces the sun, so ensure your crescent curve aligns with the light source.
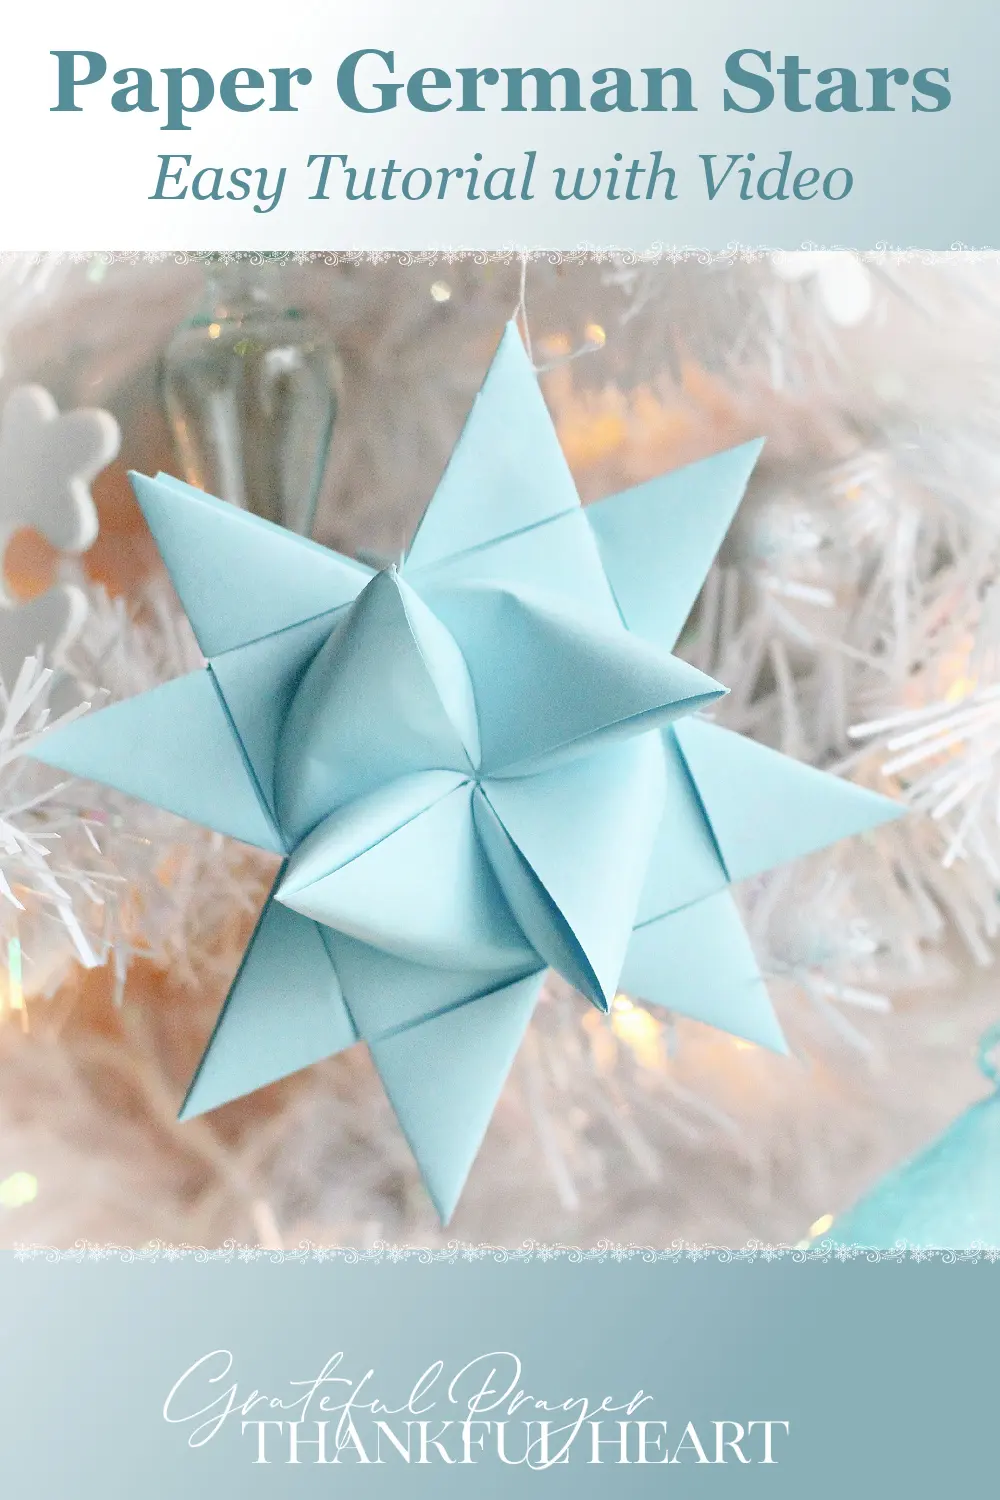
- Stars are most effectively drawn as five-pointed geometric shapes or simple four-pointed sparks for a stylized look.
- Use a light graphite pencil for your initial sketch to allow for easy erasing before finalizing with ink or color.
- Varying the size and density of your stars creates a sense of depth, making the night sky appear expansive.
- Adding a soft glow or "halo" effect around the moon enhances the contrast between the celestial body and the dark sky.
The bottom line
Drawing a moon and stars involves combining geometric precision with artistic composition. By sketching a crescent using overlapping circles and layering stars of varying sizes, you create a balanced night scene. Remember to focus on light placement and avoid rigid, uniform patterns. With these techniques, you can effectively capture the beauty of the night sky, ensuring your drawing feels both realistic and visually engaging for any viewer.
People also ask
Why do stars often appear to have points in drawings?
Stars are actually spherical balls of plasma, but they appear to have points due to light diffraction caused by the human eye or telescope apertures. Drawing them with points is a classic artistic convention that mimics this visual effect.
How can I make the moon look three-dimensional?
You can add depth by shading the crescent with a gradient, keeping the edge closest to the sun bright and the inner curve darker. This technique, known as chiaroscuro, simulates the curvature of a sphere.
What is the best way to distribute stars across the page?
Avoid placing stars in a perfectly uniform grid, as this looks unnatural. Instead, cluster them in small groups and leave some areas of the sky empty to create a realistic, organic distribution.
Should the moon be drawn on the left or right side of the paper?
There is no strict rule, but placing the moon off-center creates a more dynamic composition. Leaving negative space around the moon helps the viewer focus on the subject.
How do I draw a perfect circle for the moon's base?
Use a compass or trace a circular object like a coin or lid to ensure the initial shape is accurate. A steady base makes it much easier to draw the secondary crescent curve correctly.
What common mistake should I avoid when drawing stars?
A common error is drawing every star the exact same size and shape. Use a mix of tiny dots, small crosses, and larger, brighter stars to create visual interest and a sense of distance.
This answer was created with the help of AI research tools and reference sources. Spotted an error? Let us know — we correct mistakes quickly. See our editorial policy.