How do you paint a night sky with watercolor?
Short answer
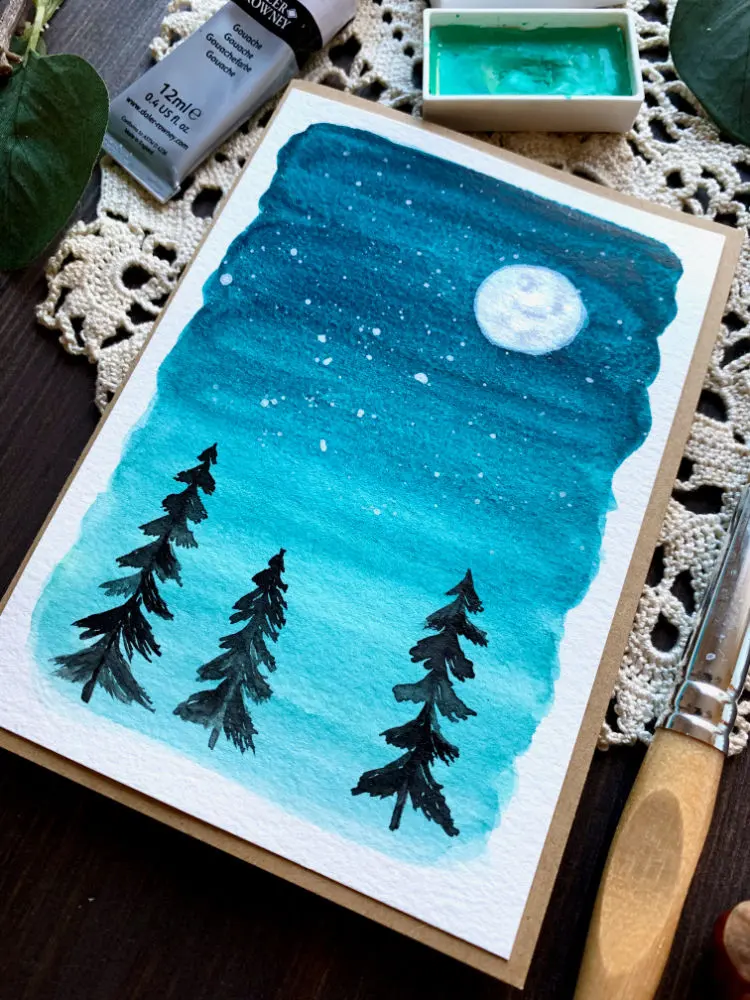
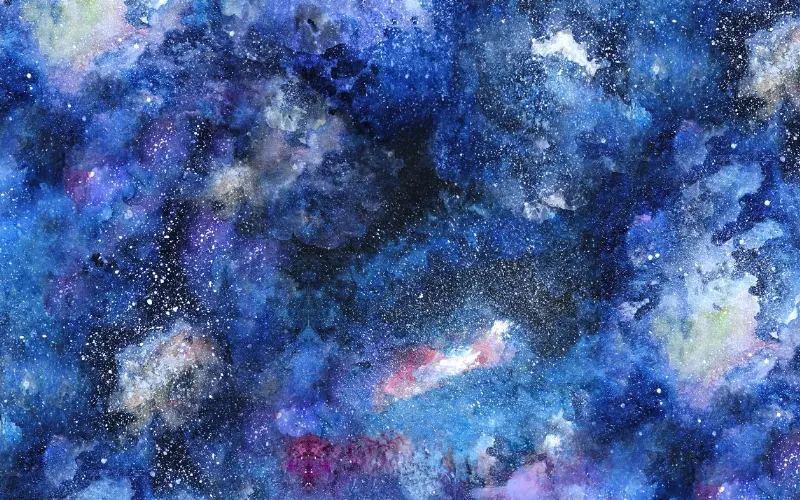
Painting a night sky with watercolor requires layering transparent pigments using the wet-on-wet technique. By applying dark blues, purples, and blacks while the paper is damp, you achieve smooth gradients. Once dry, you can add stars using opaque white gouache or by lifting pigment to create depth and celestial luminosity.
On this page
What supplies are needed for watercolor night skies
To capture the depth of the night sky, you need high-quality materials that handle heavy water saturation. Use 100% cotton watercolor paper with a weight of at least 300 gsm (140 lb). This thickness prevents the paper from buckling when you apply multiple layers of dark, watery pigment. Cold-press paper is ideal because its slight texture helps catch the paint, creating a soft, atmospheric look.
Select professional-grade pigments that offer high transparency and staining power. Essential colors for a night sky include Ultramarine Blue, Phthalo Blue, Dioxazine Purple, and a deep black like Payne’s Gray or Lamp Black. You will also need a large, soft-bristled round or flat brush to cover wide areas quickly, and a small synthetic brush for fine details. Keep a clean sponge or paper towel nearby to lift excess paint and manage the moisture levels on your working surface.
How to prepare the paper for painting
Proper preparation ensures the paint flows smoothly and prevents harsh, unwanted lines. Begin by taping your paper to a rigid board using artist’s masking tape. This creates a clean border and keeps the paper flat as it expands and contracts during the painting process. If you want a crisp horizon line, ensure the tape is pressed firmly against the surface to prevent paint from bleeding underneath.
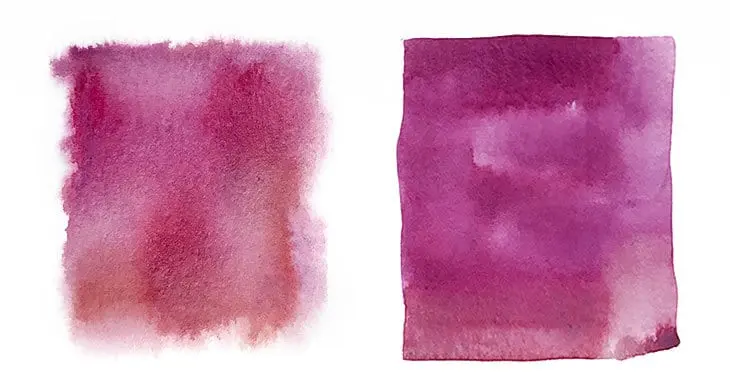
Before applying any color, lightly dampen the entire surface of the paper with a clean, wide brush and clear water. The paper should appear shiny but not have pools of standing water. This moisture allows the pigments to bleed into one another, creating the seamless gradients characteristic of a twilight or midnight sky. If the paper dries too quickly, you can re-dampen it, but be careful not to disturb the initial layers of paint.
Step-by-step guide to painting the sky
Achieving a realistic sky involves building color in stages, moving from light to dark. Follow these steps to create a vibrant, layered effect:
- Apply a light wash of a mid-tone blue across the entire damp paper.
- While the first layer is still wet, drop in darker pigments like Dioxazine Purple and Payne’s Gray at the edges of the paper.
- Use a clean, damp brush to gently pull these colors toward the center, creating a natural gradient.
- Allow the first layer to dry completely, then add a second, more concentrated layer of dark pigment to deepen the shadows.
- Once the paint is bone dry, use a small brush with opaque white gouache to flick or dot stars onto the surface.
Avoid overworking the paint while it is wet, as this can lead to "muddy" colors. If you want to create a Milky Way effect, use a clean, damp brush to lift small areas of pigment before they dry completely, revealing the white of the paper underneath.
Common mistakes when painting night skies
One of the most frequent errors is using too much water, which causes the paint to bloom and create unwanted cauliflower-shaped textures. While these blooms can sometimes be artistic, they often ruin the smooth, dark transition of a night sky. To fix this, ensure your brush is damp rather than dripping. Another mistake is using opaque colors too early in the process. If you add white or light colors to a wet wash, they will turn chalky and lose their transparency.
Always wait for the paper to be completely dry before adding stars or moon details. If the paper is even slightly damp, the white paint will bleed into the dark background, resulting in fuzzy, gray stars rather than crisp, bright points of light. Additionally, avoid using too many different colors; sticking to a limited palette of three or four dark shades will result in a more cohesive and professional-looking composition.
How to add texture and depth to the sky
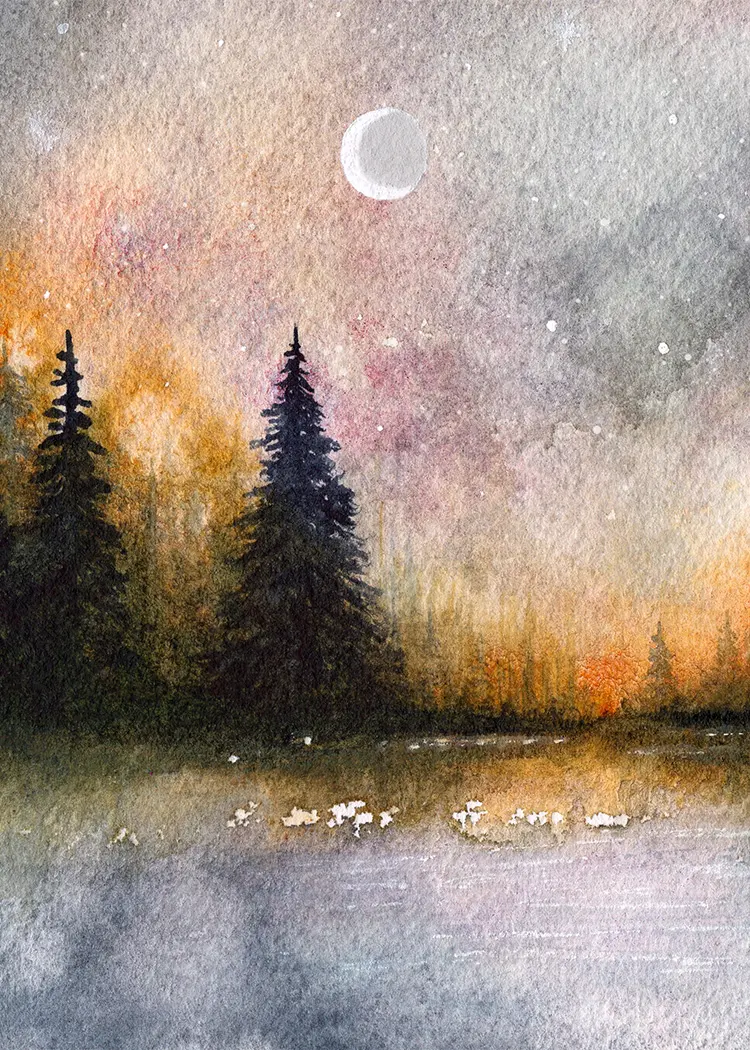
To elevate your painting, incorporate elements like clouds, nebulae, or a glowing moon. For clouds, use a "lifting" technique by pressing a dry paper towel or a clean, thirsty brush into the wet paint. This removes pigment and creates soft, wispy shapes that contrast with the dark background. You can also use a fan brush to lightly tap in subtle, misty textures that mimic the appearance of distant stardust or cosmic clouds.
For the moon, leave a circular area of white paper untouched during the initial washes. Once the surrounding sky is dark, paint a soft yellow or pale orange wash over this area to create a glowing effect. You may also use a toothbrush to splatter tiny white dots across the painting for a field of stars. By varying the size and intensity of these dots, you create a sense of distance, making the night sky appear vast and infinite.
Key facts
- Use high-quality cold-press watercolor paper, at least 140lb (300gsm), to prevent buckling during heavy water application.
- Apply a "wet-on-wet" technique by dampening the entire paper surface with clean water before adding pigment to achieve seamless gradients.
- Darker pigments like Indigo, Payne’s Gray, and Ultramarine Blue provide the best depth for a realistic night sky.
- Sprinkle salt onto wet paint to create a star-like texture as the salt absorbs pigment and creates crystalline patterns.
- Use an opaque white gouache or a stiff-bristled brush to splatter white paint for stars once the base layer is completely dry.
- Allow each layer to dry fully before adding details to prevent "blooms" or muddy colors.
The bottom line
Painting a night sky requires patience and the mastery of the wet-on-wet technique. By layering deep, cool-toned pigments onto high-quality paper and utilizing salt for texture, you can create a realistic, atmospheric background. Once the base is thoroughly dry, adding splattered gouache stars provides the necessary contrast. Focus on maintaining fluid transitions and allowing ample drying time to ensure a professional, clean finish for your celestial scene.
People also ask
Can I use regular printer paper for watercolor painting?
No, printer paper is too thin and will warp or tear when saturated with water. Always use dedicated watercolor paper that can handle multiple washes without degrading.
How do I prevent my sky from looking streaky?
Keep your brush loaded with plenty of water and pigment, and work quickly across the surface. Maintaining a "wet edge" ensures that each new stroke blends smoothly into the previous one.
What is the best way to get bright, sharp stars?
Use a small, stiff brush to flick white gouache or acrylic paint onto the paper. Gouache is preferred over watercolor for stars because it is opaque and will show up clearly against dark colors.
Why is my paper turning into a muddy brown color?
This usually happens from over-mixing colors or using too many complementary colors at once. Stick to a limited palette of blues and purples to keep the sky clear and vibrant.
How long should I wait for the paint to dry?
Drying times depend on humidity, but usually, a light wash takes 20 to 30 minutes. For thick, dark layers, wait at least one hour or use a hair dryer on a low, cool setting.
Is it better to paint stars before or after the sky?
Always paint the stars after the sky is completely dry. If you paint them while the sky is wet, the white paint will bleed and lose its crisp, defined shape.
This answer was created with the help of AI research tools and reference sources. Spotted an error? Let us know — we correct mistakes quickly. See our editorial policy.