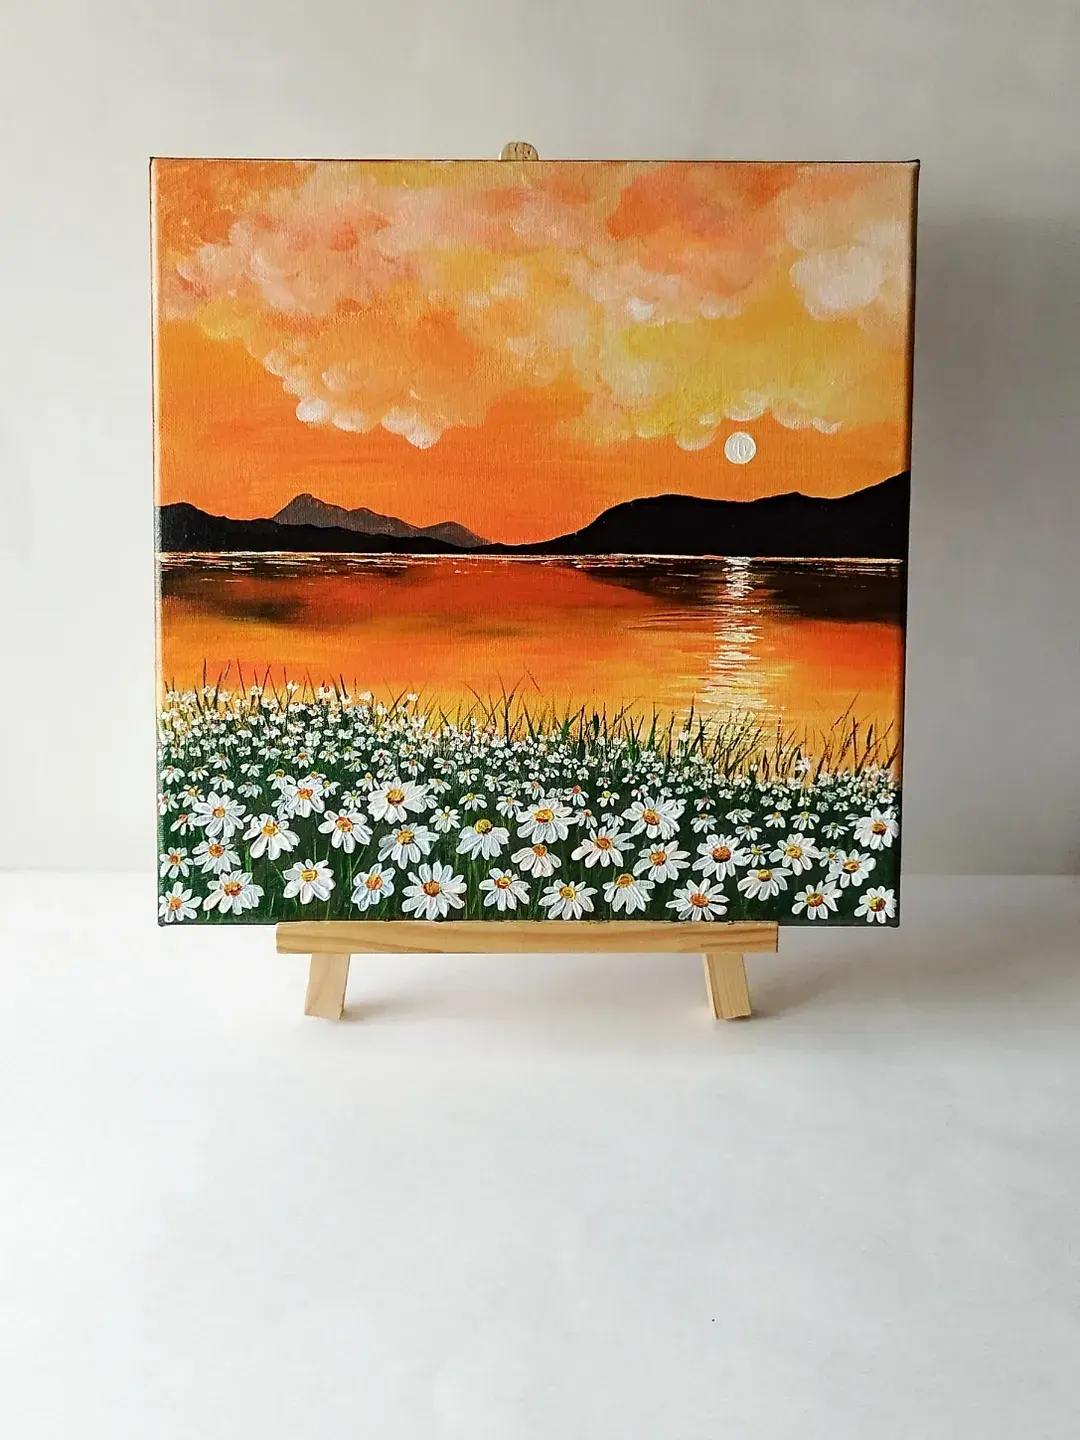
How do you paint the sky in oil?
Short answer
Painting the sky in oil requires a systematic approach using a limited palette and gradual color transitions. By applying thin, cool colors at the horizon and warmer, darker tones toward the zenith, you create atmospheric perspective. Blend your edges carefully while the paint remains wet to achieve a soft, realistic natural appearance.
On this page
What colors are needed for painting skies?
To capture the vast range of the sky, you do not need an extensive palette. A professional setup typically includes Titanium White, Ultramarine Blue, Cerulean Blue, and a touch of Cadmium Yellow or Alizarin Crimson for atmospheric shifts. Titanium White is essential for creating tints, but use it sparingly, as it can quickly make a sky look chalky or opaque if overused.
When mixing, start with a base of blue and white, then introduce tiny amounts of other pigments to adjust the temperature. Skies are rarely a flat, uniform blue; they are complex gradients that change based on light and moisture. Keep your mixtures consistent to avoid muddying the canvas, and always clean your brush thoroughly between color shifts to maintain the vibrancy of the sky’s delicate hues.
- Ultramarine Blue: Deep, warm blue for the top of the sky.
- Cerulean Blue: Lighter, cooler blue for the mid-sky.
- Titanium White: Used to lighten mixtures and create clouds.
- Cadmium Yellow: Added in small amounts to create a warm, golden horizon.
How to create depth in the sky
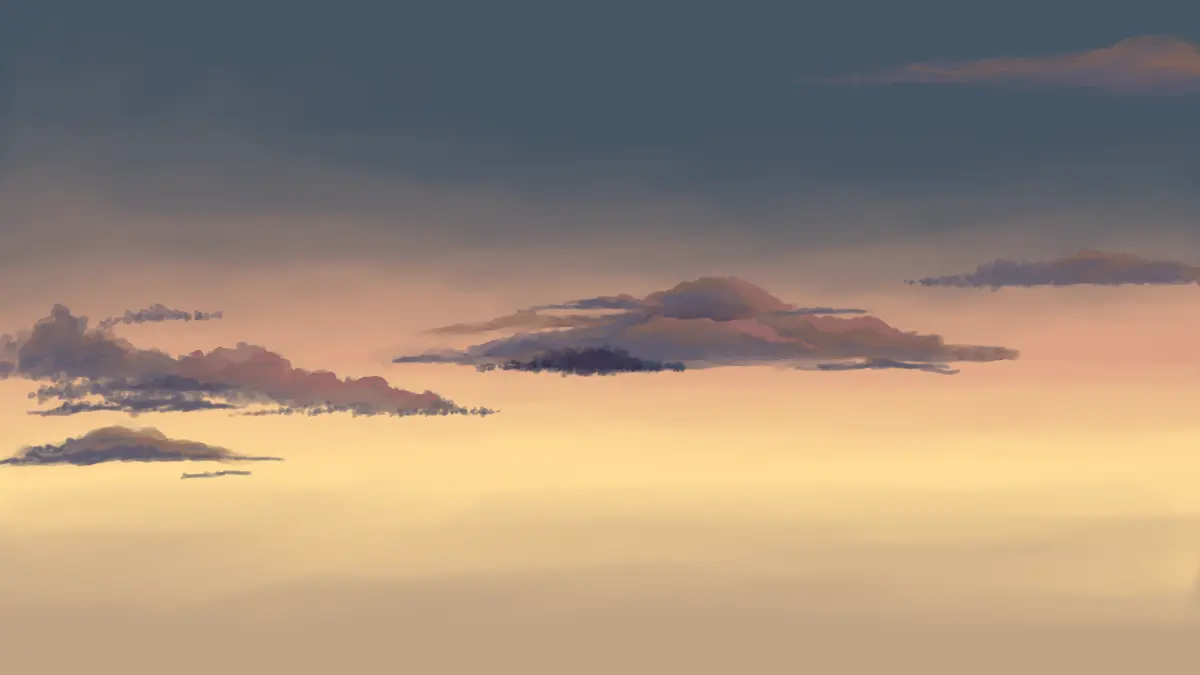
Atmospheric perspective is the primary tool for creating the illusion of distance. The sky is darkest and most saturated at the top, directly above the viewer, and becomes significantly lighter and warmer as it approaches the horizon. This phenomenon occurs because the atmosphere is thicker near the ground, scattering more light and obscuring the deep blue of the upper sky.
To achieve this effect, prepare three distinct value mixtures on your palette: a dark, saturated blue for the zenith, a mid-tone blue for the center, and a pale, warm-tinted white for the horizon. Apply these in horizontal bands, working from the top down. By carefully overlapping these bands while the paint is still wet, you can create a seamless transition that mimics the natural curvature and depth of the atmosphere.
- Mix your three primary sky values on the palette.
- Apply the darkest value at the top of the canvas.
- Blend the mid-tone into the dark area using a clean, dry brush.
- Apply the lightest, warmest tone at the horizon line.
- Soften all transitions with horizontal, sweeping strokes.
How to paint realistic clouds
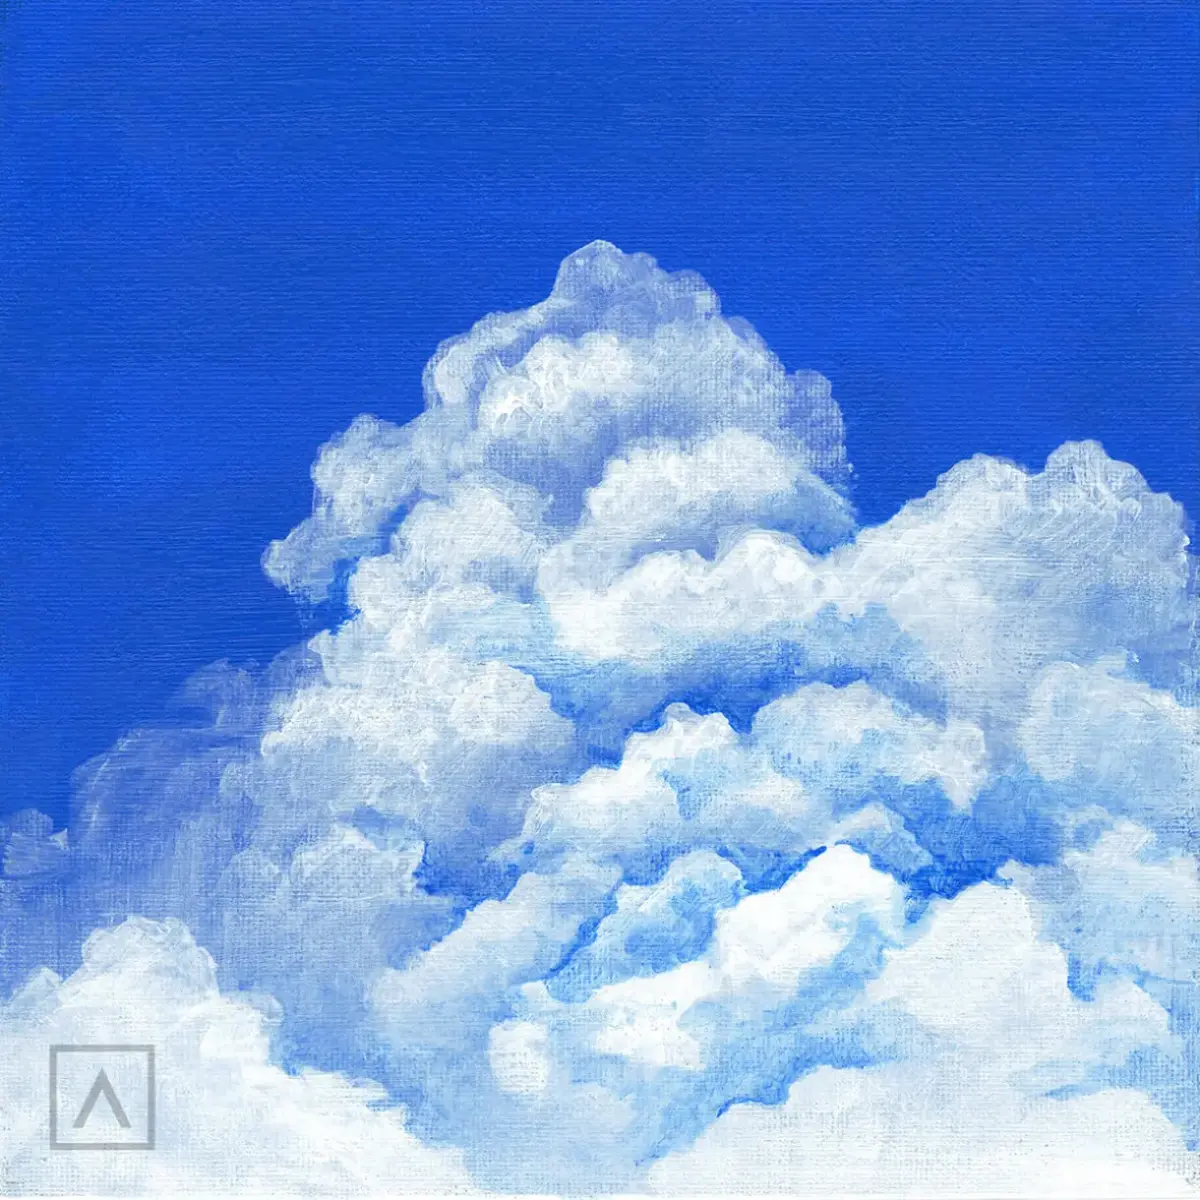
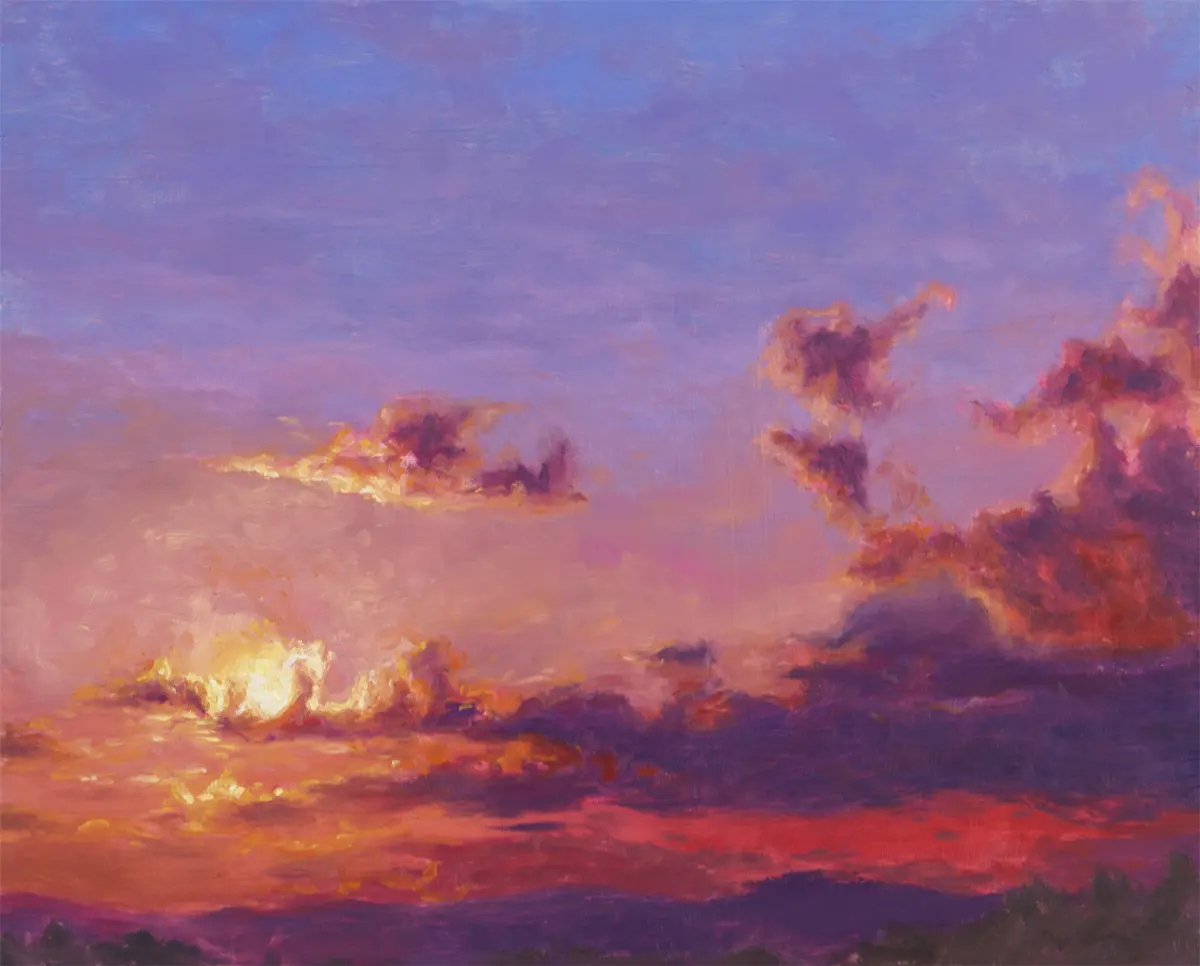
Clouds are not white objects; they are three-dimensional forms that reflect the light of the sun and the color of the sky. To paint them effectively, treat them as sculptural volumes rather than flat shapes. Start by blocking in the shadow side of the cloud with a cool, gray-blue mixture, then add the highlights where the light source hits the form.
Avoid using pure white for clouds, as this will make them appear disconnected from the environment. Instead, use a warm, off-white mixture for the sunlit edges and a soft, muted violet or gray for the undersides. Keep your brushwork loose and expressive to suggest the airy, ephemeral nature of vapor. If the edges become too sharp, gently tap them with a soft fan brush or a clean blender to soften the silhouette against the blue sky.
What brushes to use for skies
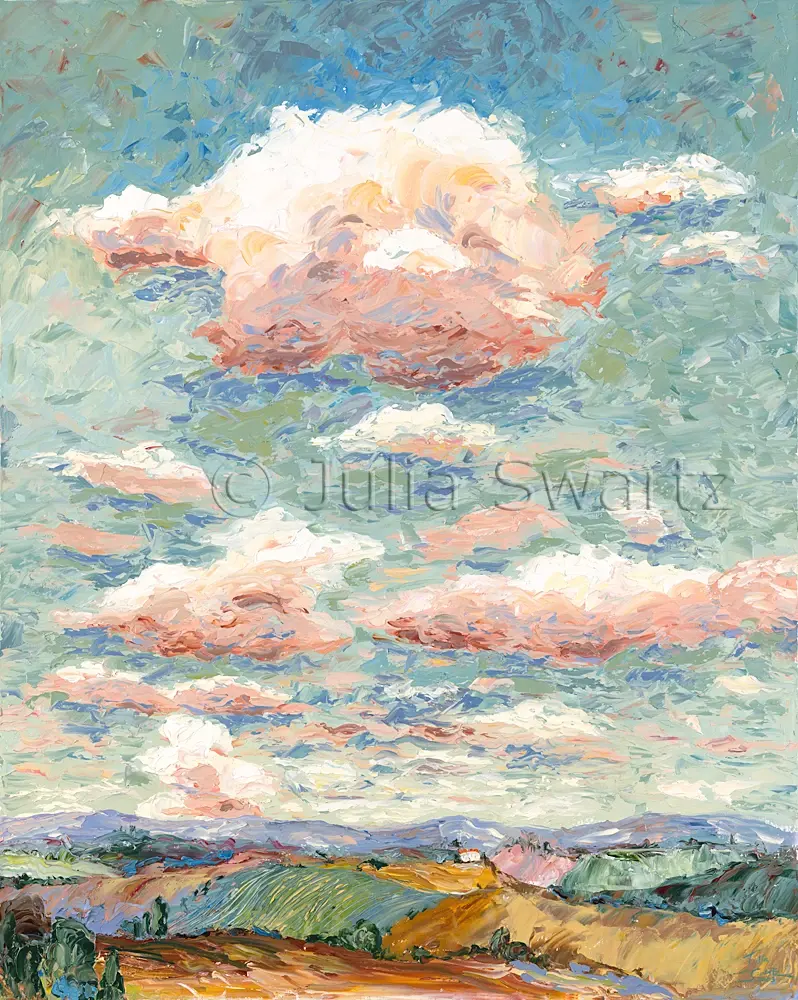
The choice of brush significantly impacts the texture and smoothness of your sky. For large, sweeping areas, use a wide, flat bristle brush or a large filbert. The rounded corners of a filbert brush are particularly useful for creating the soft, organic shapes of clouds without leaving harsh, square marks on the canvas.
For blending transitions, a clean, dry "mop" brush is the industry standard. This brush has soft, fine hairs that allow you to move the paint gently without lifting it off the surface. Always keep a separate brush for blending to ensure that you are not accidentally transferring dark pigment into your light areas. If you prefer a more impressionistic style, a hog-hair brush can provide a visible, textured stroke that adds energy and movement to the sky’s atmosphere.
Common mistakes when painting skies
One of the most frequent errors is over-blending, which results in a flat, muddy appearance that lacks life. While smooth transitions are important, some variation in brushwork adds character and realism to the sky. Another common mistake is painting clouds that are too symmetrical or evenly spaced across the canvas. Nature is chaotic; place your clouds in irregular clusters and vary their sizes to create a more dynamic and believable composition.
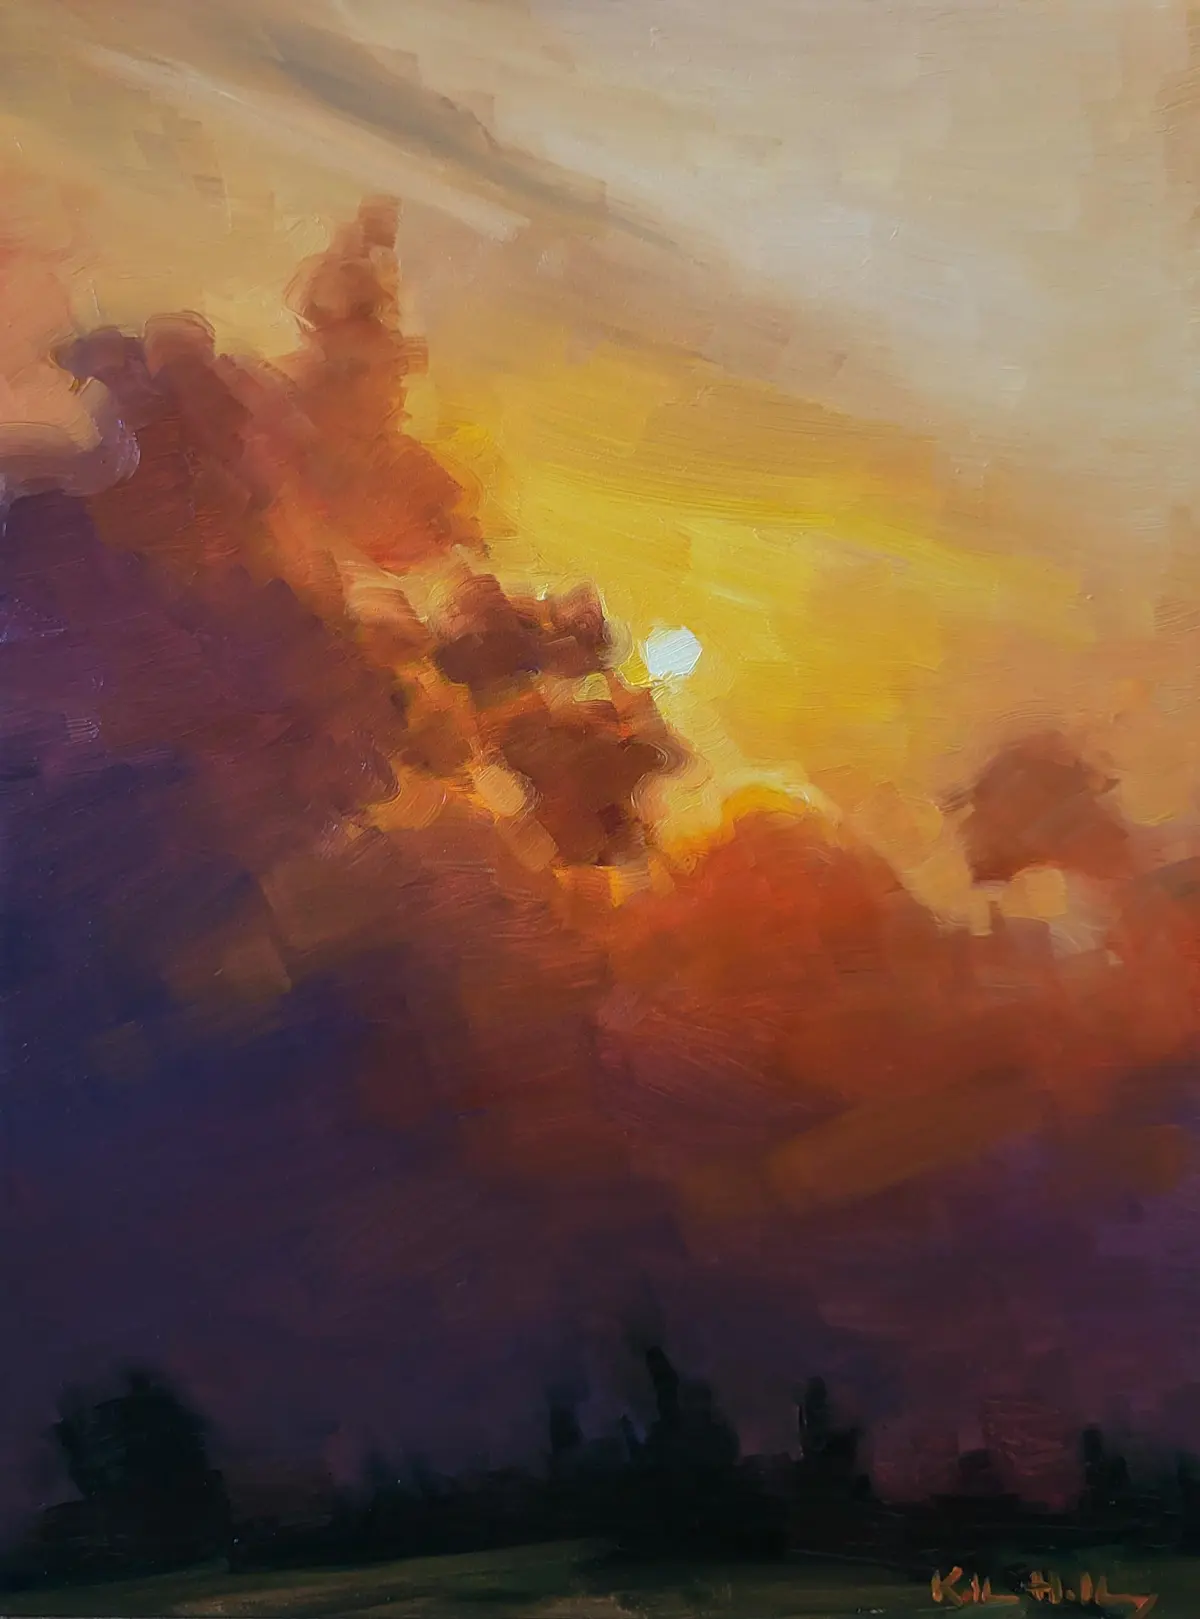
Finally, many beginners neglect the reflection of the sky in the landscape below. If you have a bright, warm horizon, ensure that some of those colors are echoed in the ground plane, such as on water or rooftops. This color harmony ties the entire painting together. By avoiding these pitfalls and focusing on the subtle interplay of light and temperature, you can create a sky that feels both expansive and grounded.
Key facts
- Use a large, flat brush to apply paint in horizontal strokes to mimic the natural movement of the atmosphere.
- Mix a wide range of values, as the sky is rarely a single shade of blue and often shifts toward violet or gray near the horizon.
- Apply the "rule of thirds" by placing the horizon line either one-third from the bottom or top of the canvas to create a balanced composition.
- Work from the darkest areas of the sky toward the lightest, typically moving from the top zenith down to the horizon.
- Use a limited palette of ultramarine blue, cerulean blue, titanium white, and a touch of alizarin crimson to achieve realistic atmospheric depth.
- Avoid over-blending your brushstrokes, as retaining visible texture adds energy and prevents the sky from looking like a flat, plastic surface.
The bottom line
Painting the sky requires a thoughtful balance of color temperature and value. By observing the subtle shifts from the deep, cool zenith to the warm, pale horizon, you can create a convincing sense of space. Focus on using broad, confident strokes and avoid the temptation to over-blend. With practice, these techniques will help you capture the vast, luminous quality of the atmosphere on your canvas.
People also ask
Should I paint the clouds before or after the sky?
Most painters prefer to block in the sky color first and then layer the clouds on top while the paint is still wet. This "wet-on-wet" technique allows the edges of the clouds to soften naturally into the background.
Why does my sky look muddy when I mix colors?
Muddy colors often result from over-mixing or using too many pigments at once. Try to keep your mixtures clean by using a palette knife to combine colors rather than overworking them with a brush.
How do I create the illusion of distance in a sky?
You can create depth by making the sky color warmer and lighter as it approaches the horizon line. This simulates the effect of atmospheric perspective, where particles in the air obscure distant views.
What is the best way to clean brushes between sky colors?
Wipe excess paint off with a lint-free rag before dipping the brush into a small amount of odorless mineral spirits. Ensure the brush is completely dry before picking up a new color to avoid thinning your paint too much.
Can I use black to darken my sky colors?
It is generally better to avoid pure black, as it can make the sky look flat or dirty. Instead, create a deep, rich dark by mixing ultramarine blue with burnt umber or alizarin crimson.
How do I prevent my sky from drying too slowly?
Use a fast-drying medium like Liquin or a tiny amount of cobalt siccative to speed up the process. Alternatively, paint in thin layers, as thick impasto applications will take significantly longer to cure.
This answer was created with the help of AI research tools and reference sources. Spotted an error? Let us know — we correct mistakes quickly. See our editorial policy.