How do you photograph cityscapes?
Short answer
Photographing cityscapes requires a stable tripod, a wide-angle lens, and precise timing during the "blue hour." By shooting at low ISO settings and using a small aperture, you capture maximum detail and depth. Focus on composition, leading lines, and the interplay of artificial lights to create compelling, professional-grade urban imagery.
On this page
What equipment is needed for cityscape photography?
To achieve sharp, high-quality cityscapes, a sturdy tripod is the most essential piece of equipment. Because you will often shoot in low-light conditions with long shutter speeds, any camera movement will result in blurry images. A remote shutter release or the camera’s built-in self-timer is also necessary to prevent vibrations caused by pressing the shutter button manually.
For lenses, a wide-angle lens (typically between 16mm and 35mm on a full-frame camera) is ideal for capturing expansive skylines and narrow streets. However, a telephoto lens can be useful for isolating specific architectural details or compressing the distance between buildings. Regardless of the lens, ensure it has a high-quality glass element to minimize lens flare when shooting directly into streetlights or building windows.
- A heavy-duty tripod with a reliable ball head.
- A wide-angle lens for broad perspectives.
- A remote shutter release or cable.
- A microfiber cloth to keep the front lens element clean.
- A circular polarizer to reduce glare on glass-fronted buildings.
How to choose the best time for city photography?
The most visually striking cityscapes are captured during the "blue hour," which occurs shortly after sunset or just before sunrise. During this time, the sky retains a deep blue hue that provides a perfect balance against the warm, artificial glow of streetlights and office windows. Shooting at night can be rewarding, but capturing the scene while there is still some ambient light prevents the sky from appearing as a flat, featureless black void.
If you choose to shoot during the day, look for overcast conditions to avoid harsh shadows and high-contrast highlights. Bright, direct sunlight often creates deep shadows that lose detail in the architecture, making the image appear cluttered. If you must shoot in midday sun, consider using a neutral density filter to allow for longer exposures, which can blur moving traffic and create a sense of motion within the static urban environment.
- Arrive at your location at least 30 minutes before sunset to scout compositions.
- Monitor the weather for clouds, as they add texture and color to the sky.
- Check local sunrise and sunset tables to plan your arrival time precisely.
How to compose a professional cityscape?
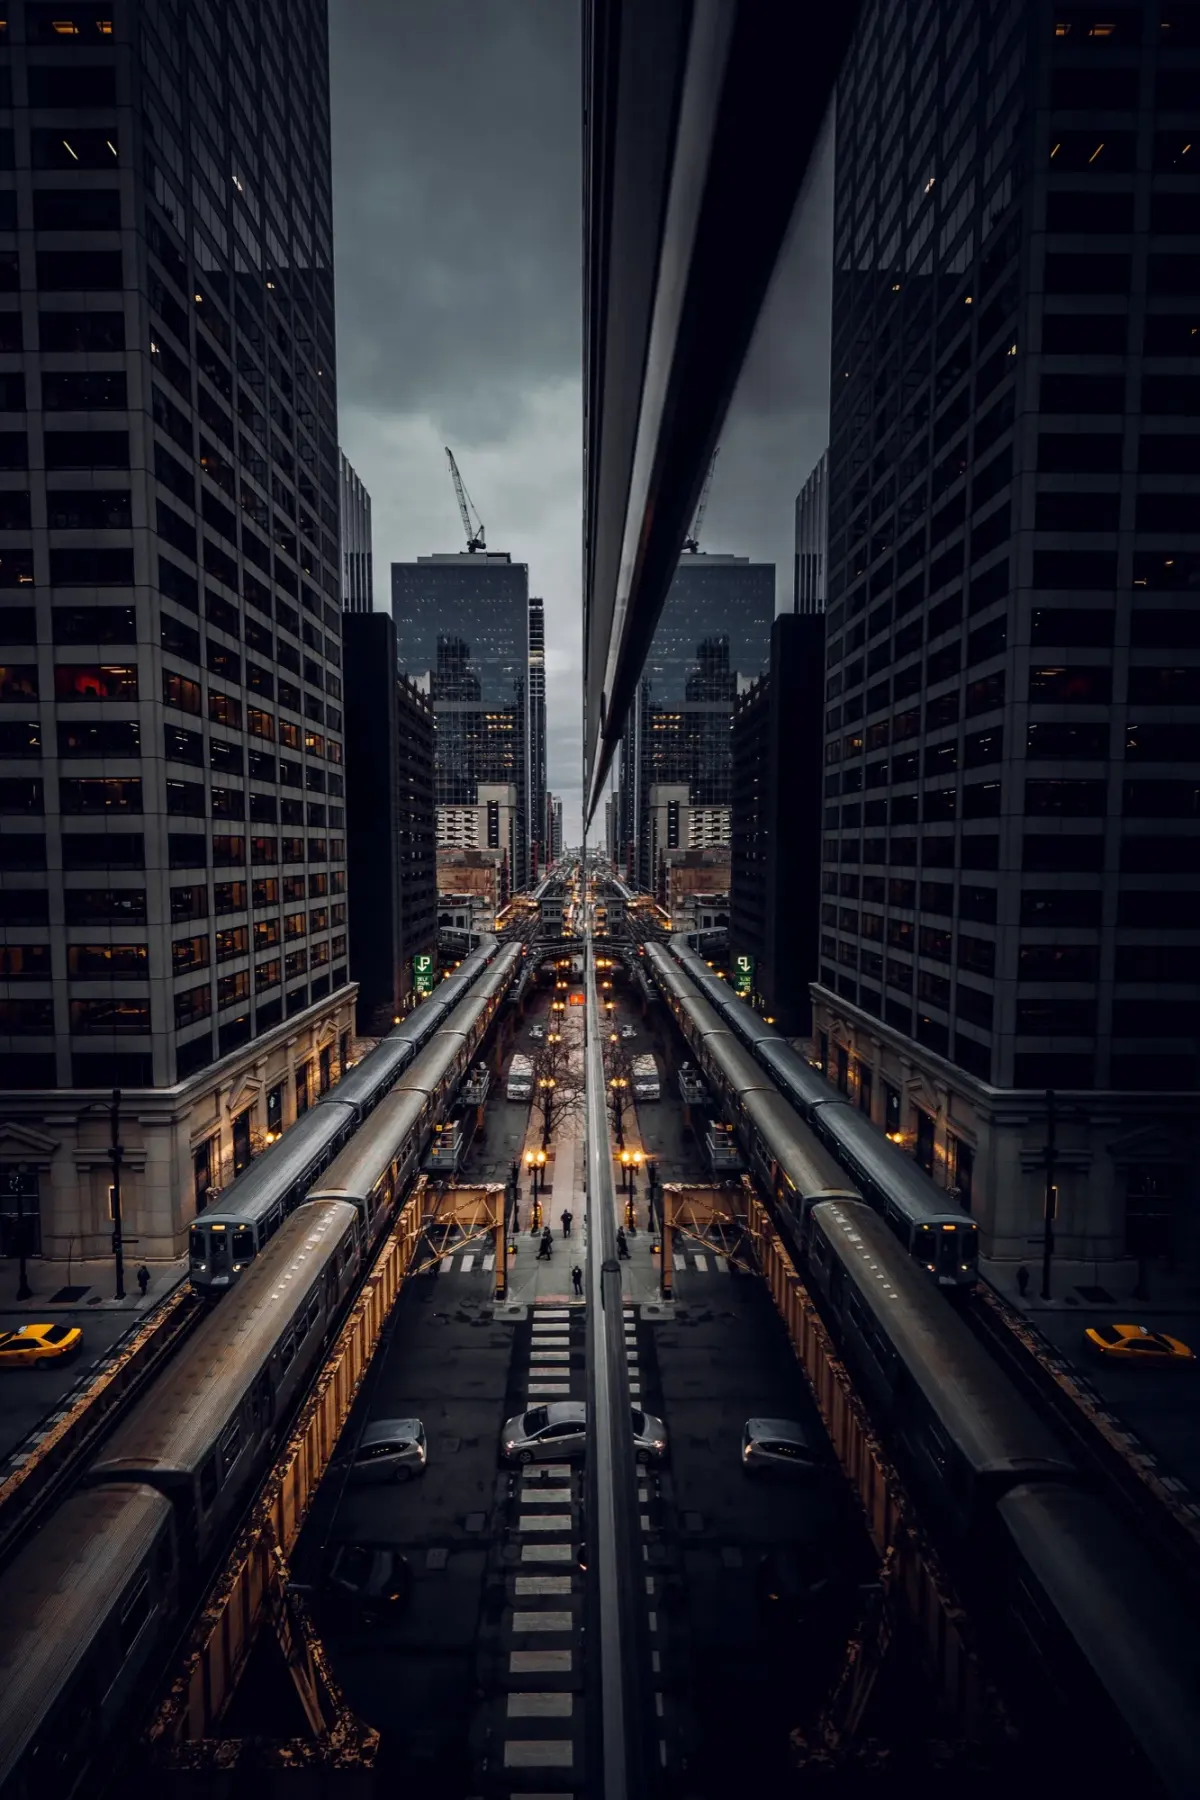
Composition is the foundation of a great cityscape. Utilize leading lines—such as roads, bridges, or rows of buildings—to draw the viewer’s eye toward the main subject of your frame. Incorporating a foreground element, such as a park bench, a statue, or a river, adds depth and scale to the image, preventing it from appearing two-dimensional and disconnected.
The rule of thirds is a helpful guideline for positioning the horizon line. If the sky is particularly dramatic, place the horizon on the lower third line to emphasize the clouds. If the architecture is the primary focus, place the horizon on the upper third line. Always ensure your camera is perfectly level, as crooked buildings can make an otherwise excellent photograph look amateurish and distracting to the viewer.
- Identify a strong focal point, such as a major landmark or skyscraper.
- Align the camera so the horizon is perfectly horizontal.
- Use foreground interest to create a sense of depth.
- Experiment with different heights, such as crouching low or finding an elevated vantage point.

What are the best camera settings for cityscapes?
For the sharpest results, set your camera to manual mode and use the lowest native ISO setting, typically ISO 100 or 64. This minimizes digital noise, ensuring that the dark areas of your image remain clean and detailed. Use an aperture between f/8 and f/11, as this range provides the best balance between sharpness and depth of field, keeping both near and distant buildings in focus.
Because you are using a low ISO and a narrow aperture, your shutter speed will likely be quite slow. This is why the tripod is non-negotiable. If you are shooting moving traffic, a shutter speed of several seconds will turn headlights and taillights into beautiful light trails. Always shoot in RAW format, as this provides the maximum amount of data for editing, allowing you to recover details in shadows and highlights later.
- Set your camera to manual mode (M).
- Keep ISO at 100 to avoid sensor noise.
- Use f/8 to f/11 for maximum sharpness across the frame.
- Use the histogram on your camera screen to ensure you are not clipping highlights.
Common mistakes when photographing cities?
One of the most frequent errors is failing to account for lens flare when shooting toward bright light sources. While some flare can be artistic, excessive light scattering can wash out contrast and create distracting artifacts. Always remove protective filters if they are not high-quality, as they can cause ghosting when pointed at bright city lights. Additionally, many beginners forget to turn off image stabilization when the camera is mounted on a tripod, which can actually cause blur.
Another mistake is rushing the process. Cityscape photography requires patience, especially when waiting for the perfect light or for a crowd to clear from a popular viewpoint. Do not be afraid to revisit the same location multiple times under different weather conditions. Finally, avoid over-processing your images; high-contrast HDR effects can look artificial and detract from the natural beauty of the urban environment. Focus on subtle adjustments to contrast and color balance to maintain a realistic, professional aesthetic.
Key facts
- Use a sturdy tripod to ensure sharp images during long exposures at night.
- Shoot during the "golden hour," the period shortly after sunrise or before sunset, for soft, warm light.
- Set your aperture between f/8 and f/11 to maintain a deep depth of field where everything remains in focus.
- Use a wide-angle lens, typically between 16mm and 35mm, to capture the vast scale of urban architecture.
- Keep your ISO as low as possible, ideally at 100, to minimize digital noise and maintain image clarity.
- Utilize a polarizing filter to reduce glare on glass buildings and enhance the contrast of the sky.
The bottom line
Capturing compelling cityscapes requires a blend of technical precision and artistic timing. By utilizing a stable tripod, shooting during the soft light of golden or blue hours, and maintaining a deep depth of field, you can transform ordinary streets into dramatic portraits of urban life. Focus on composition and light, and remember that patience is often the most important tool in any photographer’s kit for success.
People also ask
What is the best time of day to photograph cityscapes?
The best time is during the "blue hour," which occurs just after the sun sets or before it rises. At this time, the sky turns a deep blue that balances perfectly with the artificial lights of the city.
Should I shoot in RAW or JPEG format?
You should always shoot in RAW format. This captures all the image data from the sensor, allowing you to recover details in shadows and highlights during post-processing.
How do I keep my vertical lines straight in building photography?
Use a tripod with a built-in spirit level to ensure your camera is perfectly horizontal. If lines still appear tilted, use the perspective correction tools in editing software to align them.
What is the benefit of using a remote shutter release?
A remote shutter release prevents camera shake caused by physically pressing the button. This is essential for long exposures where even the slightest vibration can blur the image.
How can I make a busy city street look empty?
Use a neutral density filter to block light, allowing for an exposure time of 30 seconds or longer. Moving people and cars will blur into invisibility, leaving only the static architecture.
How do I handle high-contrast scenes with bright lights and dark shadows?
Use exposure bracketing to take multiple shots at different settings. You can then merge these images to create a high dynamic range (HDR) photo that preserves detail in both extremes.
This answer was created with the help of AI research tools and reference sources. Spotted an error? Let us know — we correct mistakes quickly. See our editorial policy.