How do you photograph sports?
Short answer
Photographing sports requires a fast shutter speed to freeze motion, a wide aperture to isolate the subject, and anticipation of the action. Use a telephoto lens to get close to the play, set your camera to continuous autofocus mode, and always keep your finger ready on the shutter release button.
On this page
How to choose the right camera settings for sports
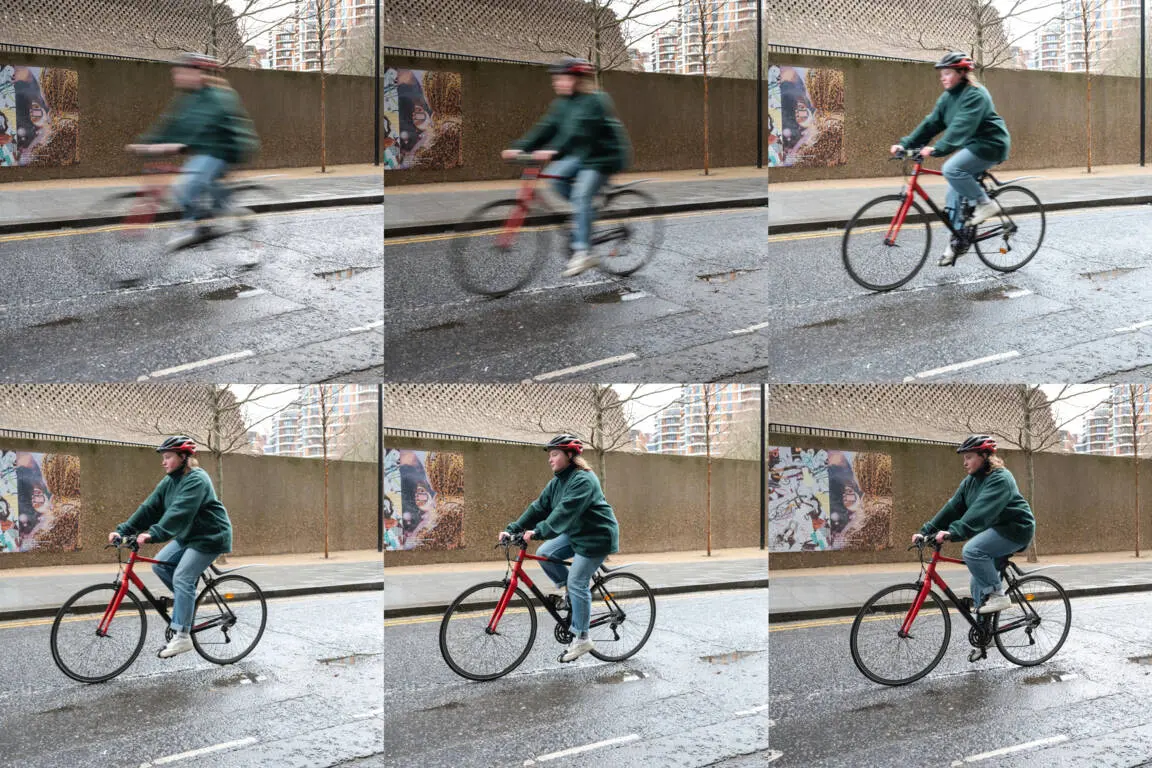
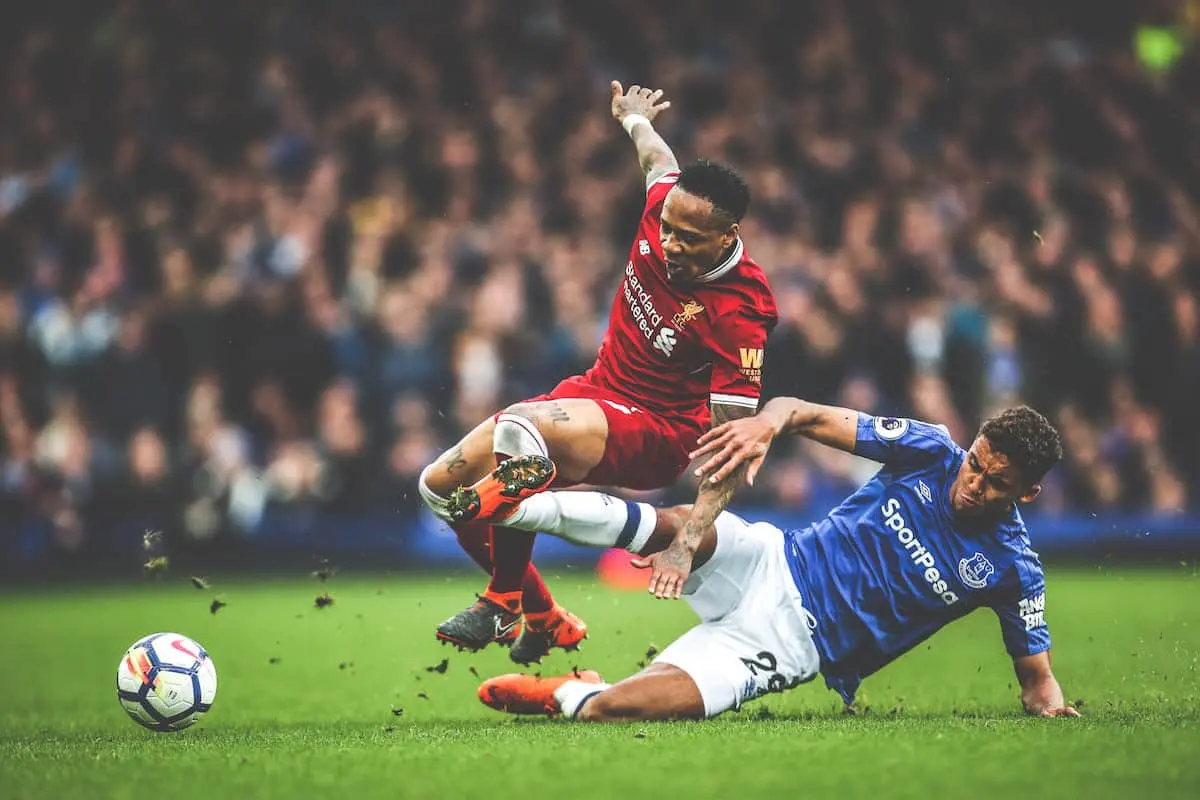
To capture sharp images of moving athletes, you must prioritize a fast shutter speed. Start by setting your camera to Shutter Priority mode (Tv or S) and selecting at least 1/1000th of a second for most outdoor sports. If you are shooting indoor sports with limited lighting, you may need to increase your ISO to 3200 or higher to maintain that speed without underexposing your image.
A wide aperture, such as f/2.8, is ideal because it allows more light into the sensor and creates a shallow depth of field. This blurs the background, ensuring the athlete remains the focal point of the composition. You should also switch your camera to continuous autofocus (AI Servo on Canon or AF-C on Nikon) to track subjects as they move toward or away from you.
- Set shutter speed to 1/1000s or faster.
- Select the widest aperture available on your lens.
- Enable continuous autofocus mode.
- Use a high burst rate (frame rate) to capture multiple images per second.
Best lenses for sports photography
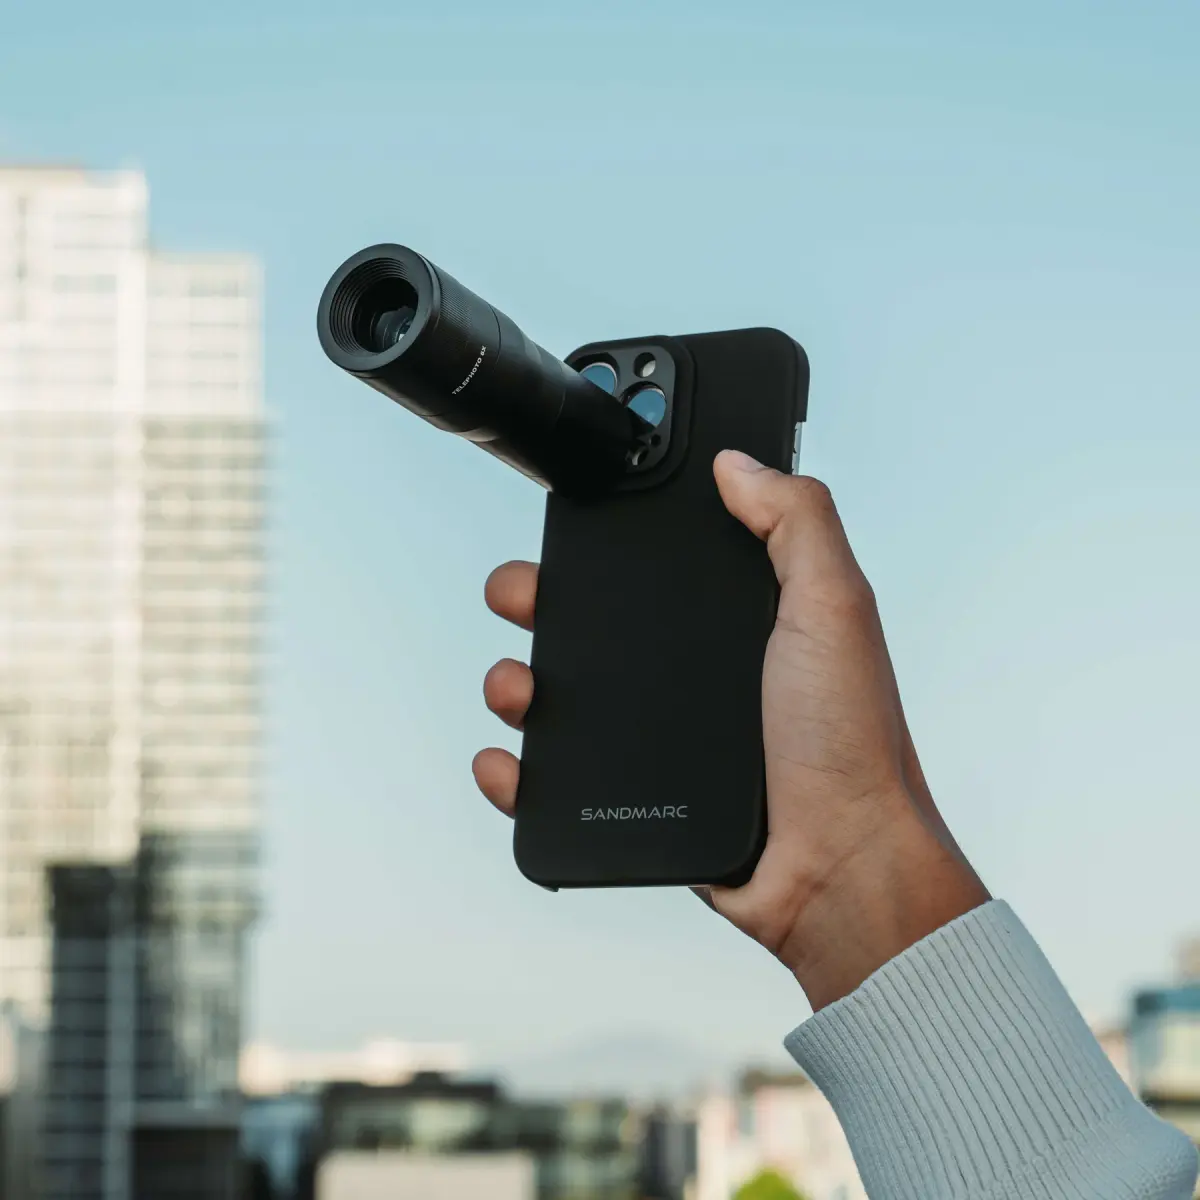
The most essential tool for a sports photographer is a telephoto lens. A focal length of at least 200mm is typically required to capture action from the sidelines or the stands. Professional photographers often use 70-200mm f/2.8 lenses for versatility, or 400mm prime lenses when they need to reach deep into the field. These lenses provide the compression needed to make athletes stand out from the busy stadium background.
While zoom lenses offer flexibility, prime lenses often provide superior sharpness and better performance in low-light conditions. If you are just starting, a 70-300mm variable aperture lens is a cost-effective way to learn the ropes. Regardless of the lens, ensure it has a fast autofocus motor, as this significantly impacts your ability to track erratic movements during a game.
- 70-200mm f/2.8: The industry standard for sideline versatility.
- 100-400mm: Excellent for daytime outdoor sports with good reach.
- 400mm f/2.8: The professional choice for indoor arenas and night games.
How to anticipate the action
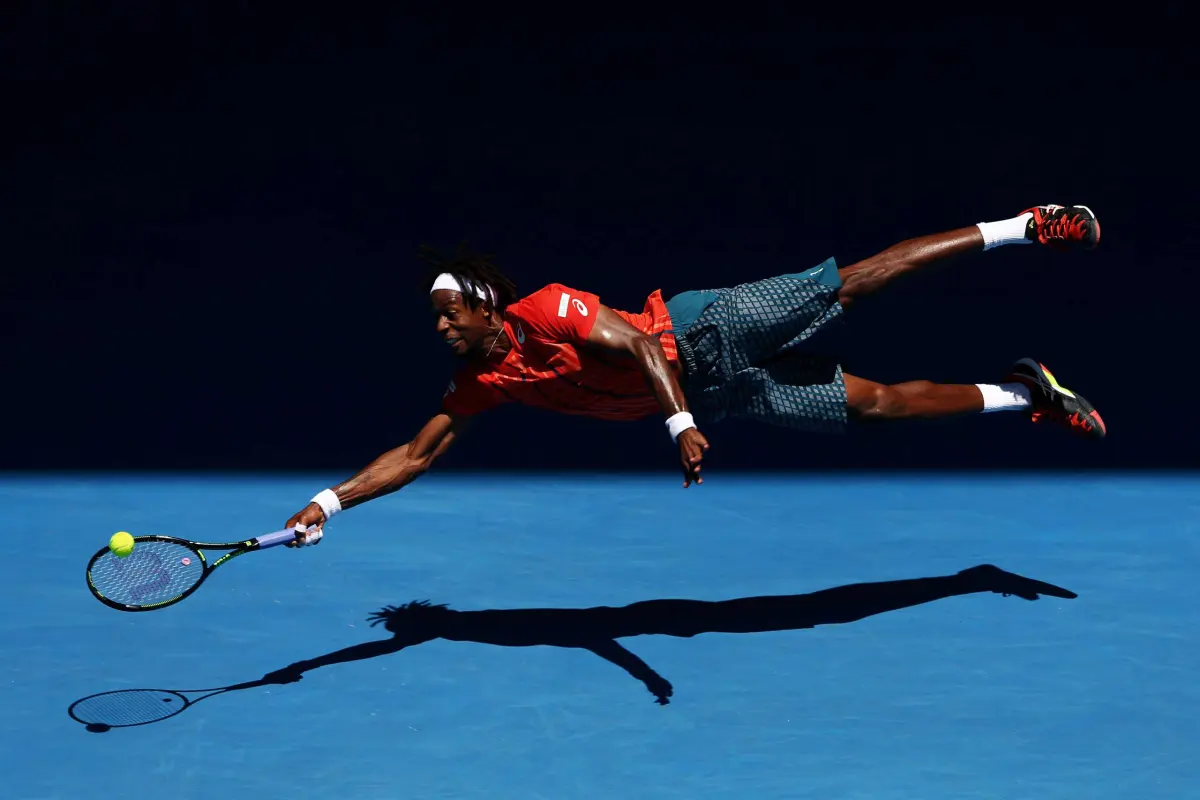
Great sports photography is less about reaction time and more about anticipation. You must understand the rules of the sport you are covering to predict where the ball or the athlete will go next. If you are photographing a soccer match, focus on the striker’s eyes and body language rather than just following the ball. By watching the game flow, you can frame your shot before the peak moment of action occurs.
Positioning is equally critical to capturing the best angles. Avoid shooting from the middle of the field where you are likely to be blocked by players or officials. Instead, move to the corners or behind the goal line to capture facial expressions and the intensity of the competition. Always keep both eyes open—one through the viewfinder and one scanning the field—to stay aware of plays developing outside your current frame.
Common mistakes when photographing sports
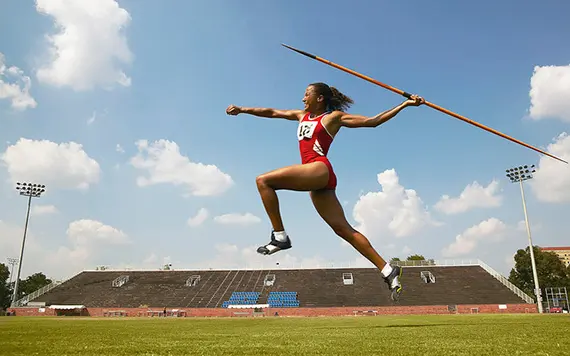
One of the most frequent errors is failing to check the background before taking a shot. A beautiful photo of a runner can be ruined by a bright trash can or a distracting sign positioned directly behind their head. Always move slightly to the left or right to clean up your background and ensure the athlete is framed against a neutral or blurred area of the field.
Another common mistake is relying too much on the camera's internal flash. In most professional sports venues, flash is prohibited because it distracts the players and interferes with their performance. Furthermore, internal flashes are rarely powerful enough to reach across a large field. Instead, rely on high-quality lenses with wide apertures and increase your camera's ISO settings to compensate for the lack of light during evening or indoor events.
- Shooting from too far away without a telephoto lens.
- Ignoring the background, leading to cluttered compositions.
- Using flash in professional or indoor settings.
- Failing to clear your memory card before the event starts.
How to edit and organize sports photos
After the game, you will likely have hundreds or even thousands of images to sort through. Start by deleting out-of-focus shots and images where the athlete's eyes are closed or the composition is awkward. Use software like Adobe Lightroom or Photo Mechanic to quickly tag your best photos. Speed is essential if you are working on a deadline, so develop a consistent workflow for importing, culling, and exporting your images.
When editing, focus on minor adjustments to exposure, contrast, and white balance. Sports photography should look natural, so avoid heavy filters or excessive saturation that can make skin tones look artificial. Crop your images to remove unnecessary space, but be careful not to lose too much resolution. By maintaining a clean and professional look, you ensure that your images effectively tell the story of the event and the emotion of the athletes involved.
Key facts
- Use a shutter speed of at least 1/1000th of a second to freeze fast-moving athletes and eliminate motion blur.
- Set your camera to continuous autofocus mode, often labeled as AF-C or AI Servo, to track subjects as they move toward or away from you.
- Use a lens with a wide aperture, such as f/2.8, to isolate the athlete from the background and allow more light into the sensor.
- Shoot in burst mode, capturing multiple frames per second, to ensure you catch the peak moment of action like a ball hitting a bat.
- Position yourself low to the ground to make athletes appear more heroic and to create a cleaner, less distracting background.
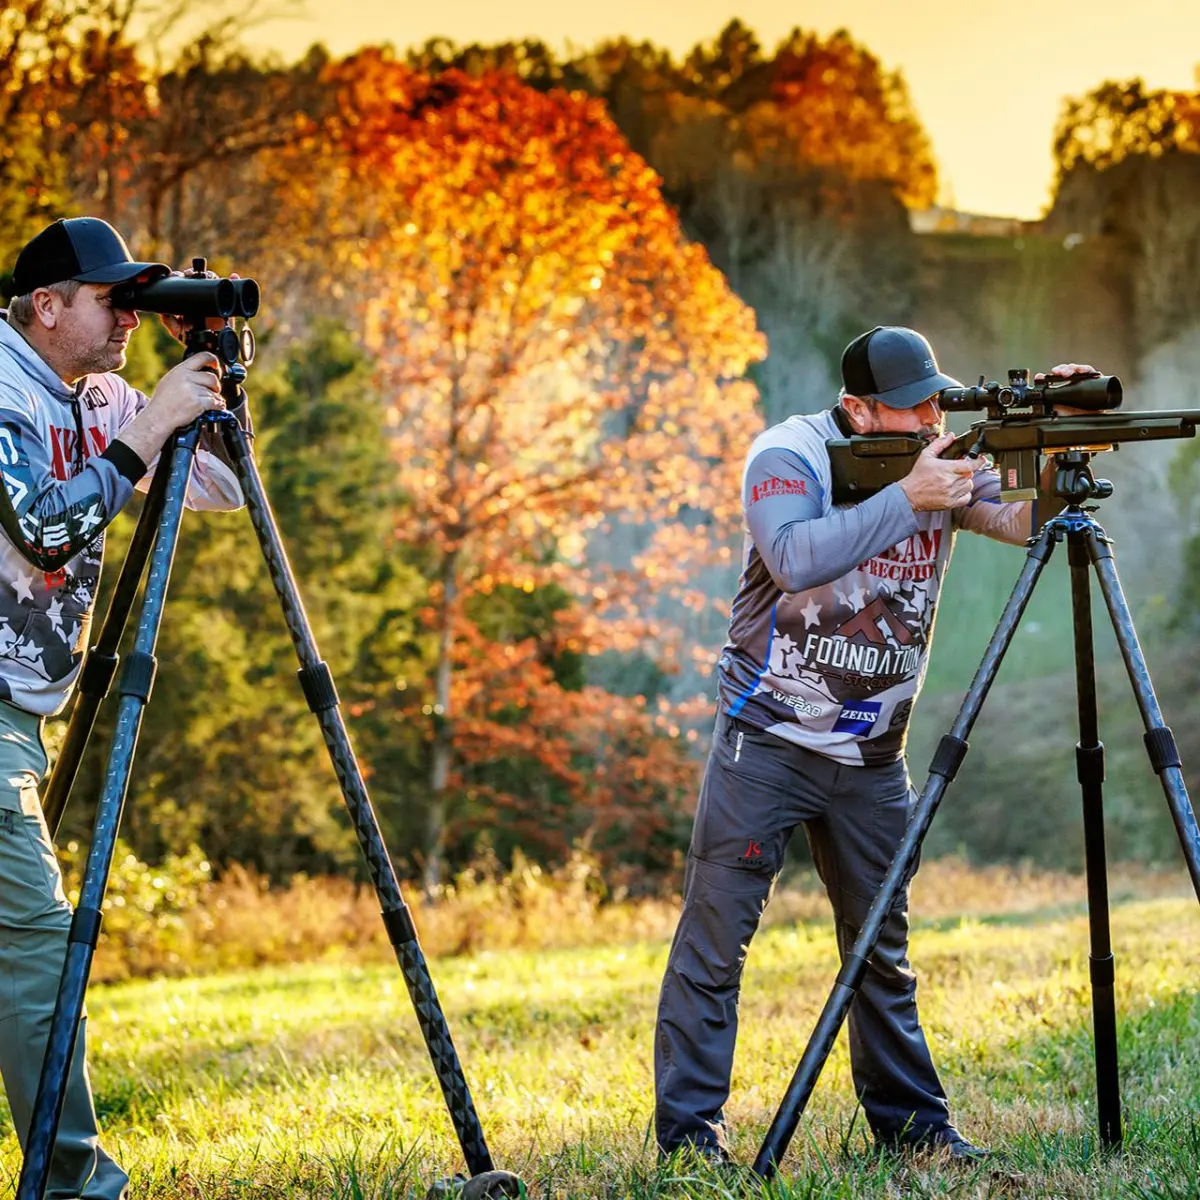
- Use a monopod to stabilize heavy telephoto lenses, which reduces fatigue and prevents camera shake during long matches.
The bottom line
Successful sports photography relies on mastering the relationship between shutter speed, aperture, and autofocus tracking. By prioritizing a fast shutter speed to freeze motion and using continuous focus to maintain sharpness, you can capture compelling, professional-looking images. Practice anticipating the peak of the action rather than merely reacting to it, and always aim to capture the emotion of the athletes to tell a complete story.
People also ask
What is the best camera setting for indoor sports?
You should use a high ISO setting, typically between 1600 and 6400, to compensate for poor lighting in gymnasiums. Keep your aperture as wide as possible and use a shutter speed of at least 1/500th of a second to avoid dark, blurry images.
Should I use manual or automatic focus?
Always use autofocus for sports because the action happens too quickly for manual adjustments. Modern cameras have sophisticated tracking systems that can lock onto an athlete's eyes or body to keep them sharp throughout a sequence.
How do I get better compositions in sports photography?
Leave "lead room" in your frame by placing the athlete on one side and leaving space in the direction they are moving. This technique gives the viewer a sense of where the subject is going and makes the image feel more dynamic.
What is the most common mistake beginners make?
The most frequent error is using a shutter speed that is too slow, resulting in blurry subjects. Beginners often rely on automatic modes that fail to prioritize the high speeds necessary to stop fast-paced athletic movement.
Why are my sports photos often grainy?
Grain, or digital noise, occurs when you set your ISO too high in low-light conditions. While modern cameras handle noise well, you should try to find the best balance between a fast shutter speed and the lowest ISO possible.
Do I need a professional telephoto lens?
While a 70-200mm f/2.8 lens is the industry standard for most sports, you can start with a 70-300mm zoom lens. The most important factor is having enough reach to fill the frame with your subject from the sidelines.
This answer was created with the help of AI research tools and reference sources. Spotted an error? Let us know — we correct mistakes quickly. See our editorial policy.