How do you photograph jewelry?
Short answer
Photographing jewelry requires soft, diffused lighting, a macro lens, and a stable tripod to capture intricate details. Use a clean, neutral background to emphasize the piece, and adjust your aperture to ensure the entire item remains in focus. Proper post-processing enhances clarity, removes dust, and ensures accurate color representation for professional results.
On this page
How to set up lighting for jewelry photography
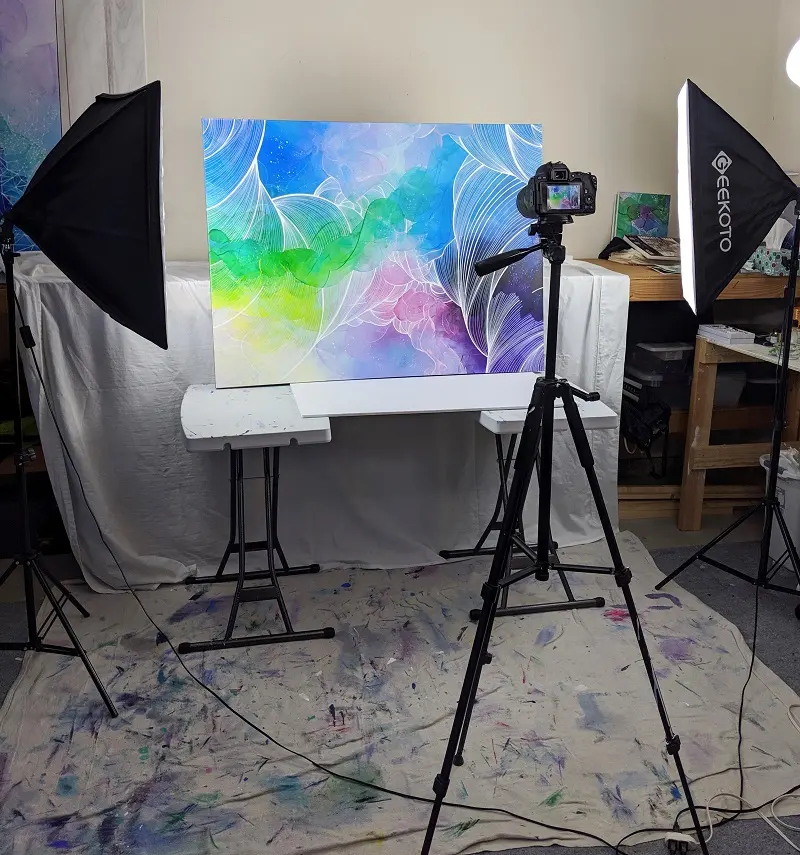
Lighting is the most critical element when photographing jewelry because metal and gemstones are highly reflective. Avoid using direct camera flashes, as they create harsh highlights and distracting glares. Instead, use soft, diffused light sources such as a light tent or a softbox positioned at a 45-degree angle to the object. This technique softens shadows and creates a professional, even glow across the surface of the piece.
If you are working on a budget, you can create a DIY light box using white translucent fabric or parchment paper stretched over a frame. Place two LED lamps on either side of the box to ensure consistent illumination. For reflective surfaces like gold or silver, place small white foam boards around the jewelry to bounce light back into the shadows. This setup helps reveal the texture and craftsmanship of the item without overwhelming the sensor with intense, concentrated reflections.
Best camera settings for jewelry photography
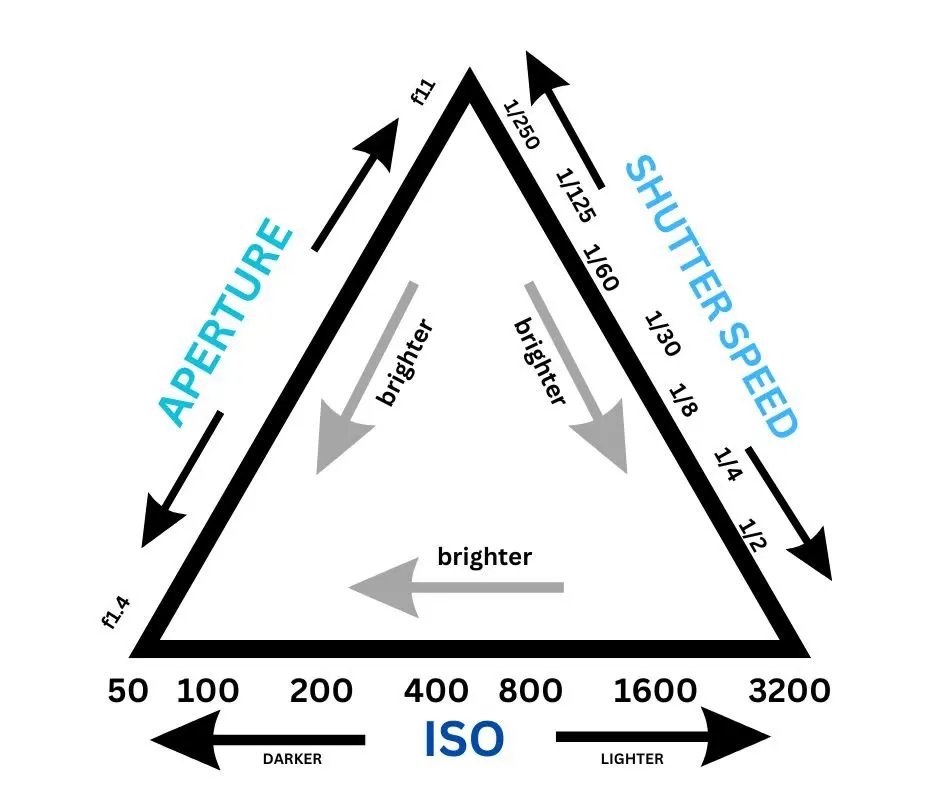
Achieving sharp, high-resolution images requires specific manual camera settings rather than relying on automatic modes. Start by setting your camera to a low ISO, typically between 100 and 200, to minimize digital noise and maintain image clarity. Use a narrow aperture, such as f/11 or f/16, to ensure that the entire piece of jewelry remains in sharp focus from front to back. Because narrow apertures limit the amount of light entering the lens, you must use a tripod to prevent motion blur during longer exposures.
- Set your camera to Aperture Priority mode or Manual mode.
- Use a macro lens with a focal length of 60mm to 100mm to capture fine details.
- Utilize a remote shutter release or the camera’s self-timer function to eliminate vibrations.
- Adjust your white balance manually to match your light source, ensuring that metals appear in their true color.
How to choose the right background and props
The background should never compete with the jewelry for the viewer's attention. A seamless white or light gray background is the industry standard for e-commerce because it highlights the product’s design and color. If you prefer a more artistic approach, use textured surfaces like slate, velvet, or natural wood, but ensure the colors remain neutral. Avoid busy patterns or vibrant colors that distract from the intricate details of the gemstone or metalwork.
When styling your shots, consider the scale of the object. Use simple, elegant props like jewelry stands, silk fabric, or acrylic blocks to elevate pieces and provide a sense of dimension. However, keep the composition clean and uncluttered. The goal is to allow the jewelry to stand out as the primary subject. If you are photographing a ring, use a small amount of jeweler’s wax or a clear acrylic ring holder to keep it upright and perfectly positioned for the lens.
Common mistakes when photographing jewelry
One of the most frequent errors is failing to clean the jewelry before the shoot. Fingerprints, dust, and lint are magnified significantly under macro lenses and are difficult to remove during the editing process. Always use a microfiber cloth to wipe down the piece immediately before placing it on the set. Additionally, neglecting to check your focus is a common pitfall. Even a slight misalignment can result in a blurry image, so always zoom in on your digital display to verify that the focal point is sharp.
- Forgetting to turn off the camera's image stabilization when using a tripod, which can cause blur.
- Using mixed light sources, such as daylight from a window combined with artificial indoor bulbs, which creates inconsistent color casts.
- Over-editing images with high contrast, which can make gemstones look artificial or lose their natural luster.
- Failing to capture multiple angles, which prevents the customer from understanding the full design of the piece.
Why post-processing is necessary for jewelry
Post-processing is the final step in creating professional-grade jewelry images. Even with perfect lighting, your photos will likely require minor adjustments to contrast, brightness, and color saturation. Use editing software to remove small specks of dust or stray hairs that were invisible to the naked eye during the shoot. You may also need to use "cloning" tools to remove reflections of the camera or the photographer from the polished metal surfaces of the jewelry.
When editing, focus on color accuracy. Gemstones and precious metals must look as close to reality as possible to build trust with potential buyers. Adjust the white balance to ensure whites look clean and not yellow or blue. Finally, sharpen the image slightly to bring out the fine details of the metalwork or the facets of a diamond. By dedicating time to these subtle refinements, you transform a raw photograph into a polished, high-quality image that effectively showcases the beauty and value of your jewelry.
Key facts
- Use a macro lens with a focal length between 60mm and 105mm to capture fine details without distortion.
- Set your aperture between f/8 and f/11 to ensure the entire piece of jewelry remains in sharp focus.
- Utilize a tripod to eliminate camera shake, which is essential for the long exposures required by low ISO settings.
- Place jewelry on a clean, non-reflective surface like matte acrylic or velvet to prevent unwanted glare.
- Use soft, diffused lighting, such as a light tent or softbox, to minimize harsh reflections on metallic surfaces.
- Clean every piece thoroughly with a microfiber cloth before shooting to remove fingerprints and dust particles.
The bottom line
Photographing jewelry requires precision, patience, and control over lighting. By utilizing a macro lens, a stable tripod, and soft, diffused light, you can capture the intricate details and textures that define high-quality pieces. Remember that preparation is just as important as the equipment; cleaning your subject and carefully managing reflections will save you significant time in post-production, resulting in professional, crisp images that highlight the jewelry’s beauty.
People also ask
What is the best lighting setup for jewelry photography?
Soft, diffused light is essential to prevent harsh highlights on polished metal and gemstones. Using a light tent or positioning light sources behind diffusion paper creates an even glow that eliminates distracting shadows.
Should I use a flash when photographing jewelry?
Avoid using a direct camera flash, as it creates intense, unsightly reflections on jewelry surfaces. If you must use flash, bounce it off a white wall or use a large softbox to diffuse the intensity.
How do I prevent reflections of the camera in the jewelry?
Position your camera further away from the subject and use a longer focal length lens to zoom in. You can also place a black card with a small hole for the lens in front of the jewelry to minimize surrounding reflections.
What is the purpose of focus stacking in jewelry photography?
Focus stacking involves taking multiple photos at different focus points and merging them during post-processing. This technique is necessary because macro photography often results in a very shallow depth of field, leaving parts of the jewelry blurry.
How can I make gemstones sparkle in photos?
Direct a small, focused light source, such as a fiber optic light or a small LED, specifically at the gemstone. This creates "fire" or scintillation within the stone that ambient diffused light cannot produce on its own.
What is the most common mistake beginners make?
The most frequent error is failing to clean the jewelry before the shoot. Microscopic dust, lint, and fingerprints become highly visible under macro magnification and are time-consuming to remove during the editing process.
This answer was created with the help of AI research tools and reference sources. Spotted an error? Let us know — we correct mistakes quickly. See our editorial policy.