What is ISO in photography?
Short answer
ISO is a camera setting that measures the sensor’s sensitivity to light. A lower ISO number, such as 100, produces the highest image quality with minimal noise, while a higher ISO number increases sensitivity, allowing for photography in low-light conditions but introducing digital grain or "noise" that can degrade overall image clarity.
On this page
What does ISO stand for in photography?
ISO stands for the International Organization for Standardization. In the context of photography, it refers to the standardized scale used to measure light sensitivity, a system that evolved from the film speed ratings established in the 20th century. Before digital sensors, photographers chose film based on its "speed," which dictated how much light was required to create an exposure. High-speed film was sensitive to light but produced a grainy texture, while low-speed film required more light but offered finer detail.
Digital cameras mimic this historical standard by adjusting the gain of the sensor’s signal. When you increase the ISO setting, the camera amplifies the electronic signal from the sensor to make the image brighter. While this allows you to shoot in dark environments without a flash, it also amplifies the background electrical interference. This interference manifests as digital noise, which appears as small, colored speckles or a gritty texture in the shadows and mid-tones of your photographs.
How to choose the right ISO setting
Selecting the correct ISO depends entirely on the lighting conditions of your environment and your creative intent. The general rule is to keep the ISO as low as possible to maintain maximum image quality. However, if your shutter speed becomes too slow to hand-hold the camera without causing blur, you must increase the ISO to compensate for the lack of light.
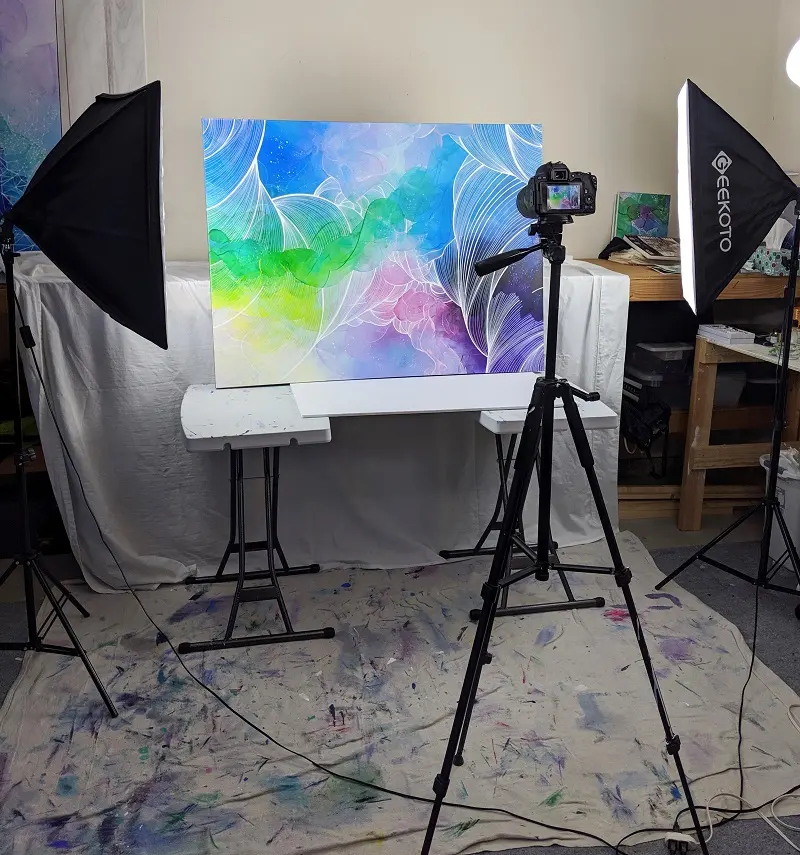
- ISO 100–200: Use these settings for bright, sunny days outdoors or when using a tripod in a studio.
- ISO 400–800: Ideal for overcast days, indoor rooms with large windows, or shaded areas.
- ISO 1600–3200: Necessary for indoor events, dimly lit restaurants, or evening street photography.
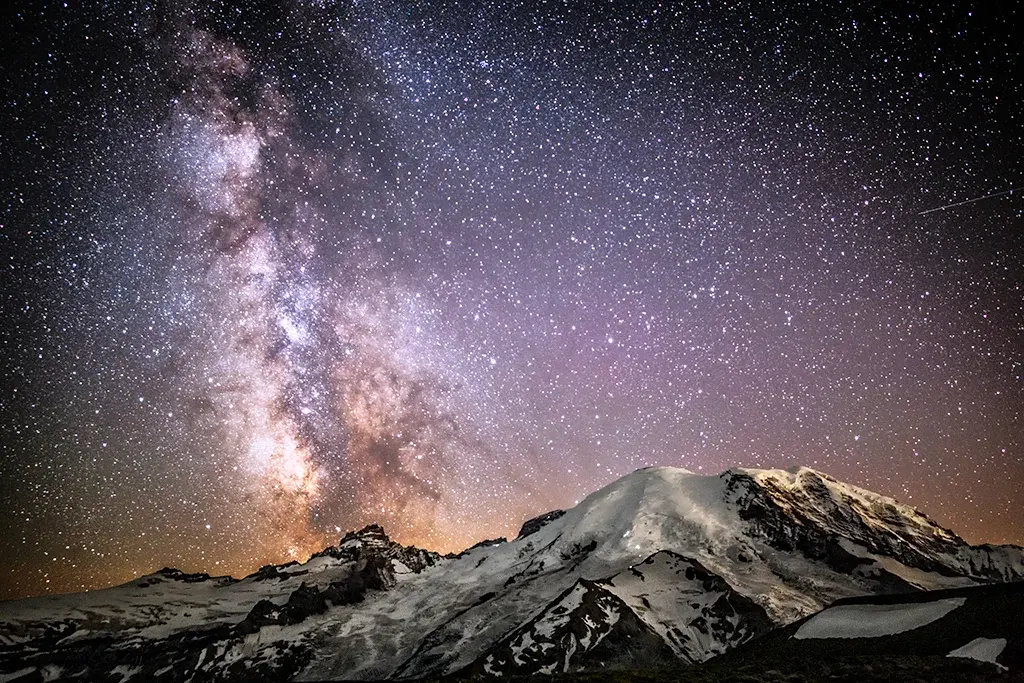
- ISO 6400 and above: Reserved for extreme low-light situations, such as night sports or indoor concerts.
Always prioritize the lowest ISO that allows for a sharp, blur-free image. If you are shooting a moving subject, you will need a faster shutter speed, which often necessitates a higher ISO to ensure the sensor receives enough light in the short time the shutter is open.
Why does high ISO cause grain?
Digital noise occurs because of the way sensors process light. At low ISO levels, the signal-to-noise ratio is high, meaning the actual light data is much stronger than the inherent electrical background noise of the sensor. As you increase the ISO, you are essentially turning up the volume on that background noise along with the light data. This results in the characteristic "grain" that digital photographers often try to avoid.
Modern camera technology has significantly improved how sensors handle high ISO settings. Full-frame cameras, which have larger sensors, generally handle high ISOs better than cameras with smaller sensors, such as those found in smartphones or entry-level models. Even with advanced technology, however, the laws of physics remain the same. If you push the ISO too high, you will inevitably lose fine detail, color accuracy, and dynamic range, leading to a flatter, less vibrant final image.
Common mistakes when using ISO
Many beginners make the mistake of leaving their camera set to "Auto ISO" without understanding the limitations. While Auto ISO is convenient, it can sometimes choose a setting that is higher than necessary, resulting in images that are grainier than they need to be. Another frequent error is failing to reset the ISO after moving from a dark environment to a bright one. Shooting in broad daylight at ISO 3200 will result in an overexposed image if your shutter speed and aperture cannot compensate for the excessive light.
- Relying solely on Auto ISO without setting a maximum limit in your camera menu.
- Forgetting to check your ISO after moving between indoor and outdoor locations.
- Assuming that post-processing software can perfectly remove all noise from a high-ISO shot.
- Using a high ISO when a tripod or a wider aperture could have provided a cleaner result.
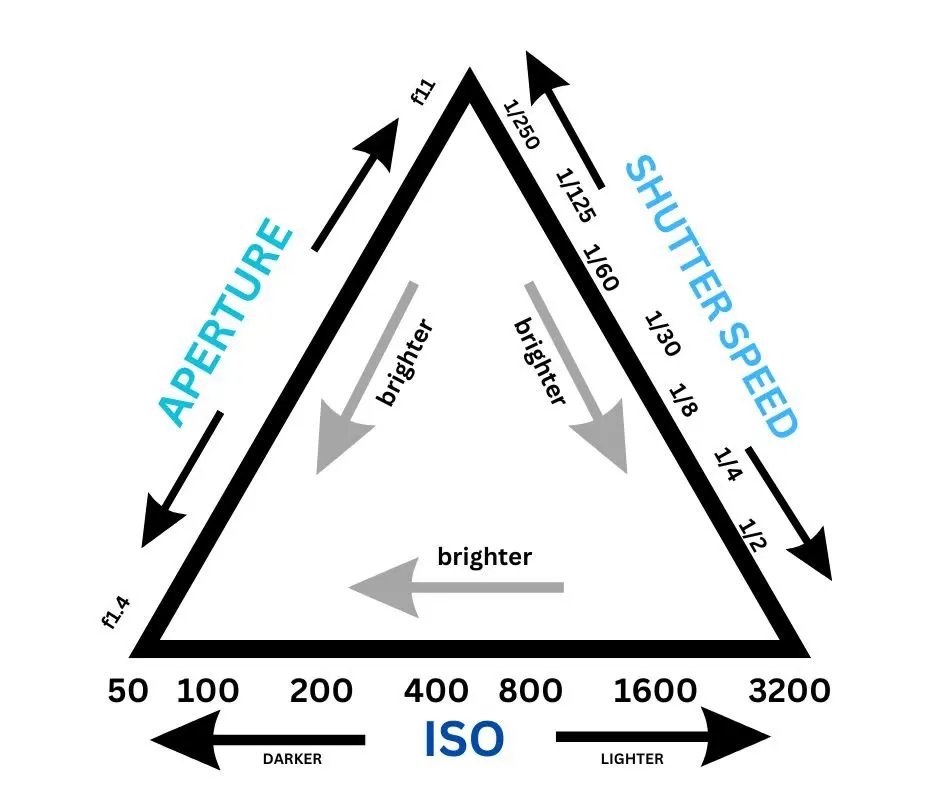
If you find your images are consistently grainy, check your ISO settings before blaming your lens or your focus. Often, a simple adjustment to your exposure triangle—balancing aperture, shutter speed, and ISO—can solve the problem immediately.
Best practices for low-light photography
When shooting in low light, the goal is to gather as much light as possible without sacrificing image quality. Beyond increasing ISO, you should try to open your lens aperture as wide as possible to let in more light. If your lens does not have a wide aperture, or if you are already at your maximum, you may need to use a slower shutter speed. However, slow shutter speeds increase the risk of motion blur caused by camera shake.
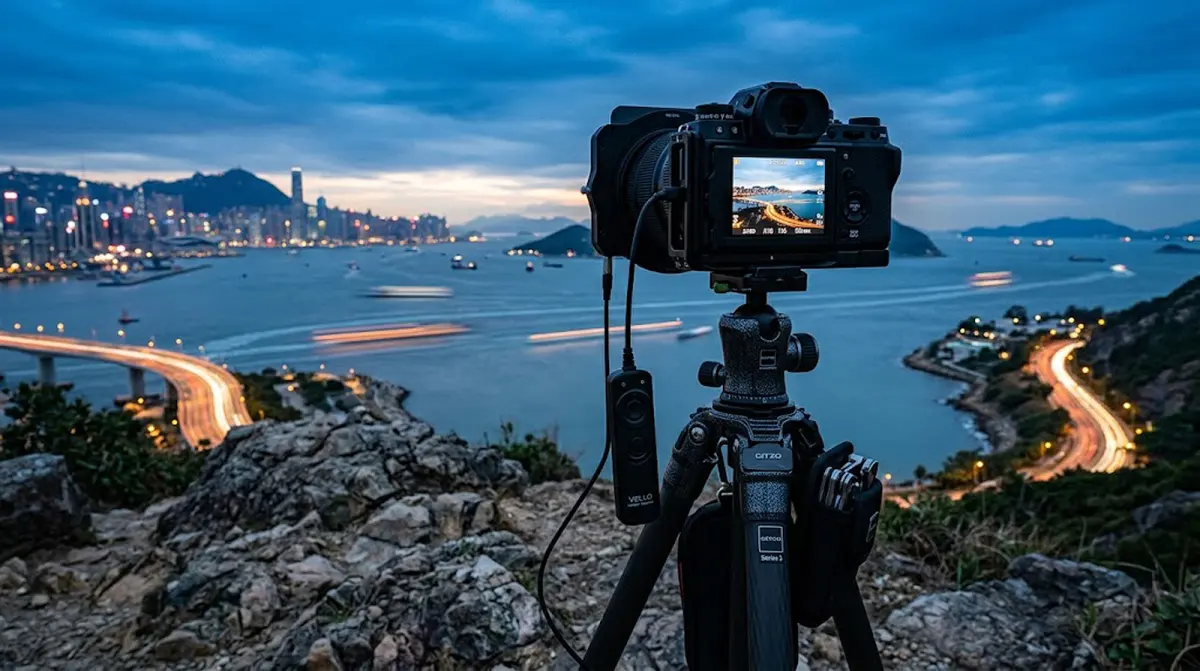
Using a tripod is the most effective way to shoot at a low ISO in dark conditions. By stabilizing the camera, you can use a very slow shutter speed—even several seconds long—without worrying about hand-held shake. This allows you to keep your ISO at 100, resulting in a crisp, noise-free image even in the middle of the night. If a tripod is not available, try leaning against a wall or resting the camera on a stable surface to minimize movement. By mastering the relationship between these three variables, you will gain full control over the technical quality of your photography.
Key facts
- ISO stands for International Organization for Standardization, which sets the sensitivity scale for digital camera sensors.
- A low ISO (e.g., 100 or 200) produces the highest image quality with minimal digital noise or grain.
- A high ISO (e.g., 3200 or 6400) allows for photography in low light but introduces visible electronic interference.
- The "exposure triangle" consists of ISO, aperture, and shutter speed; changing one often requires adjusting another to maintain balance.
- Modern cameras feature "Auto ISO," which allows the device to select the sensitivity based on available ambient light.
- Always use the lowest ISO possible for your environment to ensure the sharpest, cleanest image output.
The bottom line
ISO is a fundamental camera setting that dictates how much light your sensor captures. By mastering the balance between sensitivity and image quality, you can shoot effectively in any lighting condition. Aim for the lowest ISO possible to maintain clarity, and only increase it when shutter speed or aperture adjustments are insufficient. Understanding this tool is essential for gaining full creative control over your photographic results.
People also ask
Does a higher ISO make the camera sensor more sensitive to light?
Technically, ISO increases the gain or amplification of the signal coming from the sensor. It does not change the physical sensitivity of the sensor itself, but it allows you to capture usable images in darker conditions by boosting the signal.
What is the difference between ISO and gain?
In digital photography, ISO and gain are essentially the same concept. Gain refers to the electronic amplification of the signal, while ISO is the standardized numerical scale used to communicate that level of amplification to the photographer.
When should I avoid using a high ISO?
You should avoid high ISO settings when shooting in bright, well-lit environments or when using a tripod for long exposures. High ISOs in good light are unnecessary and will unnecessarily degrade your image quality with noise.
How does ISO affect the depth of field?
ISO does not directly change your depth of field, as that is controlled by the aperture. However, because a higher ISO allows for a smaller aperture in low light, it can indirectly influence how much of your scene remains in focus.
What is "base ISO" and why does it matter?
Base ISO is the lowest native sensitivity setting of a camera, usually 100 or 200. This setting provides the maximum dynamic range and the cleanest image quality, making it the ideal choice for studio work or landscape photography.
Can I fix noisy images caused by high ISO in post-processing?
You can reduce visible noise using editing software, but this often results in a loss of fine detail and texture. It is always better to capture a clean image at the time of shooting than to rely on software fixes later.
This answer was created with the help of AI research tools and reference sources. Spotted an error? Let us know — we correct mistakes quickly. See our editorial policy.