What is studio photography?
Short answer
Studio photography is the practice of capturing images within a controlled indoor environment, typically utilizing artificial lighting, backdrops, and specialized equipment. Unlike outdoor photography, which relies on unpredictable natural light, the studio allows photographers to manipulate every variable, ensuring consistent results for portraiture, product advertising, and high-end fashion shoots.
On this page
What equipment is needed for studio photography?
A professional studio setup revolves around the ability to control light. The primary components include a camera with manual settings, a sturdy tripod, and a lighting system. Most studios use strobes or continuous LED lights paired with modifiers like softboxes, umbrellas, or reflectors to shape the intensity and direction of the light. These tools allow the photographer to eliminate harsh shadows or create dramatic, high-contrast looks depending on the creative goal.
Beyond lighting, the physical space requires a backdrop system to provide a clean, distraction-free environment. Common materials include seamless paper rolls, muslin fabric, or collapsible pop-up screens. To manage these elements effectively, you will also need:
- A light meter to ensure accurate exposure across the frame.
- Wireless triggers to sync the camera shutter with the flash units.
- Clamps, gaffer tape, and sandbags to secure equipment and prevent accidents.
- Tethering cables to connect the camera directly to a computer for instant image review.
How to set up a home studio for beginners
Starting a studio does not require a massive warehouse; many photographers begin in a spare bedroom or garage. The most critical factor is having enough space to move your lights and subjects freely. Aim for a room at least 10 by 15 feet to allow for adequate distance between the subject and the background, which helps prevent unwanted shadows from falling onto the backdrop.
Once you have the space, focus on the "three-point lighting" technique to achieve professional results. This foundational method uses a key light as the primary source, a fill light to soften shadows, and a backlight to separate the subject from the background. Follow these steps to build your initial scene:
- Position your main light at a 45-degree angle to the subject.
- Place a fill light on the opposite side to balance the contrast.
- Set your backdrop at least four feet behind the subject to maintain depth.
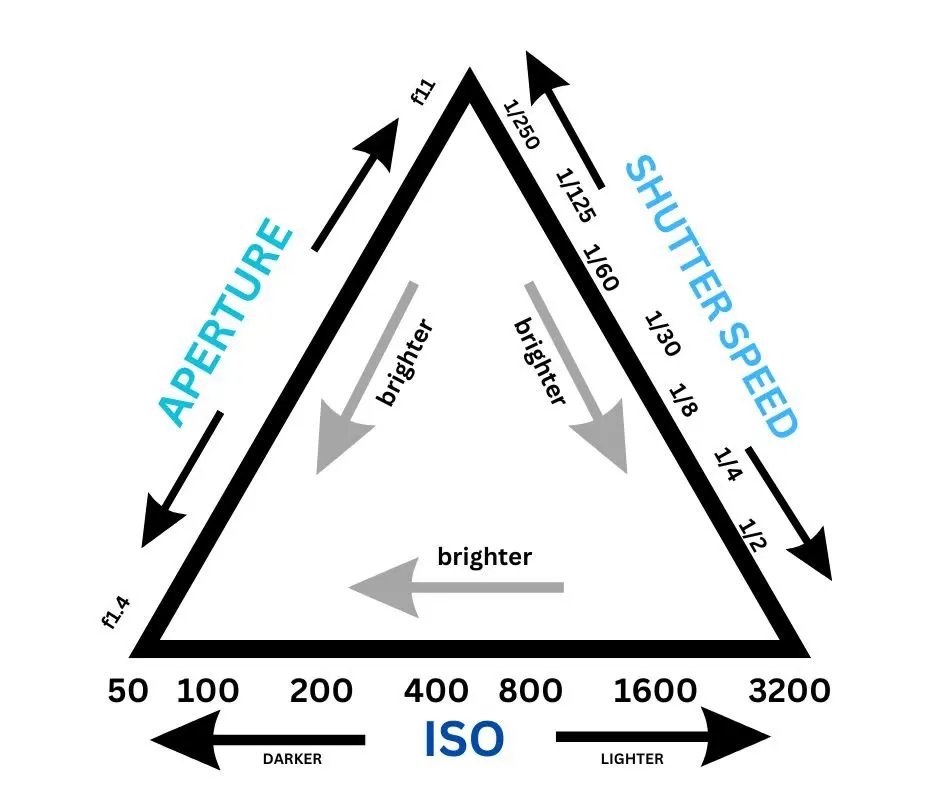
- Adjust your camera settings to a low ISO to minimize digital noise.

Why is lighting control important in photography?
The core advantage of studio photography is the total command over the illumination of a scene. In natural light settings, the sun moves constantly, and weather conditions change by the minute, making it difficult to maintain a consistent look across a series of images. In a studio, you can replicate the exact same lighting setup hours, days, or even months later, which is essential for commercial projects that require visual uniformity.
Controlling light also allows for the manipulation of mood and texture. By moving a softbox closer to a subject, you create a larger, softer light source that is flattering for skin tones. If you move the light further away or remove the modifier, the light becomes "harder," creating sharp edges and deep shadows that emphasize texture and drama. This level of precision is what separates amateur snapshots from professional-grade imagery, allowing the photographer to highlight specific details of a product or the subtle expressions of a portrait subject.

Common mistakes when shooting in a studio
One of the most frequent errors beginners make is placing the subject too close to the backdrop. This often results in the subject casting a distracting shadow on the background, which can be difficult to remove in post-production. Additionally, failing to balance the color temperature of multiple light sources can lead to images with inconsistent skin tones, where one side of a face appears cool or blue while the other looks warm or orange.
Another common pitfall involves neglecting the safety of the equipment. Heavy lights on stands can easily tip over if they are not properly weighted with sandbags, risking damage to expensive gear or injury to the subject. To avoid these issues, always check your light ratios before the shoot begins and ensure all cables are taped down to prevent tripping. Keep a checklist of your settings to ensure that your aperture, shutter speed, and white balance remain consistent throughout the entire session.
How to choose the right backdrop for your project
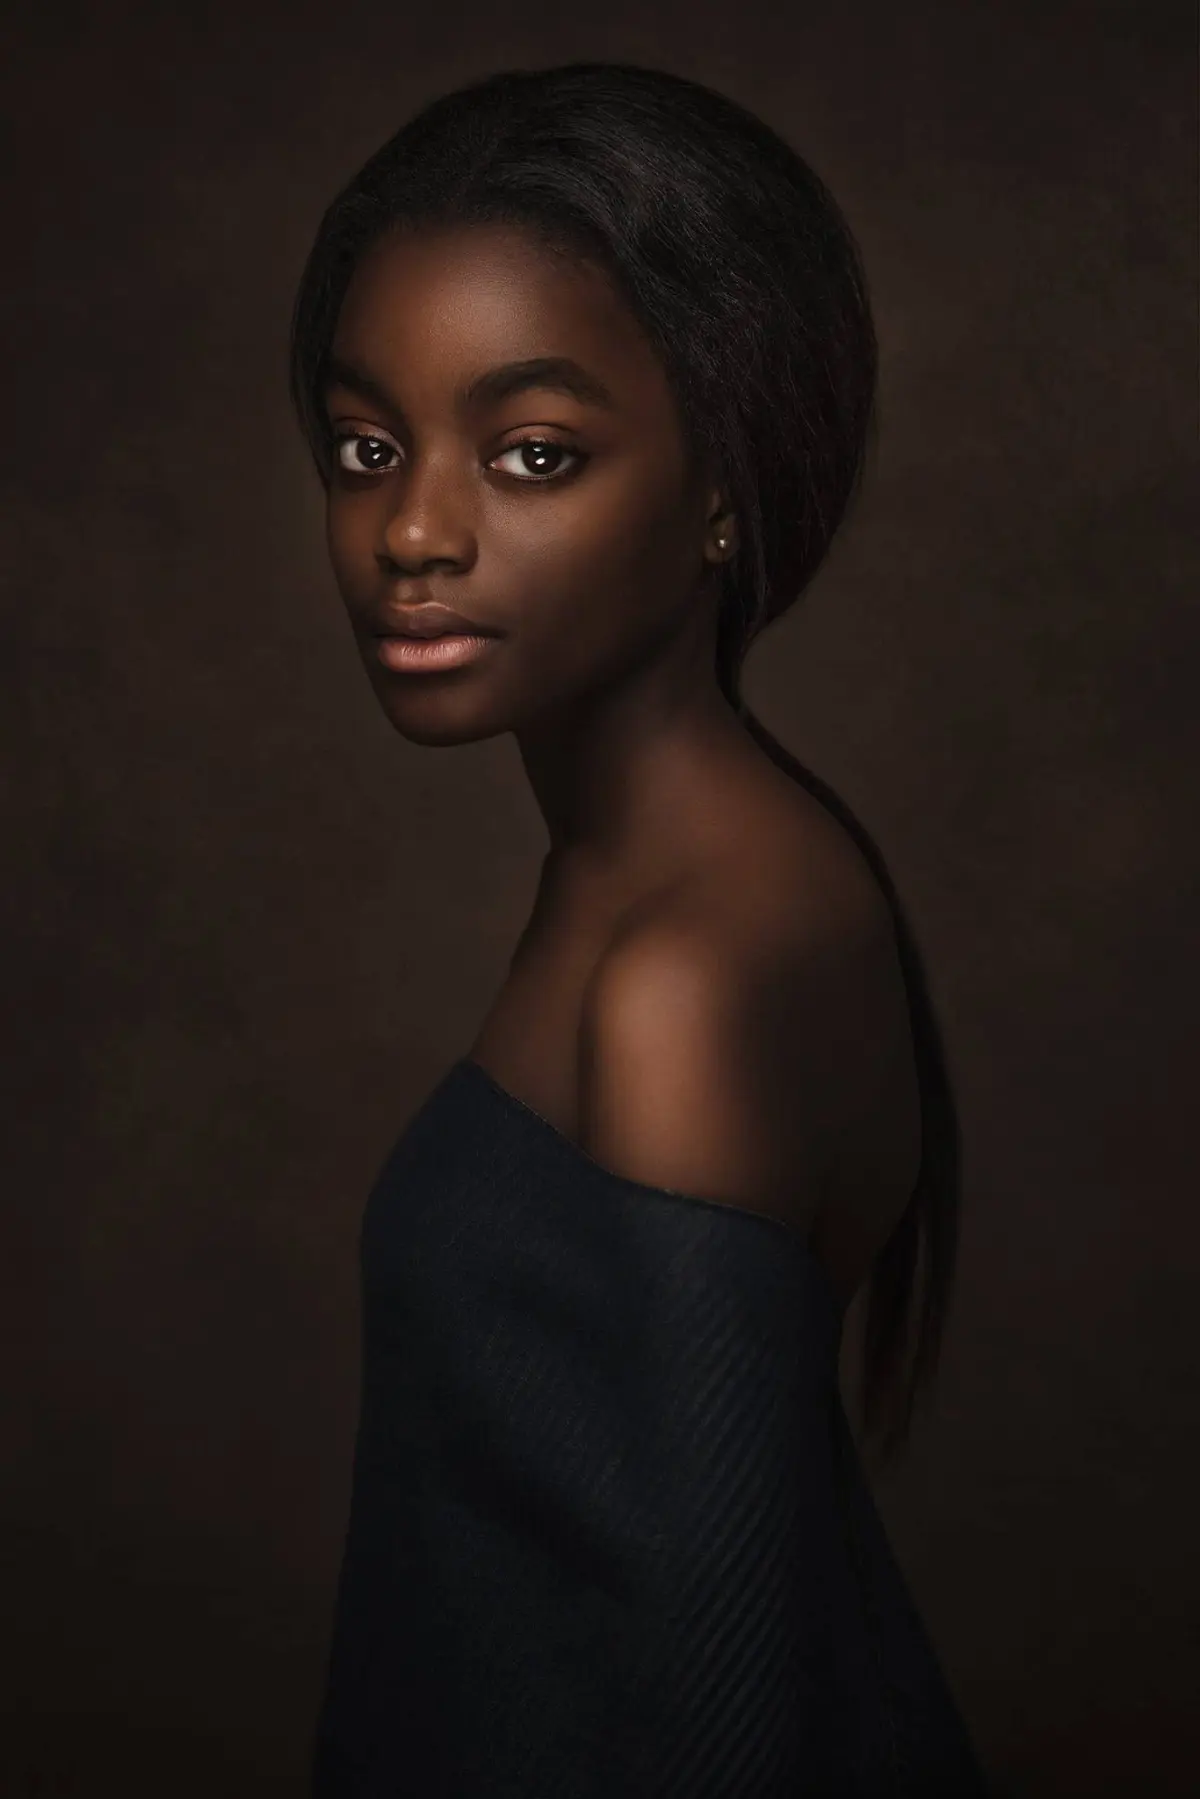
The backdrop serves as the canvas for your image, and choosing the wrong color or texture can detract from your subject. White backdrops are versatile and clean, making them the standard for e-commerce and high-key portraits. Black or dark grey backdrops are excellent for moody, dramatic photography, as they help the subject stand out through contrast. For creative projects, textured surfaces like painted canvas or wood can add depth and interest to the final composition.
When selecting a backdrop, consider the following factors:
- Reflectivity: Matte surfaces are preferred to avoid unwanted glare from your lights.
- Portability: If you have limited space, choose collapsible backgrounds that store easily.
- Durability: Paper rolls are inexpensive but tear easily, whereas vinyl is more durable and easier to clean.
- Size: Ensure the backdrop is wide enough to cover the entire frame, especially when shooting full-body portraits or large groups of people.
By carefully selecting your backdrop and understanding how it interacts with your lighting, you can create a professional environment that elevates the quality of every photograph you take.
Key facts
- Studio photography is the practice of taking pictures in a controlled environment where the photographer manages all aspects of light and composition.
- A standard studio setup typically includes a camera, a tripod, artificial lights, modifiers like softboxes or umbrellas, and a backdrop.
- The primary goal is to eliminate ambient light interference, allowing for consistent results regardless of the time of day or weather conditions.
- Professional studios often use tethering, which involves connecting the camera directly to a computer to view images on a larger screen in real time.
- A common mistake for beginners is placing the light source too far from the subject, which creates harsh, unflattering shadows.
- Using a tripod is essential for studio work because it ensures consistent framing and allows the photographer to focus on directing the subject.
The bottom line
Studio photography represents the art of total creative control. By mastering artificial lighting and managing your environment, you can produce consistent, high-quality images that are not dependent on unpredictable natural conditions. Whether shooting portraits, products, or fashion, the ability to manipulate light allows you to define the mood and tone of every shot, transforming simple subjects into professional-grade visuals through careful planning and technical precision.
People also ask
Do I need a professional studio space to practice studio photography?
You do not need a dedicated commercial space; a spare room or a small corner of your home works perfectly. The key is having enough space to move your lights and the ability to control the ambient light by blocking windows.
What is the difference between hard and soft light?
Hard light comes from a small light source, creating sharp, high-contrast shadows. Soft light comes from a large source, such as a softbox or a diffusion screen, which wraps around the subject to create gentle transitions between light and shadow.
What is a backdrop and why is it important?
A backdrop is the surface behind the subject, which can be a simple muslin cloth, paper roll, or a painted wall. It provides a clean, neutral background that ensures the viewer’s attention remains focused entirely on the subject.
How many lights do I need to start?
You can achieve professional results with a single light source. By using a reflector or a white foam board to bounce light back onto the subject, you can effectively fill in shadows and create a balanced look.
What is a light meter?
A light meter is a device used to measure the intensity of light falling on a subject. While modern cameras have built-in meters, external incident light meters are preferred in studios for precise exposure control.
Read the full answer →How do I choose the right lens for studio portraits?
A lens with a focal length between 85mm and 105mm is ideal for portraits. These lenses provide a flattering perspective that minimizes facial distortion and creates a pleasing separation between the subject and the background.
This answer was created with the help of AI research tools and reference sources. Spotted an error? Let us know — we correct mistakes quickly. See our editorial policy.