What is a light meter?
Short answer
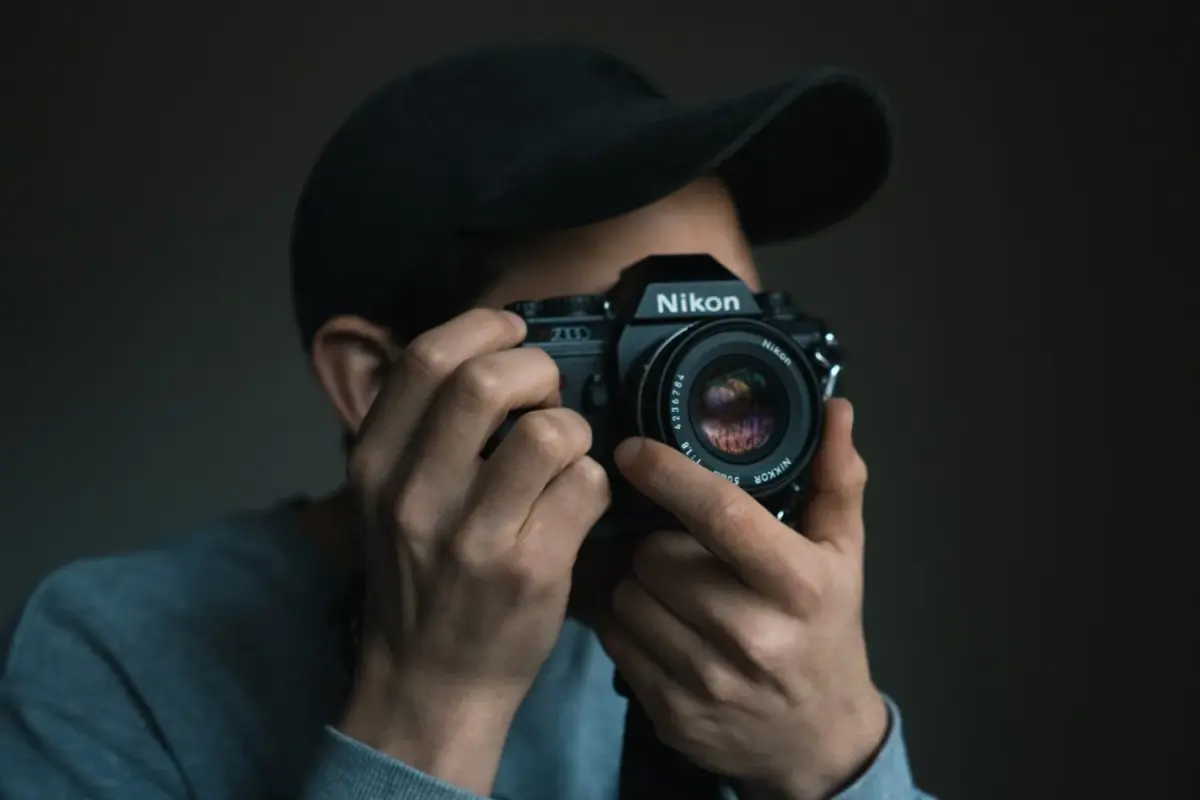
A light meter is a specialized instrument used to measure the intensity of illumination in a given environment. Photographers and cinematographers utilize these devices to determine the optimal aperture, shutter speed, and ISO settings, ensuring that images are properly exposed. By quantifying light levels, they provide the precision necessary for professional-quality visual capture.
On this page
How does a light meter work?
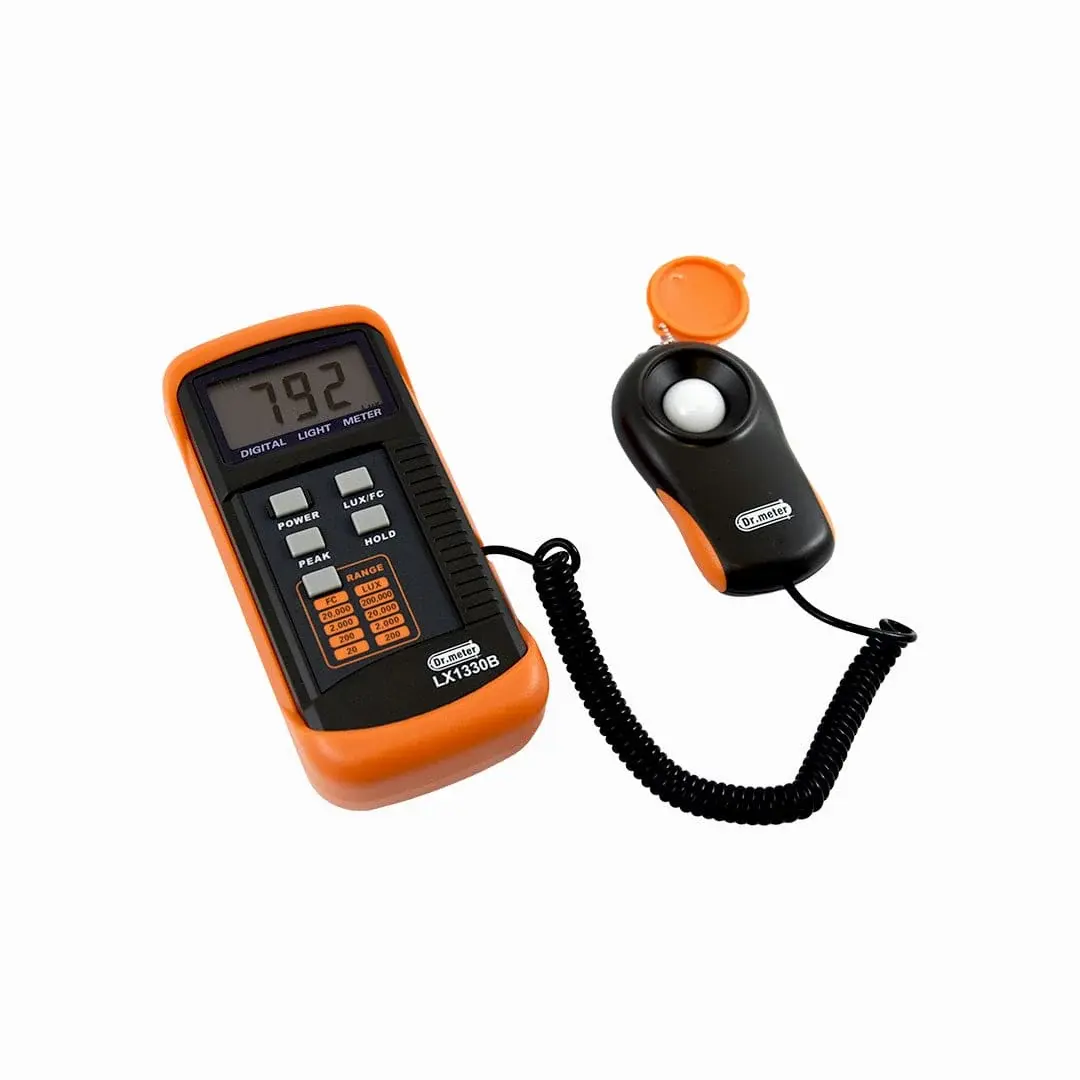
A light meter functions by detecting the amount of light falling on or reflecting from a subject. Most devices utilize a silicon photodiode, which converts light energy into an electrical current. The meter then processes this signal to calculate the exposure values required for a camera to record the scene accurately. This process relies on the relationship between the light intensity and the sensitivity of the film or digital sensor being used.
Modern meters typically offer two distinct modes of measurement: incident and reflected. Incident light metering measures the light falling onto the subject from the light source, which is generally considered the most accurate method for consistent results. Reflected light metering measures the light bouncing off the subject toward the camera, which is how most built-in camera meters operate. Understanding the difference between these two methods is essential for achieving the desired artistic effect in photography or video production.
Why use a light meter instead of a camera?
While modern digital cameras contain internal light meters, external handheld meters provide superior control and accuracy. Built-in meters are "reflected" meters, meaning they can be easily fooled by the brightness of the subject itself. For instance, a dark subject against a bright background might lead an internal meter to overexpose the scene, whereas a handheld incident meter provides a neutral reading regardless of the subject's color or reflectivity.
Using a dedicated meter also encourages a more deliberate approach to lighting. By measuring light ratios—the difference between the brightest and darkest parts of a scene—cinematographers can create specific moods or dramatic contrasts. This level of technical control is difficult to achieve by relying solely on the camera's automatic exposure settings. Professional photographers often use these tools to ensure consistency across multiple shots, especially when working in complex studio environments with multiple strobe lights.
How to use a light meter step by step
To obtain an accurate reading using an incident light meter, follow these steps to ensure your exposure settings are precise.
- Set your meter to the desired ISO, which should match the settings on your camera.
- Stand at the subject's position and point the white dome of the meter directly toward the camera lens.
- Press the measure button to capture the light falling on the subject.
- Adjust your camera’s aperture and shutter speed to match the values displayed on the meter.
- If you are using multiple light sources, measure each separately to balance the lighting ratios.
By following this sequence, you eliminate the guesswork associated with evaluating a scene based on the camera's preview screen. Always ensure the dome is unobstructed, as even a small shadow cast by your hand can significantly alter the reading and lead to an underexposed image.
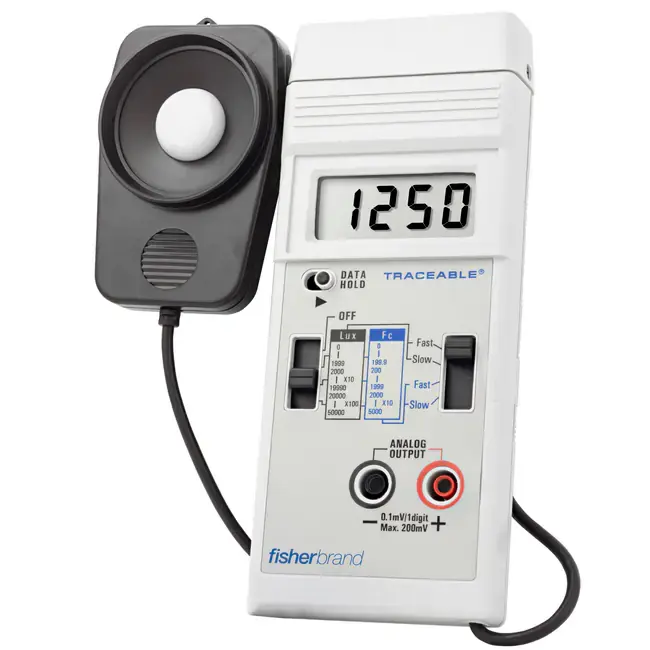
Best light meters for beginners
For those new to manual exposure, several reliable and affordable options exist that balance ease of use with professional functionality. The Sekonic L-308X-U is widely regarded as the industry standard for beginners due to its compact size and versatility. It handles both ambient and flash light measurements, making it a comprehensive tool for students and hobbyists alike. Another popular choice is the Gossen Digisix 2, which is prized for its extreme portability and simple interface.
When selecting your first meter, consider the following features to ensure it meets your needs:
- Flash measurement capability: Essential if you plan to use studio strobes or off-camera flashes.
- Cine/Video modes: Useful if you intend to shoot motion, as these modes calculate settings based on frame rates.
- Ease of calibration: Look for models that allow for simple adjustments to match your specific camera sensor's performance.
- Durability: A rugged build is vital if you intend to shoot outdoors or in demanding production environments.
Common mistakes when using a light meter
One of the most frequent errors is failing to account for the inverse square law, which states that light intensity drops off rapidly as distance increases. Beginners often measure the light at the camera position rather than at the subject's position, which results in inaccurate data. Because light intensity changes drastically over short distances, the meter must always be placed exactly where the subject will be located during the actual shoot.
Another common mistake involves ignoring the dynamic range of the camera. Even with a perfect meter reading, a scene might contain highlights or shadows that exceed what the sensor can capture. To avoid these issues, follow these best practices:
- Always check your histogram on the camera screen after taking a test shot to verify the meter's recommendation.
- Avoid measuring light sources directly unless you are intentionally trying to create a silhouette effect.
- Remember to recalibrate your meter periodically, as the internal sensors can degrade or drift in accuracy over several years of heavy use.
- Keep the white diffusion dome clean and free of fingerprints, as smudges can scatter light and skew the final reading significantly.
Key facts
- A light meter is a device used to measure the intensity of light falling on or reflected by a subject.
- Photographers use these tools to determine the ideal aperture, shutter speed, and ISO settings for a balanced exposure.
- Incident light meters measure the light falling on the subject, while reflective meters measure the light bouncing off it.
- Modern digital cameras contain built-in reflective light meters, but handheld meters are often more accurate for complex lighting.
- The Weston Master, introduced in 1936, was one of the first widely used handheld photoelectric light meters.
- When using a meter, always ensure the sensor is pointed toward the light source rather than the camera lens for incident readings.
The bottom line
A light meter is an essential tool for achieving precise exposure, acting as a bridge between the artist’s vision and the camera’s technical settings. By accurately measuring light intensity, it removes the guesswork from photography and videography. Whether you are using a built-in sensor or a professional handheld device, understanding how to interpret light is the most effective way to improve your overall image quality.
People also ask
Do I need a handheld light meter if my camera has one built-in?
Most casual photographers find built-in meters sufficient for general use. However, professionals often prefer handheld meters to measure contrast ratios or to use flash lighting that the camera meter cannot detect.
What is the difference between an incident and a reflective meter?
An incident meter measures the light hitting the subject from the position of the subject, providing a neutral reading. A reflective meter measures the light bouncing off the subject, which can be influenced by the subject's color or brightness.
Can a smartphone app function as a reliable light meter?
Many smartphone apps use the phone's camera sensor to estimate light levels with surprising accuracy. They are excellent for learning, though they may lack the precision and range of professional-grade hardware.
What is a "gray card" and why is it used with light meters?
A gray card is a physical card with 18% gray reflectance used to calibrate light meters. It provides a standard reference point for the meter to ensure skin tones and colors are rendered accurately.
How do I avoid underexposing my photos when using a meter?
A common mistake is aiming a reflective meter at a very bright or dark background, which confuses the sensor. Always meter off a neutral subject or use an incident meter to ensure the light falling on your subject is measured correctly.
Does a light meter help with video production?
Yes, cinematographers use light meters to maintain consistent exposure across different camera angles and shots. This ensures that lighting remains uniform throughout a scene, preventing jarring shifts in brightness during editing.
This answer was created with the help of AI research tools and reference sources. Spotted an error? Let us know — we correct mistakes quickly. See our editorial policy.