How do you photograph lightning?
Short answer
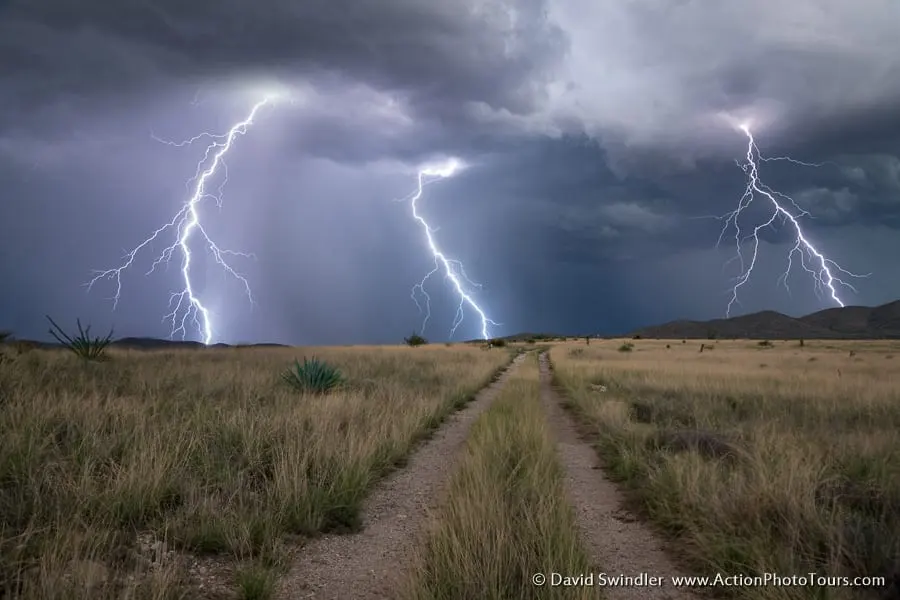
Photographing lightning requires a sturdy tripod, a camera with manual controls, and a long exposure setting. By keeping the shutter open during a storm, you capture the light trail as it occurs. Use a remote shutter release to avoid camera shake and prioritize safety by remaining indoors or inside a vehicle.
On this page
What equipment do I need to photograph lightning?
To capture lightning, stability is the most critical factor. You must use a heavy-duty tripod to keep your camera perfectly still during long exposures, as any vibration will result in blurry images. A remote shutter release or a cable release is essential to trigger the camera without physically touching it, which prevents micro-movements that ruin sharp details.
For the camera itself, you need a model with a "Bulb" mode, which allows the shutter to stay open as long as you hold the button or trigger. A wide-angle lens is generally preferred because it covers a larger portion of the sky, increasing your chances of framing a bolt. Carry extra batteries and memory cards, as lightning photography involves taking hundreds of frames to get one successful shot.
- Sturdy tripod with a hook for weight.
- DSLR or mirrorless camera with manual mode.
- Remote shutter release or intervalometer.
- Wide-angle lens (14mm to 35mm).
- Weather-sealed camera bag or rain cover.
How do I set up my camera for lightning?
Setting your camera correctly is a balance between exposure time and light sensitivity. Start by setting your camera to Manual (M) mode and using a low ISO, such as ISO 100 or 200, to keep image noise to a minimum. Set your aperture between f/8 and f/11 to ensure deep focus throughout the frame.
The shutter speed is the most important variable. Since lightning is unpredictable, you should set your shutter to stay open for 10 to 30 seconds at a time. If the scene is too bright, the lightning will wash out your photo; if it is too dark, you can increase the duration. Always shoot in RAW format to allow for greater flexibility when adjusting the highlights and shadows during post-processing.
- Set focus to manual and focus on a distant light or infinity.
- Use a low ISO to prevent digital grain.
- Keep the aperture narrow to maintain sharpness.
- Use a lens hood to protect the glass from stray rain.
Where is the best place to photograph lightning?
Safety must be your primary concern when choosing a location. Never stand in an open field, under a lone tree, or on a high peak during a thunderstorm. The safest way to photograph lightning is from the interior of a sturdy building or a hard-topped vehicle. If you are outside, ensure you have a quick escape route to a secure structure.
Position yourself with a clear view of the storm’s path, ideally away from heavy city light pollution, which can cause orange or yellow glows in your sky images. If you are shooting from a window, ensure the glass is clean and try to press the lens as close to the pane as possible without touching it. This reduces reflections from interior lights that might otherwise appear as ghosting in your final image.
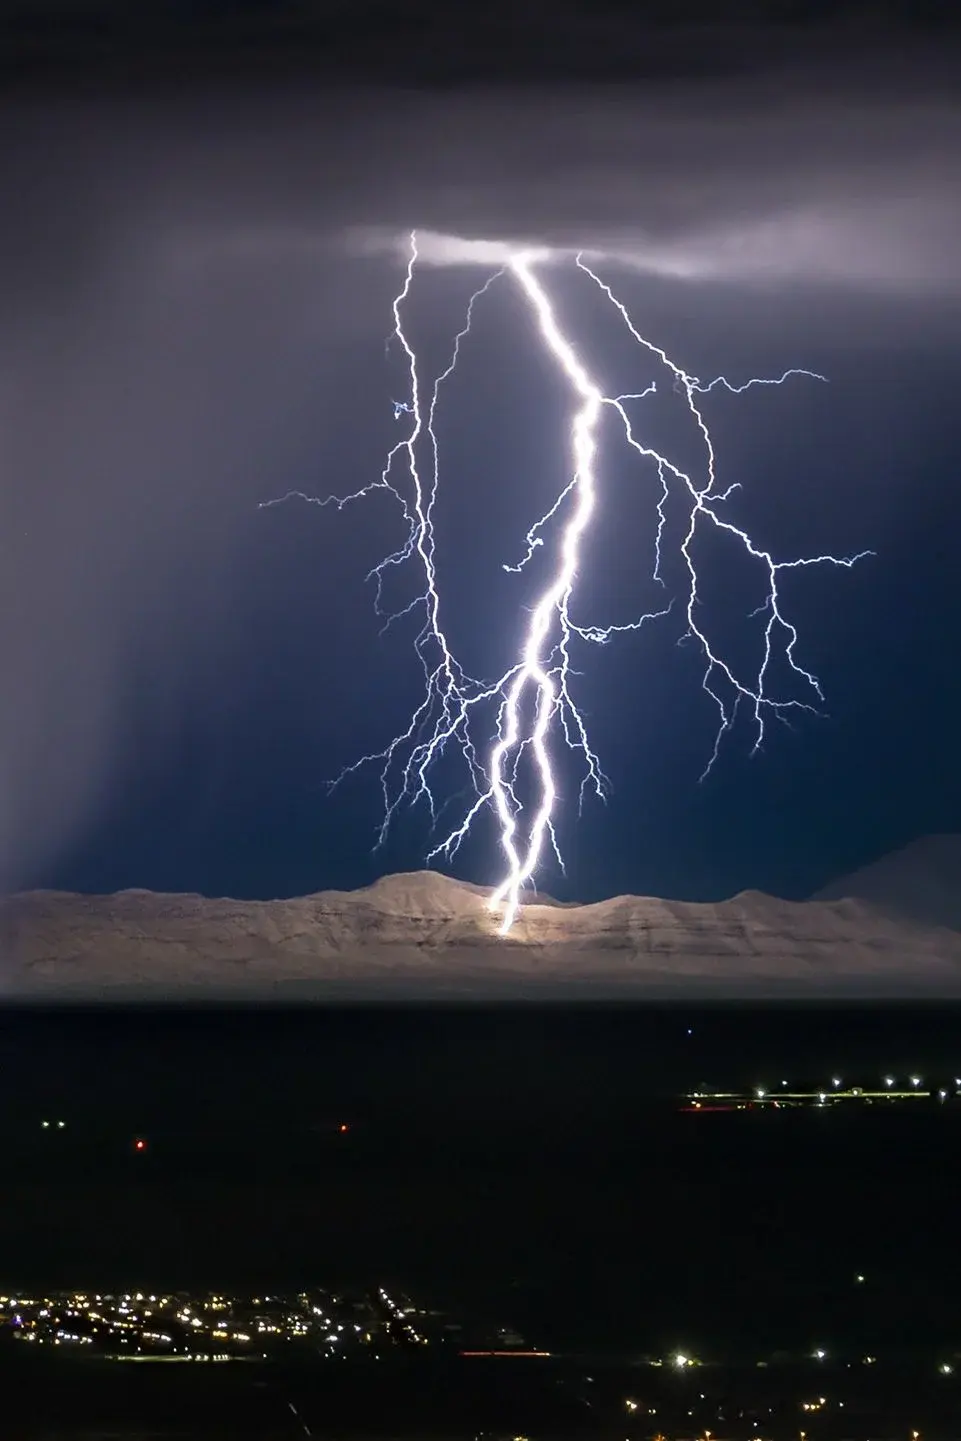
How to capture lightning during the day?
Photographing lightning during daylight hours is significantly more difficult than at night because the ambient light prevents you from using long exposures. If you leave the shutter open for several seconds during the day, the image will be completely overexposed. To solve this, you need a high-density neutral density (ND) filter, which blocks light from entering the lens.
Alternatively, you can use a lightning trigger. This is a specialized electronic sensor that attaches to your camera’s hot shoe. When the sensor detects the sudden burst of light from a lightning strike, it triggers the shutter instantly. Because lightning lasts only a fraction of a second, this device is often the only way to successfully capture a bolt during bright, daylight conditions.
- Mount a high-density ND filter to reduce ambient light.
- Use a lightning trigger sensor for instant reaction time.
- Keep your aperture at a moderate setting like f/8.
- Monitor the storm’s intensity to adjust filter strength.
Common mistakes when photographing lightning
One of the most frequent errors beginners make is failing to account for the "wait time" between shots. If your camera is busy processing an image, you might miss the most spectacular bolt of the night. Disable long-exposure noise reduction in your camera settings to ensure the camera is ready to fire again immediately after the previous exposure finishes.
Another common mistake is neglecting to check the weather radar. Many photographers get so focused on the composition that they fail to notice the storm moving directly toward them. Always keep an eye on the wind direction and the frequency of the thunder. If the time between the flash and the sound of thunder is less than 30 seconds, the storm is close enough to pose a significant lightning strike risk, and you should pack your gear immediately.
Key facts
- Use a sturdy tripod to keep the camera perfectly still during long exposures.
- Set your camera to manual mode with an aperture between f/8 and f/11.
- Use a low ISO setting, such as 100 or 200, to minimize digital noise.
- A shutter speed of 10 to 30 seconds is ideal for capturing multiple strikes.
- Use a remote shutter release or the camera’s self-timer to prevent motion blur.
- Focus your lens manually to infinity to ensure the distant lightning remains sharp.
The bottom line
Photographing lightning requires patience, preparation, and a commitment to personal safety. By using a tripod, manual settings, and long exposure times, you can effectively capture the brilliance of a storm. Always prioritize finding a secure location away from the elements before setting up your gear. With consistent practice and careful framing, you will eventually capture the dramatic, fleeting beauty of a lightning strike in your images.
People also ask
Do I need special equipment to photograph lightning?
You need a camera with manual controls and a tripod. A lightning trigger sensor can help capture strikes automatically, but it is not strictly necessary for successful results.
Should I use a wide-angle or telephoto lens?
A wide-angle lens is generally preferred because it covers more of the sky, increasing your chances of framing a strike. Telephoto lenses are useful only if you are shooting from a very safe distance.
What is the best time of day to photograph lightning?
Nighttime is the best time because the darkness allows for longer shutter speeds without overexposing the frame. Daytime lightning photography requires a strong neutral density filter to darken the scene.
How do I stay safe while chasing storms?
Never stand near tall trees, metal objects, or open fields during a storm. Stay inside a vehicle or a sturdy building and shoot through a window if necessary.
Why are my lightning photos blurry?
Blur is usually caused by camera shake or an unstable tripod. Ensure your tripod is weighted down and avoid touching the camera while the shutter is open.
How can I tell where the lightning will strike?
You cannot accurately predict the exact location of a strike. The best strategy is to frame a wide area of the sky and keep the shutter open continuously until a bolt occurs.
This answer was created with the help of AI research tools and reference sources. Spotted an error? Let us know — we correct mistakes quickly. See our editorial policy.