How do you photograph buildings?
Short answer
Photographing buildings requires careful attention to perspective, lighting, and composition. Use a wide-angle lens to capture scale, maintain vertical lines by keeping your camera level, and shoot during the "golden hour" for soft, dramatic shadows. By controlling these technical elements, you can transform static structures into compelling, professional-grade architectural images.
On this page
How to choose the right gear for architectural photography
You do not need an expensive camera to start, but specific lenses make a significant difference in professional results. A wide-angle lens, typically between 16mm and 35mm on a full-frame sensor, is essential for capturing tall buildings in tight urban spaces. These lenses allow you to fit the entire structure into the frame without needing to step back excessively. If you want to avoid the distortion that wide-angle lenses often create, consider a tilt-shift lens. This specialized equipment allows you to shift the lens optics to correct perspective issues, keeping vertical lines perfectly parallel.
Beyond the camera body and lens, a sturdy tripod is the most important tool in your bag. Architectural photography often requires long exposures to capture low-light conditions or to use small apertures for maximum depth of field. A tripod ensures your images remain sharp and free from blur caused by camera shake. Consider these essential items for your kit:
- A wide-angle lens (16-35mm) to capture expansive views.
- A sturdy tripod with a bubble level to ensure the camera is perfectly horizontal.
- A polarizing filter to reduce glare on glass facades and enhance sky contrast.
- A remote shutter release to prevent vibrations when pressing the button.
How to manage perspective and vertical lines
The most common mistake beginners make is tilting the camera upward to fit a tall building into the frame. This action causes "keystoning," where the building appears to lean backward, making the vertical walls converge toward the top. To prevent this, keep your camera sensor perfectly parallel to the face of the building. If you are shooting from ground level, this means keeping the camera body level with the horizon rather than pointing it toward the sky.
If you cannot avoid tilting the camera, you must correct the perspective during post-processing. Most modern photo-editing software includes a "geometry" or "perspective" tool that allows you to pull the corners of the image back into alignment. However, this process crops your image and can degrade resolution. To achieve the best results, follow these steps:
- Position yourself at a distance where the entire structure is visible without tilting the camera.
- Use a tripod to ensure the camera is level and stable.
- If the building is too tall, move further back or find an elevated vantage point, such as a neighboring building or balcony.
- Keep the horizon line centered in your viewfinder to maintain natural proportions.
Best times of day to photograph architecture
Lighting dictates the mood and texture of your architectural images. The "golden hour"—the period shortly after sunrise or just before sunset—provides soft, warm light that highlights building materials and creates long, dramatic shadows. These shadows are crucial for defining the depth and form of a structure, preventing the building from looking flat or lifeless. Avoid shooting at midday, as the harsh overhead sun creates deep, unattractive shadows and washes out details.
If you prefer a more moody or industrial aesthetic, the "blue hour" is an excellent alternative. This occurs just after the sun has dipped below the horizon, bathing the sky in a deep, saturated blue. During this time, the ambient light of the sky balances perfectly with the artificial lights of the building, such as windows and streetlamps. This creates a high-contrast, professional look that is highly sought after in commercial architectural photography. Always check local weather forecasts and sun tracking applications to plan your arrival time precisely.
Common mistakes when shooting buildings
One major error is ignoring the surroundings and the "clutter" that can distract from the main subject. Trash cans, street signs, parked cars, and pedestrians can ruin an otherwise perfect shot. Take a moment to scan the edges of your frame before pressing the shutter. If you cannot move the objects, try changing your angle slightly or waiting for the crowd to disperse. Patience is often the difference between a snapshot and a deliberate photograph.
Another frequent mistake is failing to focus on details. While wide shots are necessary for context, architectural photography also benefits from close-ups that highlight textures, patterns, and craftsmanship. Look for repeating geometric shapes, interesting window frames, or unique material finishes like weathered brick or polished steel. These smaller details provide a narrative about the building's history and design. Avoid these common pitfalls to improve your work:
- Shooting from too low or too high, which distorts the building's scale.
- Forgetting to check for lens flare when shooting toward the sun.
- Using a wide aperture, which may leave parts of the facade out of focus.
- Over-processing images, which can make colors look artificial and textures appear gritty.
How to compose a professional architectural shot
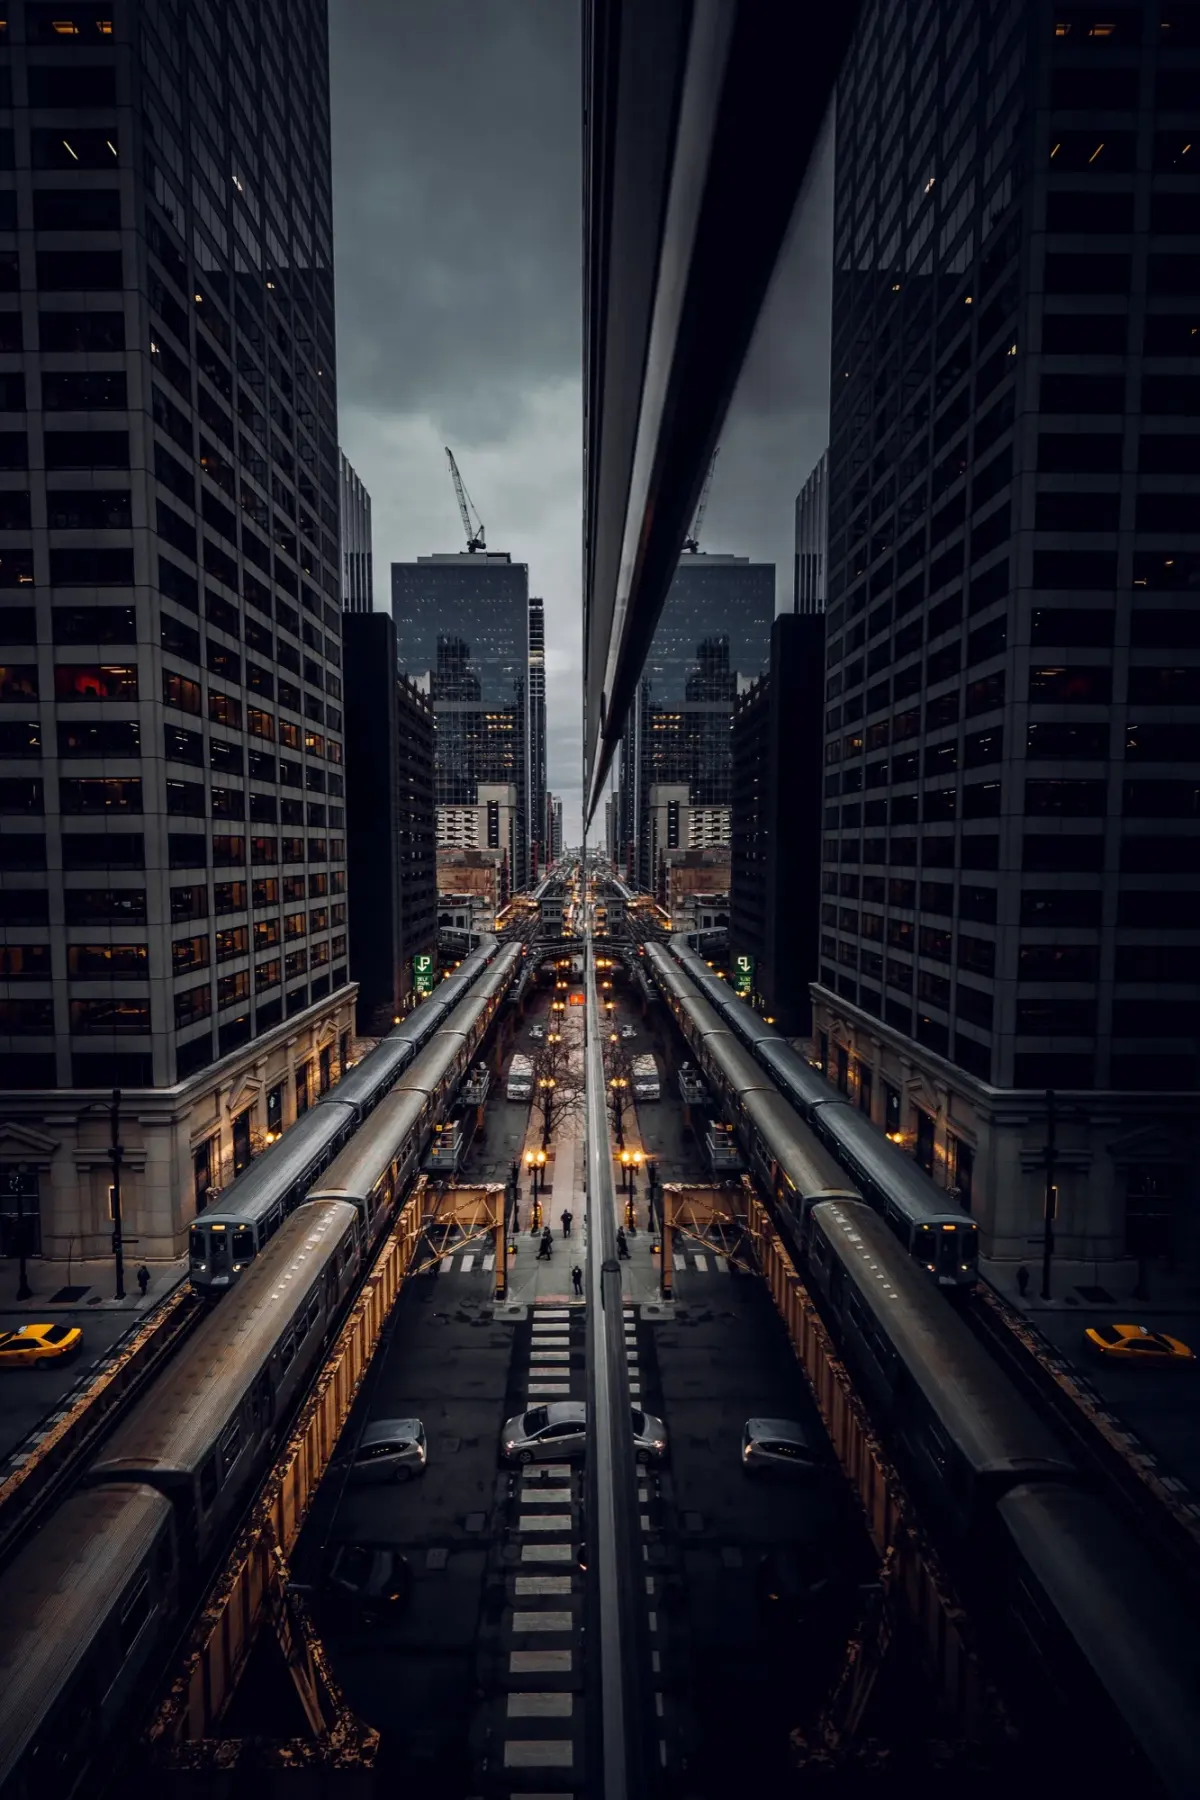
Composition is about guiding the viewer's eye through the image. Use leading lines—such as sidewalks, fences, or the edges of the building itself—to draw the viewer toward the focal point of the structure. Symmetry is also a powerful tool in architecture; if a building is designed symmetrically, position yourself directly in the center to emphasize its balance and grandeur. If the architecture is asymmetrical, use the "rule of thirds" to place the most interesting part of the building off-center for a dynamic feel.
Finally, consider the human element. While many architectural photographers prefer empty buildings to emphasize the design, adding a person can provide a sense of scale and life. A small silhouette of a person walking past a massive wall can help the viewer understand the true size of the structure. Experiment with different heights and distances to find the perspective that best tells the story of the space. By combining technical accuracy with thoughtful composition, you will consistently produce images that capture the true essence of the built environment.
Key facts
- Use a wide-angle lens, typically between 16mm and 35mm, to capture entire structures in tight urban spaces.
- Utilize a tripod to ensure sharpness during long exposures, especially when shooting at dusk or dawn.
- Keep your camera sensor parallel to the building's facade to prevent the distortion known as "keystoning."
- Shoot during the "golden hour," the period shortly after sunrise or before sunset, for soft, directional light.
- Use a circular polarizer filter to reduce glare on glass surfaces and deepen the blue of the sky.
- Always check for "leading lines" like roads or fences to guide the viewer's eye toward the building.
The bottom line
Successful architectural photography relies on careful planning, proper equipment, and an eye for geometry. By keeping your camera parallel to the subject, utilizing the soft light of the golden hour, and framing with intentional leading lines, you can transform simple structures into compelling visual narratives. Remember to experiment with different perspectives and always prioritize stability to ensure your final images remain sharp, professional, and visually balanced.
People also ask
Why do buildings look like they are falling backward in my photos?
This occurs when you tilt your camera upward to fit a tall building into the frame, causing vertical lines to converge. To fix this, move further back from the subject or use a tilt-shift lens to maintain parallel lines.
What is the best time of day to photograph architecture?
The golden hour provides warm, flattering light that minimizes harsh shadows and adds texture to building materials. Alternatively, "blue hour" is ideal for capturing cityscapes when artificial lights begin to glow against a deep twilight sky.
Should I use a zoom lens or a prime lens for buildings?
A wide-angle prime lens is often sharper and lighter, but a zoom lens offers more versatility when you cannot physically move to change your composition. Both are effective, but ensure your lens has minimal barrel distortion.
How do I handle bright windows and dark shadows in the same shot?
High-contrast scenes often exceed a camera's dynamic range, leading to blown-out highlights or crushed shadows. Use exposure bracketing to take multiple shots at different settings and combine them during post-processing to balance the exposure.
Is it legal to photograph any building I see?
In most public spaces, you have the right to photograph buildings that are visible from the street. However, private property owners may restrict photography, and certain government or high-security facilities may have specific legal prohibitions.
How can I make a building look more imposing?
Get low to the ground and use an ultra-wide lens to emphasize the scale and height of the structure. This perspective creates dramatic leading lines that make the building appear to loom over the viewer.
This answer was created with the help of AI research tools and reference sources. Spotted an error? Let us know — we correct mistakes quickly. See our editorial policy.