How do you photograph interiors?
Short answer
Photographing interiors requires a wide-angle lens, a sturdy tripod, and careful management of natural light. Success depends on achieving straight vertical lines, balancing indoor and outdoor exposure, and styling the space to look lived-in yet uncluttered. By shooting at eye level and using long exposures, you create professional, inviting, and high-quality architectural images.
On this page
What equipment is needed for interior photography
To capture professional-grade interior images, you must invest in specific gear that corrects perspective and manages low-light conditions. A full-frame camera is preferred for its dynamic range, but the lens choice is significantly more important. A wide-angle lens, typically between 16mm and 24mm, is essential to capture the entirety of a room without distortion. You will also need a high-quality tripod to ensure your camera remains perfectly still during long exposures.
Beyond the camera and lens, several accessories are vital for precision. A remote shutter release or a self-timer function prevents camera shake when pressing the button. A leveling tool, often built into modern cameras or attached to the tripod, is non-negotiable for keeping horizontal and vertical lines straight. Consider the following kit for your initial setup:
- Wide-angle lens (16-35mm zoom or a prime lens)
- Sturdy tripod with a geared head for fine adjustments
- Circular polarizer to reduce reflections on glass and polished wood
- External flash or LED panel for filling in dark corners
How to prepare a room for a photoshoot
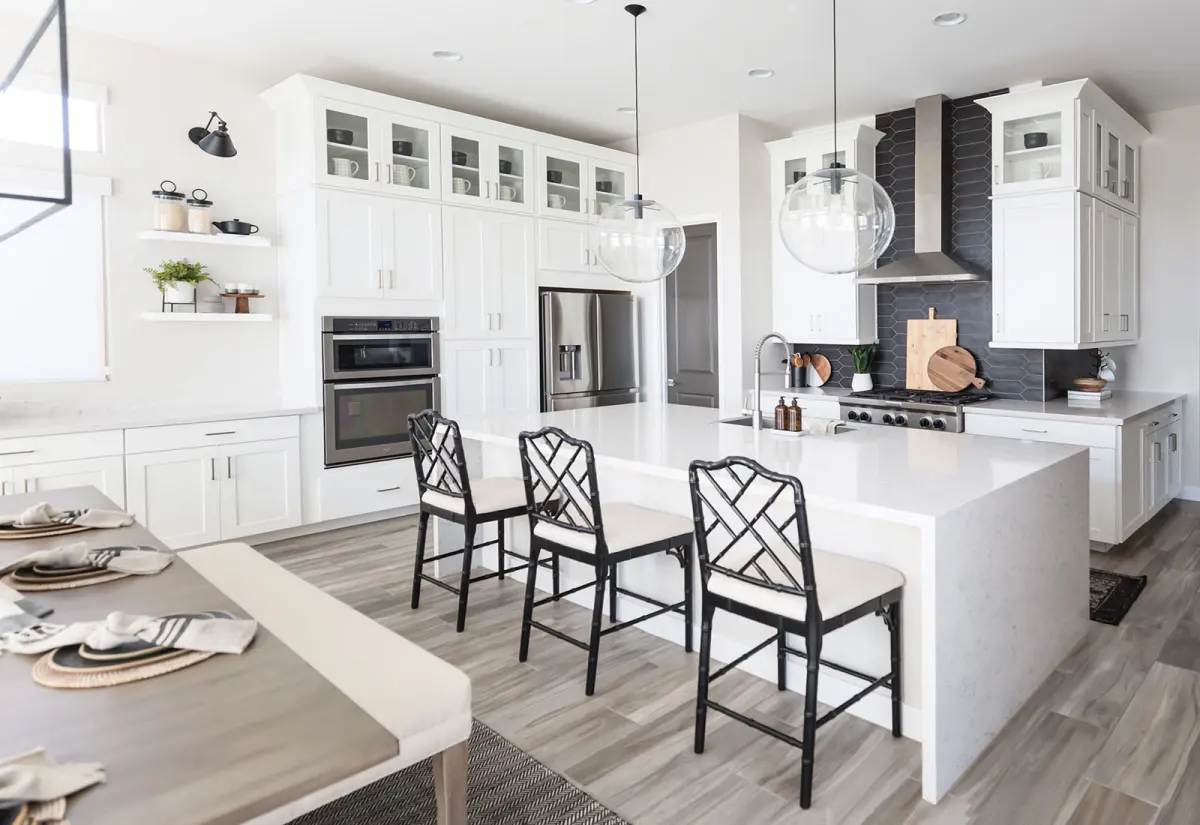
The secret to a great interior photograph is preparation, often referred to as "staging." Before you even set up your tripod, clear away all unnecessary clutter, such as remote controls, charging cables, and personal items. Aim for a clean, minimalist aesthetic that allows the architectural features of the room to shine. If a room feels too sterile, add a few intentional props like a fresh bouquet of flowers, a folded throw blanket, or a book on a coffee table.
Lighting preparation is equally critical to the final result. Turn off all ceiling fans to prevent motion blur and ensure all light bulbs match in color temperature to avoid clashing warm and cool tones. Open all curtains and blinds to maximize natural light, but be mindful of harsh direct sunlight that creates overexposed patches. If the light is too intense, use sheer curtains to diffuse it. Follow these steps to prepare your space:
- Deep clean all surfaces, including windows and mirrors.
- Remove all evidence of pets and personal toiletries.
- Align furniture to create a balanced, symmetrical composition.
- Turn on lamps to create "pools" of warm, inviting light.
How to compose the perfect interior shot
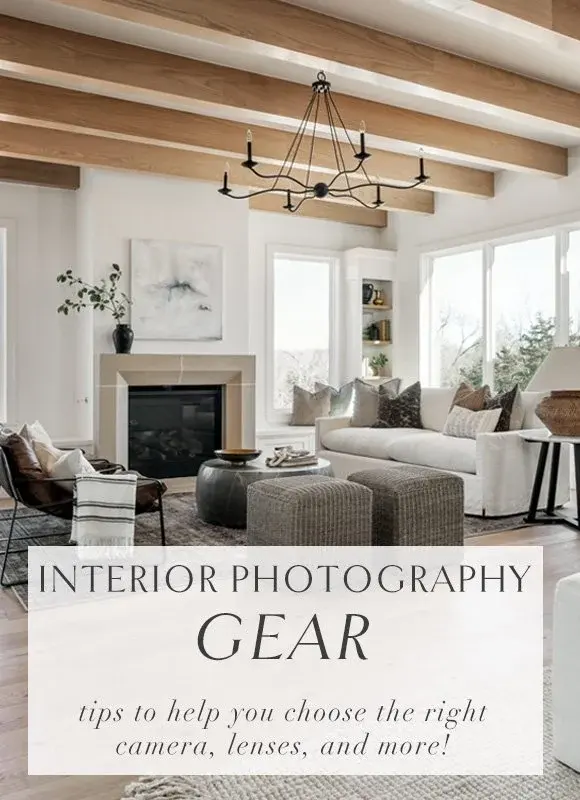
Composition in interior photography is about guiding the viewer's eye through the space. The most common mistake is shooting from too high or too low; keep the camera at chest height, roughly 4 to 5 feet off the ground. This perspective mimics how a person naturally experiences a room. Avoid shooting directly into corners, as this can make a room feel cramped and distorted. Instead, aim to show at least two walls to provide a sense of depth and scale.
When framing your shot, ensure your camera sensor is perfectly parallel to the main wall. If the camera is tilted upward or downward, the vertical lines of the walls will appear to converge, creating a distorted "falling" effect. Use the grid overlay on your camera’s LCD screen to align these lines with the frame edges. If you have limited space, shoot from a doorway to capture the maximum amount of the room while maintaining a clear, unobstructed foreground.
How to manage light and exposure
Balancing light is the most challenging technical aspect of interior photography. You are often dealing with bright light from windows and deep shadows in the corners of the room. To handle this, use a technique called exposure bracketing. Take three to five photos of the same scene at different exposure settings—one dark for the windows, one balanced for the room, and one bright for the shadows. You can later combine these images using editing software to achieve a perfect balance.
Avoid relying on your camera’s built-in flash, as it creates harsh, unnatural shadows and flat lighting. If the room is dark, use a long exposure with your tripod rather than increasing the ISO, which introduces digital noise. If you must use artificial light, bounce it off a white ceiling or wall to soften the output. Always prioritize natural light, as it is the most flattering way to showcase textures, colors, and the overall mood of an interior space.
Common mistakes when photographing interiors
One of the most frequent errors is failing to check for "clutter creep," where items are moved into the frame without notice. Always scan the edges of your viewfinder before clicking the shutter to ensure no stray objects are peeking into the composition. Another mistake is ignoring the color temperature of light. Mixing cool daylight with warm incandescent bulbs creates a chaotic, unprofessional look. Use editing software to color-correct these inconsistencies or replace bulbs with matching color temperatures before shooting.
Finally, avoid the "fish-eye" effect by staying away from extremely wide-angle settings that stretch the corners of the room. If your lens is too wide, furniture near the edges will appear unnaturally elongated. If you find yourself struggling with a specific space, remember these final tips:
- Never leave cabinet doors or drawers slightly ajar.
- Ensure all pillows are plumped and oriented uniformly.
- Check that all light switches are turned to the same setting.
- Always review your images on a large monitor to catch details missed on the small camera screen.
Key facts
- Use a wide-angle lens, typically between 16mm and 24mm, to capture the full scope of a room.
- Always use a sturdy tripod to keep the camera perfectly level and allow for longer exposures in low light.
- Shoot from "waist height" rather than eye level to create a more natural, balanced perspective of the space.
- Turn off all interior lamps and overhead lights to prevent color temperature clashes with daylight.
- Bracket your exposures by taking three or more photos at different brightness levels to capture details in both shadows and highlights.
- Clear away all unnecessary clutter, such as remote controls, cords, and personal items, before taking the shot.
The bottom line
Professional interior photography relies on preparation, steady equipment, and precise lighting control. By removing clutter, keeping your camera level, and utilizing exposure bracketing, you can transform ordinary rooms into polished, magazine-quality images. Focus on natural light and consistent vertical lines to create a sense of depth and scale. With patience and attention to detail, you will capture the true character and atmosphere of any interior space.
People also ask
What is the best time of day to photograph interiors?
The best time is during the "golden hour," shortly after sunrise or before sunset, when light is soft and directional. This prevents harsh shadows and provides a warm, inviting glow that enhances textures.
Should I use a flash when shooting indoors?
Avoid using a direct on-camera flash, as it creates harsh shadows and flat, unnatural lighting. If you need extra light, use professional off-camera strobes bounced off the ceiling to mimic natural ambient light.
How do I fix converging vertical lines in my photos?
Converging lines happen when the camera is tilted up or down, making walls look like they are leaning inward. Keep your camera sensor perfectly parallel to the floor to ensure vertical lines remain straight.
What aperture setting is ideal for interior photography?
Use an aperture between f/8 and f/11 to ensure the entire room remains in sharp focus from the foreground to the background. This depth of field is essential for showing the relationship between furniture and architecture.
How do I handle windows that are much brighter than the room?
This is a high-contrast challenge known as dynamic range. Use exposure bracketing to take multiple shots and merge them during post-processing to balance the bright exterior view with the darker interior.
Do I need a full-frame camera to get professional results?
While full-frame cameras offer better performance in low light and wider fields of view, modern crop-sensor cameras are sufficient. The most important factor is using a high-quality, wide-angle lens and a stable tripod.
This answer was created with the help of AI research tools and reference sources. Spotted an error? Let us know — we correct mistakes quickly. See our editorial policy.