How can I draw a daisy easily?
Short answer
Drawing a daisy is a straightforward process that relies on simple geometric shapes. You begin by sketching a central circle for the disk, followed by radiating oval petals. By focusing on symmetry and varying the petal sizes slightly, you can create a realistic and charming floral illustration with minimal artistic experience.
On this page
How to draw a daisy step by step
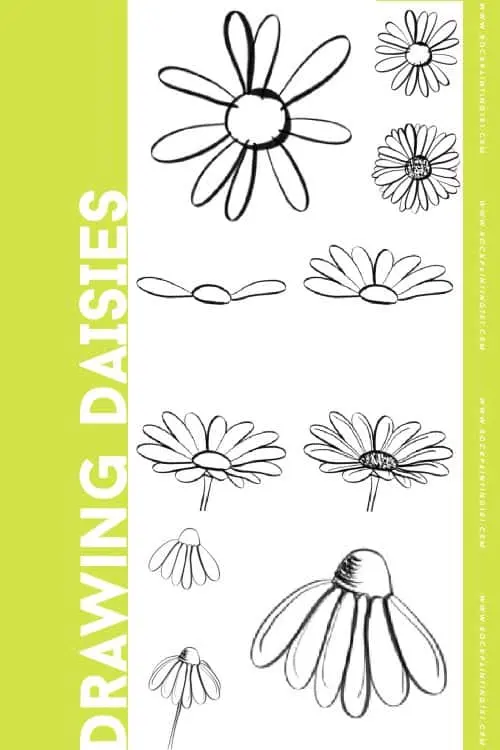
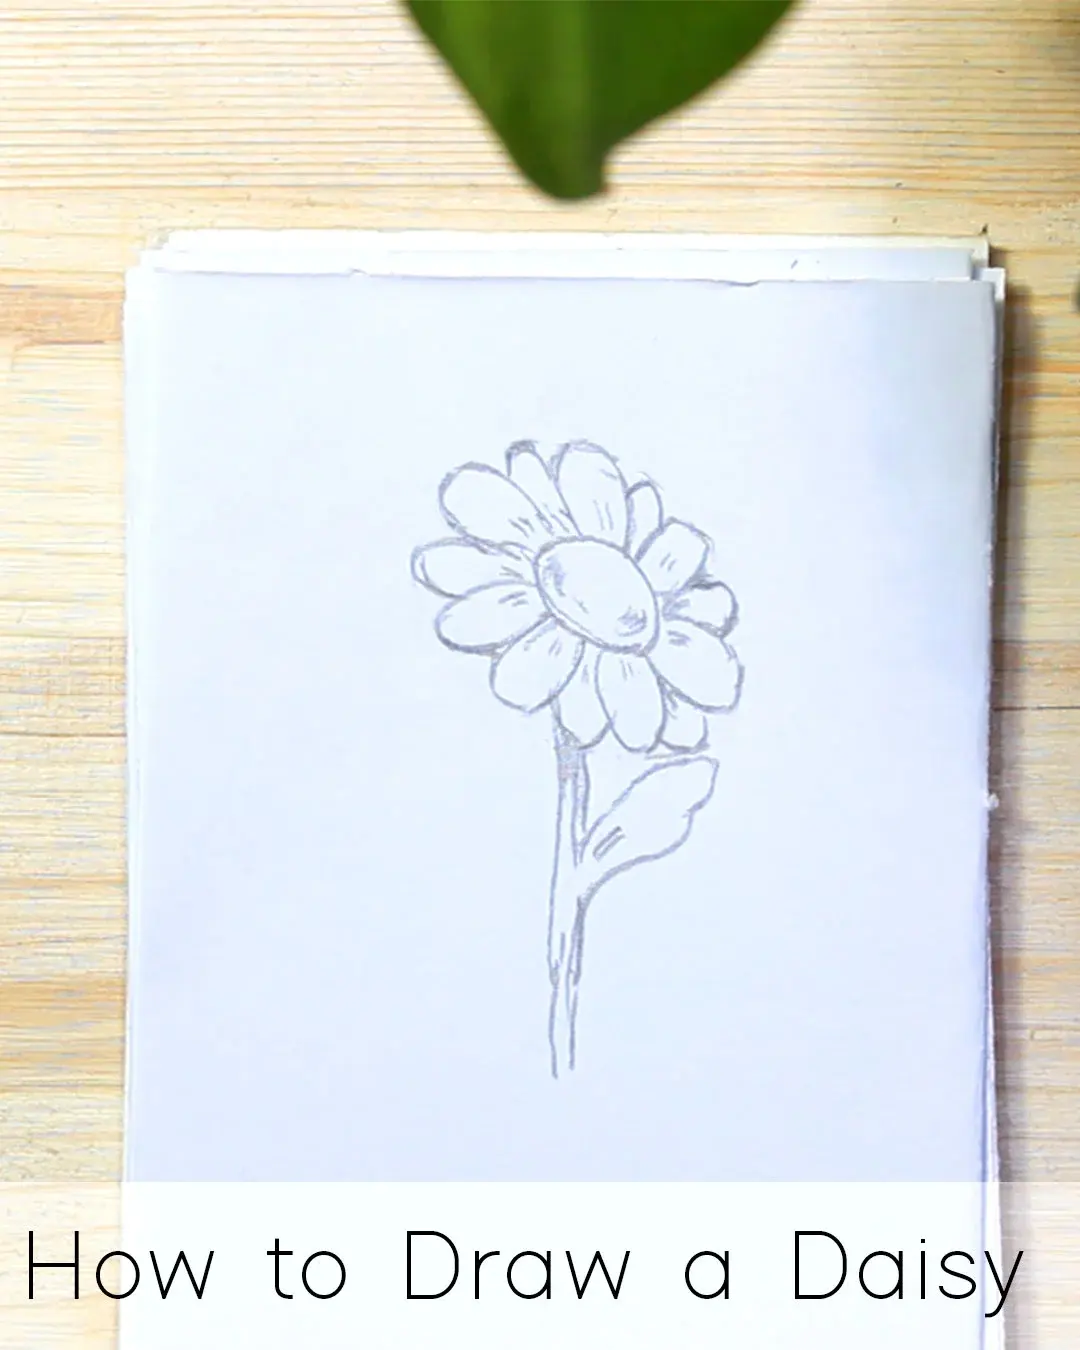
The most effective way to draw a daisy is to break the flower down into its basic structural components. Start by drawing a small circle in the center of your paper to serve as the disk floret. From this center point, draw a series of long, thin ovals that extend outward like the rays of a sun. Ensure that these petals are spaced relatively evenly around the entire circumference of the circle.
Once the basic outline is complete, you can refine the shape of the petals to look more natural. Instead of perfect ovals, try slightly flattening the tips or adding a subtle point to the end of each petal. You can also add a second layer of smaller petals tucked behind the first layer to give the flower a sense of depth and volume.
- Draw a circle for the center.
- Sketch long, thin ovals radiating outward.
- Refine the petal tips for a natural look.
- Add a stem and a few leaves at the base.
- Erase the overlapping lines where petals meet the center.
Best drawing tools for beginners
For those just starting, a standard graphite pencil is the best tool because it allows you to make light, erasable guide marks. Use an HB or 2B pencil to maintain control over the pressure of your strokes. A soft white eraser is also essential for cleaning up the construction lines once your final petal shapes are established.
If you want to add color, colored pencils or fine-tip markers work well for the classic white and yellow daisy aesthetic. When using markers, start with the lightest colors first to avoid smudging. If you prefer a more artistic feel, watercolor pencils allow you to blend the colors of the petals softly. Always keep a sharpener nearby to ensure your lines stay crisp and clean throughout the drawing process.
- Graphite pencils (HB or 2B) for sketching.
- A high-quality white vinyl eraser.
- Fine-liner pens for permanent outlines.
- Colored pencils for shading and texture.
- Smooth-finish paper to prevent pencil drag.
How to make a daisy look realistic
Achieving a realistic look involves paying attention to the way light hits the petals. Daisies are not perfectly flat, so adding slight curves to the petals suggests that the flower is turning toward the sun. Use subtle shading at the base of each petal where it meets the central disk to create a natural shadow. This small detail provides a three-dimensional effect that makes the drawing pop off the page.
The central disk of a daisy is not a flat yellow circle; it is actually a cluster of tiny florets. Instead of coloring it solid yellow, use small dots or cross-hatching to suggest texture. Add a touch of brown or orange near the bottom edge of the center to mimic the natural shading found in real wildflowers. These minor adjustments transform a simple cartoon-style daisy into a sophisticated botanical sketch.
Common mistakes when drawing daisies
A frequent error is making the petals identical in size and perfectly spaced. In nature, daisies are rarely symmetrical, so having slightly irregular petal lengths and widths actually makes the drawing appear more authentic. Avoid drawing the petals too thick, as this can make the flower look stiff and heavy rather than light and airy.
Another common mistake is neglecting the stem and leaves. Many beginners focus entirely on the head of the flower, leaving it floating in space. Adding a thin, slightly curved stem and one or two narrow, serrated leaves helps ground the drawing. Ensure the stem is centered under the flower head to maintain balance, but do not be afraid to give it a slight, organic bend to simulate movement in the wind.
Why daisy drawings look stiff
Stiffness in a drawing often stems from using overly rigid, straight lines. Because daisies are organic forms, their petals should have a gentle flow. If your drawing feels static, try curving the sides of your petals slightly rather than drawing them as perfect, straight-edged ovals. This subtle curvature mimics the soft, pliable nature of real floral tissue.
Another reason for a stiff appearance is a lack of overlapping. If every petal is placed side-by-side without touching or overlapping, the flower will look like a flat gear. Allow some petals to sit slightly behind others, which creates a sense of layering and depth. By varying the angles and ensuring some petals appear to fold or twist, you introduce a dynamic quality that brings your botanical illustration to life.
Key facts
- A daisy’s structure consists of a central disk surrounded by radiating, symmetrical petals.
- Start your drawing by sketching a small circle to serve as the center of the flower.
- Draw long, thin oval shapes around the circle to create the petals, ensuring they overlap slightly.
- Use an odd number of petals to create a more natural, organic appearance.
- Add a curved line beneath the flower head to represent the stem, attaching it to the base of the disk.
- Vary the length and slight tilt of each petal to avoid a rigid, mechanical look.
The bottom line
Drawing a daisy is an accessible exercise in geometry and observation. By starting with a simple central circle and layering petals around it, you establish a balanced foundation. Focus on maintaining an organic, slightly asymmetrical shape to ensure the flower looks realistic rather than manufactured. With practice, adjusting the petal angles and adding subtle shading will bring your floral illustrations to life with professional-looking depth and character.
People also ask
What is the best pencil grade for sketching flowers?
An HB or 2B pencil is ideal for initial sketches because it creates light lines that are easy to erase. These grades allow for enough precision to outline the petals without leaving deep indentations on the paper.
How do I make the center of the daisy look textured?
Instead of coloring the center solid, use tiny dots or cross-hatching to simulate the disk florets. Adding a small crescent of shading on one side of the center creates a three-dimensional effect.
Should I use a ruler to draw the petals?
No, avoid using a ruler because daisy petals are naturally curved and imperfect. Freehand drawing captures the organic flow of the flower more accurately than straight, rigid lines.
How can I add depth to my daisy drawing?
Apply light shading at the base of each petal where it meets the center disk. This creates a shadow that makes the petals appear as if they are lifting away from the middle.
What is a common mistake when drawing daisy stems?
A common error is drawing the stem perfectly straight and centered like a lollipop stick. A natural stem should have a slight, gentle curve and should connect to the flower head at a slight angle.
Can I draw daisies from different angles?
Yes, you can draw a daisy in profile by turning the center circle into a thin oval. This perspective hides some petals behind the flower head and makes the others appear shorter.
This answer was created with the help of AI research tools and reference sources. Spotted an error? Let us know — we correct mistakes quickly. See our editorial policy.