What is hand building in pottery?
Short answer
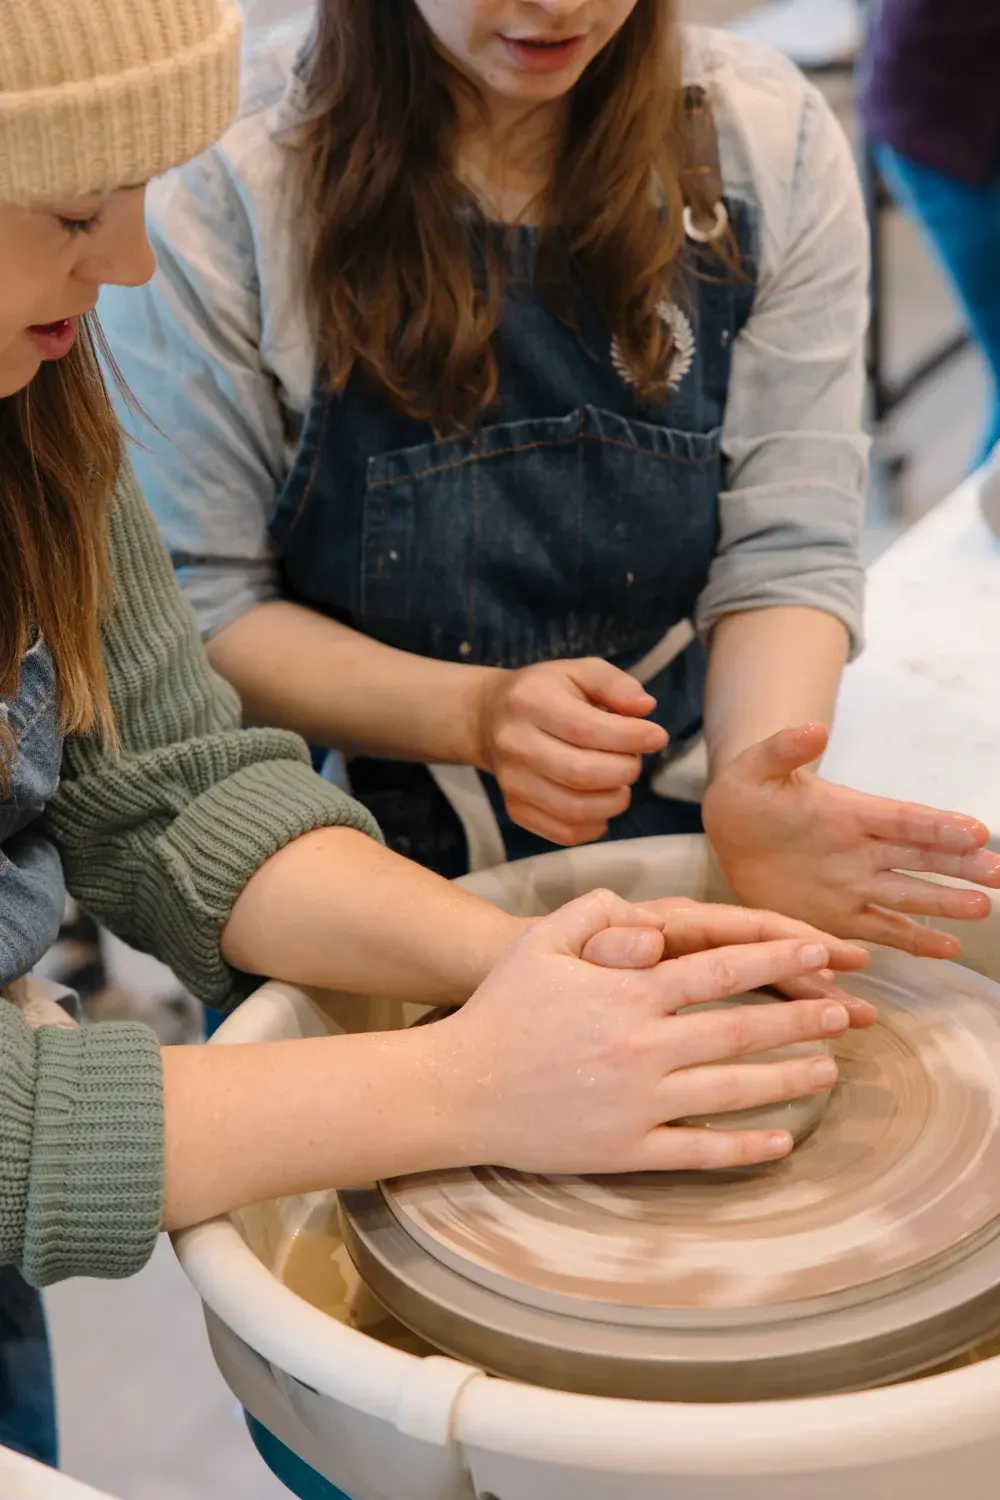
Hand building is a foundational pottery technique where clay forms are constructed using only human hands and simple tools, rather than a mechanical potter’s wheel. By manipulating clay through pinching, coiling, or slab-rolling, artists create unique vessels and sculptures. This accessible method allows for complete creative control over irregular shapes and complex textures.
On this page
What are the primary hand building techniques?
Hand building relies on three fundamental methods that allow potters to construct almost any form imaginable. Pinching involves using the fingers to press into a ball of clay, gradually thinning the walls to create small bowls or vessels. Coiling requires rolling long, snake-like ropes of clay and stacking them atop one another, blending the seams to build taller, rounded structures. Slab building uses flat, rolled-out sheets of clay that are cut into precise shapes and joined at the edges to create geometric forms like boxes or architectural pieces.
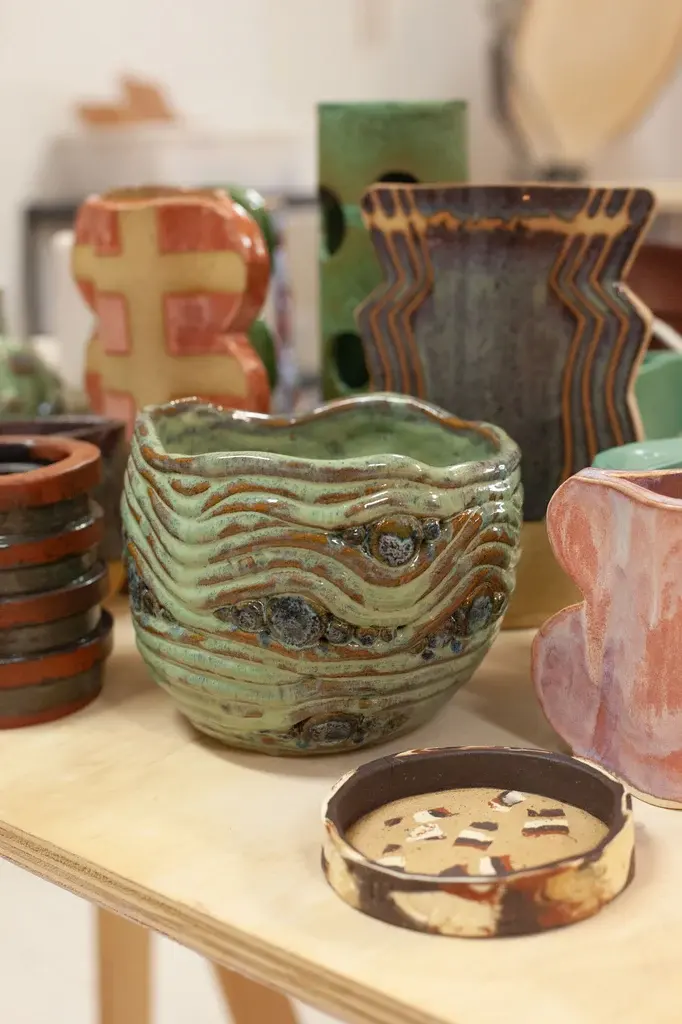
Each technique offers a different aesthetic and structural outcome. Pinching is highly tactile and intimate, often resulting in organic, asymmetrical pieces. Coiling provides the most freedom for height and volume, allowing for large-scale vases that would be difficult to throw on a wheel. Slab construction is ideal for those who prefer sharp lines, precision, and structural integrity. Most potters combine these methods to achieve complex designs, using coils to reinforce slab-built walls or pinching rims for a decorative finish.
How do you join clay pieces together?
Joining clay is the most critical skill in hand building to prevent pieces from cracking or falling apart during the drying and firing processes. The standard method for connecting two pieces of clay is "scoring and slipping." Scoring involves scratching cross-hatched marks into the surfaces where the pieces will meet, which creates a rough texture for better adhesion. Slip, a mixture of clay and water with a consistency similar to yogurt, acts as the glue that fills these gaps and bonds the surfaces together.
To ensure a secure bond, follow these steps:
- Score both surfaces thoroughly with a needle tool or serrated rib.
- Apply a generous layer of liquid slip to both scored areas.
- Press the pieces firmly together with a slight wiggling motion to interlock the clay particles.
- Smooth the seam with a damp sponge or wooden tool to eliminate air pockets and ensure a seamless transition.
Failing to join pieces correctly often leads to "dunting" or cracking at the joints during the kiln firing. Always ensure the clay pieces have a similar moisture content before joining, as attaching wet clay to leather-hard clay can cause uneven shrinkage and eventual structural failure.
What tools are needed for hand building?
One of the greatest advantages of hand building is the minimal equipment required to get started. While professional studios stock expensive machinery, a beginner can achieve professional results with a few basic household items and specialized pottery tools. A wooden modeling tool is essential for smoothing surfaces and blending seams, while a needle tool is necessary for trimming edges and scoring. A metal or rubber rib is also useful for compressing clay walls and creating uniform curves or flat planes.
Beyond these basics, consider adding these items to your kit:
- A canvas-covered board for rolling slabs without the clay sticking to the table.
- A wire cutter for slicing through blocks of clay.
- A rolling pin for creating even slabs of consistent thickness.
- A serrated rib for efficient scoring of large surface areas.
- Soft sponges for cleaning and refining the final texture of the vessel.
Keep your tools clean and dry after every session to prevent rust and clay buildup. Storing your tools in a dedicated roll-up pouch helps maintain their shape and keeps them organized, ensuring you can focus entirely on the creative process rather than searching for equipment.
Common mistakes when hand building
Even experienced potters encounter challenges when working by hand, particularly regarding structural stability. One of the most common mistakes is failing to compress the clay sufficiently. When you roll a slab or stack a coil, the clay particles become disorganized, which can lead to warping or cracking during the drying phase. Always use a rib or your palm to firmly compress the clay surface, which aligns the particles and strengthens the overall structure. Another frequent error is allowing the clay to dry too quickly, which creates internal stress.
To avoid common pitfalls, keep these guidelines in mind:
- Avoid working with clay that is too soft, as it will struggle to support its own weight.
- Never leave a project uncovered, as uneven drying causes the edges to shrink faster than the base.
- Do not trap air bubbles inside joined pieces, as these can explode in the kiln.
- Always monitor the moisture level of your work; if it becomes too dry, it is impossible to add more clay without causing cracks.
If you are working on a large project, cover it loosely with plastic sheeting. This creates a humid environment that allows the moisture to distribute evenly throughout the piece, significantly reducing the risk of structural failure.
How long does it take to dry hand built pottery?
The drying process is a delicate stage that requires patience and careful observation. Small, thin-walled pinch pots may dry to a "bone dry" state—meaning all physical water has evaporated—in as little as 24 to 48 hours. Larger, complex slab-built sculptures can take two weeks or longer to dry completely. The environment plays a major role in this timeline; high humidity slows the process, while warm, dry air accelerates it. Forcing the drying process with heat lamps or hair dryers is highly discouraged, as it almost always leads to warping or cracking.
To manage the drying process effectively, monitor the state of your clay:
- Leather-hard: The clay is firm but still cool to the touch and can be carved or trimmed.
- Bone-dry: The clay is room temperature, lighter in color, and ready for the first firing.
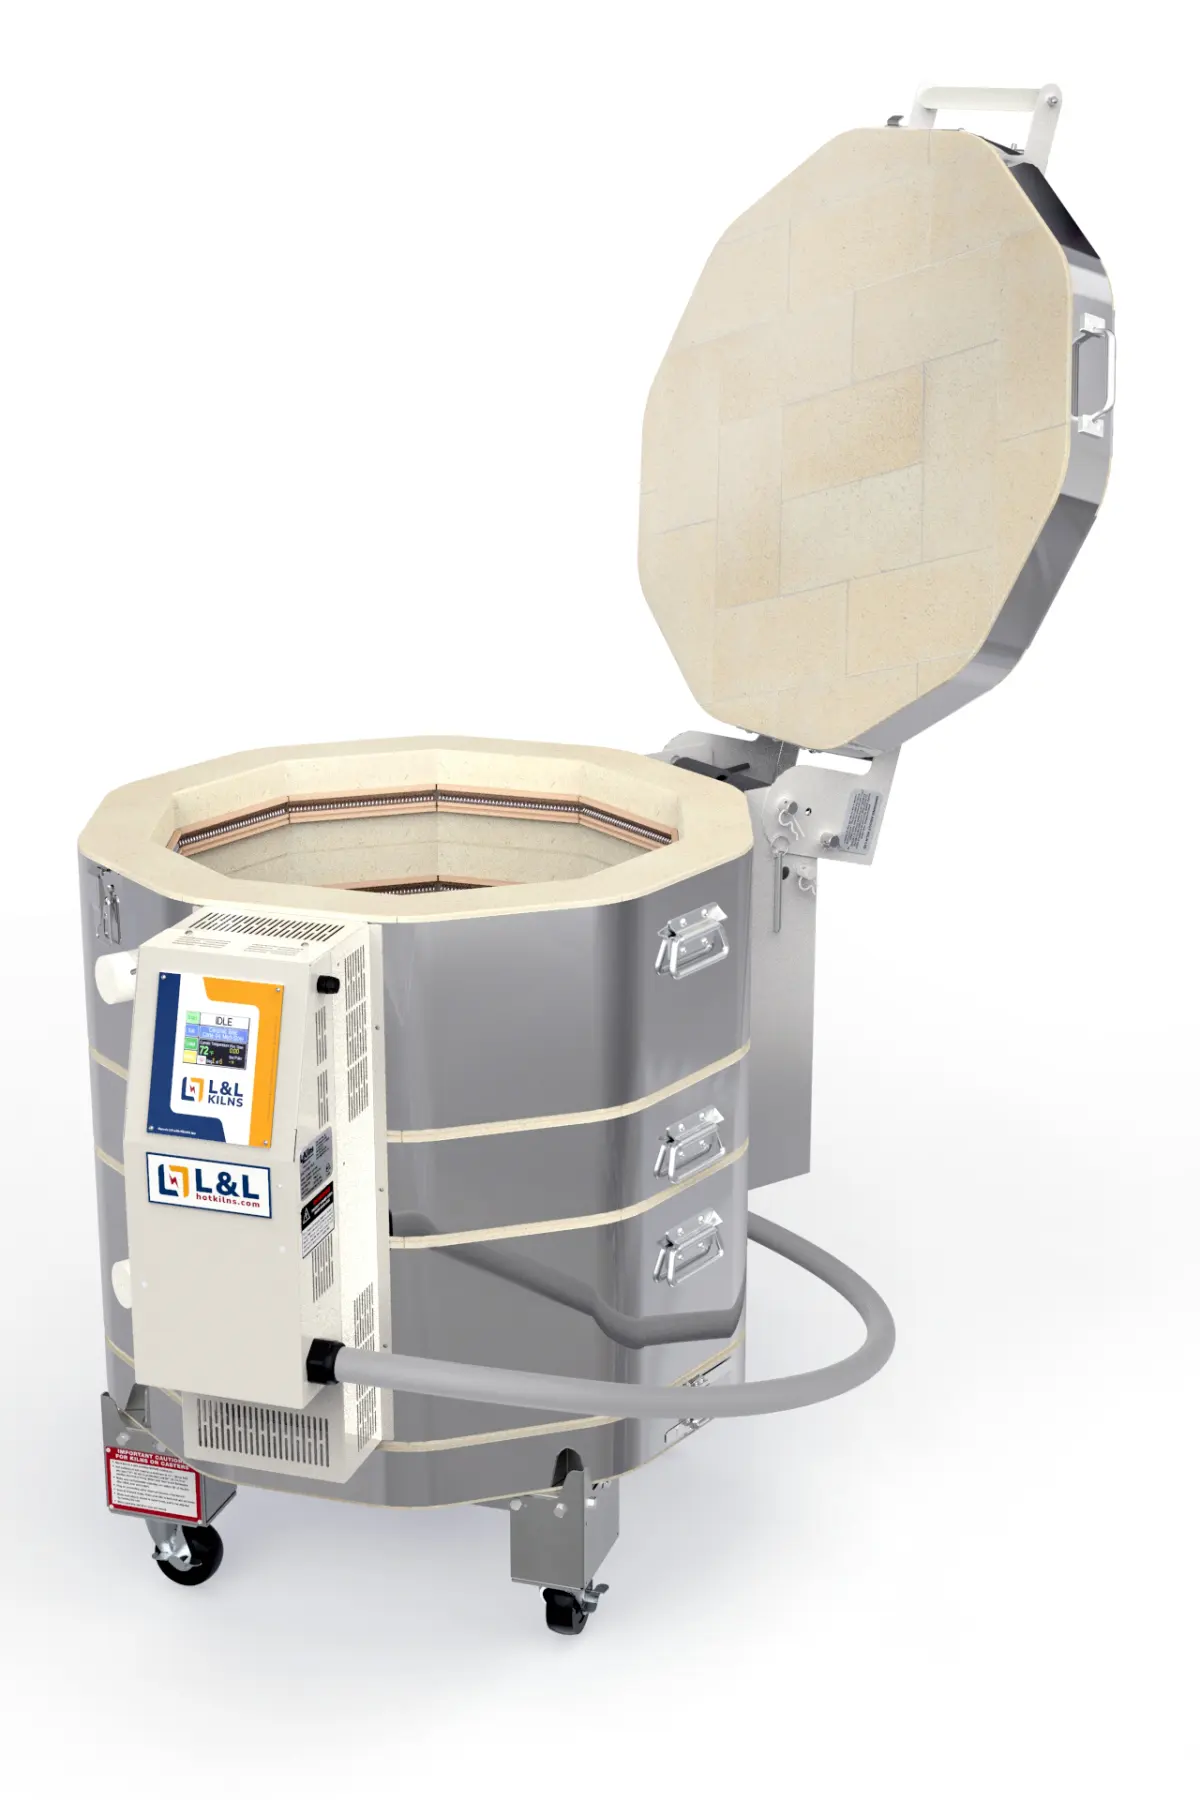
Once the piece is bone dry, it must be fired in a kiln to become bisque ware, which is the final stage before glazing. Never rush this timeline, as moisture trapped deep within the clay walls can turn to steam during firing, potentially causing the entire piece to shatter inside the kiln. Consistent, slow drying is the hallmark of a successful hand-built project.
Key facts
- Hand building is a ceramic technique that shapes clay using only the potter's hands and simple tools, rather than a mechanical potter's wheel.
- The three primary methods of hand building are pinching, coiling, and slab construction.
- Scoring and slipping—scratching the clay surface and adding liquid clay—is essential for joining two pieces of clay securely.
- Clay should be wedged before use to remove air bubbles, which can cause pieces to explode in the kiln.
- A common mistake is allowing clay to dry too quickly, which leads to cracks; cover work with plastic to control the drying rate.
- Beginners should aim for uniform wall thickness, as uneven clay dries at different rates and often warps or breaks during firing.
The bottom line
Hand building is an accessible entry point into ceramics that offers immense creative freedom without the need for expensive machinery. By mastering the fundamental techniques of pinching, coiling, and slab construction, you can create unique, functional, or sculptural pieces. Success relies on proper preparation, consistent wall thickness, and careful joining of clay parts. With patience and attention to moisture levels, anyone can transform raw clay into art.
People also ask
What is the difference between pinching and coiling?
Pinching involves using the thumb and fingers to compress a ball of clay into a hollow form. Coiling requires rolling clay into long, snake-like ropes that are stacked and smoothed together to build height.
Do I need a kiln to hand build pottery?
Yes, if you want your pottery to be durable and functional. While air-dry clay exists, true ceramic pottery must be fired in a kiln at high temperatures to undergo a chemical change that makes it permanent and water-resistant.
How thick should the walls of my pottery be?
Aim for a thickness of about one-quarter to one-half inch. Walls that are too thin are fragile, while walls that are too thick are prone to cracking because they trap moisture that cannot escape during the firing process.
Why does my clay crack while I am working on it?
Cracking usually occurs because the clay has become too dry or because the pieces were not joined correctly. Keep your clay moist by misting it with water, and always ensure you are using the score-and-slip method for attachments.
What is the best type of clay for beginners?
Stoneware is generally the best choice for beginners because it is forgiving, strong, and easy to work with. Earthenware is another option, but it is more porous and requires a specific glaze to become food-safe.
How do I keep my clay from sticking to the table?
Use a piece of canvas or a wooden board as your work surface. Avoid working directly on smooth plastic or metal, as the clay will create a vacuum seal and become difficult to remove without distorting the shape.
This answer was created with the help of AI research tools and reference sources. Spotted an error? Let us know — we correct mistakes quickly. See our editorial policy.