How do you make a clay pot?
Short answer
Making a clay pot involves preparing clay, shaping it through techniques like coiling or wheel throwing, drying the piece to a leather-hard state, and firing it in a kiln. After the initial bisque firing, you apply glaze and perform a second high-temperature firing to vitrify the clay and seal the surface.
On this page
How to prepare clay for pottery
Before you begin shaping, you must prepare your clay to ensure it is uniform and free of air bubbles. Air pockets trapped inside the clay can expand during the firing process, causing your pot to crack or explode in the kiln. The most common method for removing these bubbles is wedging, which is similar to kneading dough. Place a ball of clay on a non-porous surface, such as a plaster board or canvas-covered table, and press it firmly with the heels of your hands.
- Cut a lump of clay roughly the size of a grapefruit.
- Press the clay forward and down using your palms, then fold it back toward yourself.
- Repeat this motion 30 to 50 times until the clay feels smooth and consistent throughout.
- Check for air pockets by slicing the clay with a wire tool; if you see holes, continue wedging until the cross-section is solid.
Proper preparation creates a reliable foundation for your project. If the clay is too dry, it will crack while you work; if it is too wet, it will lack the structural integrity to hold a shape. You can adjust the moisture level by lightly spraying the clay with water or letting it sit uncovered for a short period.
How to shape a clay pot by hand
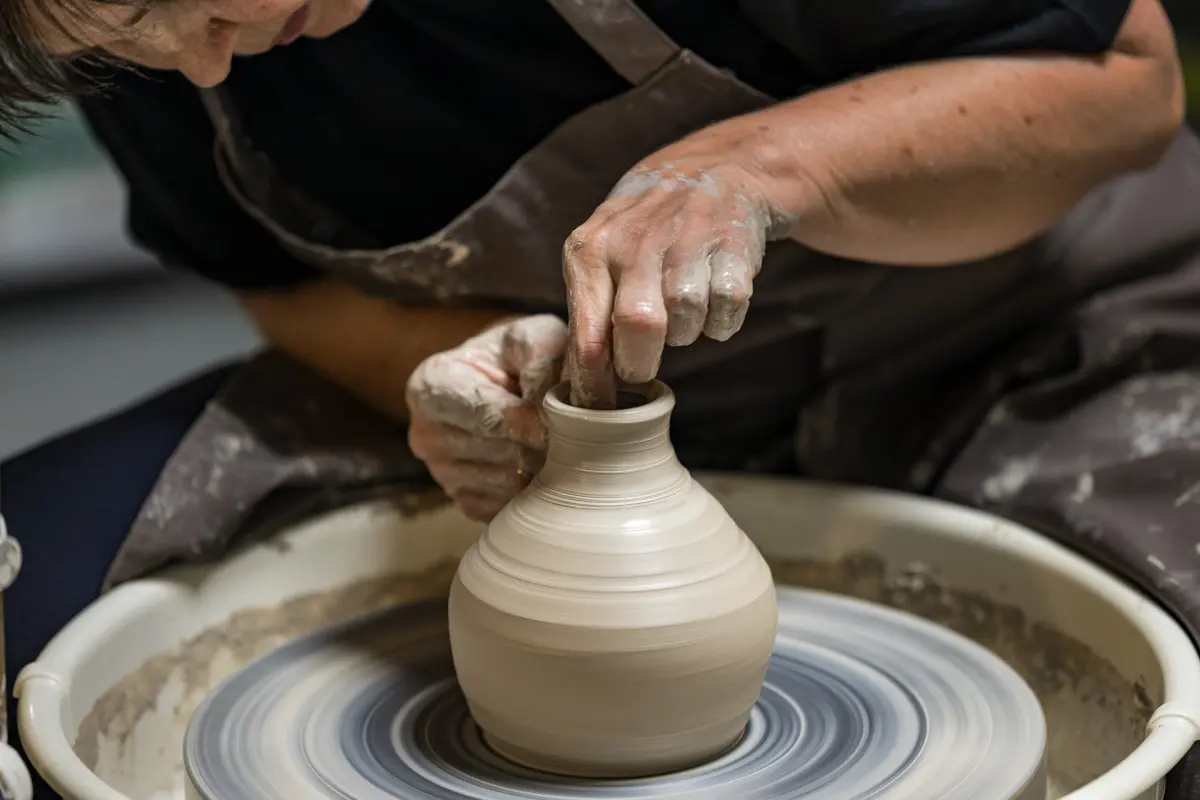
Hand-building is an accessible way to create pottery without specialized machinery. The coil method is particularly popular for beginners because it allows for gradual control over the height and width of the vessel. To start, roll out long, snake-like ropes of clay on your workspace. Create a flat base by flattening a ball of clay into a disc, then score the edges with a needle tool and apply liquid clay, known as slip, to act as glue.
- Stack the coils one by one on top of the base.
- Score and slip every connection point between the coils to ensure they bond securely.
- Smooth the interior and exterior walls with a wooden rib or your fingers to blend the coils together.
- Use a damp sponge to refine the surface texture and remove any fingerprints or imperfections.
Alternatively, you can use the pinch pot method, which involves pressing your thumb into a ball of clay and rotating it to thin the walls evenly. This technique is excellent for small bowls or cups. Regardless of the method, keep your movements deliberate and maintain consistent wall thickness to prevent warping during the drying stage.
How long does it take to dry pottery
Drying is a critical stage that requires patience to avoid structural failure. A pot must transition from a wet, plastic state to a "leather-hard" state, where it is firm enough to be trimmed or carved, and finally to "bone-dry," where all moisture has evaporated. This process can take anywhere from three days to two weeks depending on the thickness of the walls, the humidity of your environment, and the type of clay used.
Place your pots in a cool, draft-free area to ensure they dry slowly and evenly. If a pot dries too quickly, the exterior will shrink faster than the interior, leading to cracks. You can cover your work loosely with plastic sheeting to control the evaporation rate. Once the clay is bone-dry, it will feel room temperature to the touch rather than cool, indicating that the water has successfully escaped the pores of the clay.

How to fire a clay pot in a kiln
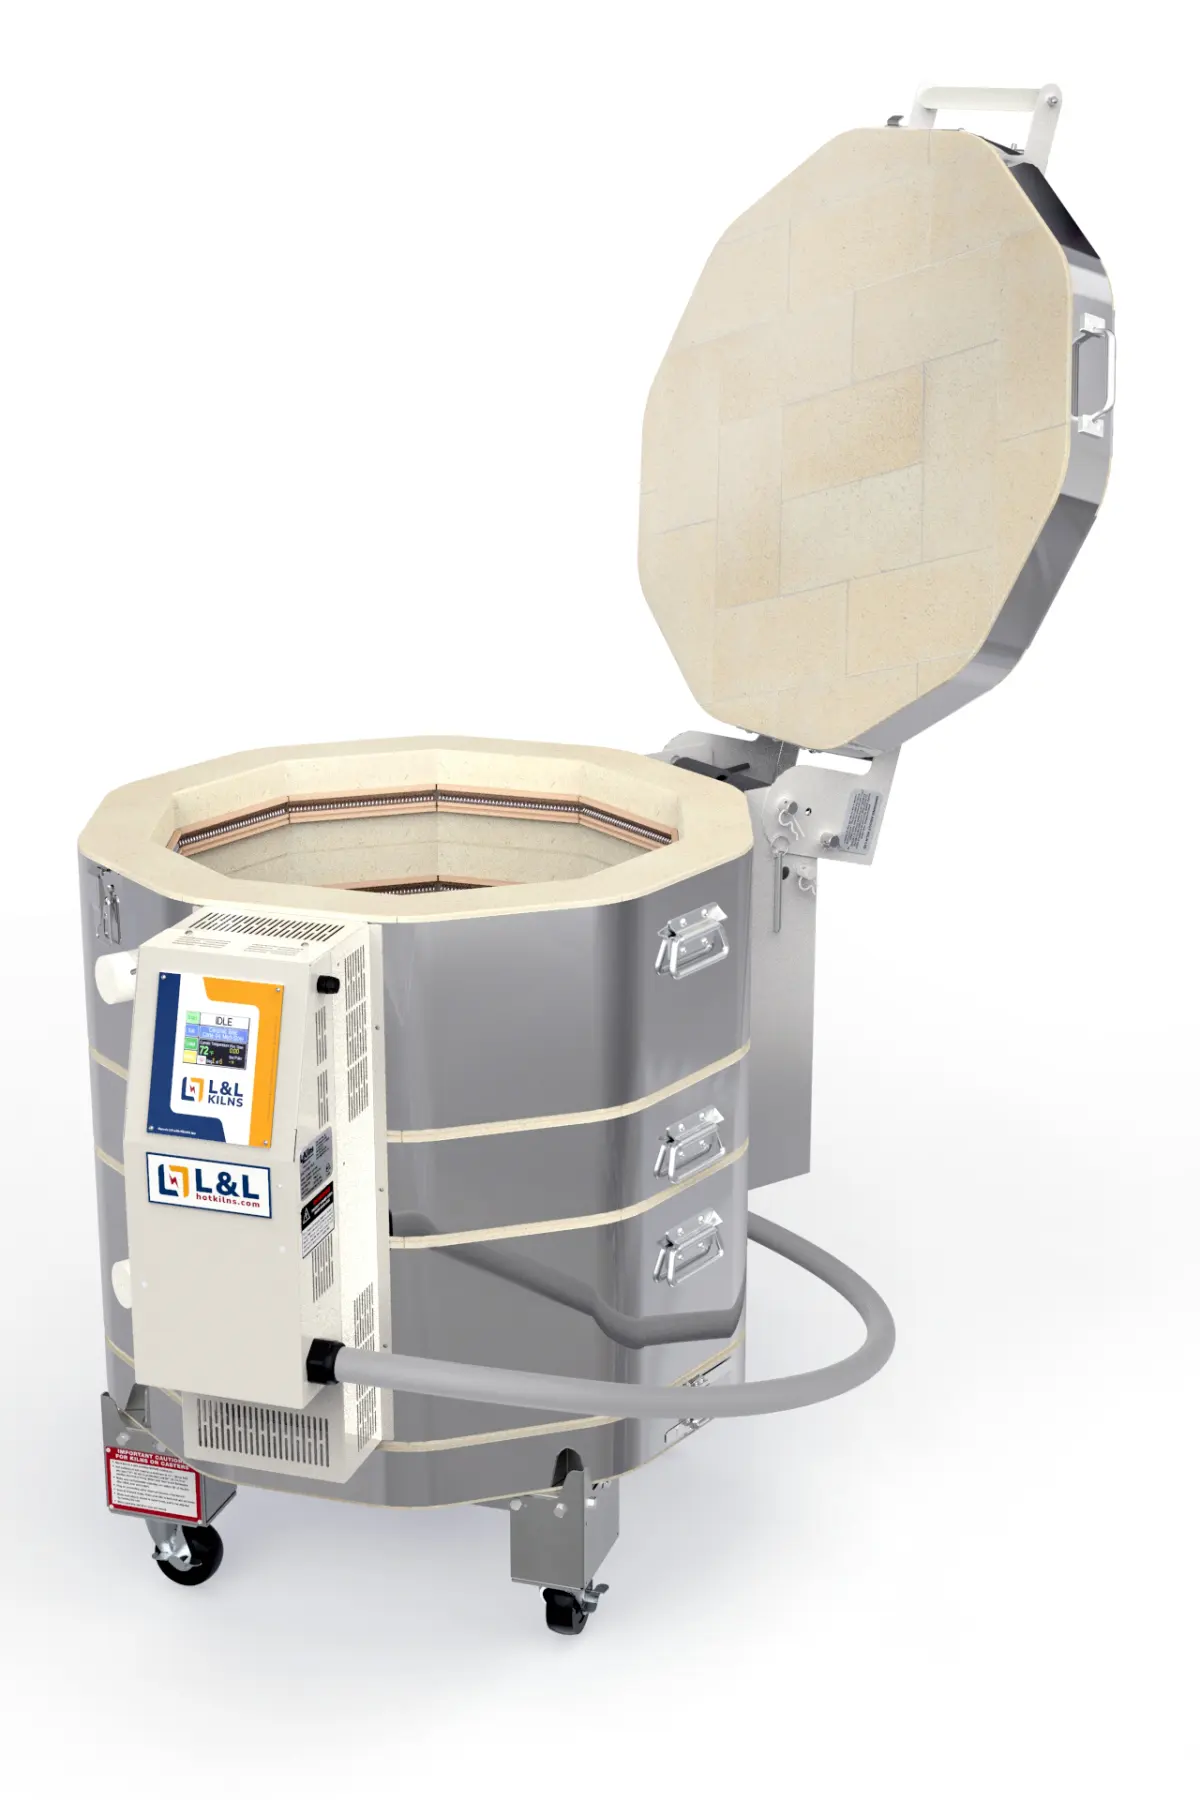
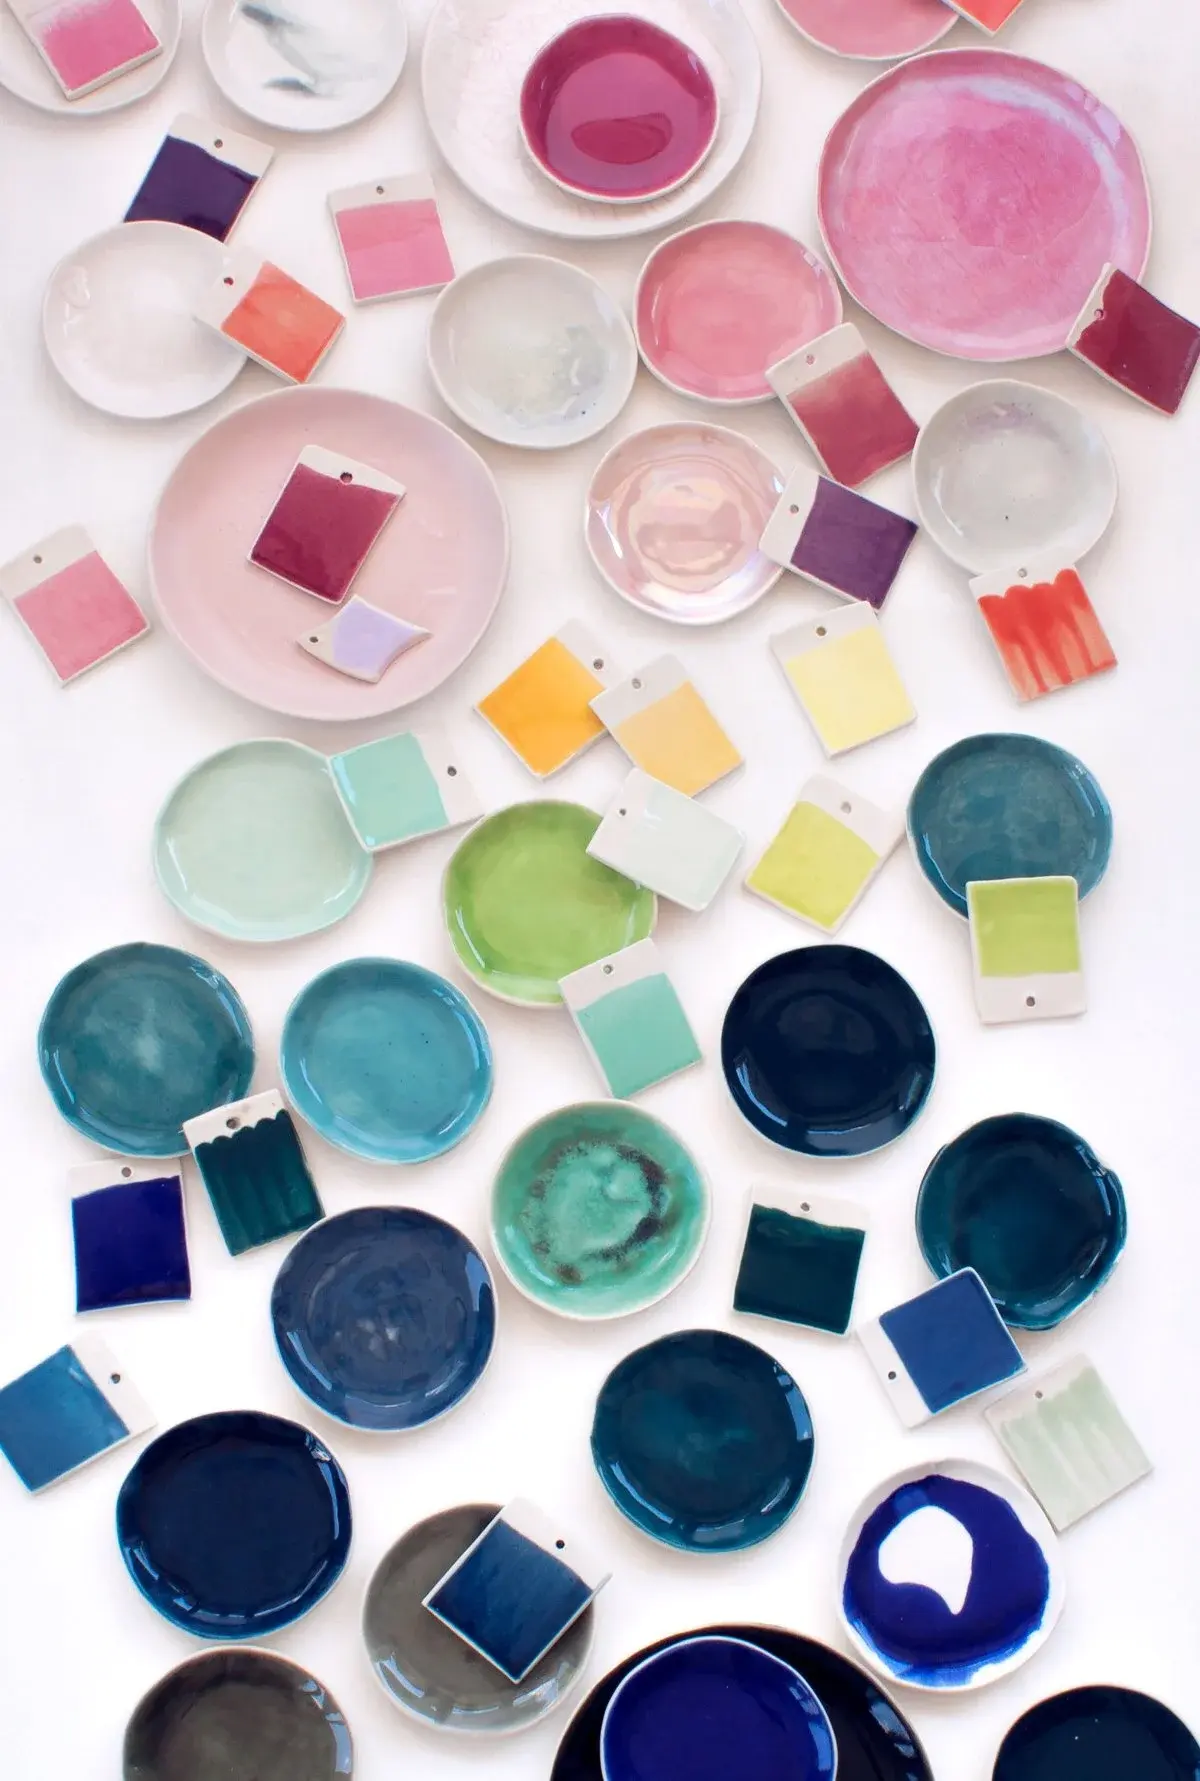
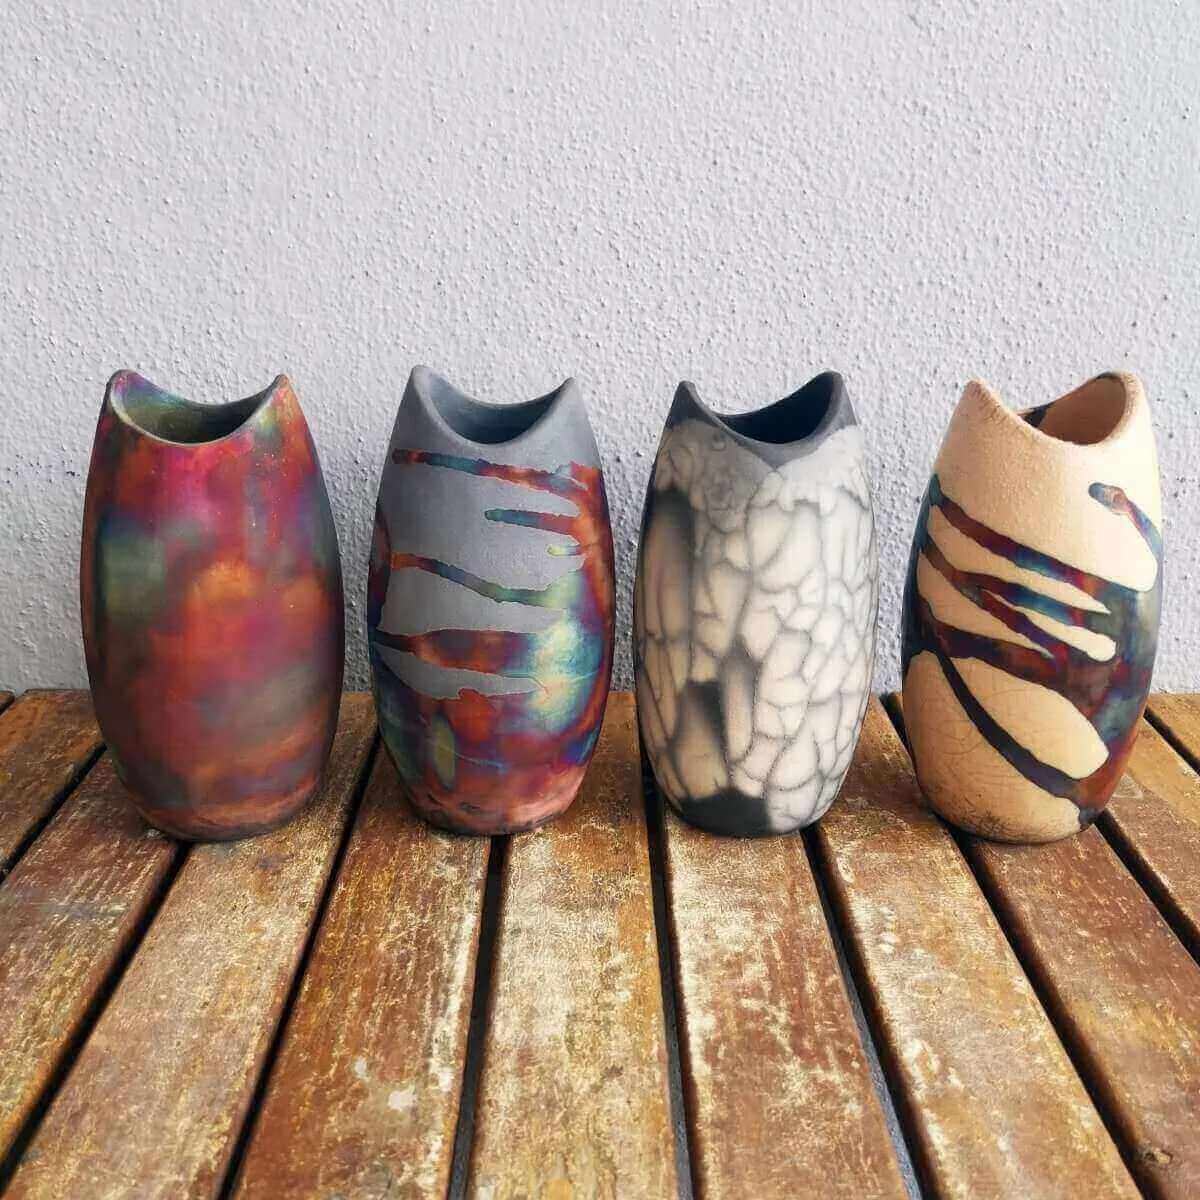
Firing is the process of heating clay to high temperatures to permanently transform it into ceramic. The first firing, known as the bisque fire, typically reaches temperatures between 1,700 and 1,900 degrees Fahrenheit. This process chemically alters the clay, making it porous enough to absorb glaze while remaining strong enough to handle. After the bisque firing, the pot is ready for decoration, such as painting with liquid glazes made of minerals and glass-forming materials.
A second firing, called the glaze fire, is required to melt the glaze into a smooth, glass-like coating. This stage often reaches higher temperatures, sometimes exceeding 2,200 degrees Fahrenheit, depending on the clay body and glaze type. The kiln must be heated and cooled very slowly to prevent thermal shock, which can cause the ceramic to shatter. Always follow the manufacturer’s instructions for your specific kiln and clay to ensure the best results and maintain the longevity of your equipment.
Common mistakes when making pottery
Many beginners encounter frustration due to avoidable technical errors that occur during the construction or firing phases. One of the most frequent mistakes is failing to properly score and slip pieces when joining them, which almost always results in the parts separating during the drying or firing process. Another common issue is inconsistent wall thickness; if one side of your pot is significantly thicker than the other, the piece will likely crack or warp because the different sections dry at different rates.
- Ignoring air bubbles during the wedging process.
- Using too much water while throwing or smoothing, which weakens the clay structure.
- Rushing the drying process by placing pots near heat sources.
- Applying glaze too thickly, which causes it to run and stick to the kiln shelf.
- Forgetting to clean the bottom of the pot, which results in the glaze fusing the piece to the kiln.
By carefully monitoring your moisture levels and ensuring that all joints are securely fused, you can significantly increase your success rate. Pottery is a craft that rewards attention to detail and consistent practice. As you gain experience, you will learn to anticipate how your specific clay reacts to different temperatures and techniques, allowing you to create increasingly complex and durable ceramic vessels.
Key facts
- Clay must be wedged thoroughly before use to remove air bubbles that cause pots to explode in the kiln.
- The three primary methods for hand-building are pinching, coiling, and slab construction.
- Scoring and slipping—scratching the clay surface and adding liquid clay—is essential for joining two pieces together.
- Leather-hard clay is the ideal stage for trimming, carving, or attaching handles to a vessel.
- A kiln must reach temperatures between 1,700°F and 2,400°F to chemically transform clay into permanent ceramic.
- Glaze acts as a glass-like coating that makes porous clay vessels waterproof and food-safe.
The bottom line
Creating a clay pot is a transformative process that blends artistic vision with scientific precision. By mastering hand-building techniques like coiling or pinching, you can shape raw earth into functional vessels. Success relies on patience during the drying phase and careful attention to moisture levels. Once fired in a kiln, your creation becomes a permanent, durable object that bridges the gap between ancient tradition and modern craft.
People also ask
How long does it take for clay to dry?
Clay typically takes one to two weeks to reach the bone-dry stage, depending on humidity and thickness. It must dry slowly and evenly to prevent cracking or warping.
What is the difference between earthenware, stoneware, and porcelain?
Earthenware is porous and fired at lower temperatures, while stoneware is durable and fired at higher heat. Porcelain is a refined, translucent clay body that requires the highest firing temperatures to vitrify.
Can I bake clay in a regular kitchen oven?
Standard ceramic clay cannot be fired in a kitchen oven because it requires temperatures far beyond the oven's capacity. Only polymer clay is designed to harden at common household oven temperatures.
Why did my clay pot crack during firing?
Cracking is usually caused by trapped air bubbles, uneven wall thickness, or drying the pot too quickly. Ensure the clay is wedged well and dried slowly under plastic to minimize stress.
What tools do I need to start pottery?
A basic kit includes a wire cutter, a wooden rib, a needle tool, a sponge, and a loop tool for trimming. You can also use household items like forks or rolling pins for texture.
Do I have to glaze my pottery?
Glazing is optional for decorative pieces, but it is necessary for functional items like mugs or bowls. Without glaze, porous clay will absorb liquids and harbor bacteria.
This answer was created with the help of AI research tools and reference sources. Spotted an error? Let us know — we correct mistakes quickly. See our editorial policy.