How do you make a pinch pot?
Short answer
A pinch pot is created by shaping a ball of clay using your fingers and thumbs. By pressing into the center of the clay and rotating it, you gradually thin the walls to form a bowl or vessel. This fundamental hand-building technique is the oldest and simplest method in ceramic art history.
On this page
How to make a pinch pot step-by-step
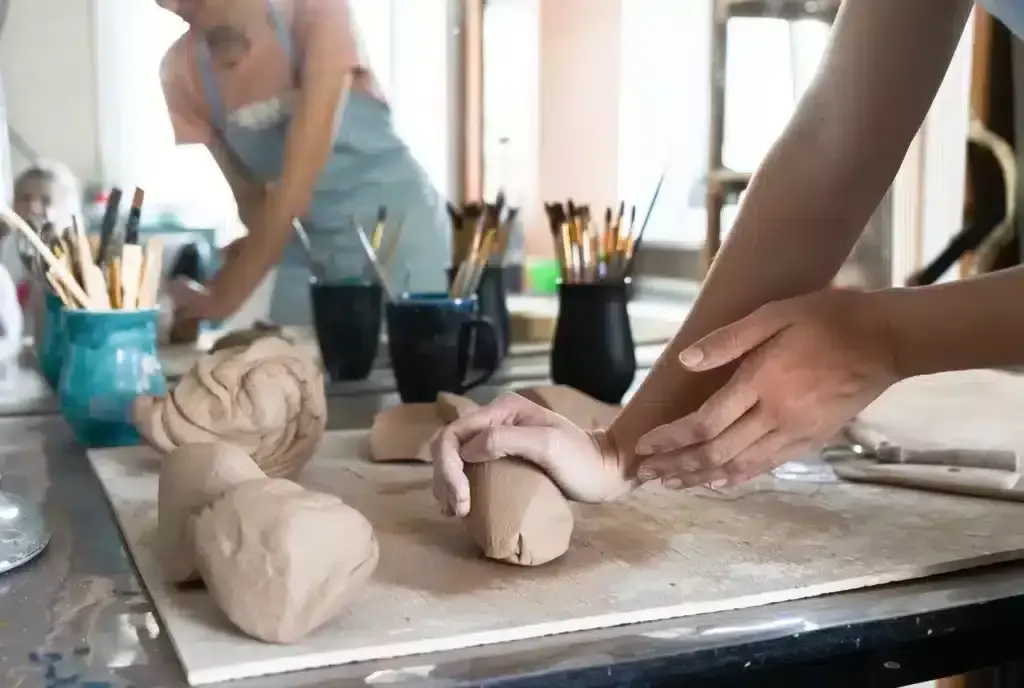
The process begins by preparing a sphere of clay, roughly the size of a tennis ball. Ensure the clay is wedged, or kneaded, to remove air bubbles, which can cause the piece to explode in a kiln. Once the clay is smooth and free of cracks, you are ready to begin the forming process.
- Hold the clay ball firmly in your non-dominant hand.
- Push your thumb into the center of the ball, stopping about half an inch from the bottom.
- Use your thumb and fingers to gently "pinch" the clay, rotating the ball steadily as you work around the circumference.
- Gradually move from the base toward the rim, applying even pressure to maintain a consistent wall thickness.
- Smooth the surface with a damp sponge or your fingertips to remove any deep indentations or fingerprints.
Consistency is key to a successful pot. If you pinch too hard in one spot, the wall will become dangerously thin, leading to potential structural failure during the drying or firing process.
How long does it take to make a pinch pot
For a beginner, a single pinch pot typically takes between 15 and 30 minutes to form. This duration includes the time needed to wedge the clay, shape the vessel, and refine the rim. Experienced potters can often complete a basic pinch pot in under ten minutes, though adding decorative elements or complex shapes will naturally extend the time required.
The drying process takes significantly longer than the actual construction. After shaping, the pot must dry slowly at room temperature, away from direct heat sources. This stage, known as the "leather-hard" phase, usually takes 24 to 48 hours depending on humidity levels.
- Keep the pot covered with a light plastic bag for the first day to ensure even moisture evaporation.
- Allow the piece to reach "bone-dry" status, where it feels room temperature to the touch, before attempting to fire it in a kiln.
- Avoid rushing the drying process, as rapid moisture loss leads to warping or cracking.
Best clay for beginners
Earthenware clay is widely considered the best choice for those learning to make pinch pots. It is highly plastic, meaning it is easy to manipulate and holds its shape well under the pressure of your fingers. Because it is porous and forgiving, it is less prone to the stress-related cracking often seen in more temperamental clay bodies like porcelain.
When selecting clay, look for options labeled "with grog." Grog is finely ground, pre-fired clay added to the mixture to provide structural support and reduce shrinkage. This additive makes the clay feel slightly sandy, which helps prevent the walls of your pinch pot from sagging as you thin them out.
- Choose a clay body with a firing range that matches your available kiln equipment.
- Purchase small quantities initially to test the texture and workability.
- Ensure the clay is stored in an airtight container to maintain the proper moisture content for future projects.
Why cracking happens in pinch pots
Cracking is the most common frustration for students, and it usually stems from uneven wall thickness or improper drying. If the base of the pot is significantly thicker than the rim, the different sections will shrink at different rates as the water evaporates. This tension causes the clay to pull apart, resulting in horizontal or vertical cracks that often appear only after the piece has dried.
Another frequent cause is the presence of air pockets trapped inside the clay. If you do not wedge your clay thoroughly, these microscopic bubbles expand when heated in the kiln, causing the vessel to crack or even shatter. Additionally, if the rim is left too thin, it may dry out faster than the body, leading to fine, hairline fractures that compromise the integrity of the entire pot.
- Always compress the rim with your fingers to strengthen the edge.
- Avoid using excess water during the smoothing phase, as this can weaken the clay structure.
- Rotate the pot frequently while drying to ensure air reaches all sides equally.
Common mistakes when making pinch pots
One frequent error is failing to support the base of the pot while pinching, which leads to a flattened or misshapen bottom. Beginners often focus so much on the rim that they forget to maintain the base's thickness, resulting in a vessel that is top-heavy and unstable. Always check the bottom thickness periodically by gently tapping it or using a needle tool to measure.
Another common mistake is overworking the clay, which can cause it to become "tired" or lose its structural memory. If the clay begins to feel sticky or starts to slump, set it aside for a few minutes to firm up before continuing. Finally, neglecting to score and slip when adding handles or decorative elements is a fatal error; without these techniques, attachments will inevitably fall off after the kiln firing.
- Never work on a surface that absorbs moisture too quickly, such as dry wood or plaster, without a barrier.
- Avoid using too much water to smooth the surface, as this creates a slurry that can hide structural weaknesses.
- Always inspect the interior for deep finger marks that could become stress points during the firing process.
Key facts
- A pinch pot is the most fundamental hand-building technique in ceramics, dating back thousands of years to early human civilizations.
- Use a clay ball about the size of a tennis ball, approximately 3 inches in diameter, to ensure the walls are not too thin.
- Keep your thumb about half an inch from the bottom of the clay to avoid poking a hole through the base.
- Rotate the clay in your palm consistently while pinching to ensure uniform wall thickness and a symmetrical shape.
- Compress the rim of the pot frequently with your fingers to prevent cracks from forming as the clay dries.
- Let the finished pot dry slowly under a loose plastic cover for 24 hours to prevent warping or stress fractures.
The bottom line
Creating a pinch pot is a meditative and accessible entry point into the world of pottery. By starting with a centered ball of clay and using rhythmic, even pressure, you can transform a simple lump into a functional vessel. Focus on maintaining consistent wall thickness and moisture levels throughout the process. With patience and proper drying techniques, you will successfully craft a durable piece of handmade ceramic art.
People also ask
What type of clay is best for beginners?
Earthenware or stoneware clay is ideal because they are plastic and easy to manipulate. Avoid air-dry clay if you intend to hold liquids, as it is not waterproof even after painting.
How thick should the walls of the pot be?
Aim for a uniform thickness of about one-quarter to one-half inch. If the walls are too thin, the pot will collapse; if they are too thick, it may explode in the kiln.
Why is my pinch pot cracking at the rim?
Cracking usually occurs because the clay is drying too quickly or the rim was stretched too thin. Keep the rim compressed and moist during the shaping process to maintain structural integrity.
Do I need to use water while shaping the clay?
Use only a small amount of water to smooth the surface, as excess water weakens the clay structure. Over-wetting causes the clay to become sticky, lose its shape, and potentially crack during drying.
How do I join two pinch pots together?
Score both rims with a needle tool, apply clay slip, and press them firmly together. Smooth the seam thoroughly with a wooden modeling tool to ensure a secure bond.
Can I put a pinch pot in the oven to harden it?
No, you should never place ceramic clay in a kitchen oven. Ceramic clay requires a kiln to reach temperatures between 1,800 and 2,400 degrees Fahrenheit to undergo chemical vitrification.
This answer was created with the help of AI research tools and reference sources. Spotted an error? Let us know — we correct mistakes quickly. See our editorial policy.