How do you draw a phoenix step by step?
Short answer
Drawing a phoenix involves constructing a dynamic bird silhouette using geometric shapes, then layering intricate, flame-like feathers. Begin with a central teardrop body and an S-curve neck. Gradually add expansive wings and a long, flowing tail, focusing on fluid, upward-sweeping lines to capture the mythical creature’s essence of rebirth and fire.
On this page
How to sketch the basic phoenix structure
The foundation of a convincing phoenix begins with simple geometry. Start by drawing a small circle for the head and a larger, elongated oval for the torso, positioned at a slight angle to suggest movement. Connect these with a graceful, elongated S-curve that represents the neck. This framework provides the necessary posture for a bird that is either taking flight or perched majestically.
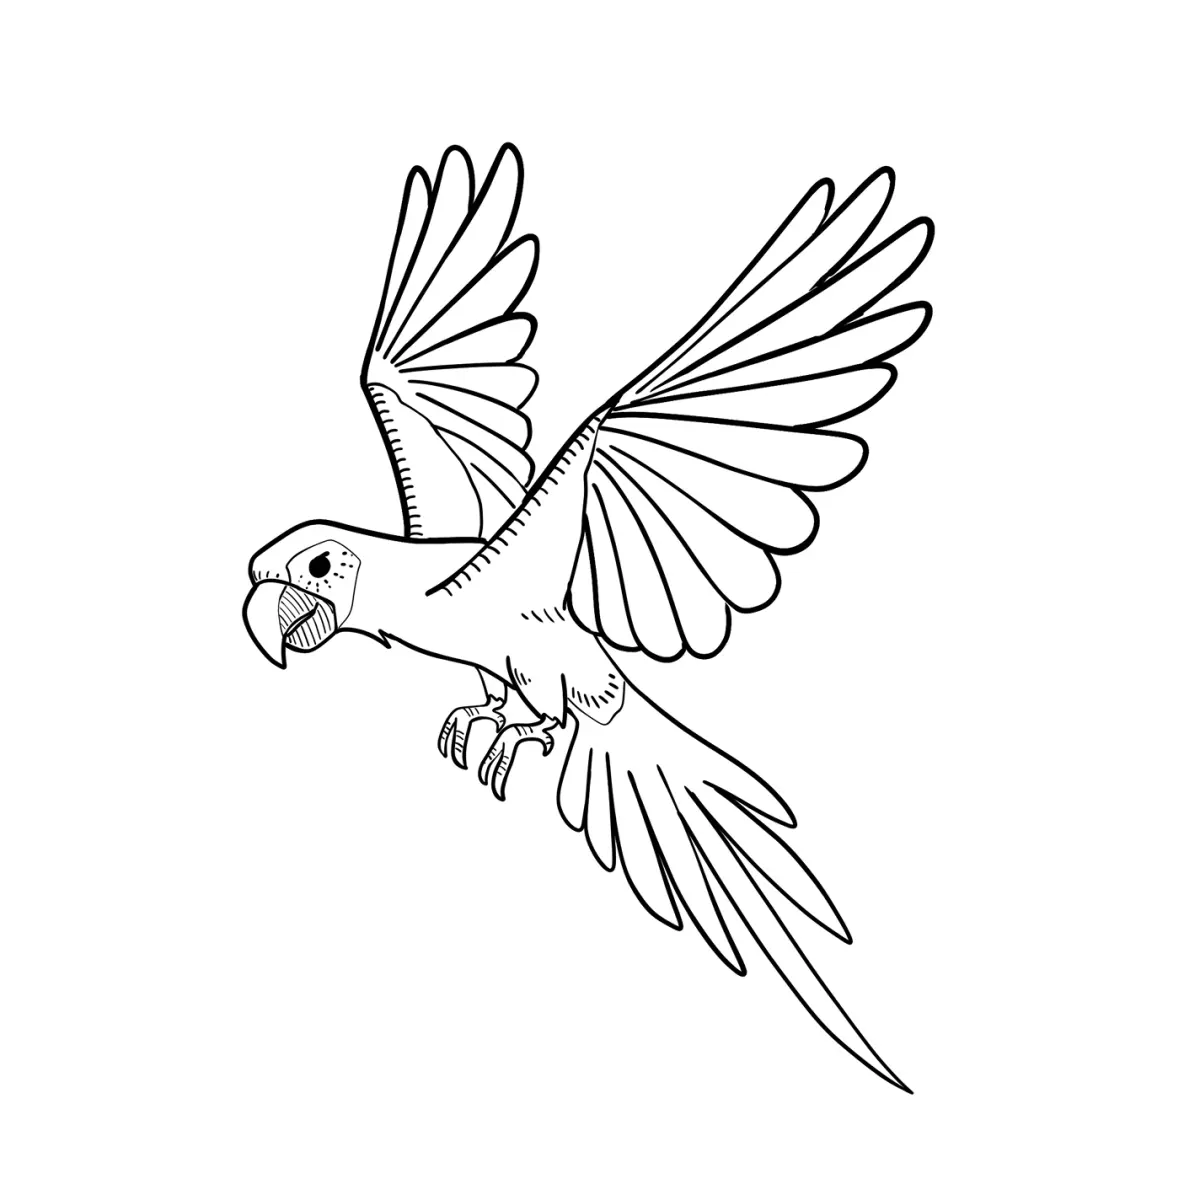
Once the torso is set, map out the wings and tail using long, sweeping arcs. Because a phoenix is a mythical creature often depicted in mid-flight, place the wing joints high above the body to create a sense of scale. Use these guidelines:
- Sketch a horizontal line across the torso to determine the wing span.
- Draw two large, crescent-shaped arcs extending from the shoulders.
- Add a long, trailing line from the base of the torso for the tail feathers.
- Ensure the proportions remain balanced so the wings do not overwhelm the body.
Best drawing techniques for phoenix feathers
Feathers are the defining feature of a phoenix, and they should look like flickering flames. Instead of drawing individual, rounded bird feathers, use sharp, pointed triangles that overlap. Start from the wing tips and work inward toward the body, making the feathers longer at the edges and shorter near the chest. This layering technique creates a sense of depth and mimics the appearance of combustion.
When detailing the tail, focus on long, ribbon-like plumes that curve downward and then whip back up. These should flow behind the bird as if it is leaving a trail of embers. To enhance the effect, vary the density of the feathers. Keep the chest area dense and compact, while allowing the wing and tail feathers to spread out into thinner, more jagged points. This contrast between the solid body and the wispy extremities brings the drawing to life.
How to add fire and motion to the drawing
A phoenix is not merely a bird; it is a creature of fire. To convey this, incorporate curves that suggest wind resistance and heat distortion. Draw small, flame-shaped wisps trailing off the tips of the primary feathers. These should be thinner and more irregular than the actual feathers, helping to blur the line between the bird’s physical form and its fiery aura.
Consider the direction of the wind when placing these details. If the phoenix is rising, the feathers and flame-wisps should point downward, trailing behind the creature’s upward momentum. Use these tips to enhance the motion:
- Use varying line weights; press harder on the outer edges and lighter on the inner details.
- Draw overlapping layers to create a sense of volume rather than a flat silhouette.
- Add small, floating embers around the wings to emphasize the heat.
- Keep the overall shape asymmetrical to avoid a stiff, static appearance.
Common mistakes when drawing a phoenix
The most frequent error is making the phoenix look like a standard eagle or hawk. While the anatomy is based on a raptor, the phoenix requires more elegance and exaggeration. Avoid drawing short, stubby feathers, as these make the creature appear heavy and grounded. Instead, prioritize length and fluidity in the wings and tail, which are the primary indicators of its mythical status.
Another common pitfall is over-detailing the head. Keep the eyes sharp and the beak hooked, but do not clutter the face with too many small lines. The viewer’s focus should remain on the expansive wingspan and the trailing tail. If the head is too busy, it detracts from the overall silhouette. Finally, ensure the connection points between the wings and the body are smooth; abrupt angles can make the bird look mechanical rather than organic and magical.
How to refine and finish your phoenix
Refining your drawing involves cleaning up the initial construction lines and darkening the final contours. Use a fine-liner or a soft pencil to define the edges of the feathers, ensuring that the transitions between the wings and the body are seamless. Remove any stray guide marks from the torso and neck, but keep the sweeping curves that define the bird’s overall movement.
To finalize the piece, add shading to the underside of the wings and the belly. This creates a three-dimensional effect, making the phoenix appear as if it is glowing from within. Focus your shading on the areas where feathers overlap, as this is where the most shadow would naturally occur. By carefully balancing the sharp, flame-like edges with soft, internal shading, you will create a powerful image of a phoenix that feels both grounded in avian anatomy and elevated by its legendary, fiery nature.
Key facts
- Start by sketching a simple teardrop shape for the body to establish the phoenix's center of gravity.
- Use long, curved lines to create the wings, as the phoenix is traditionally depicted with an expansive, flame-like wingspan.
- Draw the tail feathers as elongated, flowing ribbons that taper to sharp points to mimic flickering fire.
- Focus on layering feathers in a V-shape pattern to create a sense of depth and upward motion.
- Incorporate circular or almond-shaped eyes to convey the legendary bird’s wisdom and intensity.
- Avoid drawing stiff, straight lines; the phoenix should always appear fluid and organic to represent its connection to fire.
The bottom line
Drawing a phoenix requires balancing anatomical accuracy with fluid, abstract shapes that mimic the movement of fire. By focusing on a strong, teardrop-shaped core and layering elongated, flame-like feathers, you can create a sense of dynamic energy. Always prioritize curved lines over rigid ones to ensure the creature looks alive and ethereal. With practice, these techniques will help you capture the majesty of this legendary bird.
People also ask
What is the best medium for drawing a phoenix?
Colored pencils or markers are ideal because they allow you to blend warm tones like red, orange, and gold effectively. These mediums help capture the luminous, fiery quality associated with the mythical creature.
How do I make the wings look like they are made of fire?
Use jagged, flame-like strokes at the tips of the feathers instead of smooth, rounded edges. Gradually transition your colors from dark red at the base to bright yellow at the tips to simulate a heat gradient.
Should the phoenix be drawn in a specific pose?
Most artists prefer a dynamic "rising" pose with wings spread wide to represent the creature's rebirth from ashes. This orientation emphasizes the phoenix's legendary status as a symbol of resurrection.
How do I draw the beak of a phoenix?
Draw a sharp, hooked beak similar to an eagle's to signify the bird's predatory nature. Keep the proportions balanced so the beak does not overpower the rest of the head.
Are there specific colors I must use?
While traditional lore suggests gold and scarlet, you can use any vibrant palette that evokes heat. Experimenting with purples or deep blues can add a modern, magical touch to the classic design.
How can I add texture to the feathers?
Use short, overlapping strokes rather than long lines to create a ruffled, dense look. Adding small highlights with a white gel pen can make the feathers appear glossy and reflective.
This answer was created with the help of AI research tools and reference sources. Spotted an error? Let us know — we correct mistakes quickly. See our editorial policy.