How do you paint fire with acrylic paint?
Short answer
Painting fire with acrylics requires a layered approach, moving from dark to light colors. Start with a deep base, then build luminosity by applying transparent glazes of orange, yellow, and white. By using a "wet-on-dry" technique and focusing on soft, feathered edges, you can effectively simulate the intense, flickering energy of flames.
On this page
How to layer colors for realistic fire
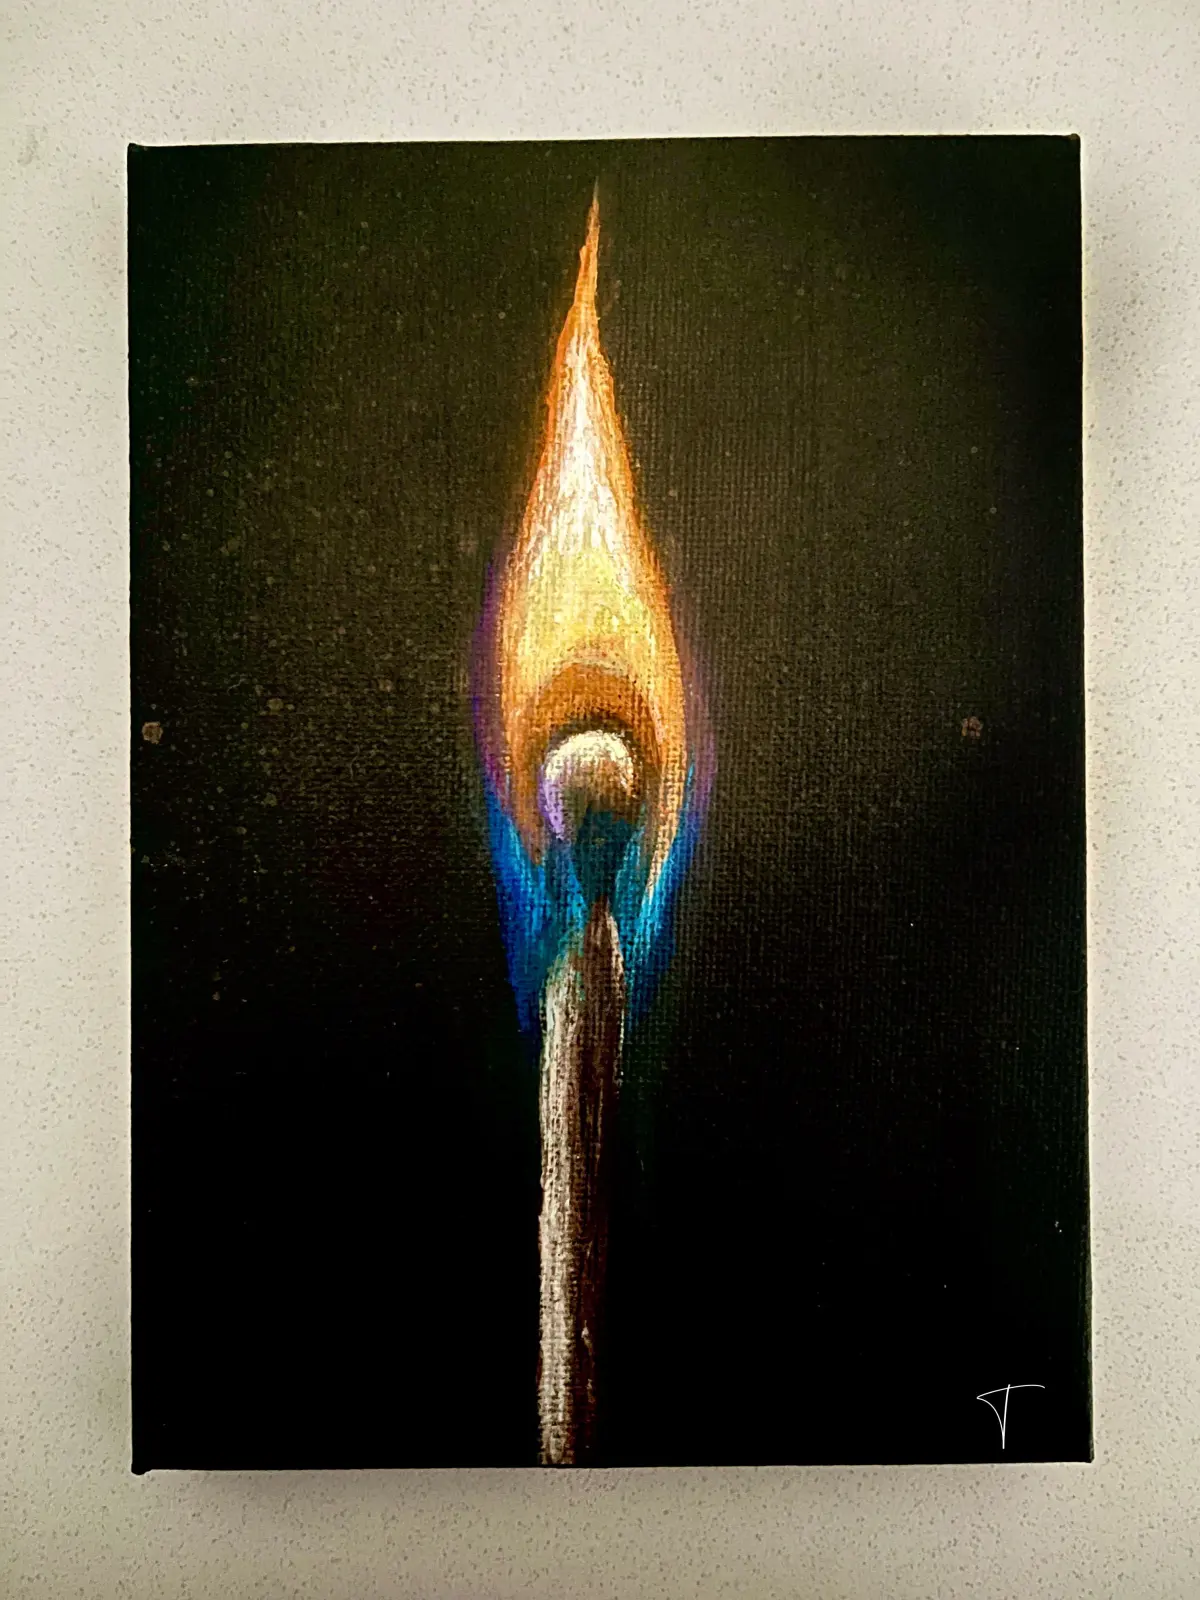
Creating realistic fire requires a systematic approach to color theory, moving from the coolest tones at the base to the hottest at the core. Begin by blocking in your shapes with a dark, muted base color, such as burnt umber or deep violet. This provides the necessary contrast to make the subsequent brighter colors pop against the background. As you progress, transition into warmer mid-tones like cadmium red and deep orange.
Once the base is established, you must build the internal glow using lighter pigments. The secret to fire is luminosity, which is best achieved by applying thin, translucent layers of paint. Avoid using opaque white immediately, as it will make the fire look chalky rather than radiant. Instead, use a glazing medium to extend your yellow and orange paints, allowing the darker layers beneath to show through and create depth.
- Start with a dark, neutral base to define the silhouette of the flames.
- Apply mid-tone reds and oranges using a dry brush to create textured edges.
- Layer transparent yellows over the center of the flames to simulate intense heat.
- Add final highlights of pale yellow or white only at the hottest points.
Best acrylic painting techniques for beginners
For those new to painting fire, the "wet-on-dry" technique is the most reliable method for maintaining control over your edges. Because acrylics dry rapidly, you can paint a layer, wait a few minutes, and then add a new color on top without the pigments muddying together. This is essential for fire, where you want distinct, flickering shapes rather than a blurry, indistinct mass of color.
Another effective method is the "scumble" technique, which involves using a dry brush with very little paint to drag color over an existing layer. This creates a soft, hazy effect that mimics the way flames dissipate into smoke or air. By varying the pressure of your brush, you can control how much of the underlying color remains visible. This helps in creating the transition zones between the hot core and the cooler outer edges of the fire.
- Use a round or filbert brush to create organic, curved shapes that mimic the movement of rising heat.
- Keep a damp cloth nearby to wipe away excess paint or soften edges while they are still slightly tacky.
- Work from the outside of the flame inward to ensure the brightest colors remain at the center.
How to create a glowing effect with acrylics
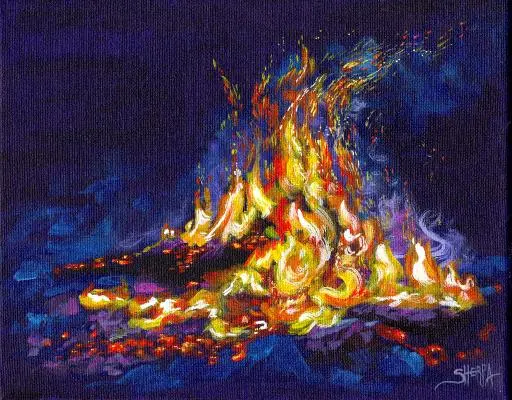
The illusion of an internal glow is achieved through high-contrast edges and the strategic use of light. Fire is not a solid object; it is a source of light that affects everything around it. To capture this, ensure that the colors immediately surrounding the fire are slightly tinted with the warm hues of the flames. This technique, known as reflected light, grounds the fire in the scene and makes it feel integrated rather than pasted on.
When painting the brightest parts of the fire, focus on the "hot spots," which are usually located near the base or in the center of the largest flames. Use a small, firm brush to apply tiny, sharp accents of white or very pale yellow. These sharp highlights act as the focal point for the viewer's eye. Remember that the center of the fire should be the most intense, while the outer tips should fade into softer, darker oranges and reds.
- Keep your brushes clean to prevent the yellow and white paint from turning muddy when mixed with residual red pigments.
- Use a glazing medium to increase the transparency of your yellows, which allows for a more vibrant, light-filled appearance.
- Avoid outlining the flames with black, as this makes them look like cartoon illustrations rather than natural, flickering energy.
Common mistakes when painting fire
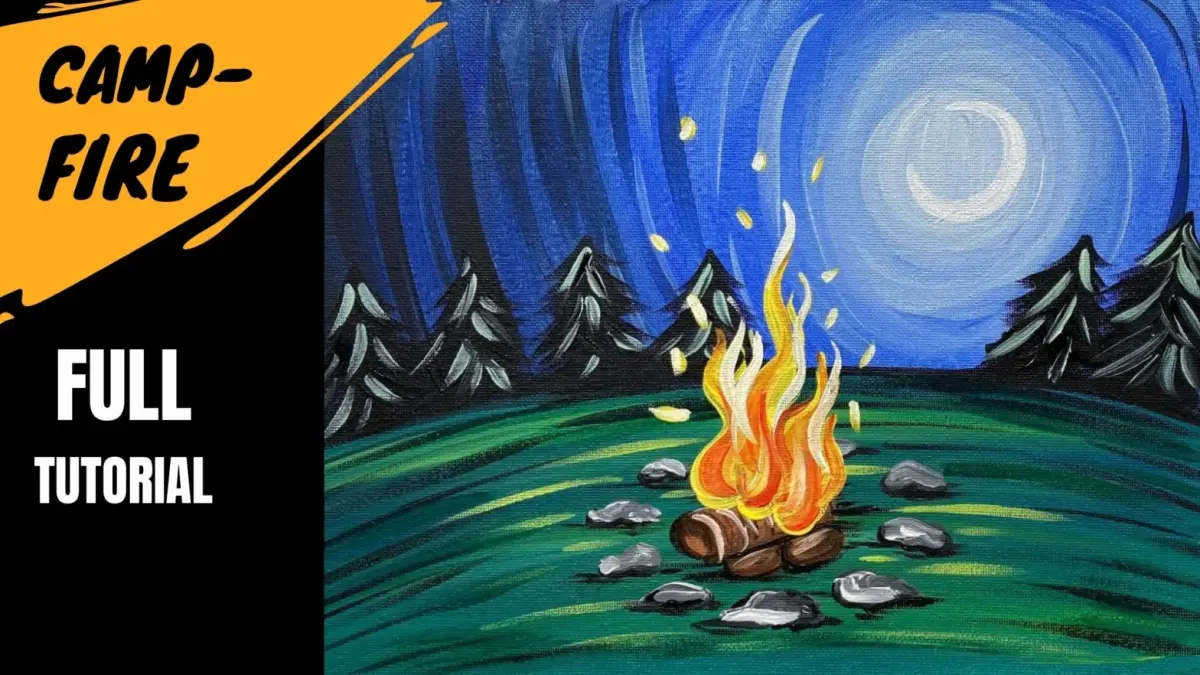
One of the most frequent errors artists make is using too many colors, which can result in a chaotic or muddy appearance. Fire is primarily composed of a limited spectrum of reds, oranges, and yellows. Trying to incorporate too many secondary colors can distract from the intensity of the heat. Stick to a limited palette of warm tones to maintain visual harmony and ensure the fire remains the primary focus of your composition.
Another common mistake is painting flames that are too symmetrical or uniform. Real fire is erratic, unpredictable, and constantly shifting. If your flames look like identical, repeating shapes, the painting will appear stiff and artificial. Vary the size, height, and curvature of each flame to create a sense of movement. Incorporating small, detached flickers of color near the top of the main flames can also add a sense of realism and organic chaos.
- Avoid over-blending, as this creates a flat, muddy look that lacks the crispness of real fire.
- Do not use pure black to darken your colors, as it can kill the vibrancy of the warm tones.
- Ensure the light source is consistent so that the surrounding environment reflects the fire's intensity.
How to add texture and movement to flames
To make your fire feel alive, you must incorporate texture that suggests the flickering nature of heat. Instead of painting smooth, solid shapes, use short, directional brushstrokes that follow the path of the rising flames. This movement guides the viewer’s eye upward and reinforces the idea of heat escaping into the air. You can also use a fan brush to create wispy, smoke-like edges that soften the transition between the fire and the background.
Finally, consider the environment in which the fire exists. If the fire is burning wood, add small, dark embers or sparks flying upward into the air. These tiny, bright dots provide a sense of scale and energy, making the scene feel dynamic. By adding these small details, you transform a static image of flames into a convincing representation of a powerful, energetic force that feels as though it is actively burning on your canvas.
Key facts
- Fire is not a solid object; it is composed of light and energy, so focus on luminosity rather than defined outlines.
- Use a "wet-on-wet" technique to blend colors directly on the canvas while the paint is still damp.
- Start with the darkest colors, such as deep crimson or burnt umber, at the base and outer edges.
- Transition to vibrant oranges and yellows toward the center, where the heat is most intense.
- Apply pure white paint only at the very core or the hottest tips of the flames to create a high-contrast focal point.
- Avoid over-blending, which creates "muddy" colors; keep your brushstrokes directional to mimic the upward movement of heat.
The bottom line
Painting fire with acrylics requires a focus on color temperature and light intensity rather than rigid shapes. By layering from dark to light and maintaining directional brushstrokes, you can capture the fluid energy of flames. Always prioritize contrast by using a dark background and reserving pure white for the hottest points. With practice and the right medium, you will master the art of luminous, realistic fire.
People also ask
Should I use a primer before painting fire?
Yes, applying a coat of black gesso as a base layer makes warm colors appear much more vibrant. The dark background allows the oranges and yellows to pop through contrast.
How do I create the glow effect around the flames?
Use a dry brush with very little paint to lightly stipple or haze the colors into the surrounding background. This soft edge mimics the way light dissipates into the air.
What brushes work best for painting flames?
Filbert brushes are ideal for creating organic, rounded shapes, while small rigger brushes help achieve thin, sharp flickers. Use synthetic bristles to maintain control over the fast-drying acrylics.
How can I fix a mistake if the colors get muddy?
Let the area dry completely before painting over it with a fresh layer of opaque color. If the texture becomes too thick, lightly sand the surface before reapplying paint.
Do I need to use a medium to slow down drying time?
Acrylics dry very quickly, so using a retarder medium is highly recommended. It keeps the paint workable for longer, allowing for smoother transitions between flame colors.
How do I paint embers or sparks?
Use the tip of a small, stiff brush to flick tiny dots of bright yellow or white paint onto the canvas. Focus these sparks near the base of the fire for a realistic look.
This answer was created with the help of AI research tools and reference sources. Spotted an error? Let us know — we correct mistakes quickly. See our editorial policy.